

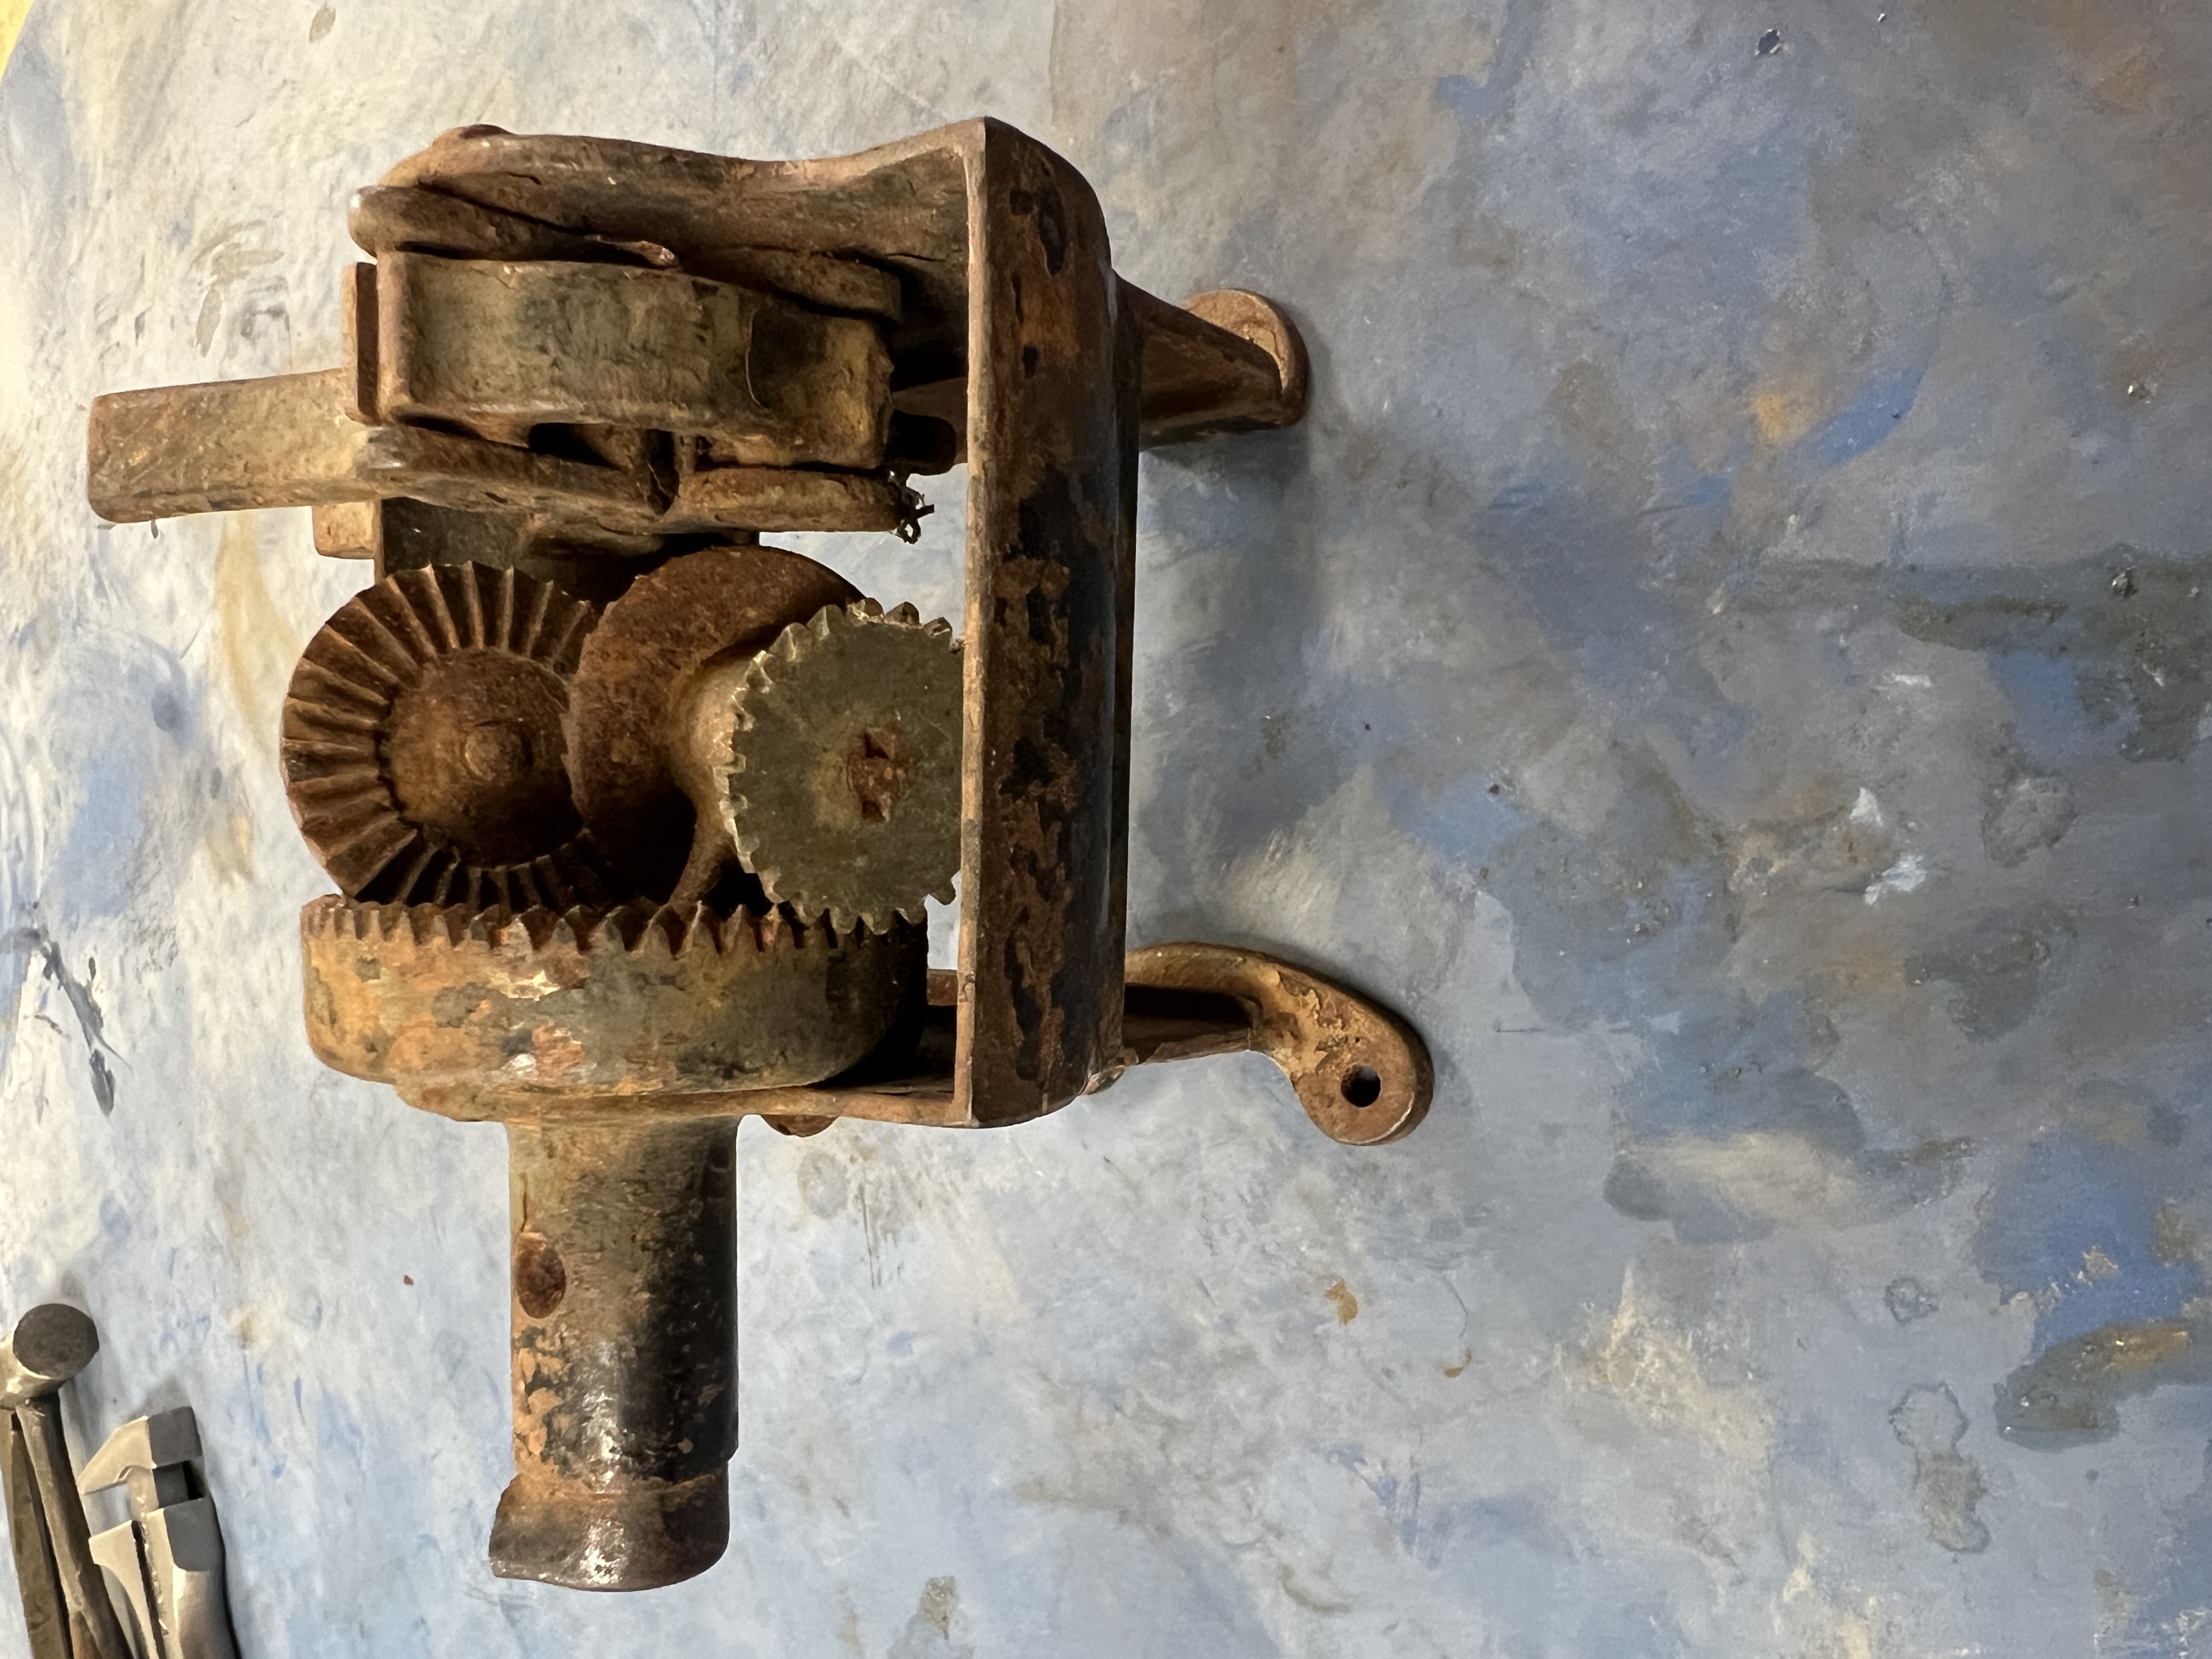
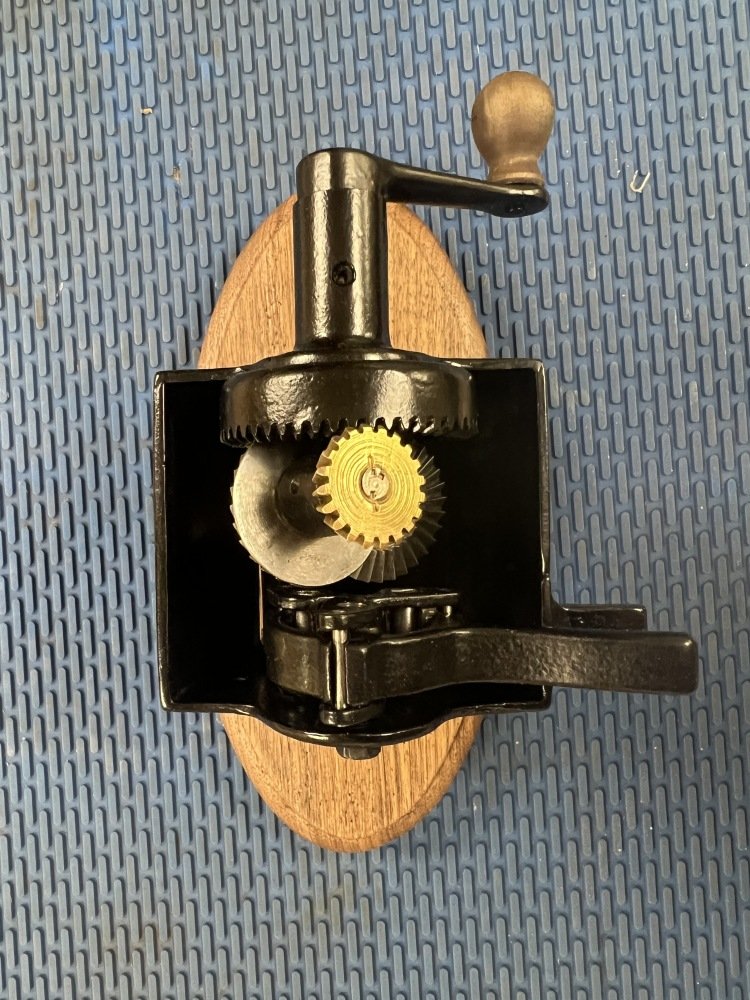
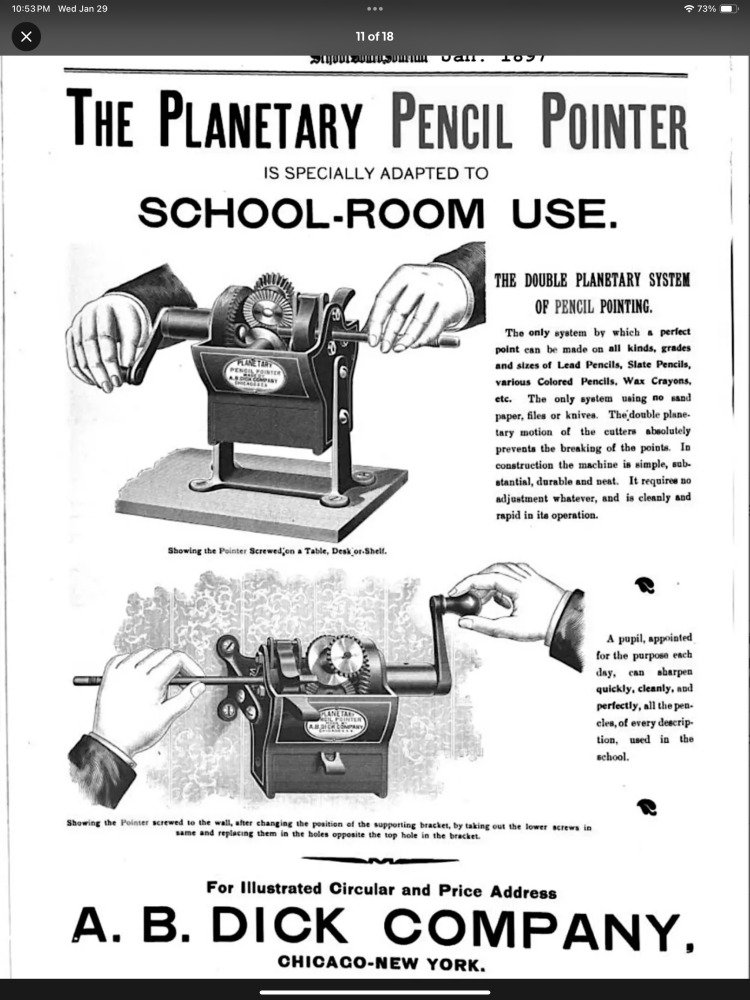
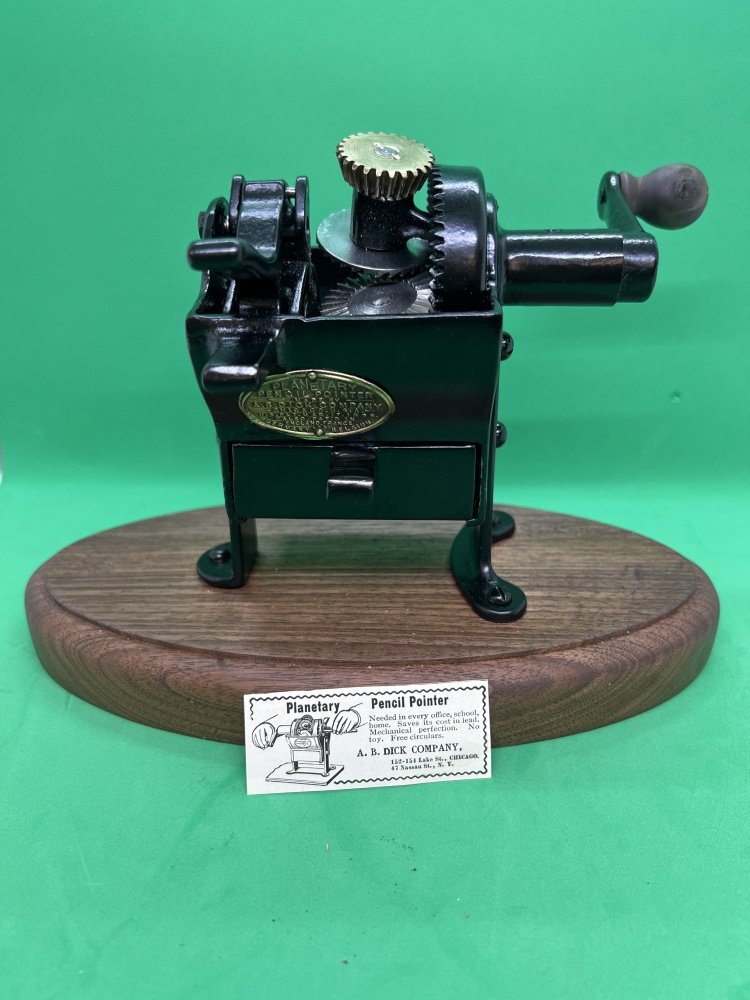
1886 Planetary Pencil Pointer
This was a fun repair of bringing back to life and functioning a Planetary Pencil Pointer over 100 years old. At the start, this was a non-working and incomplete item. WD-40 was essential in the successful repair and restoration of this project. I used WD-40 throughout from the beginning to the end.
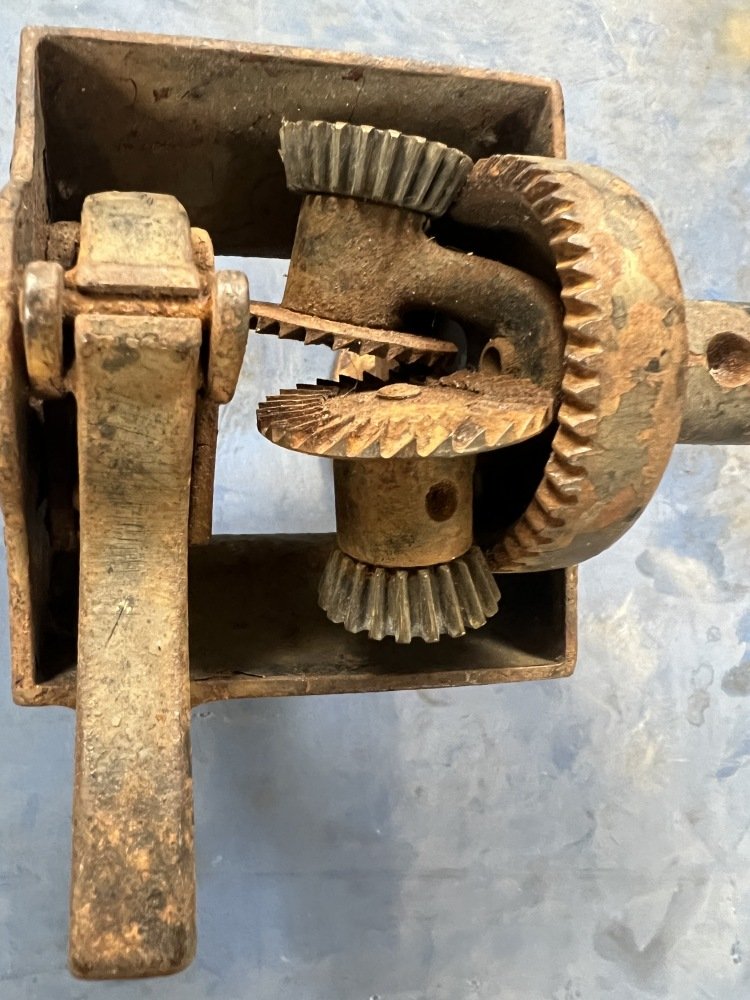
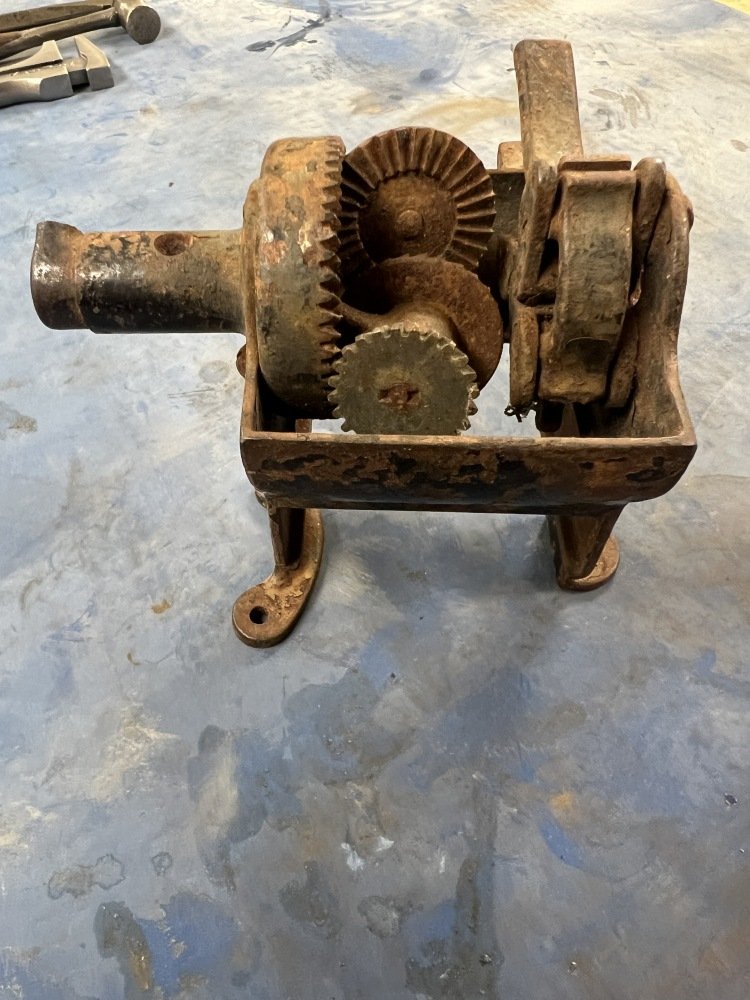
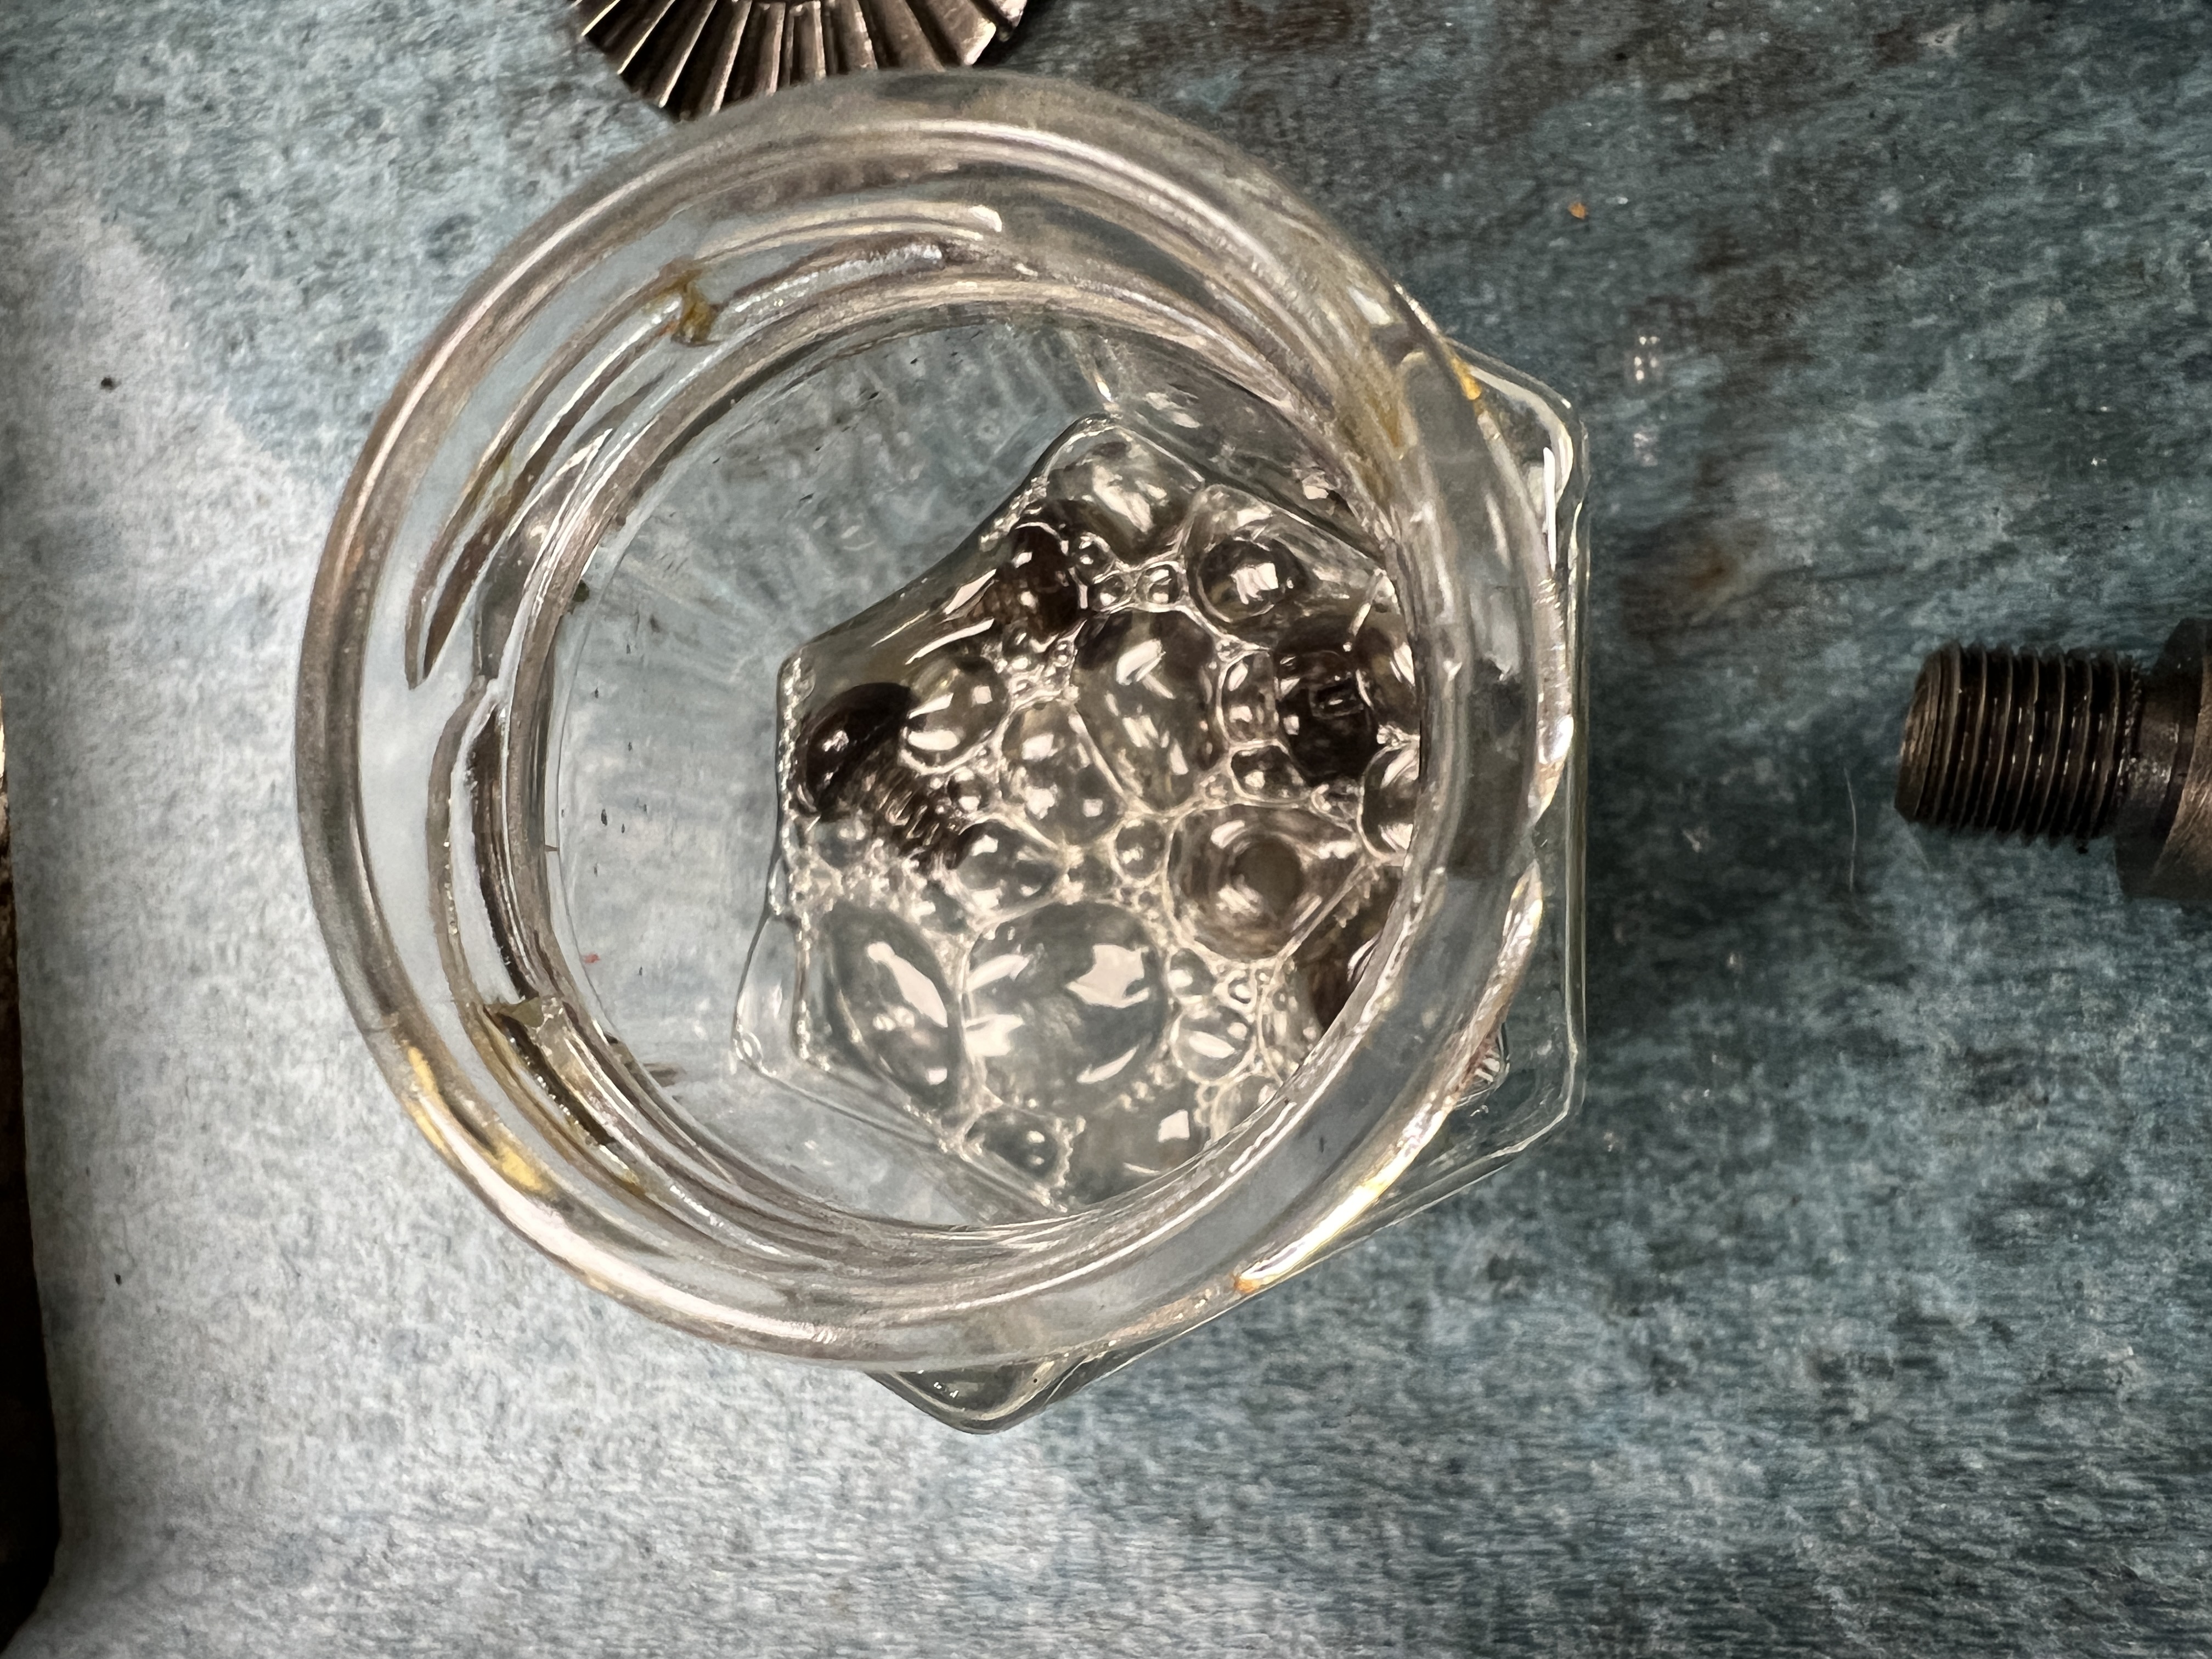
Step 1: Clean and Soak

Plus 1 more

This took a lot of cleaning and soaking in WD-40 to prepare for disassembly.
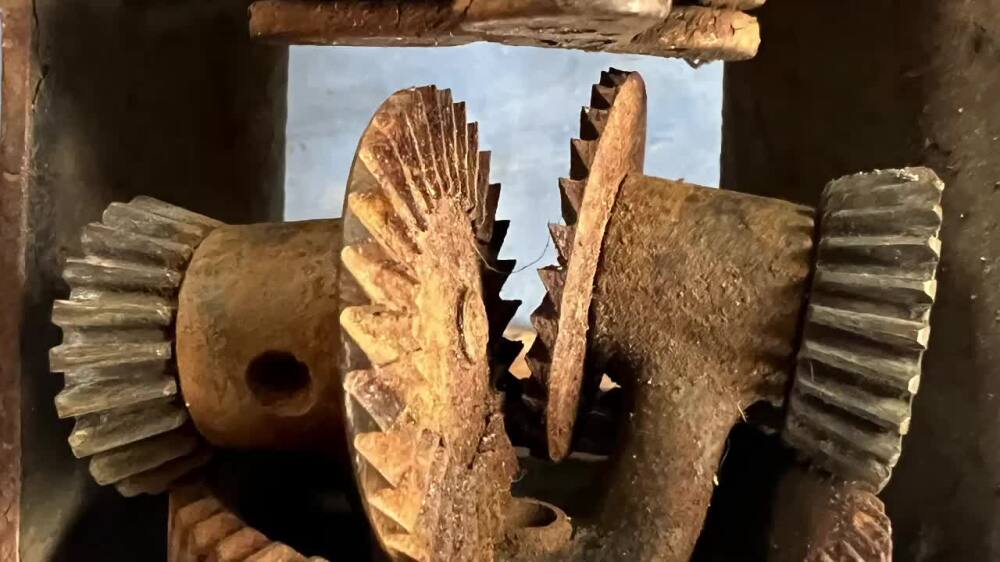
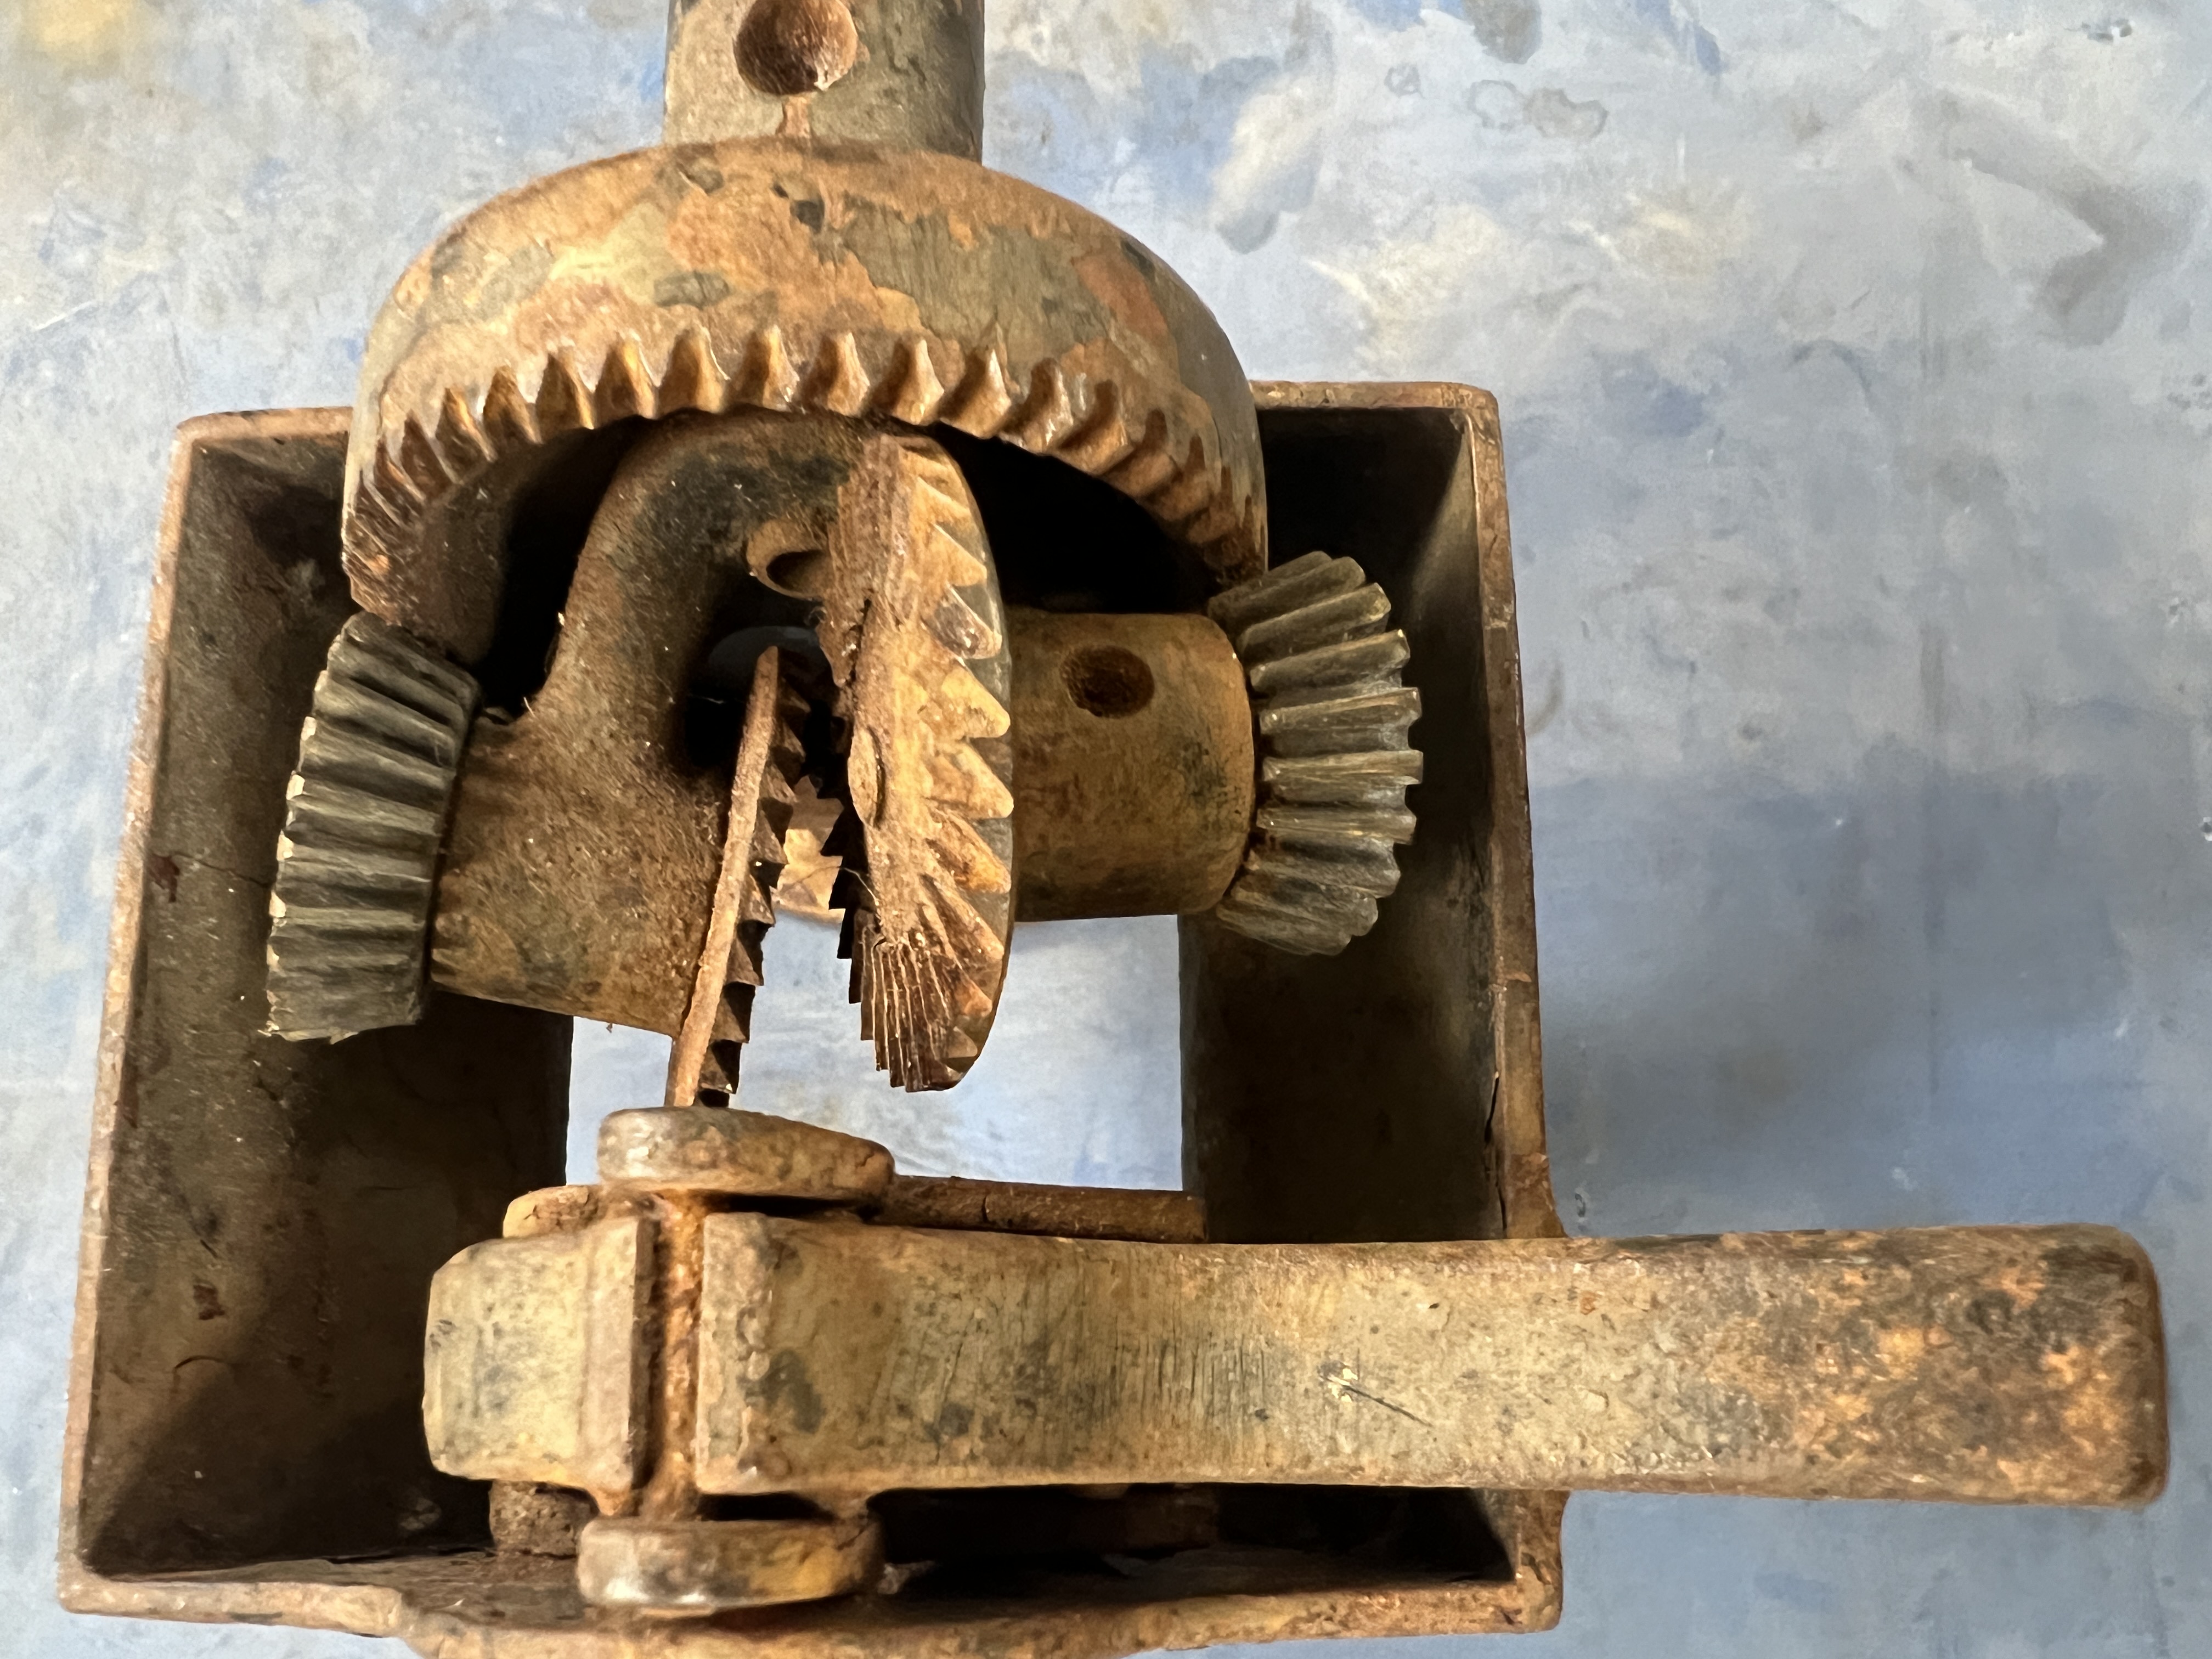
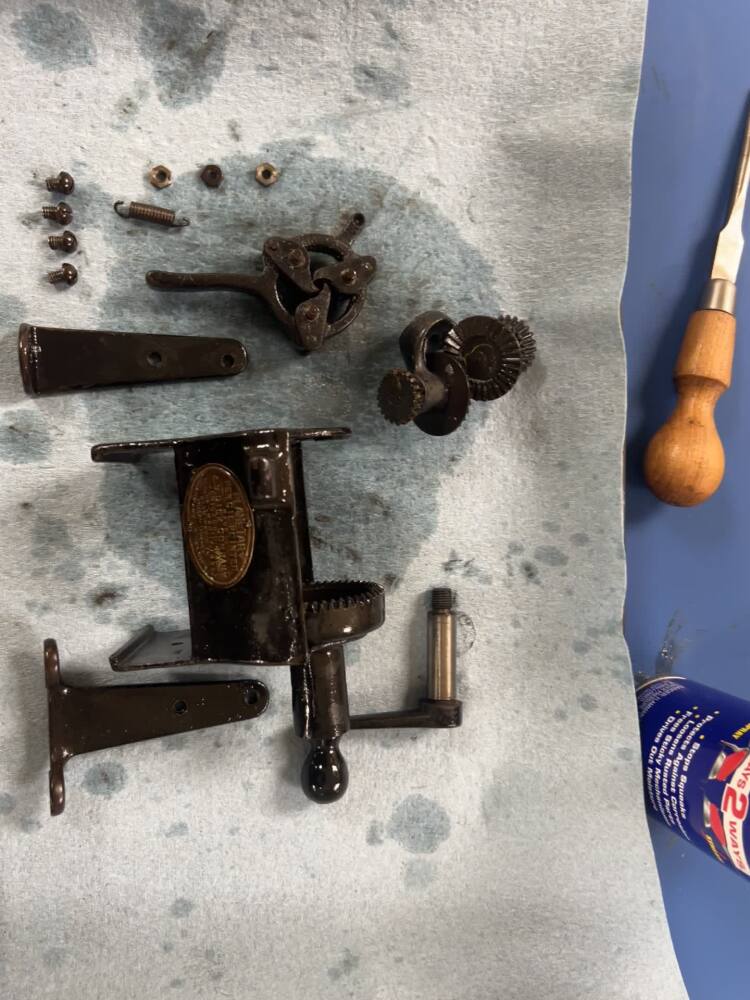
Step 2: Disassemble
Plus 4 more
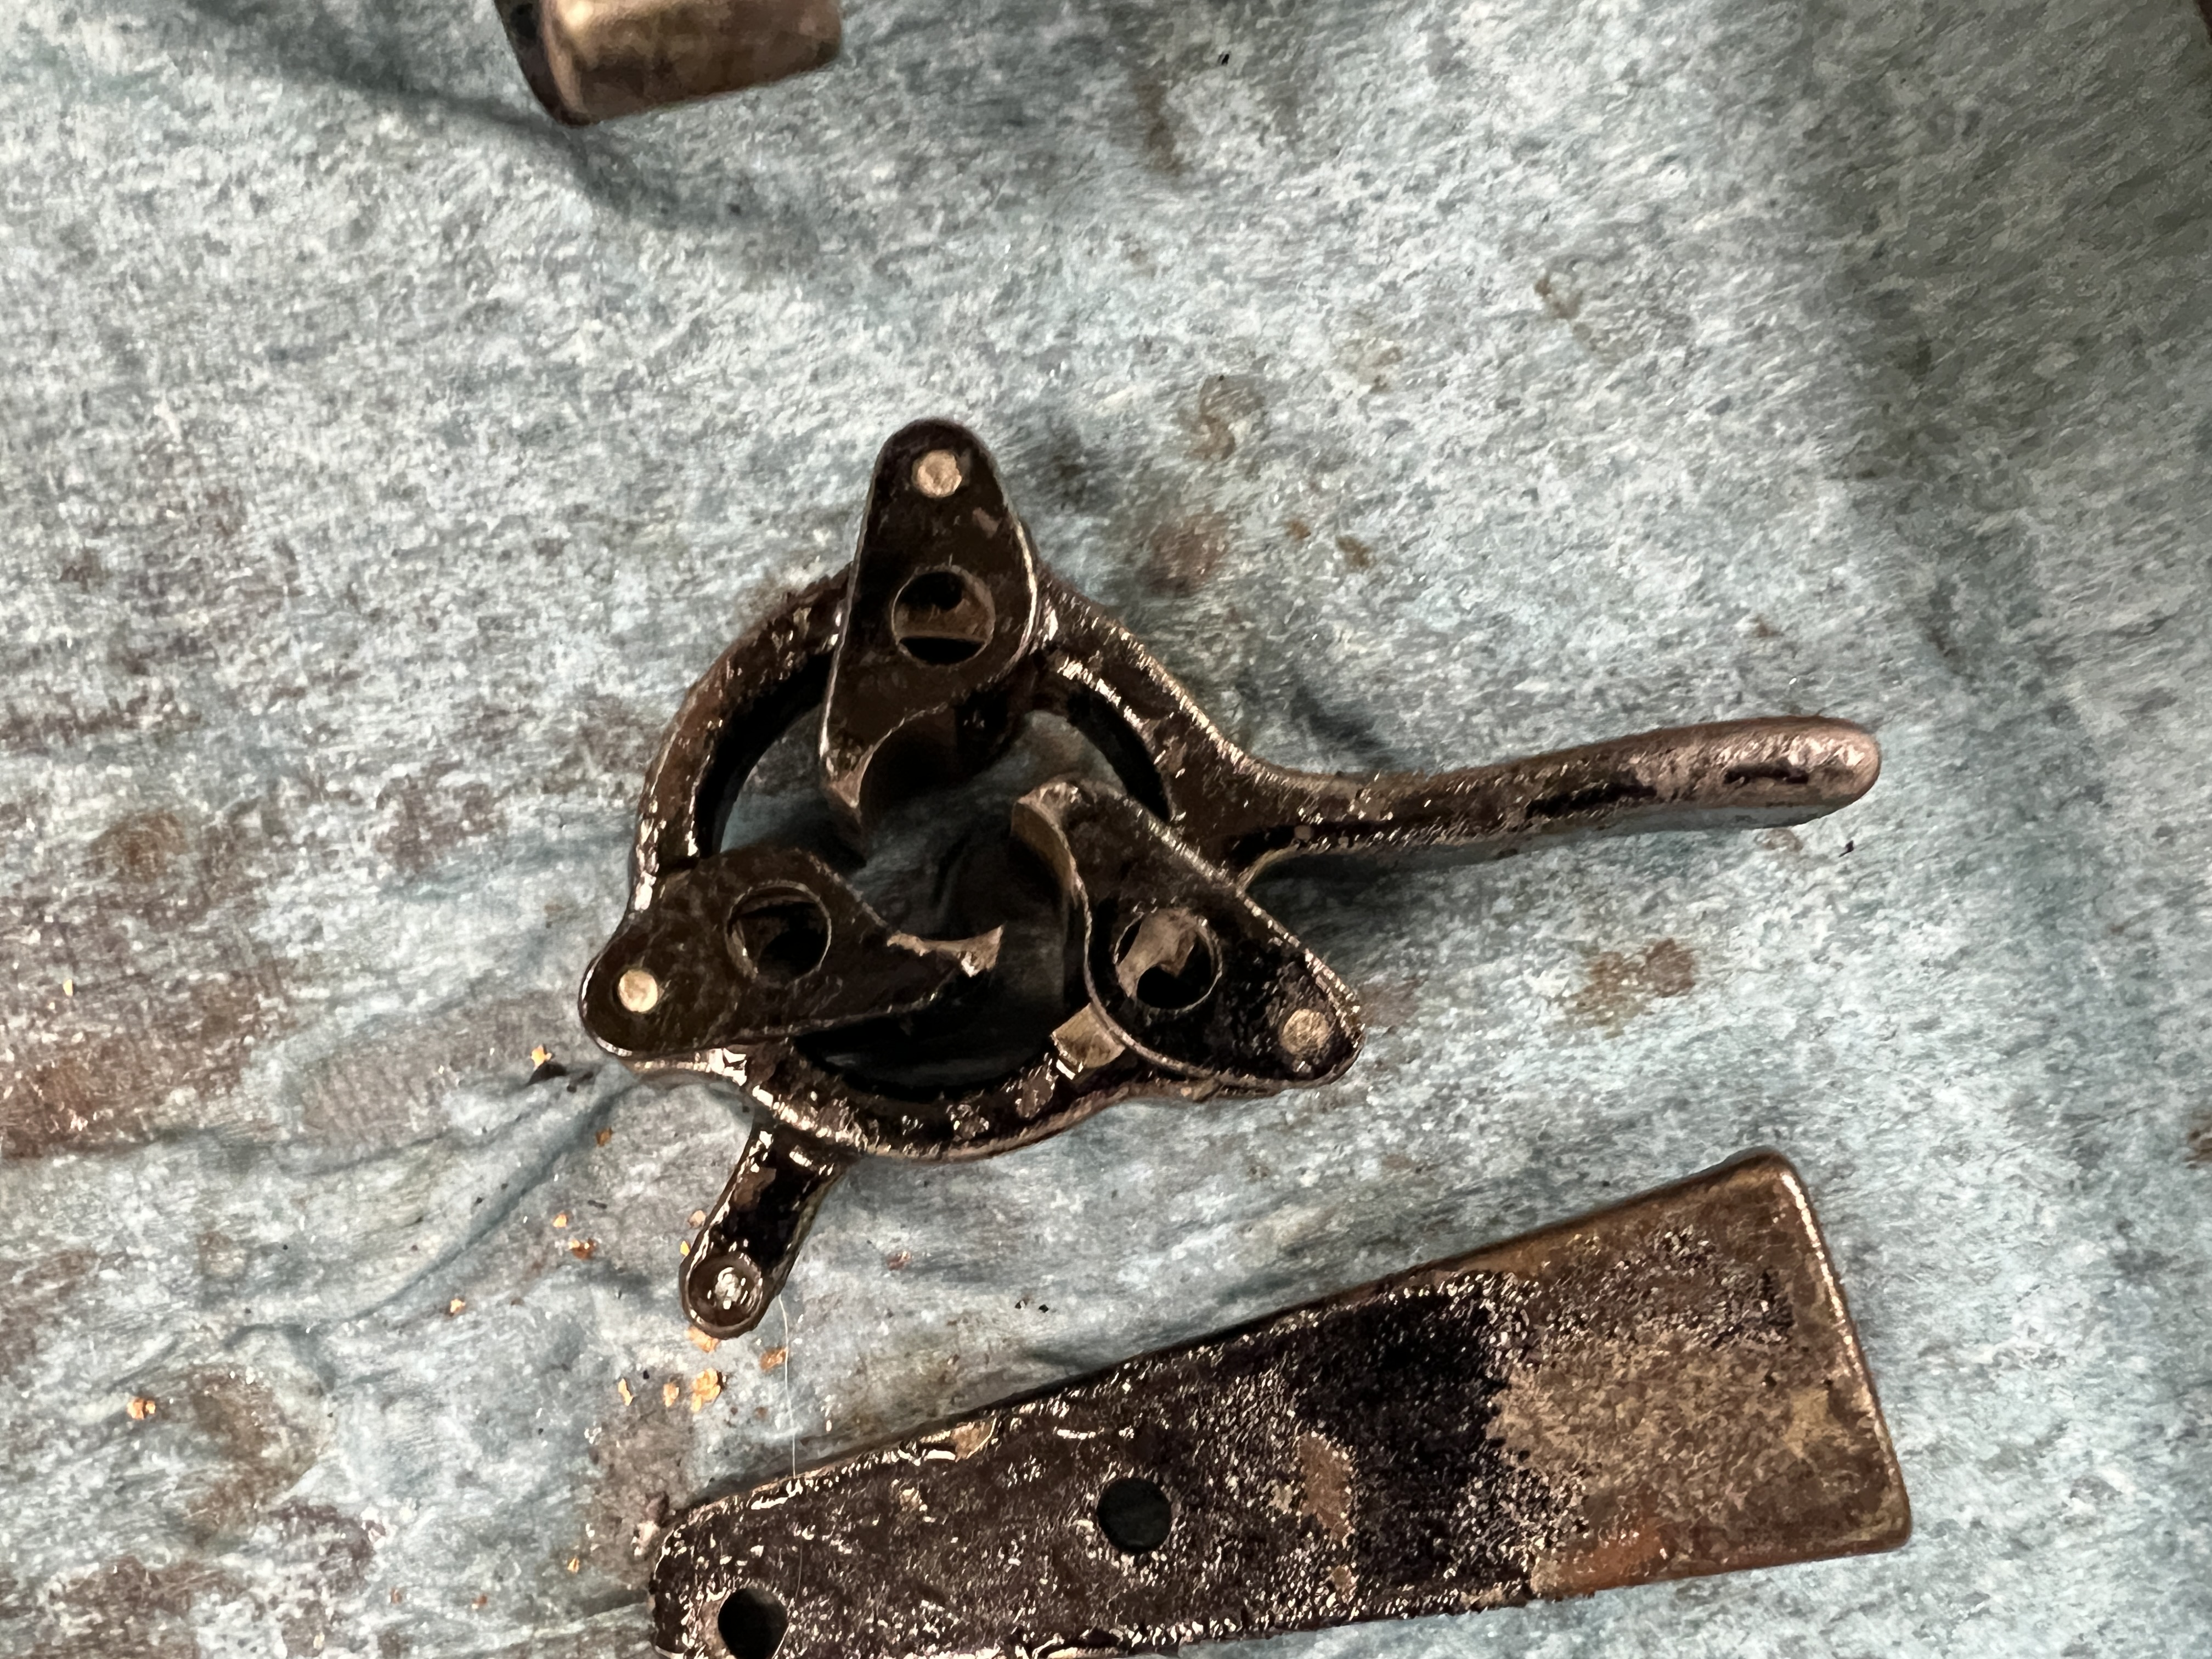
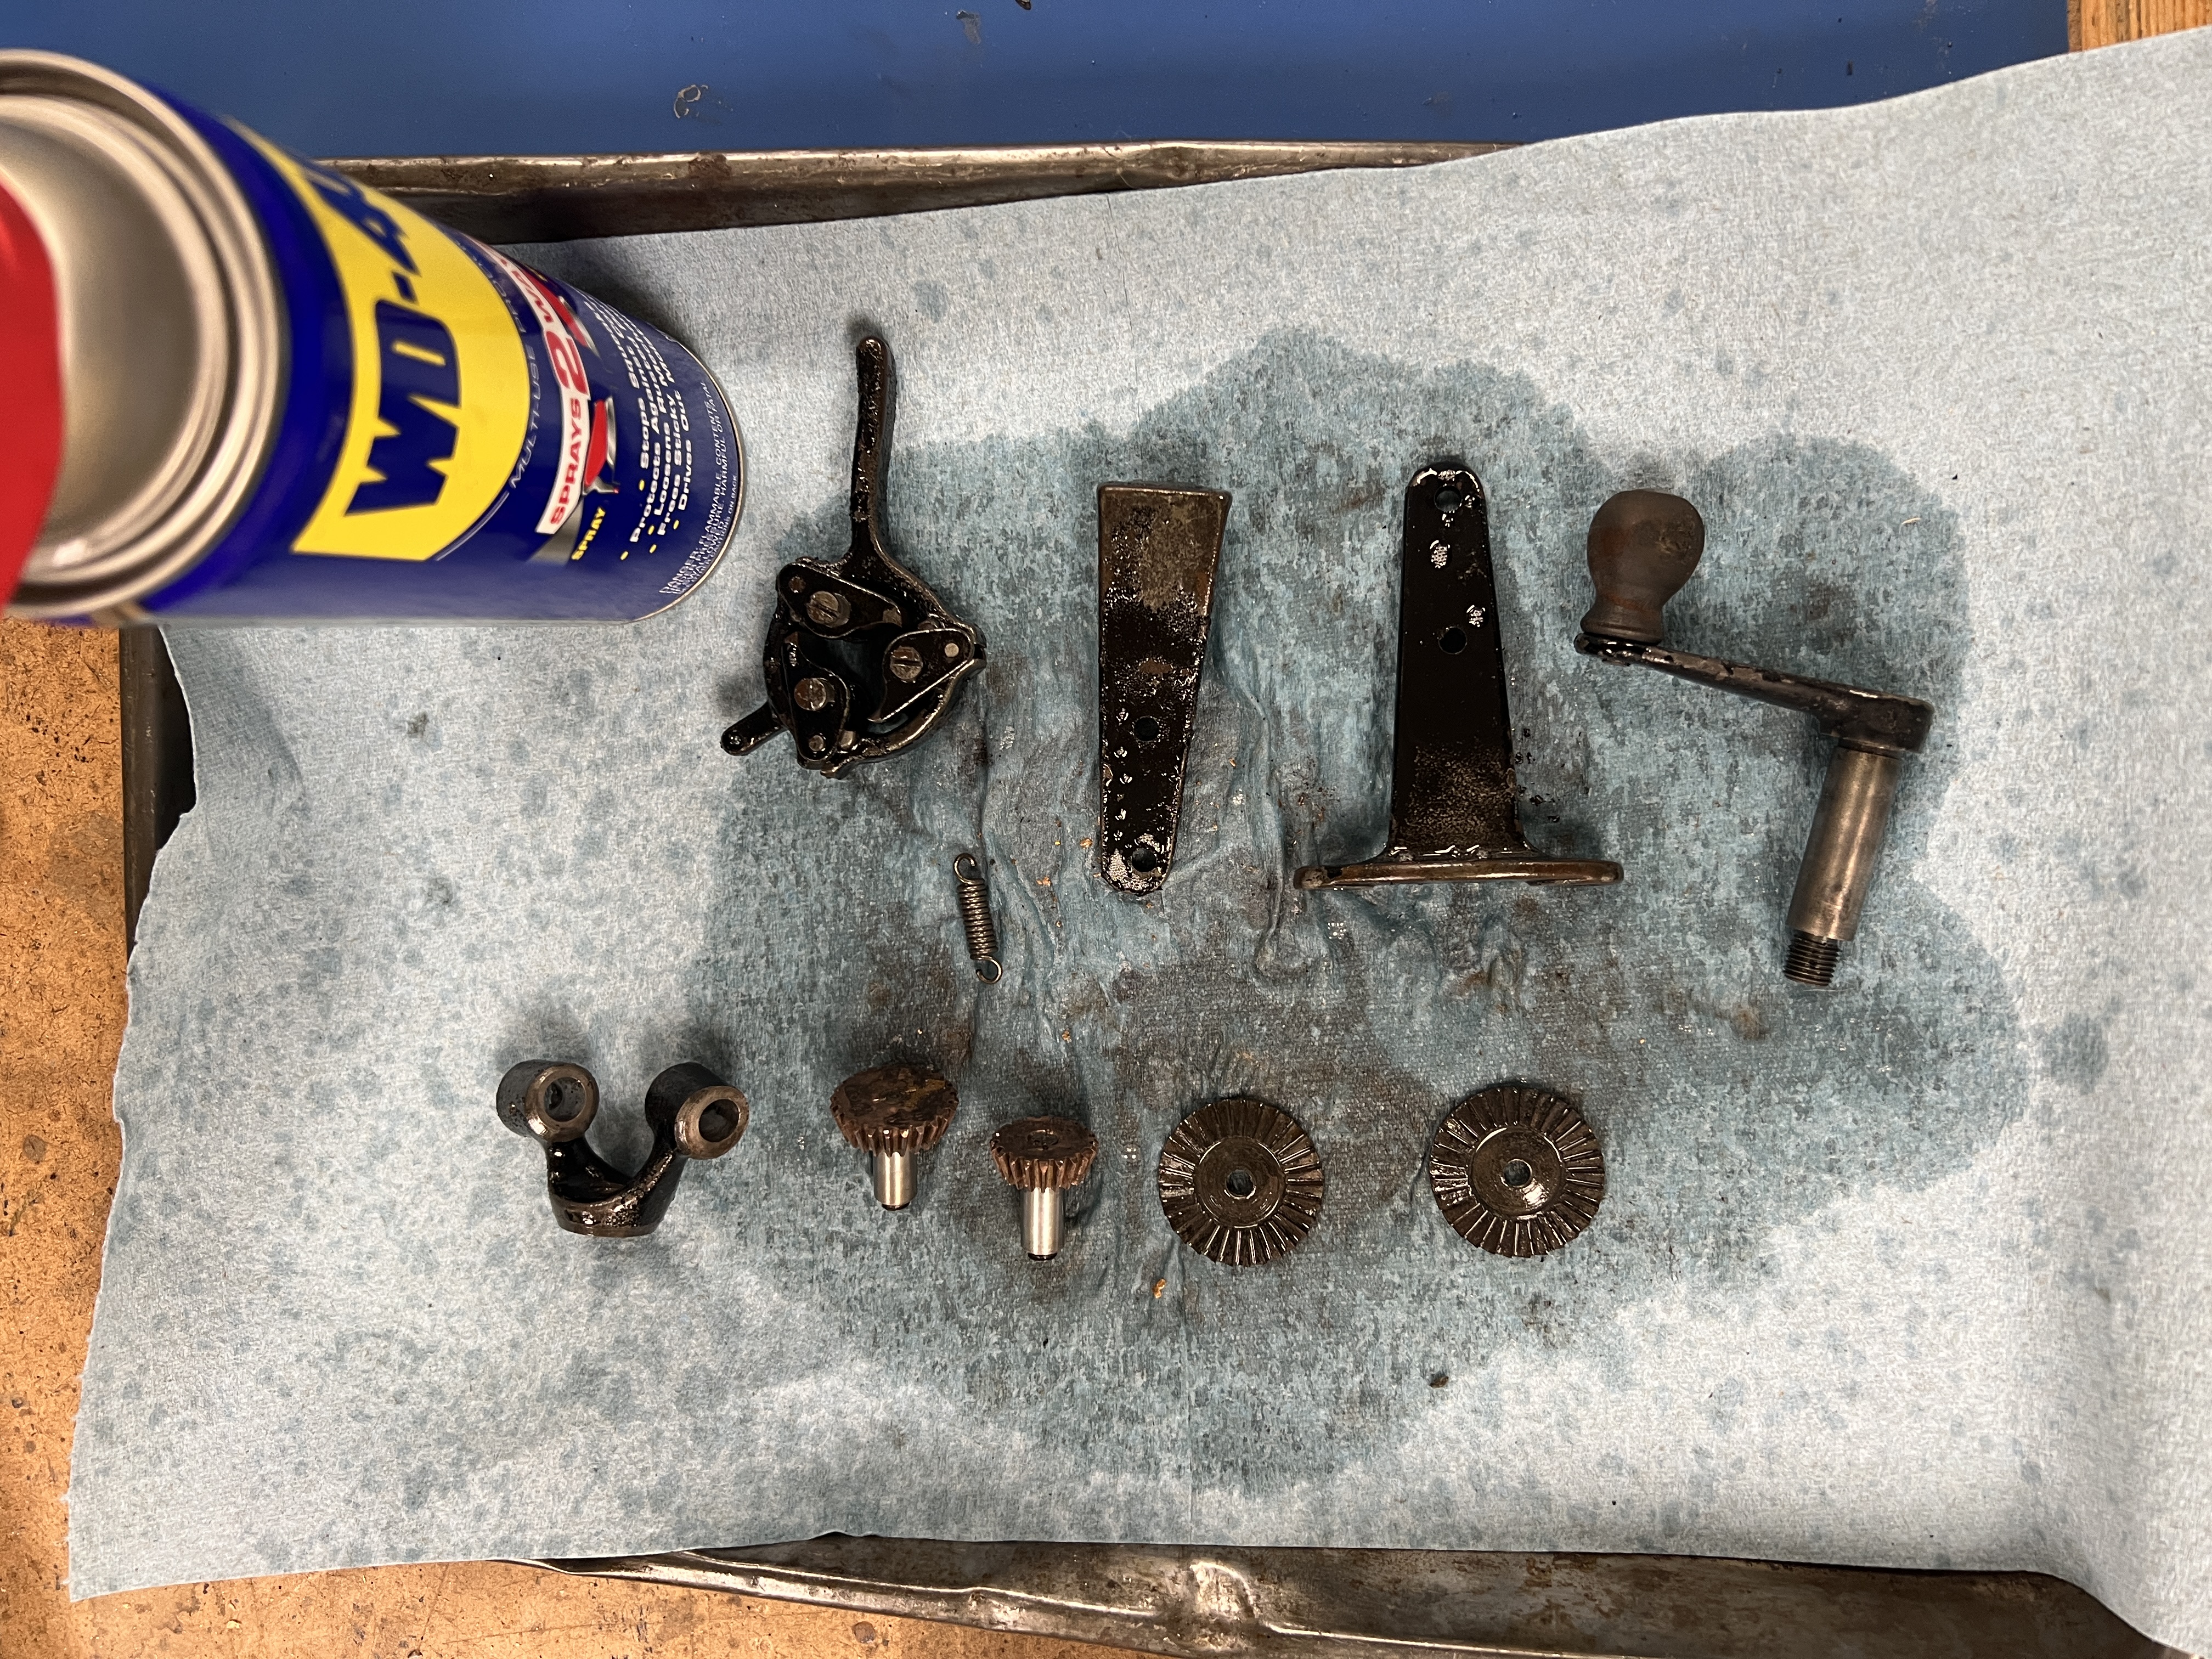
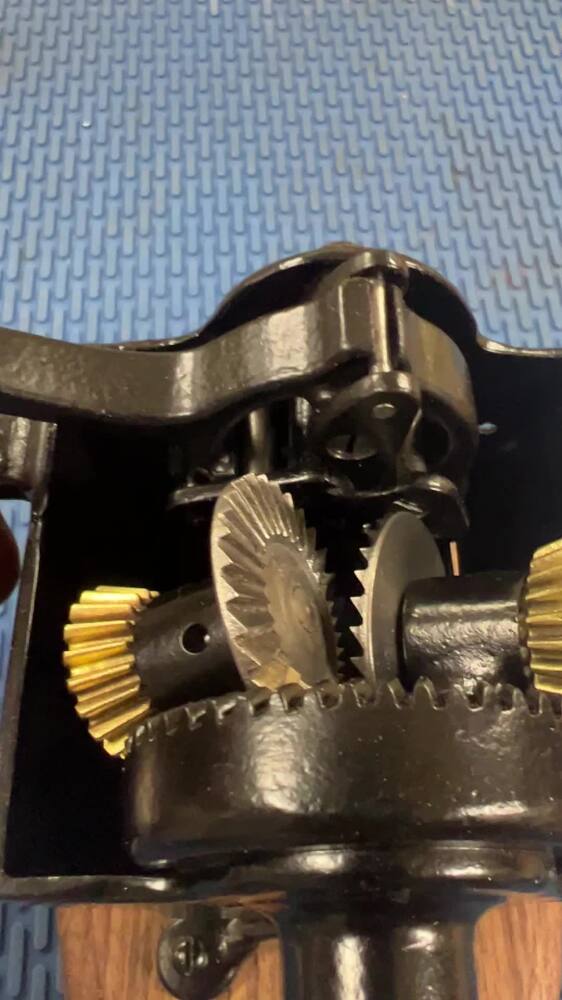
Take the sharpener apart so it can be cleaned and repaired.years of dirt and grime needed to be removed so it could even rotate the cutters. This step included cleaning and sharpening the cutter.
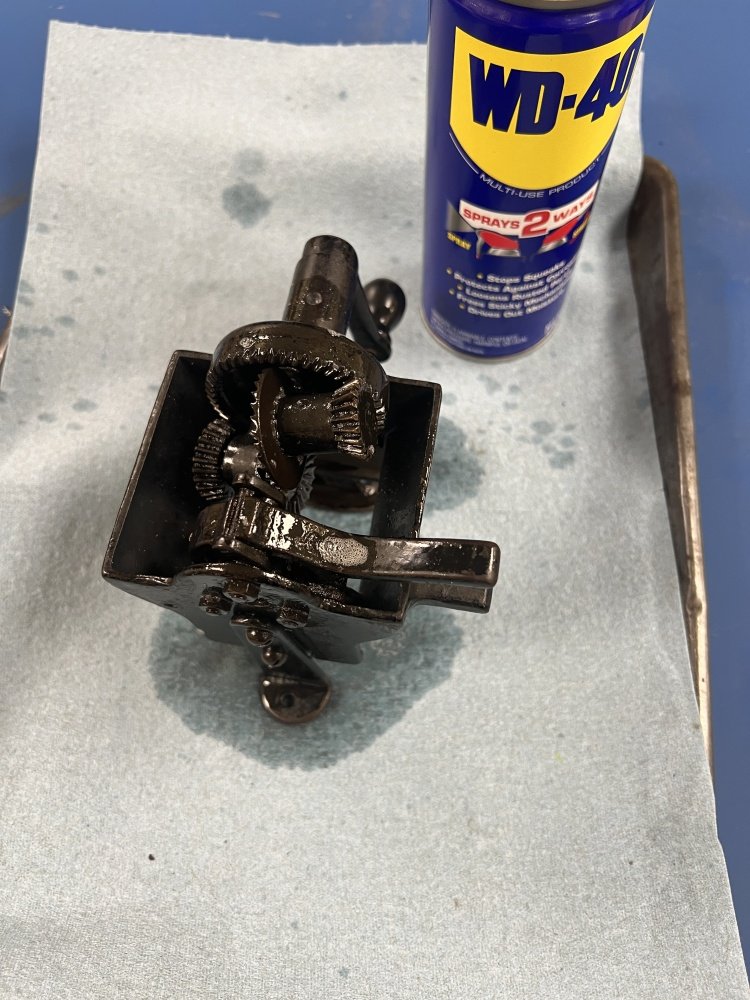
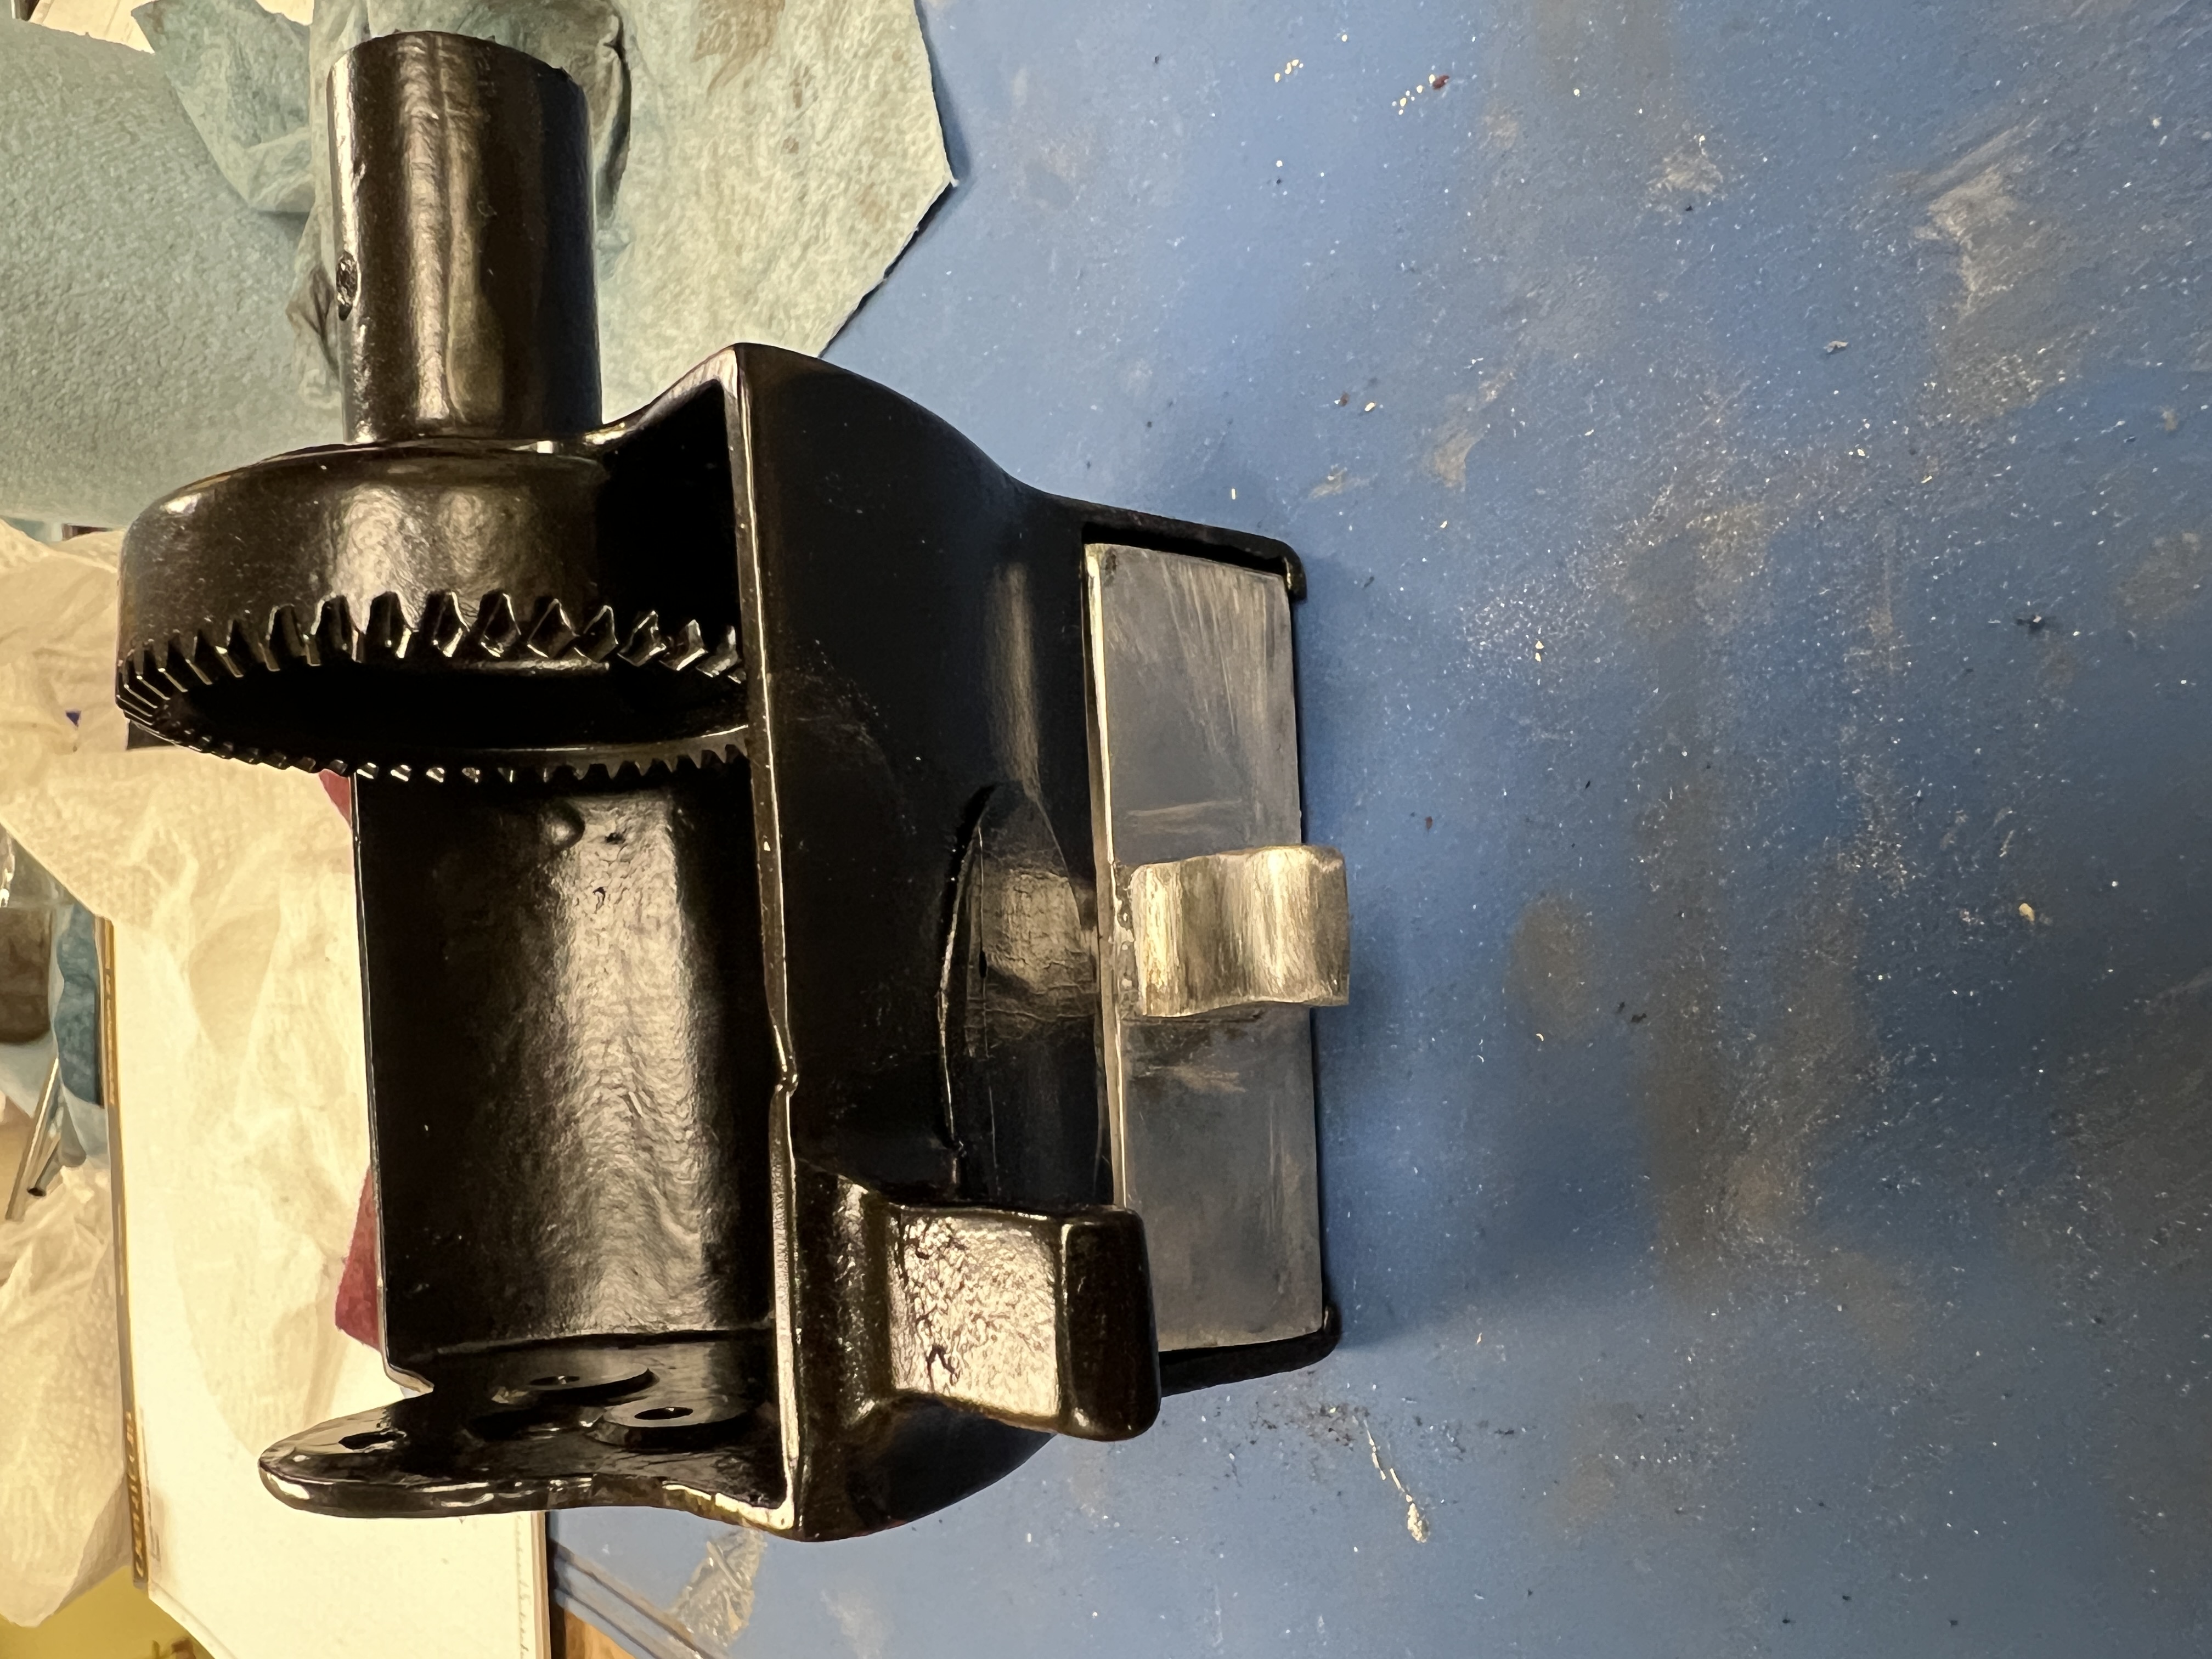
Step 3: Painting
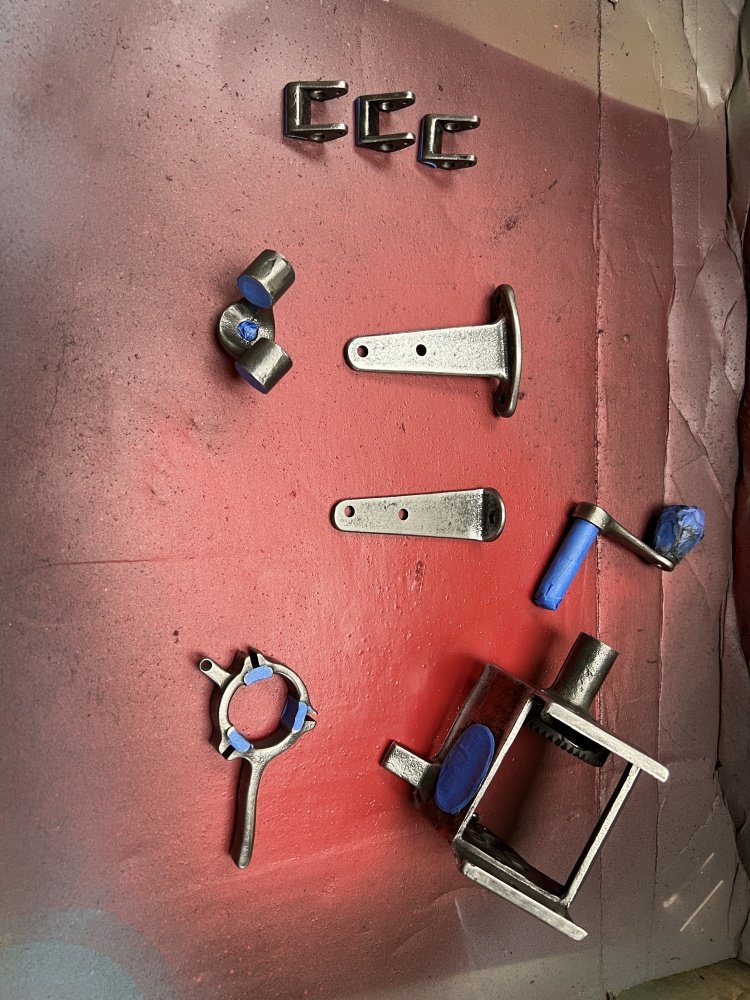
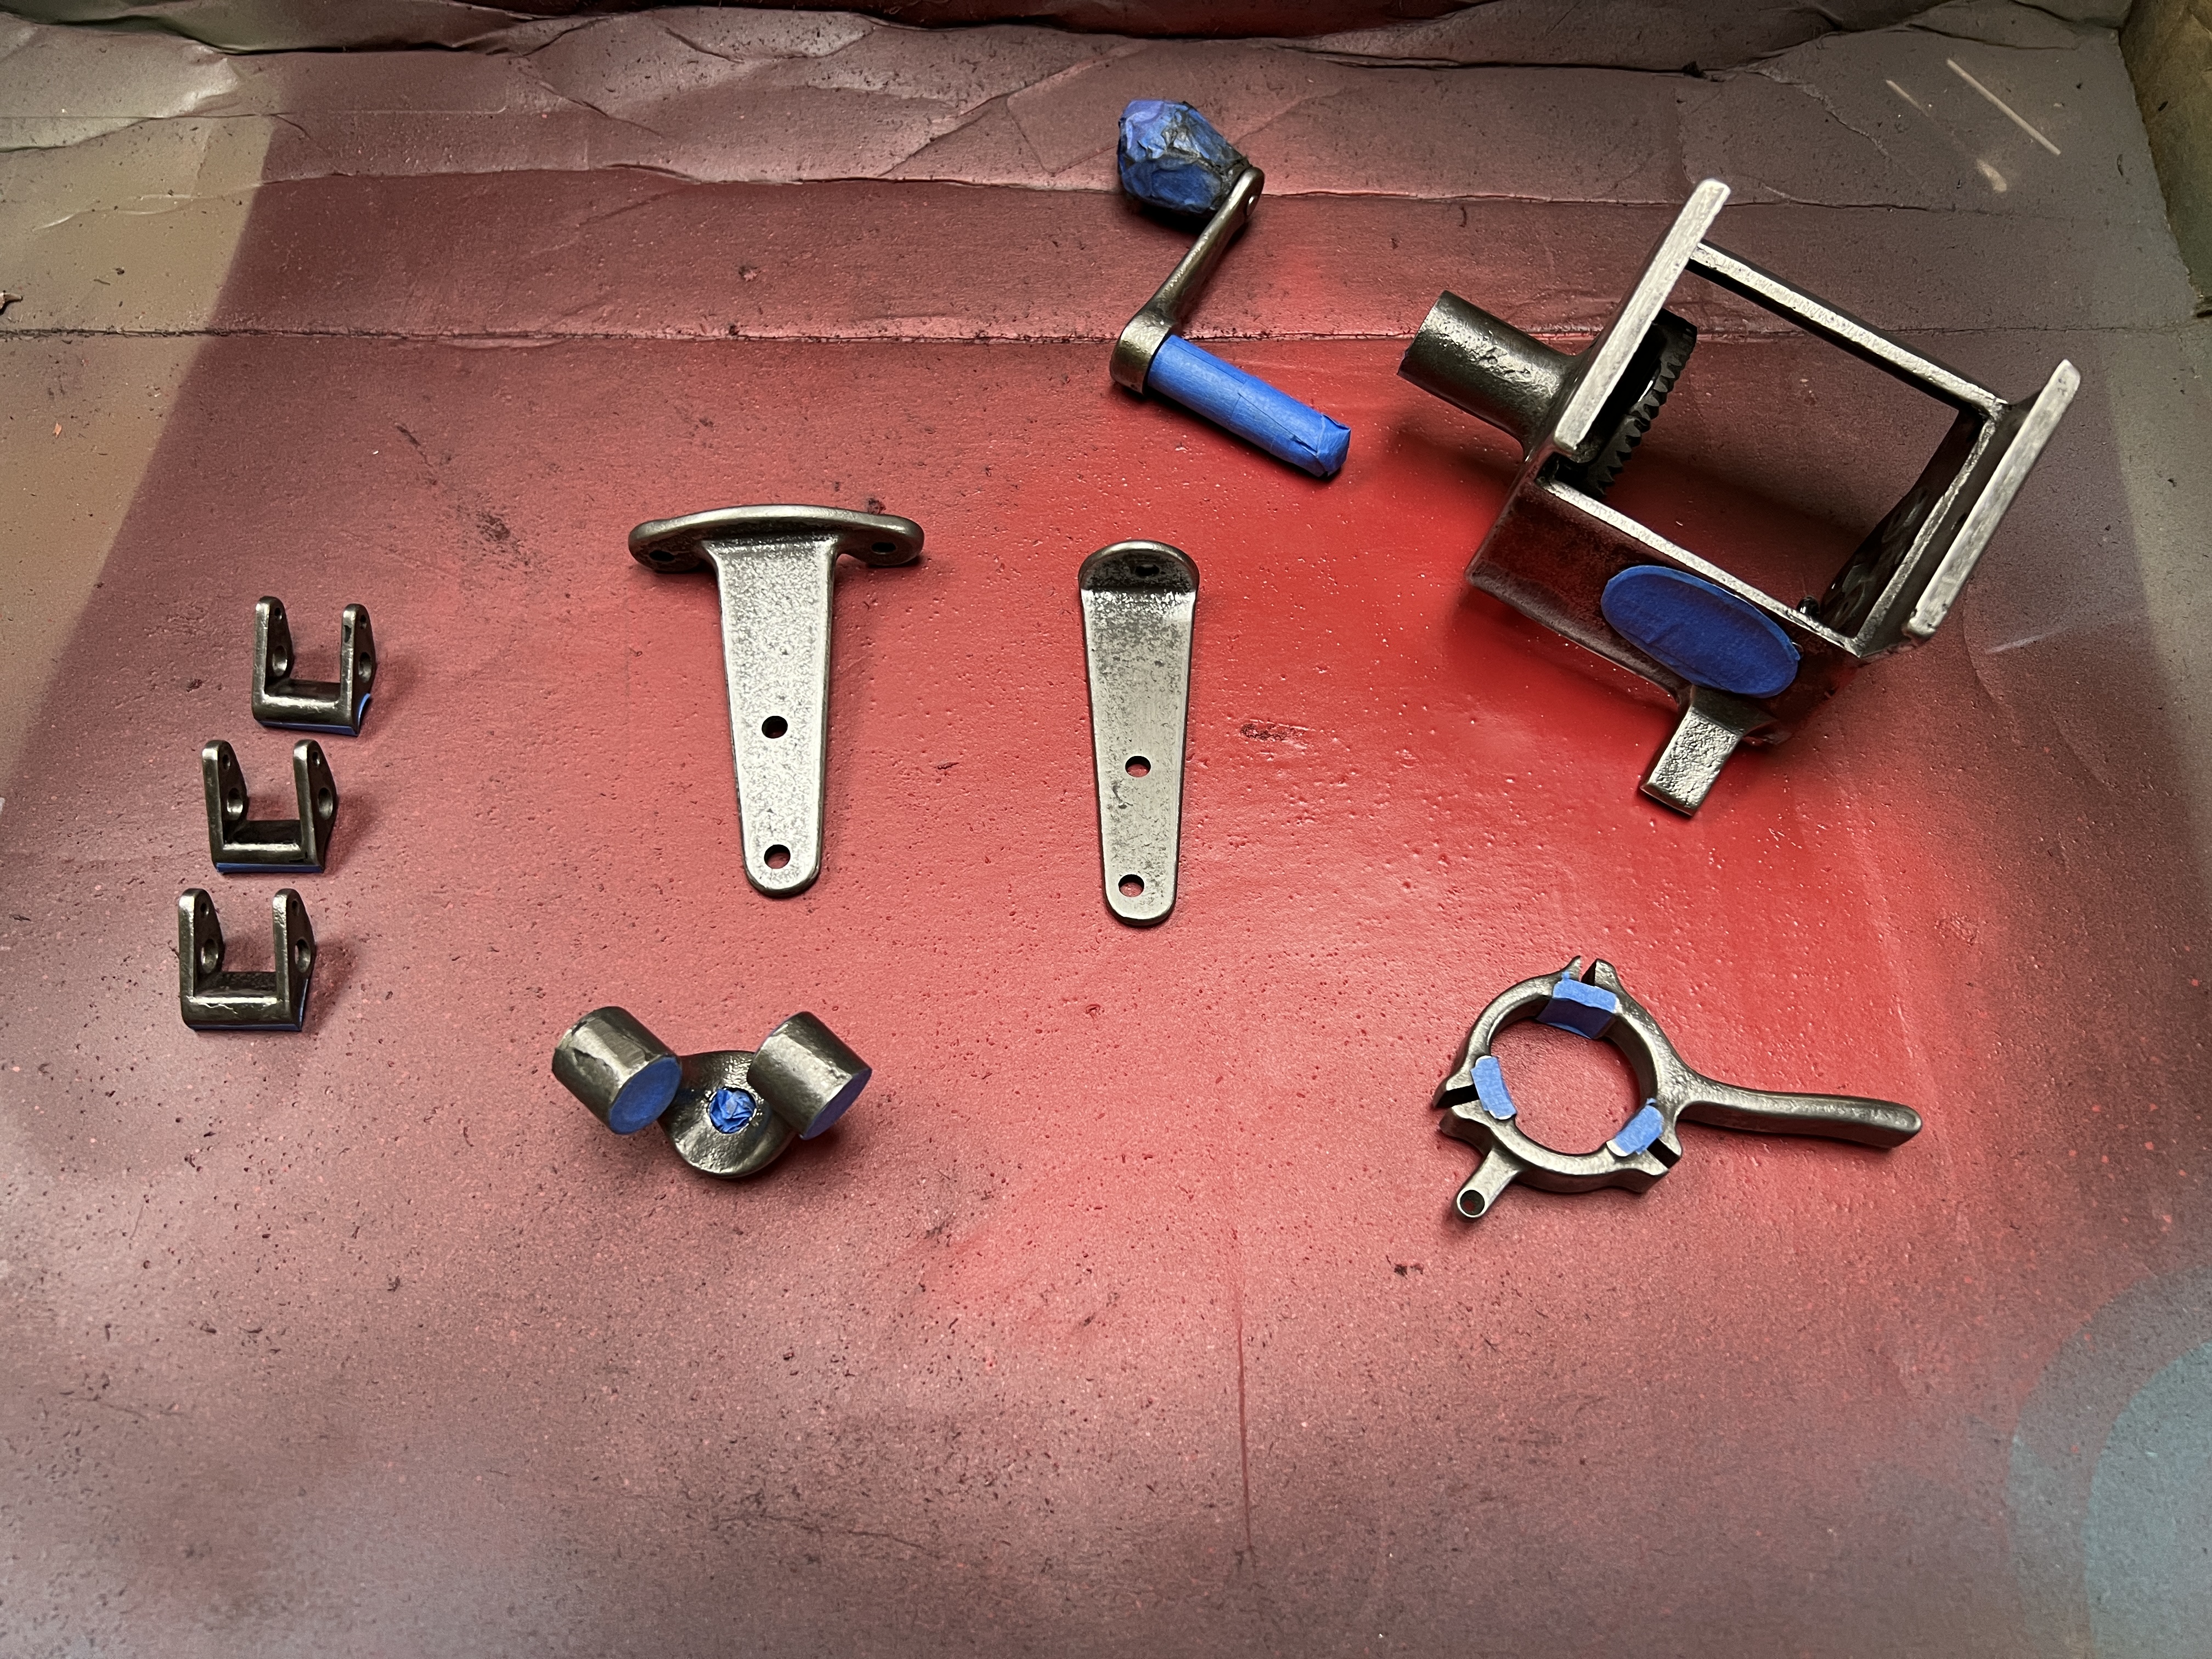
Clean and prepare the project for painting. Tape off and mask areas to be kept clean
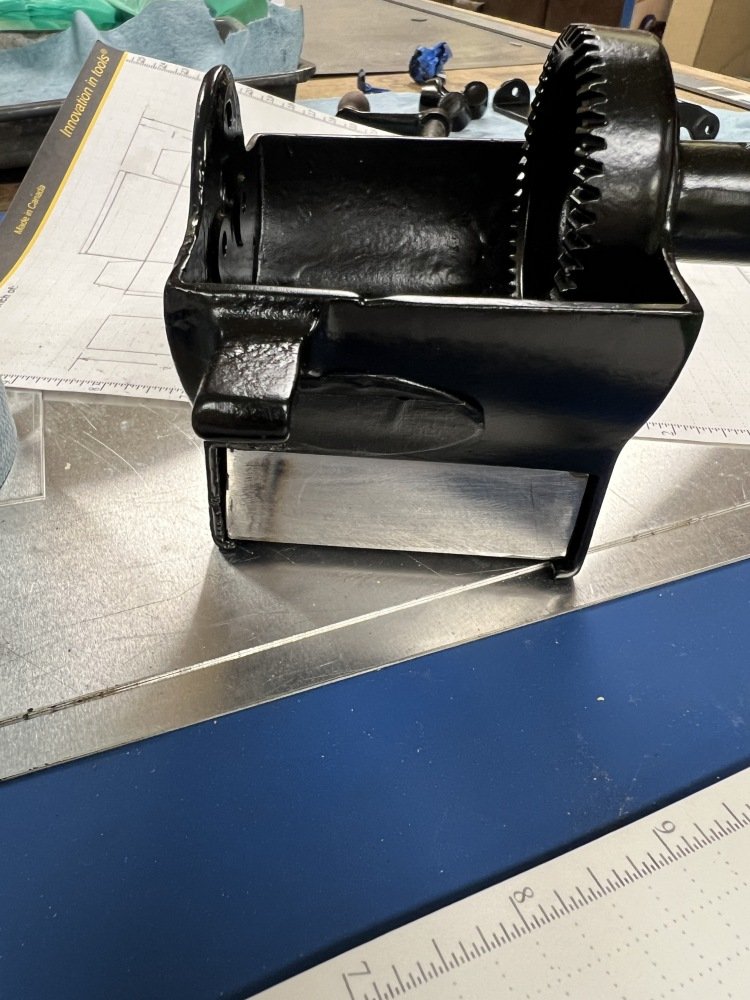
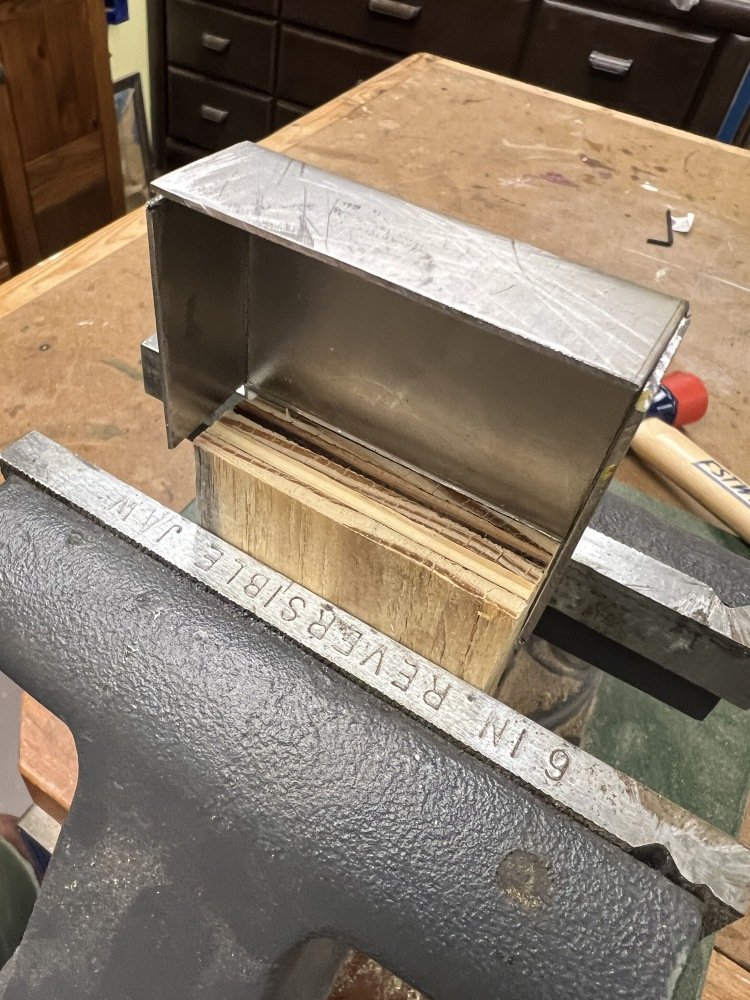
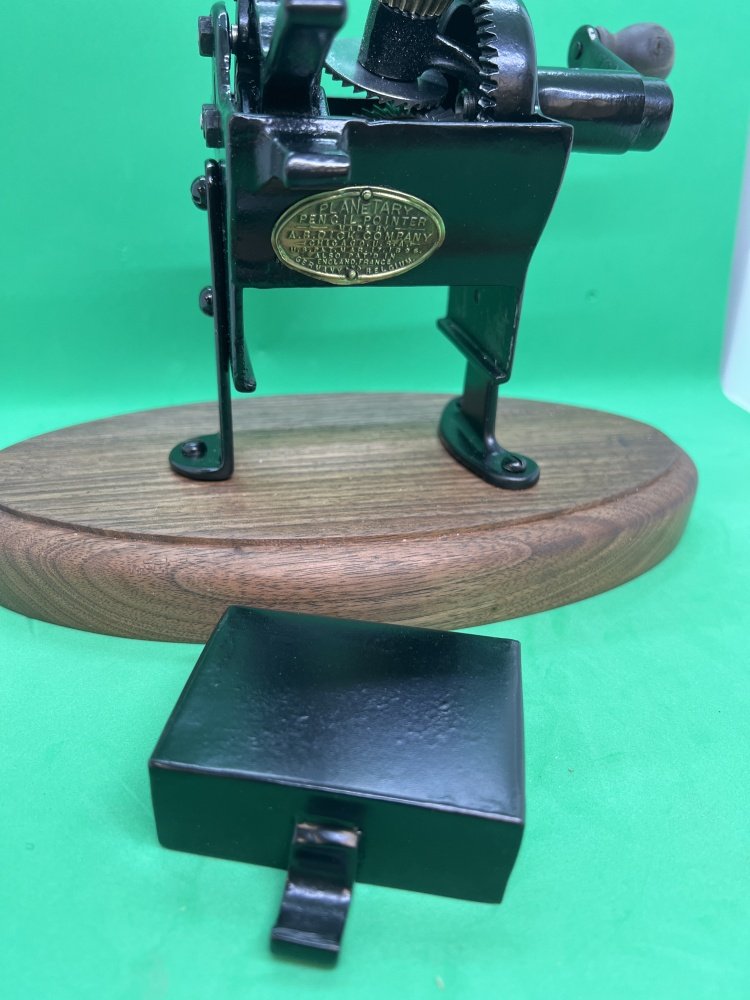
Step 4: Replace the missing drawer and parts
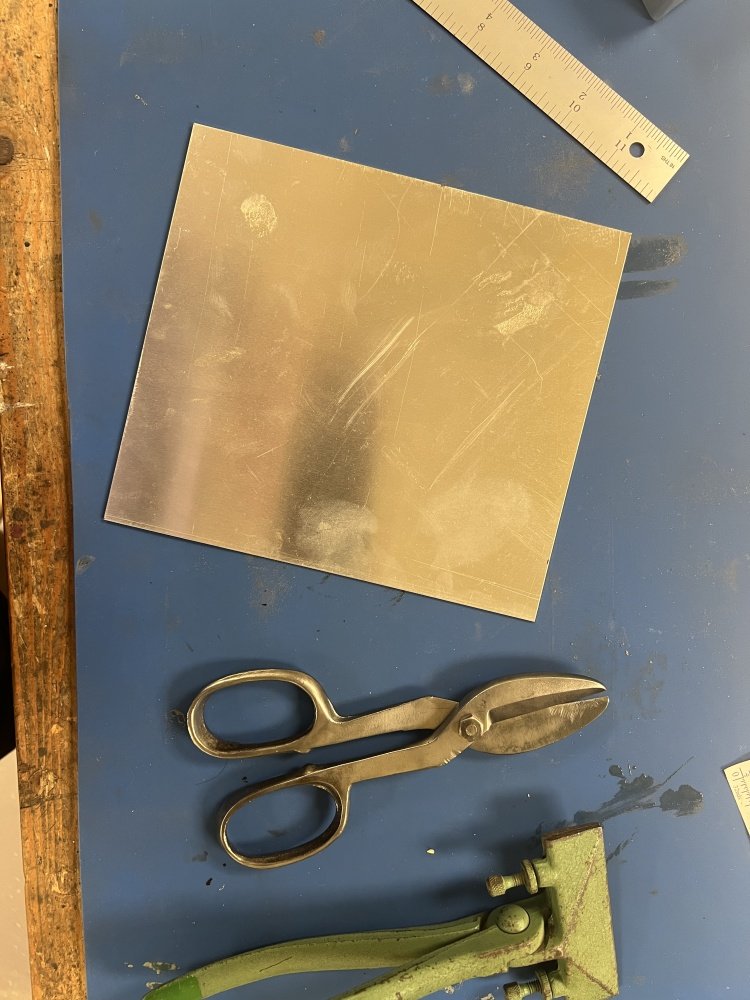
Plus 4 more
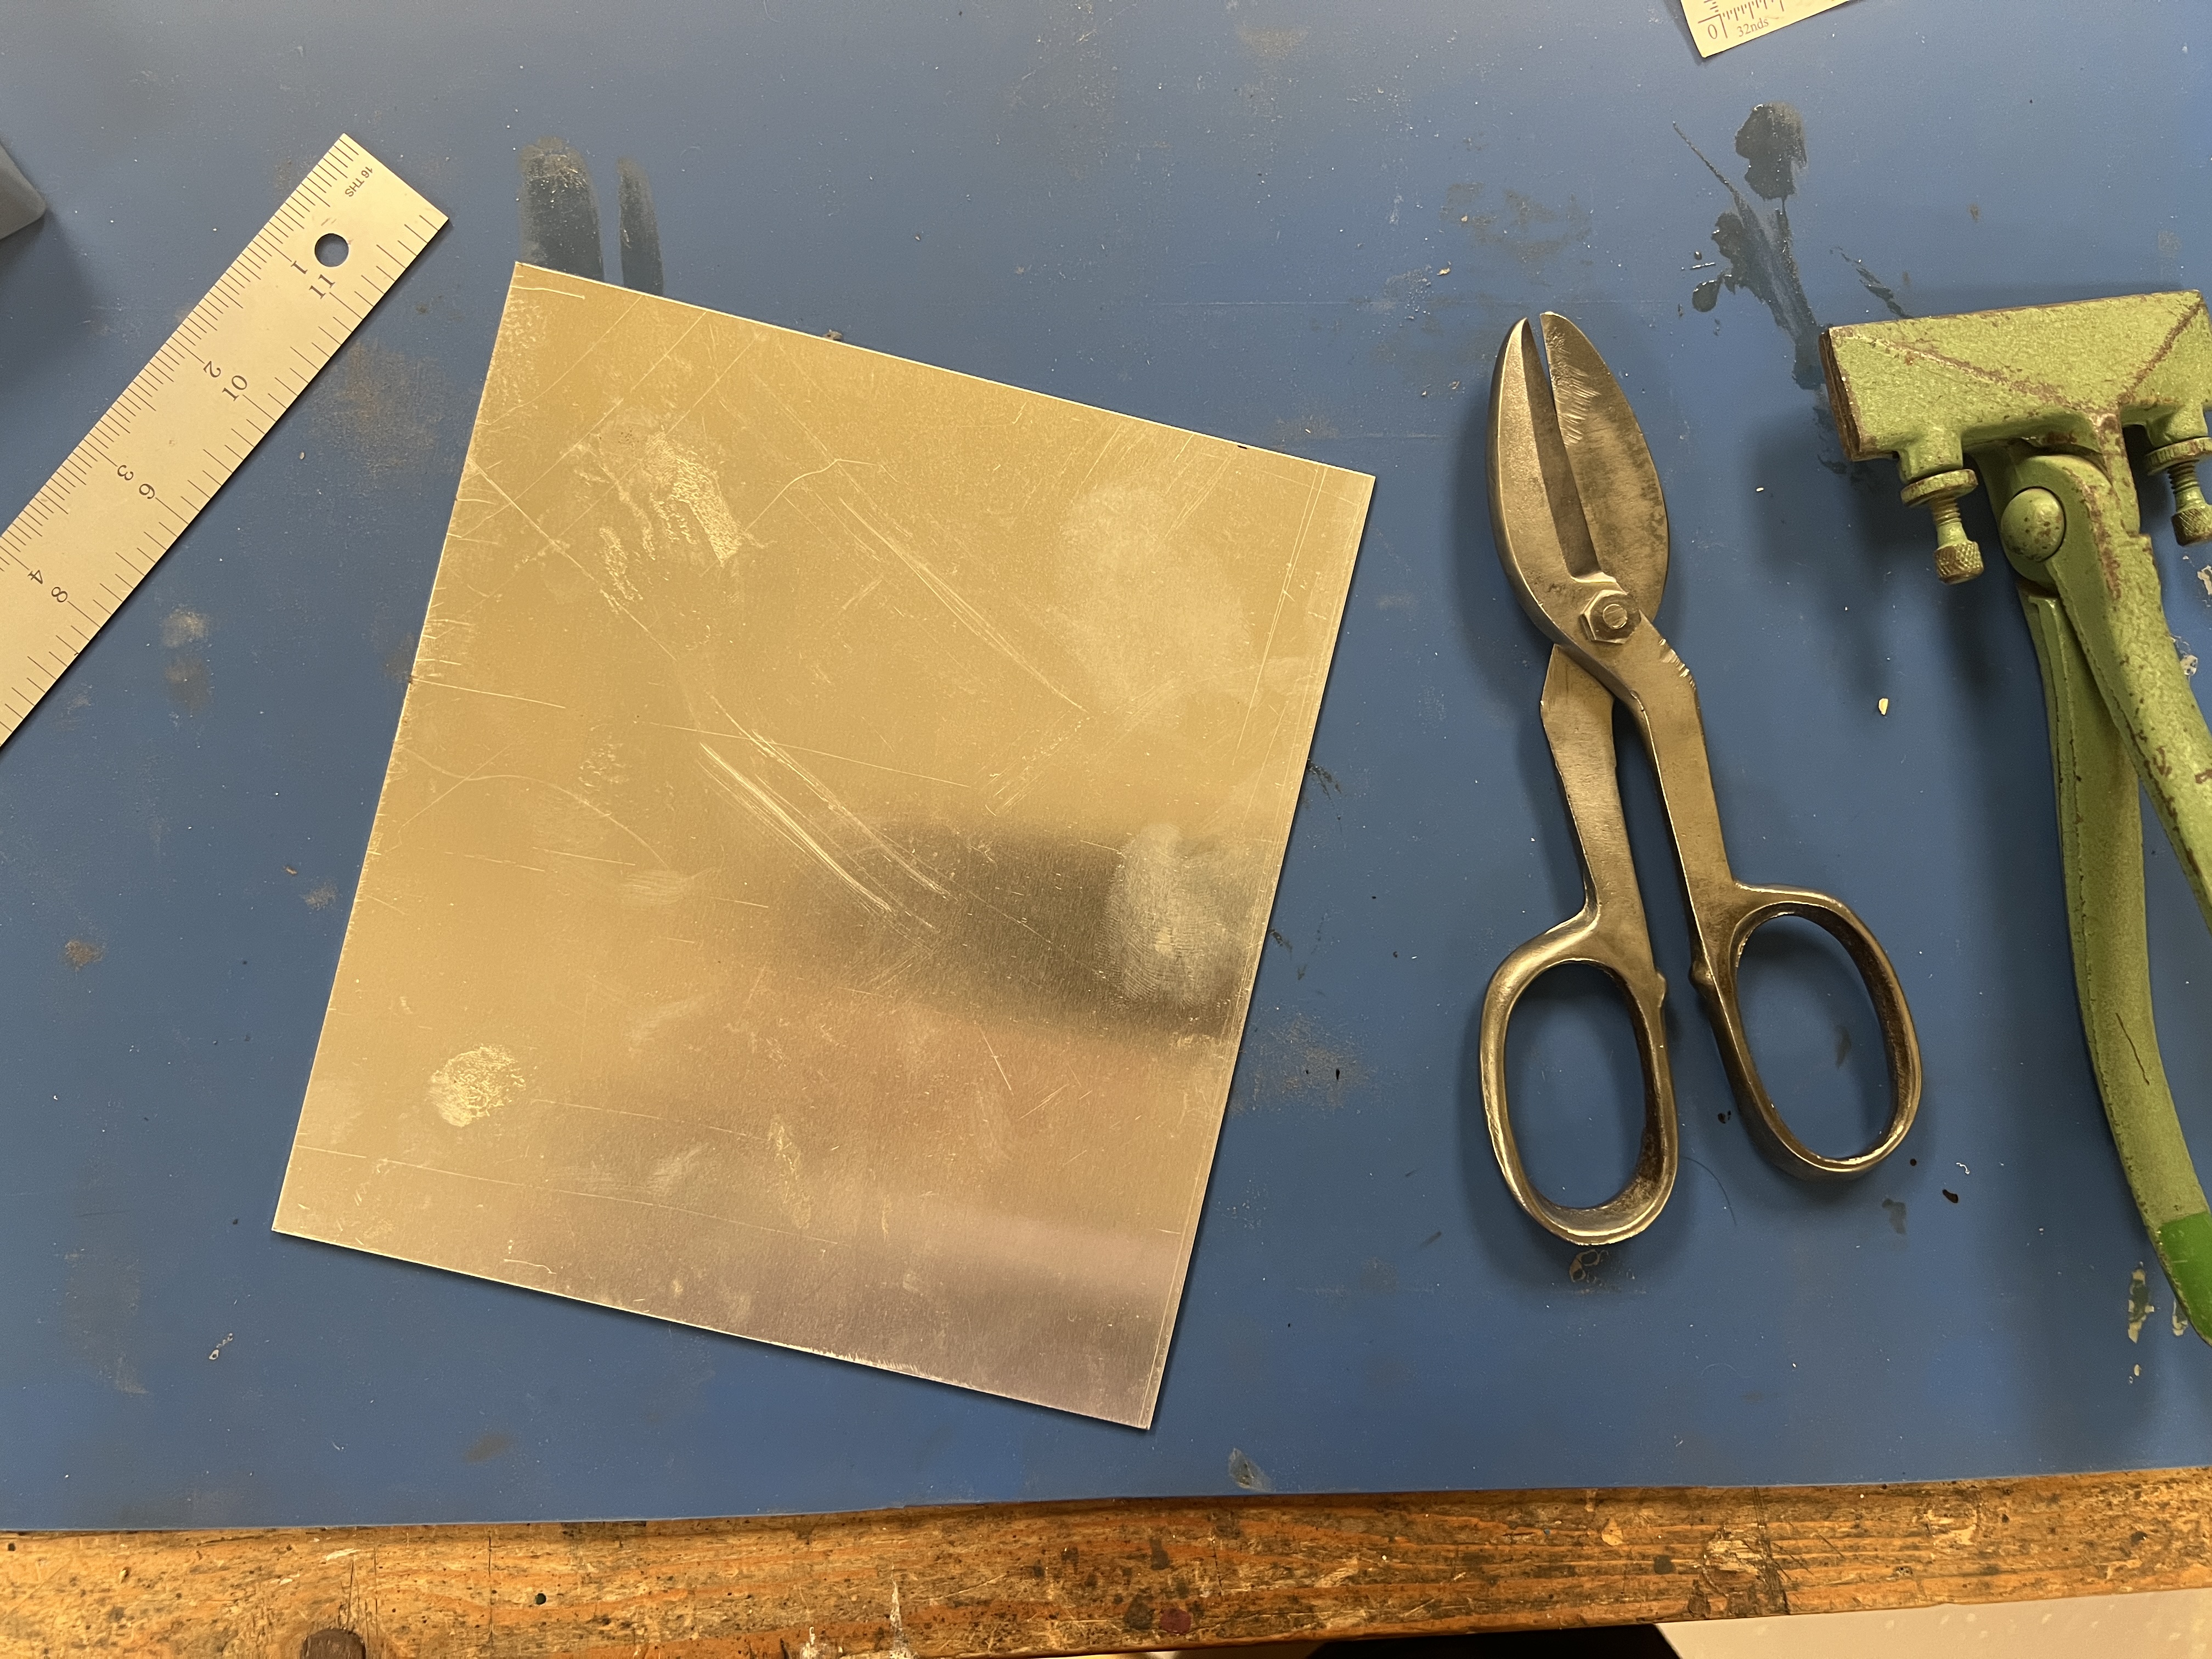
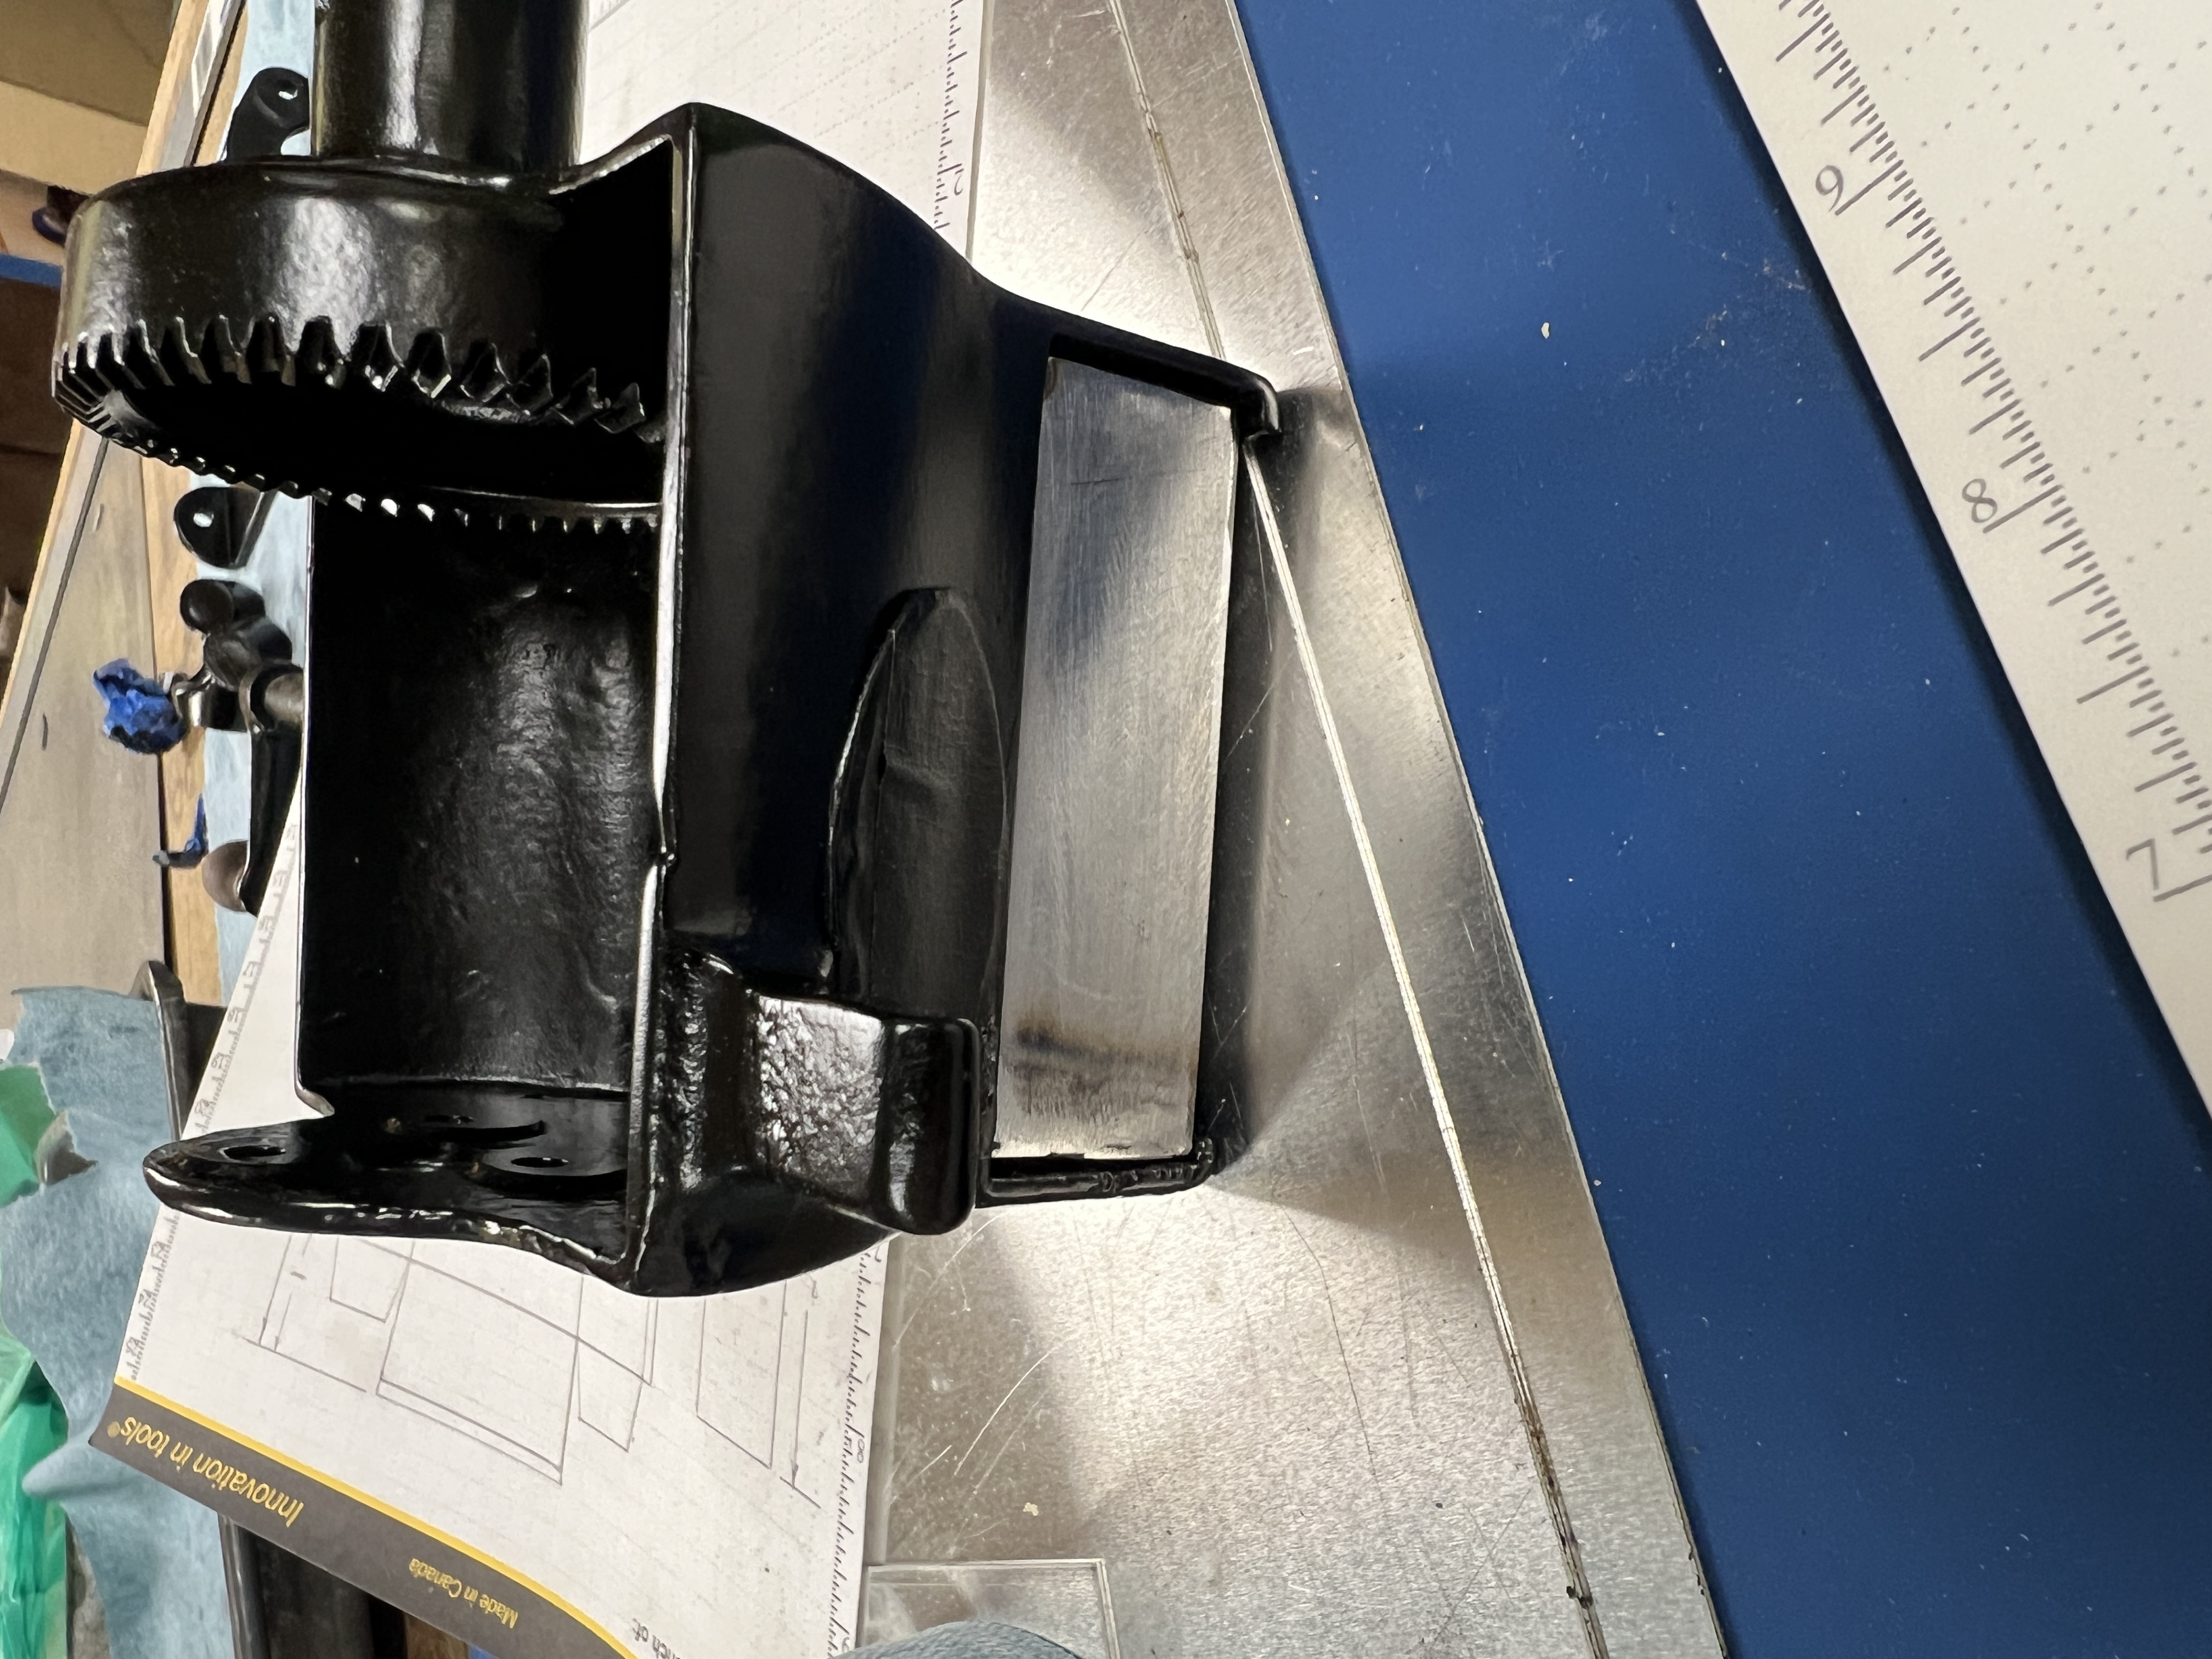
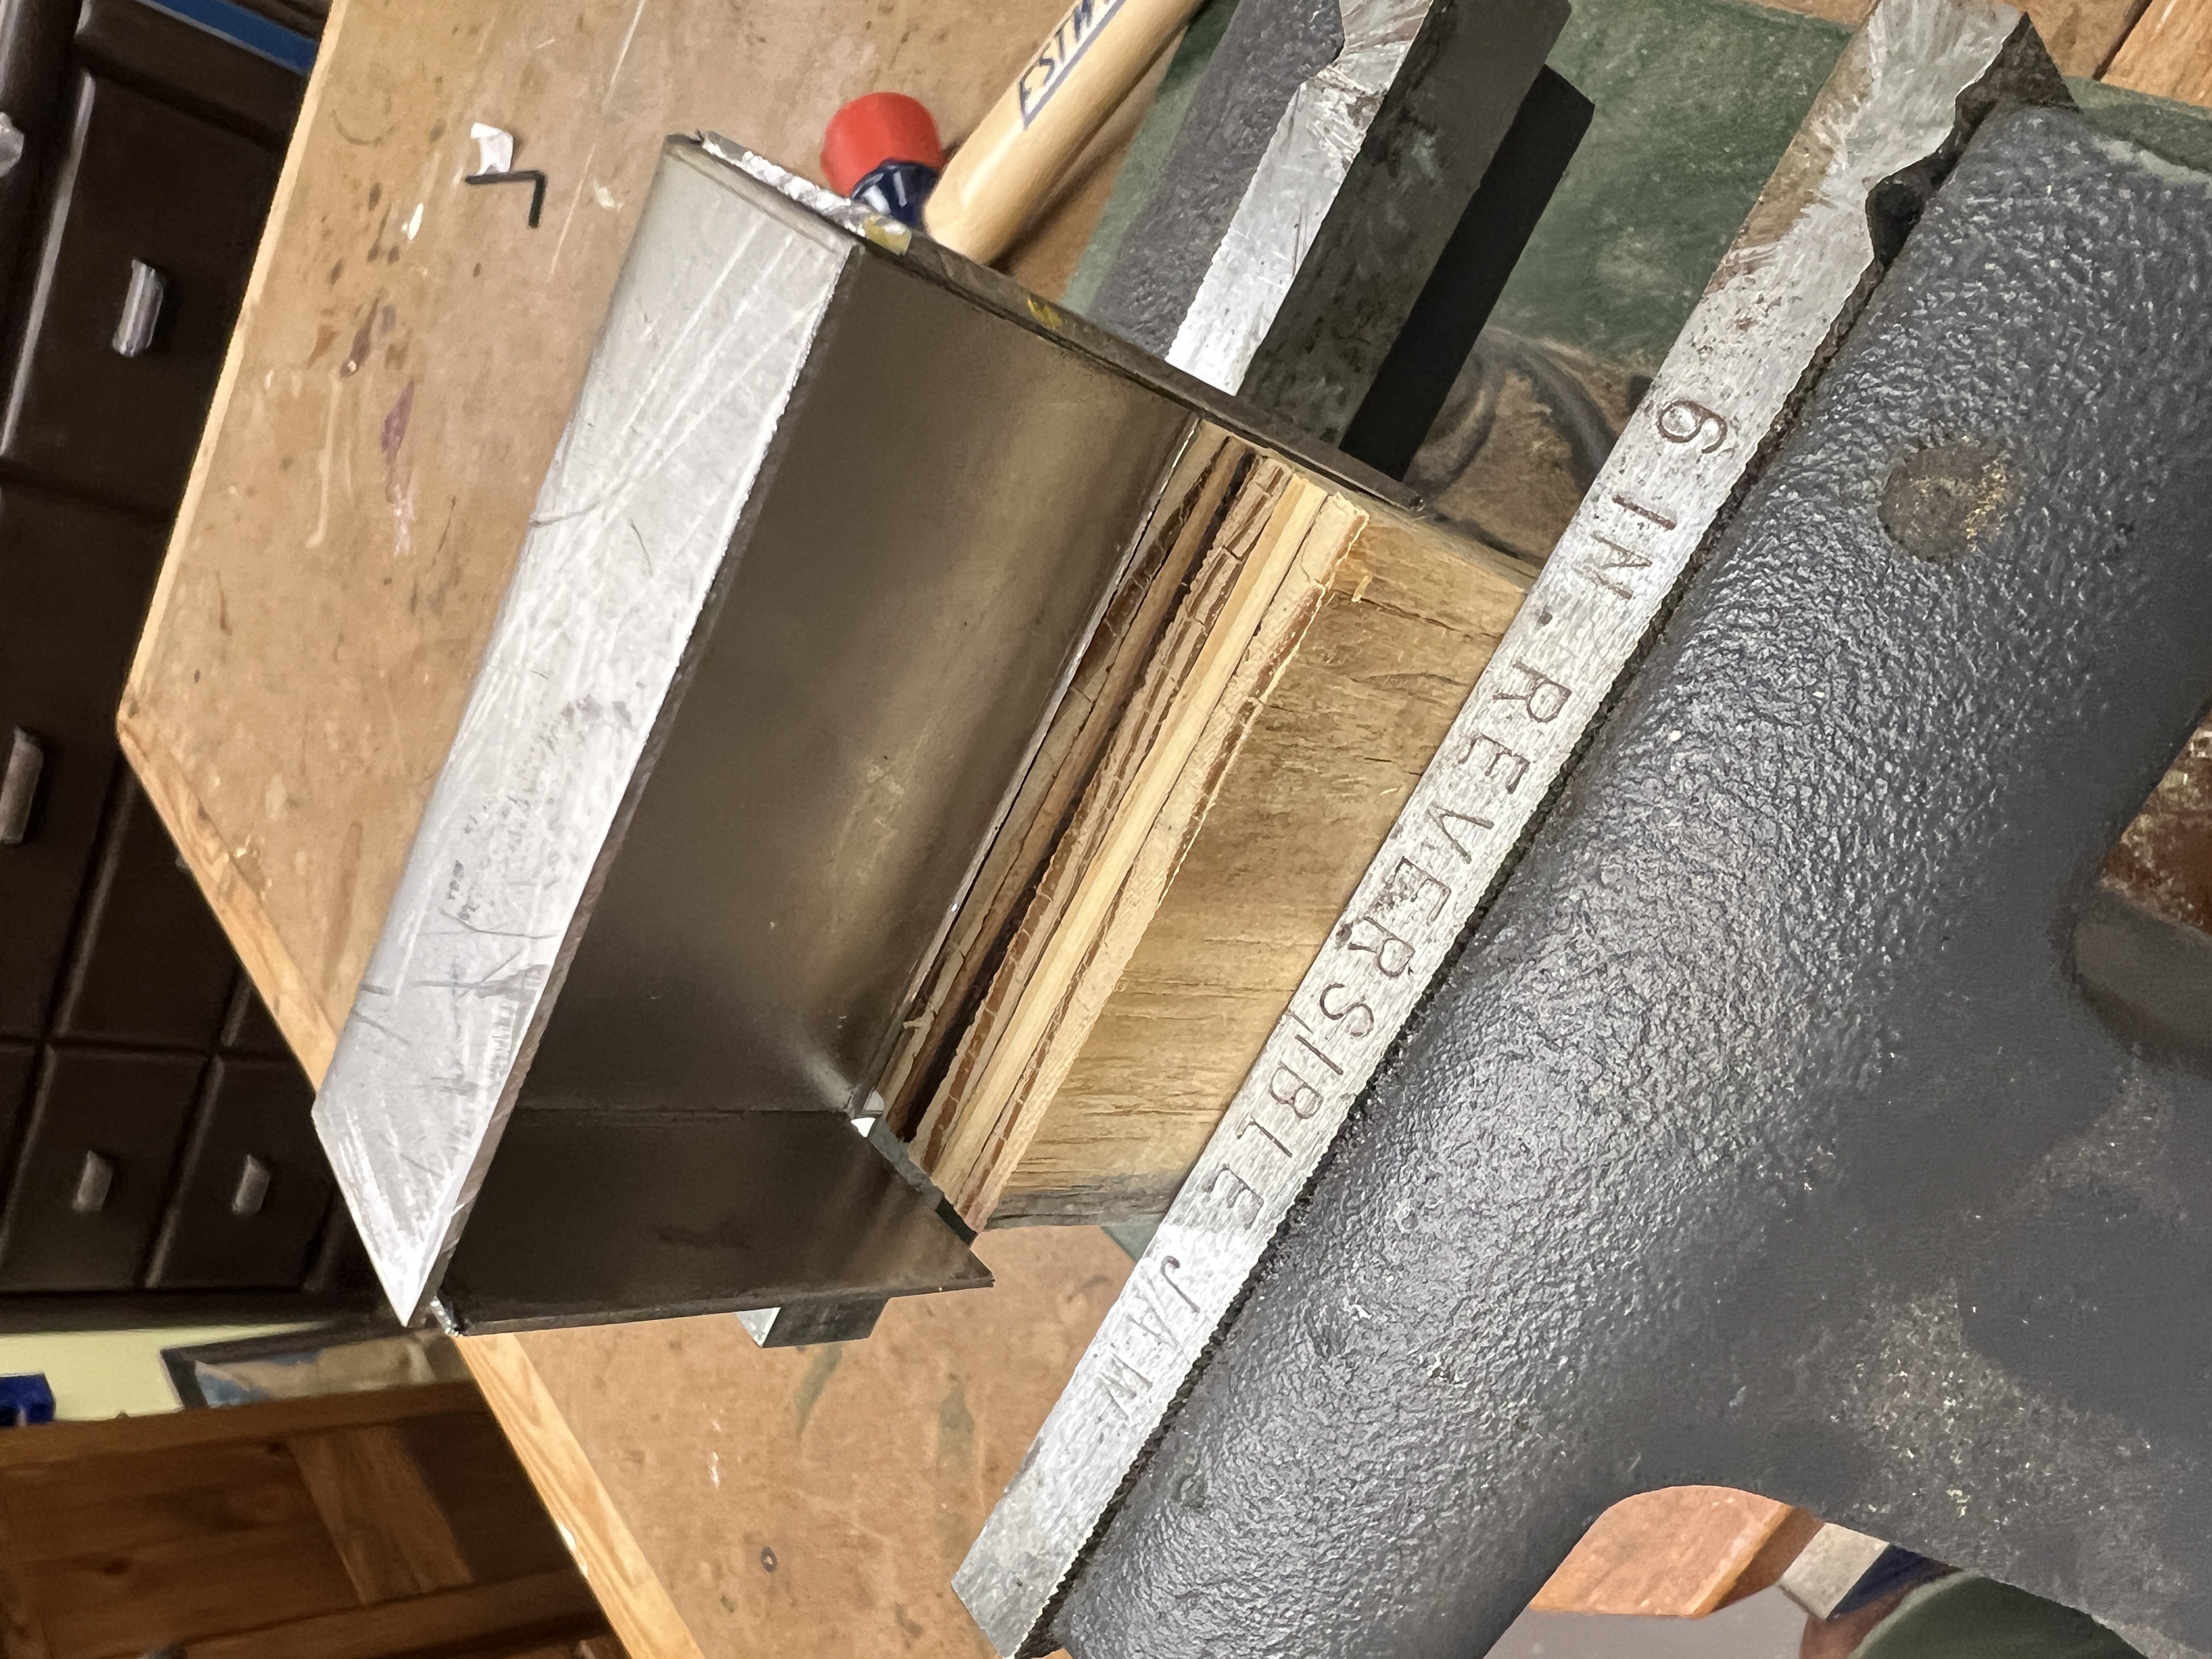
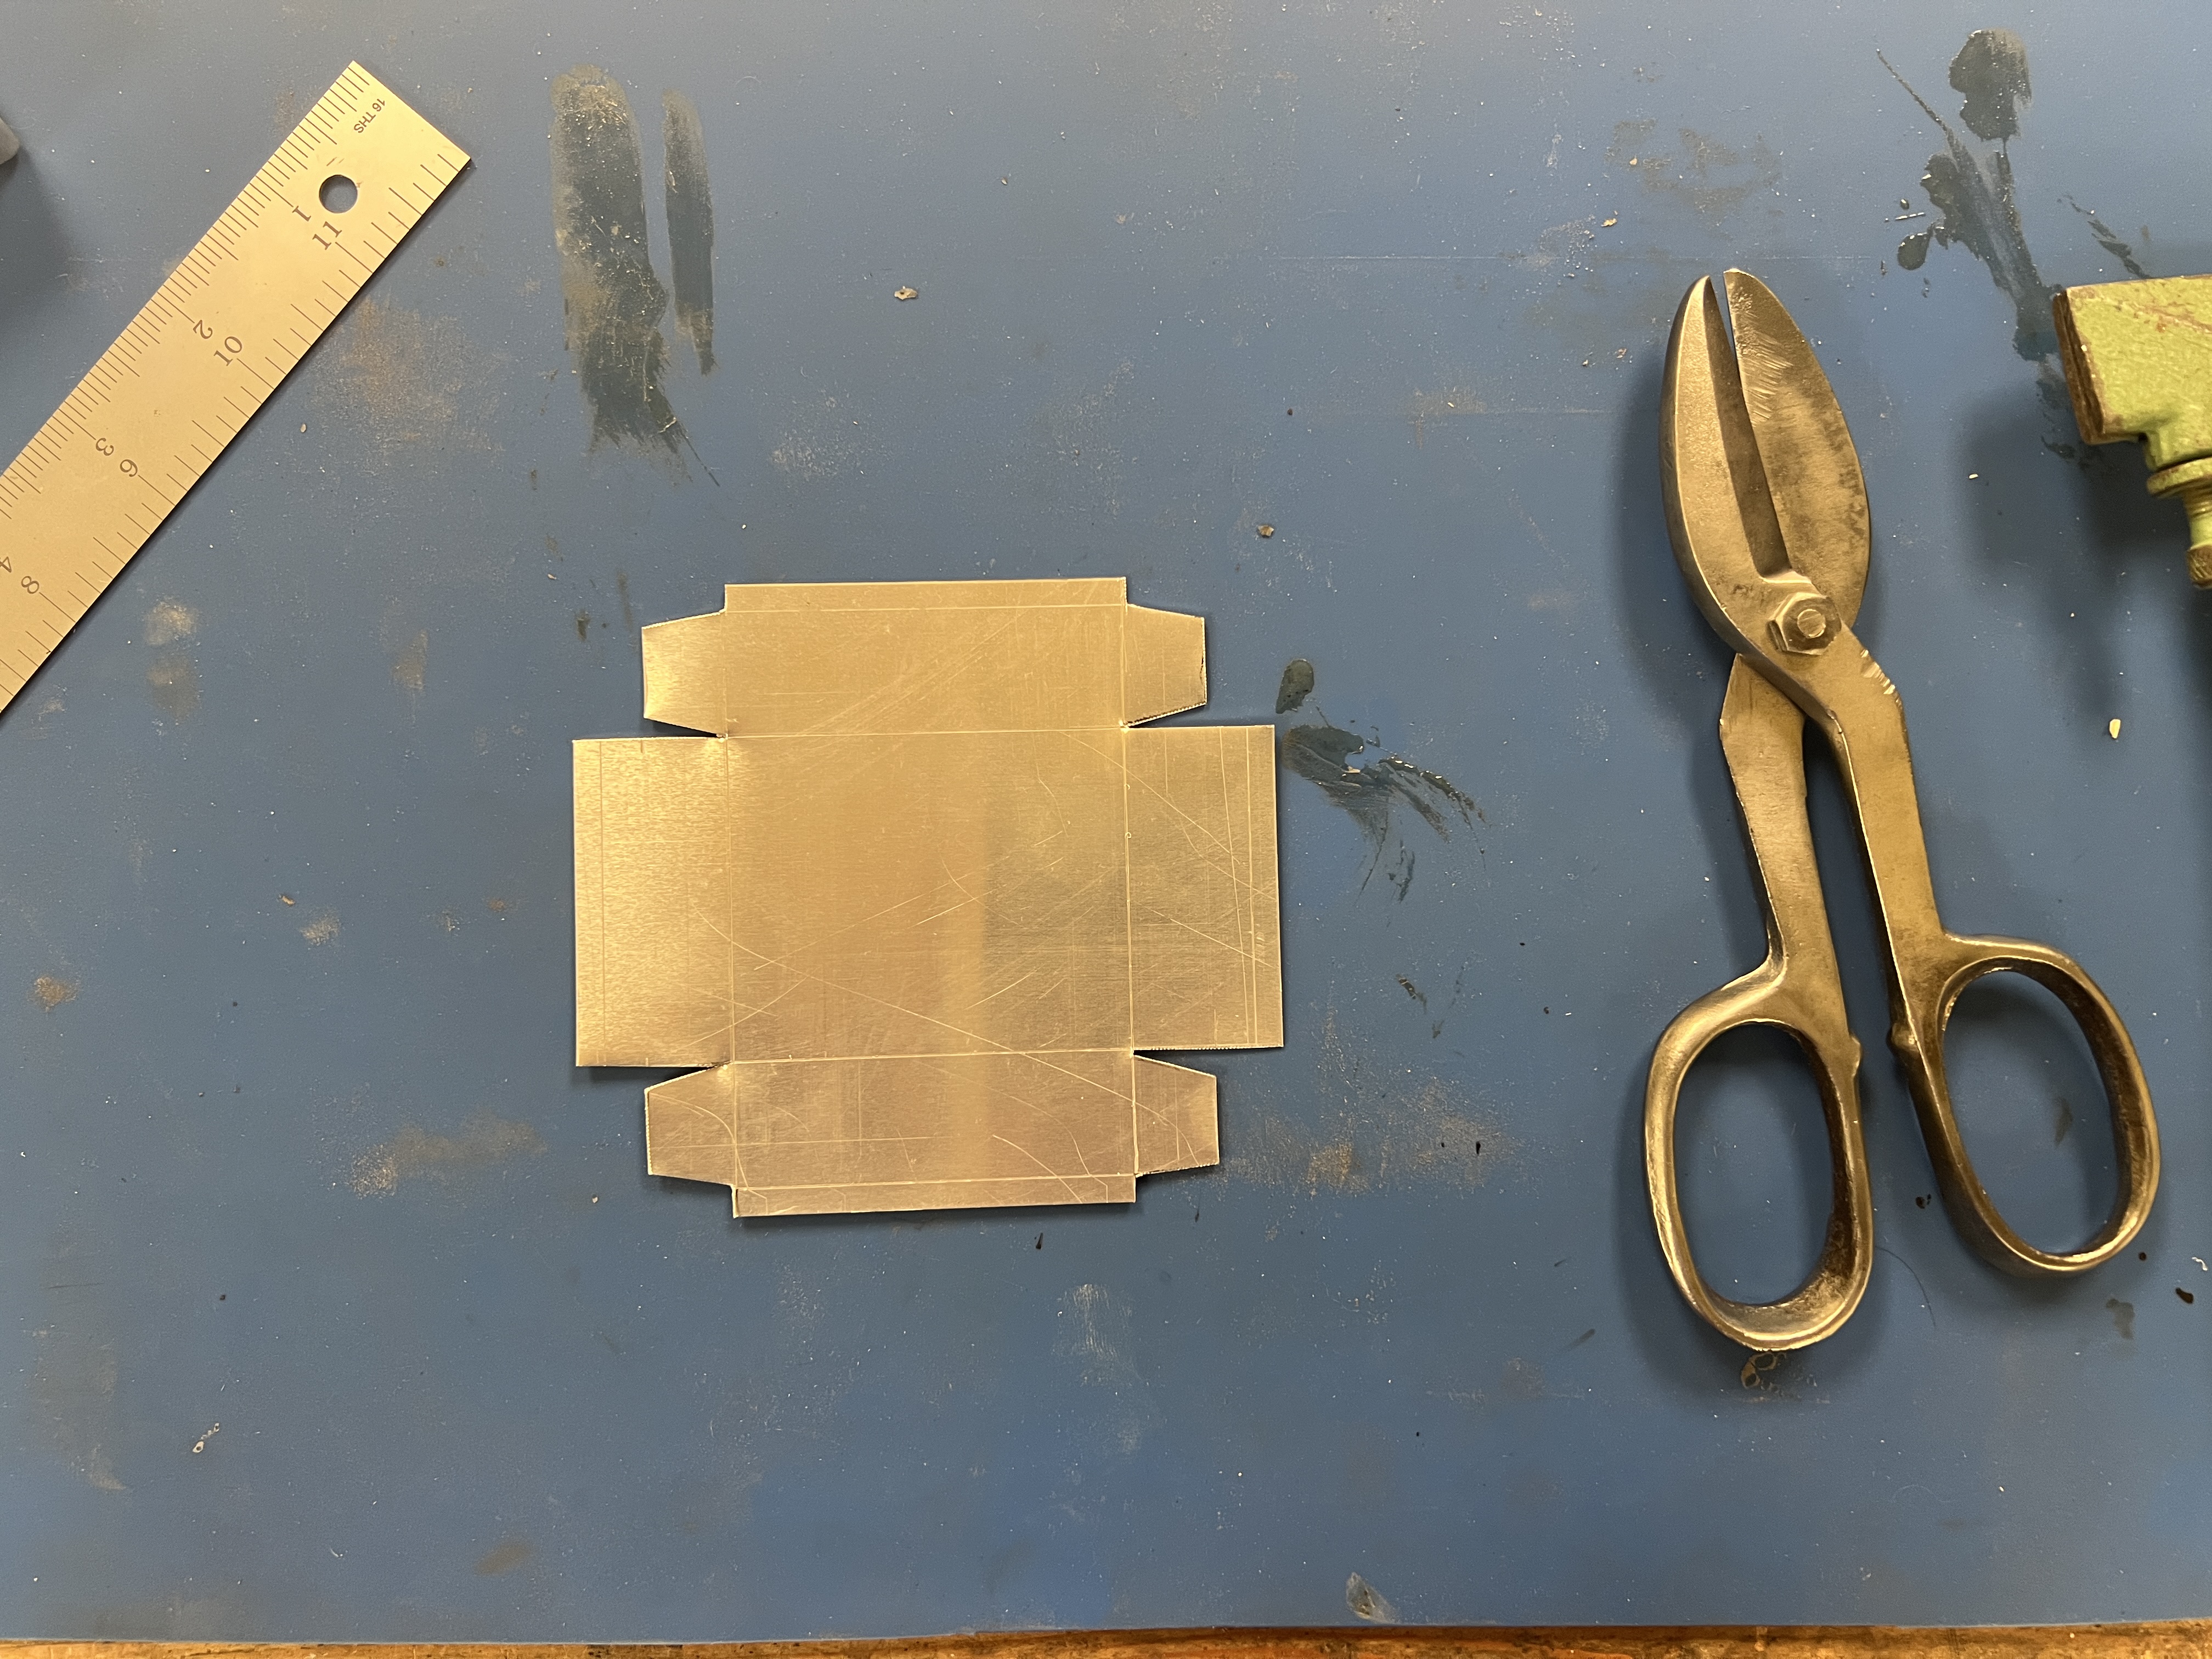
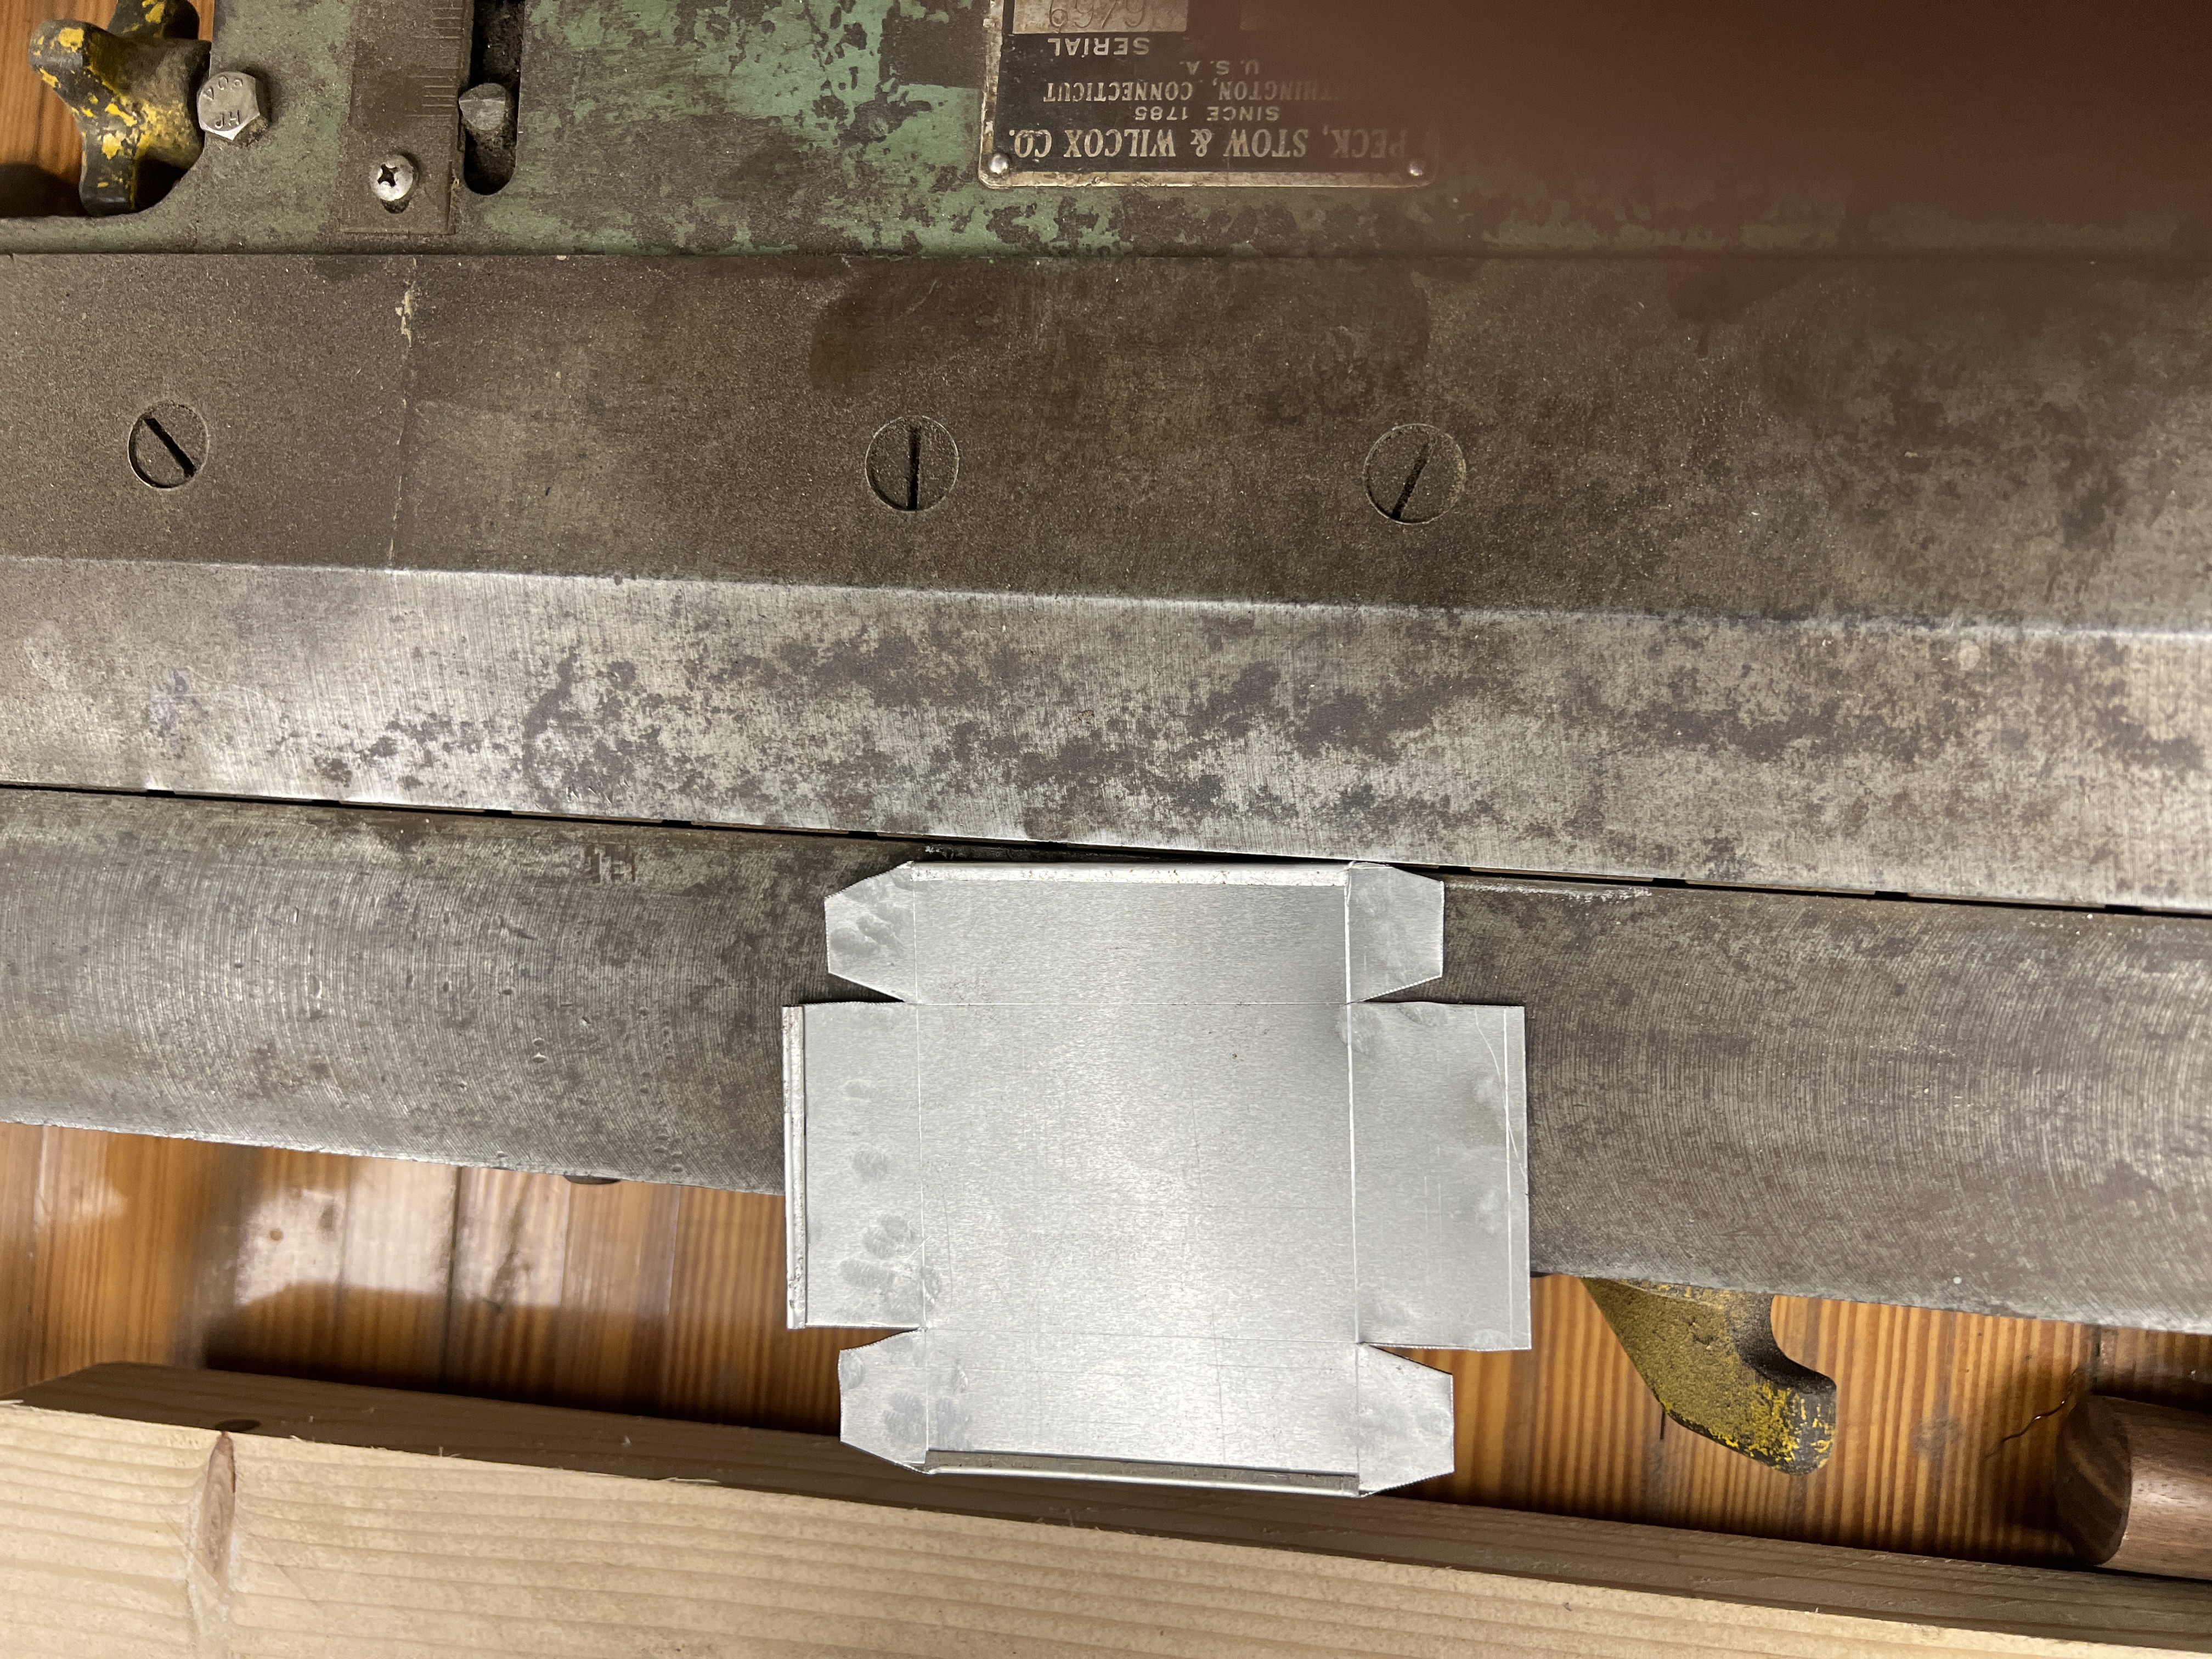
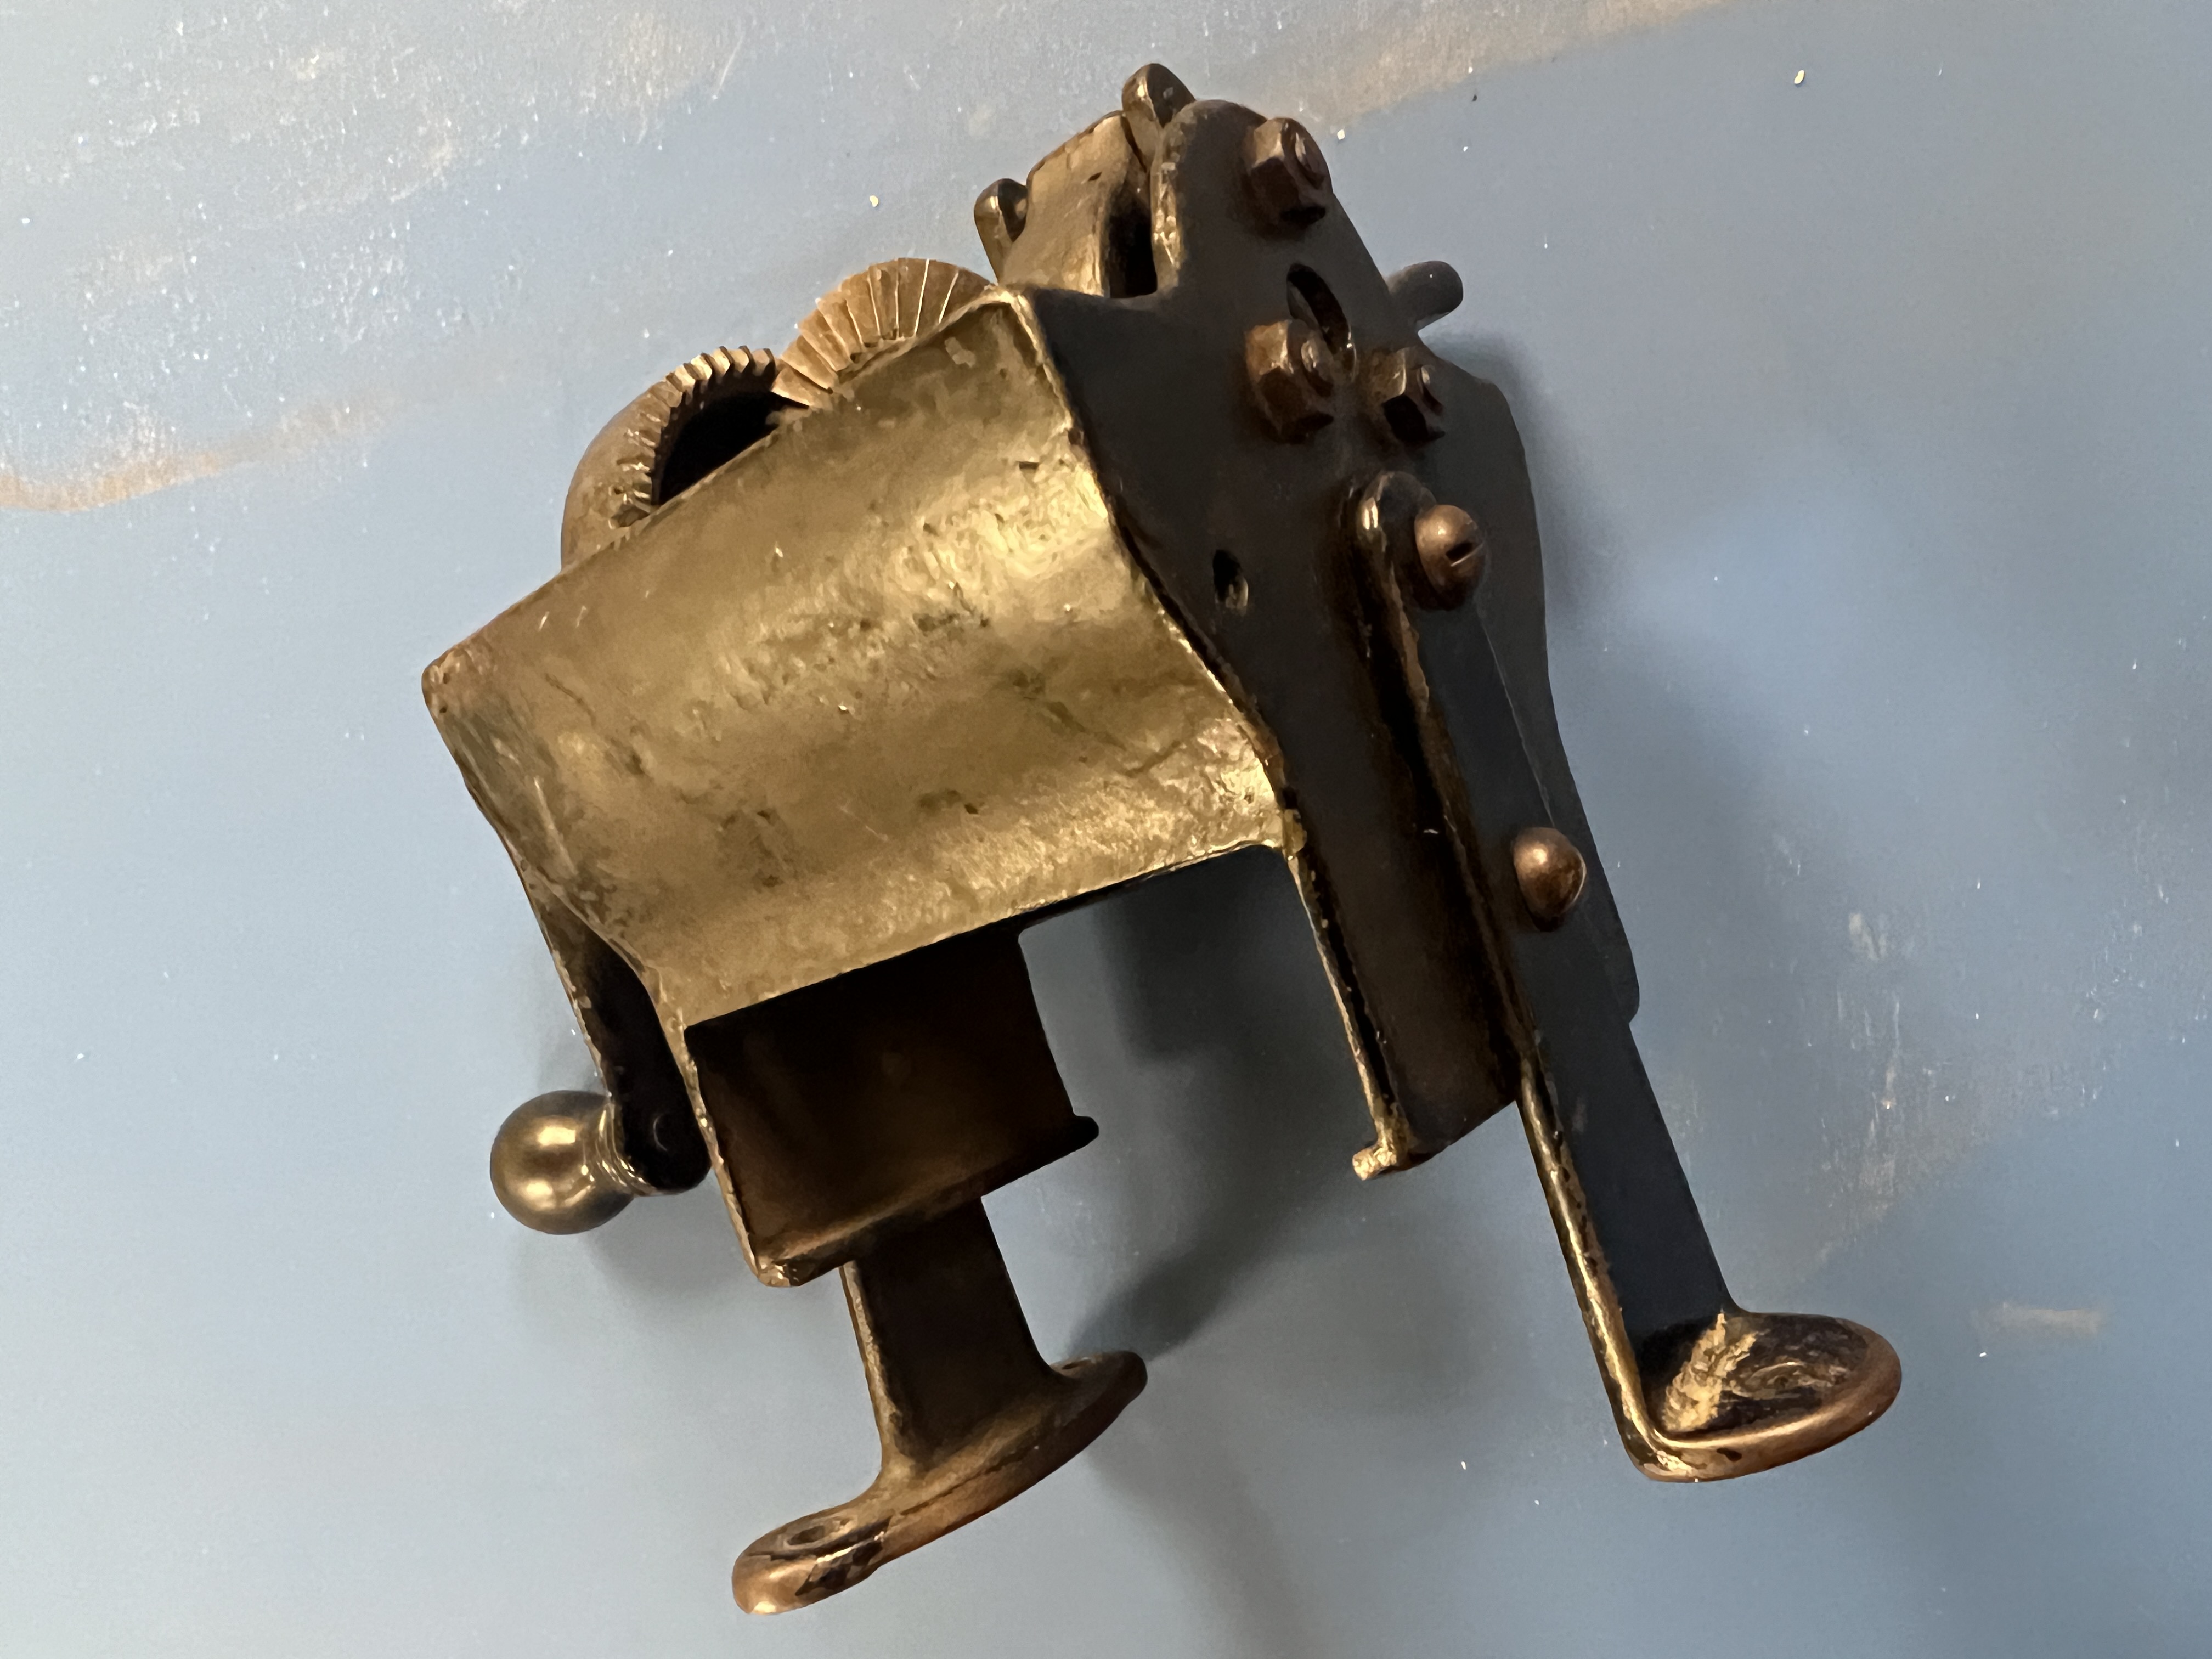
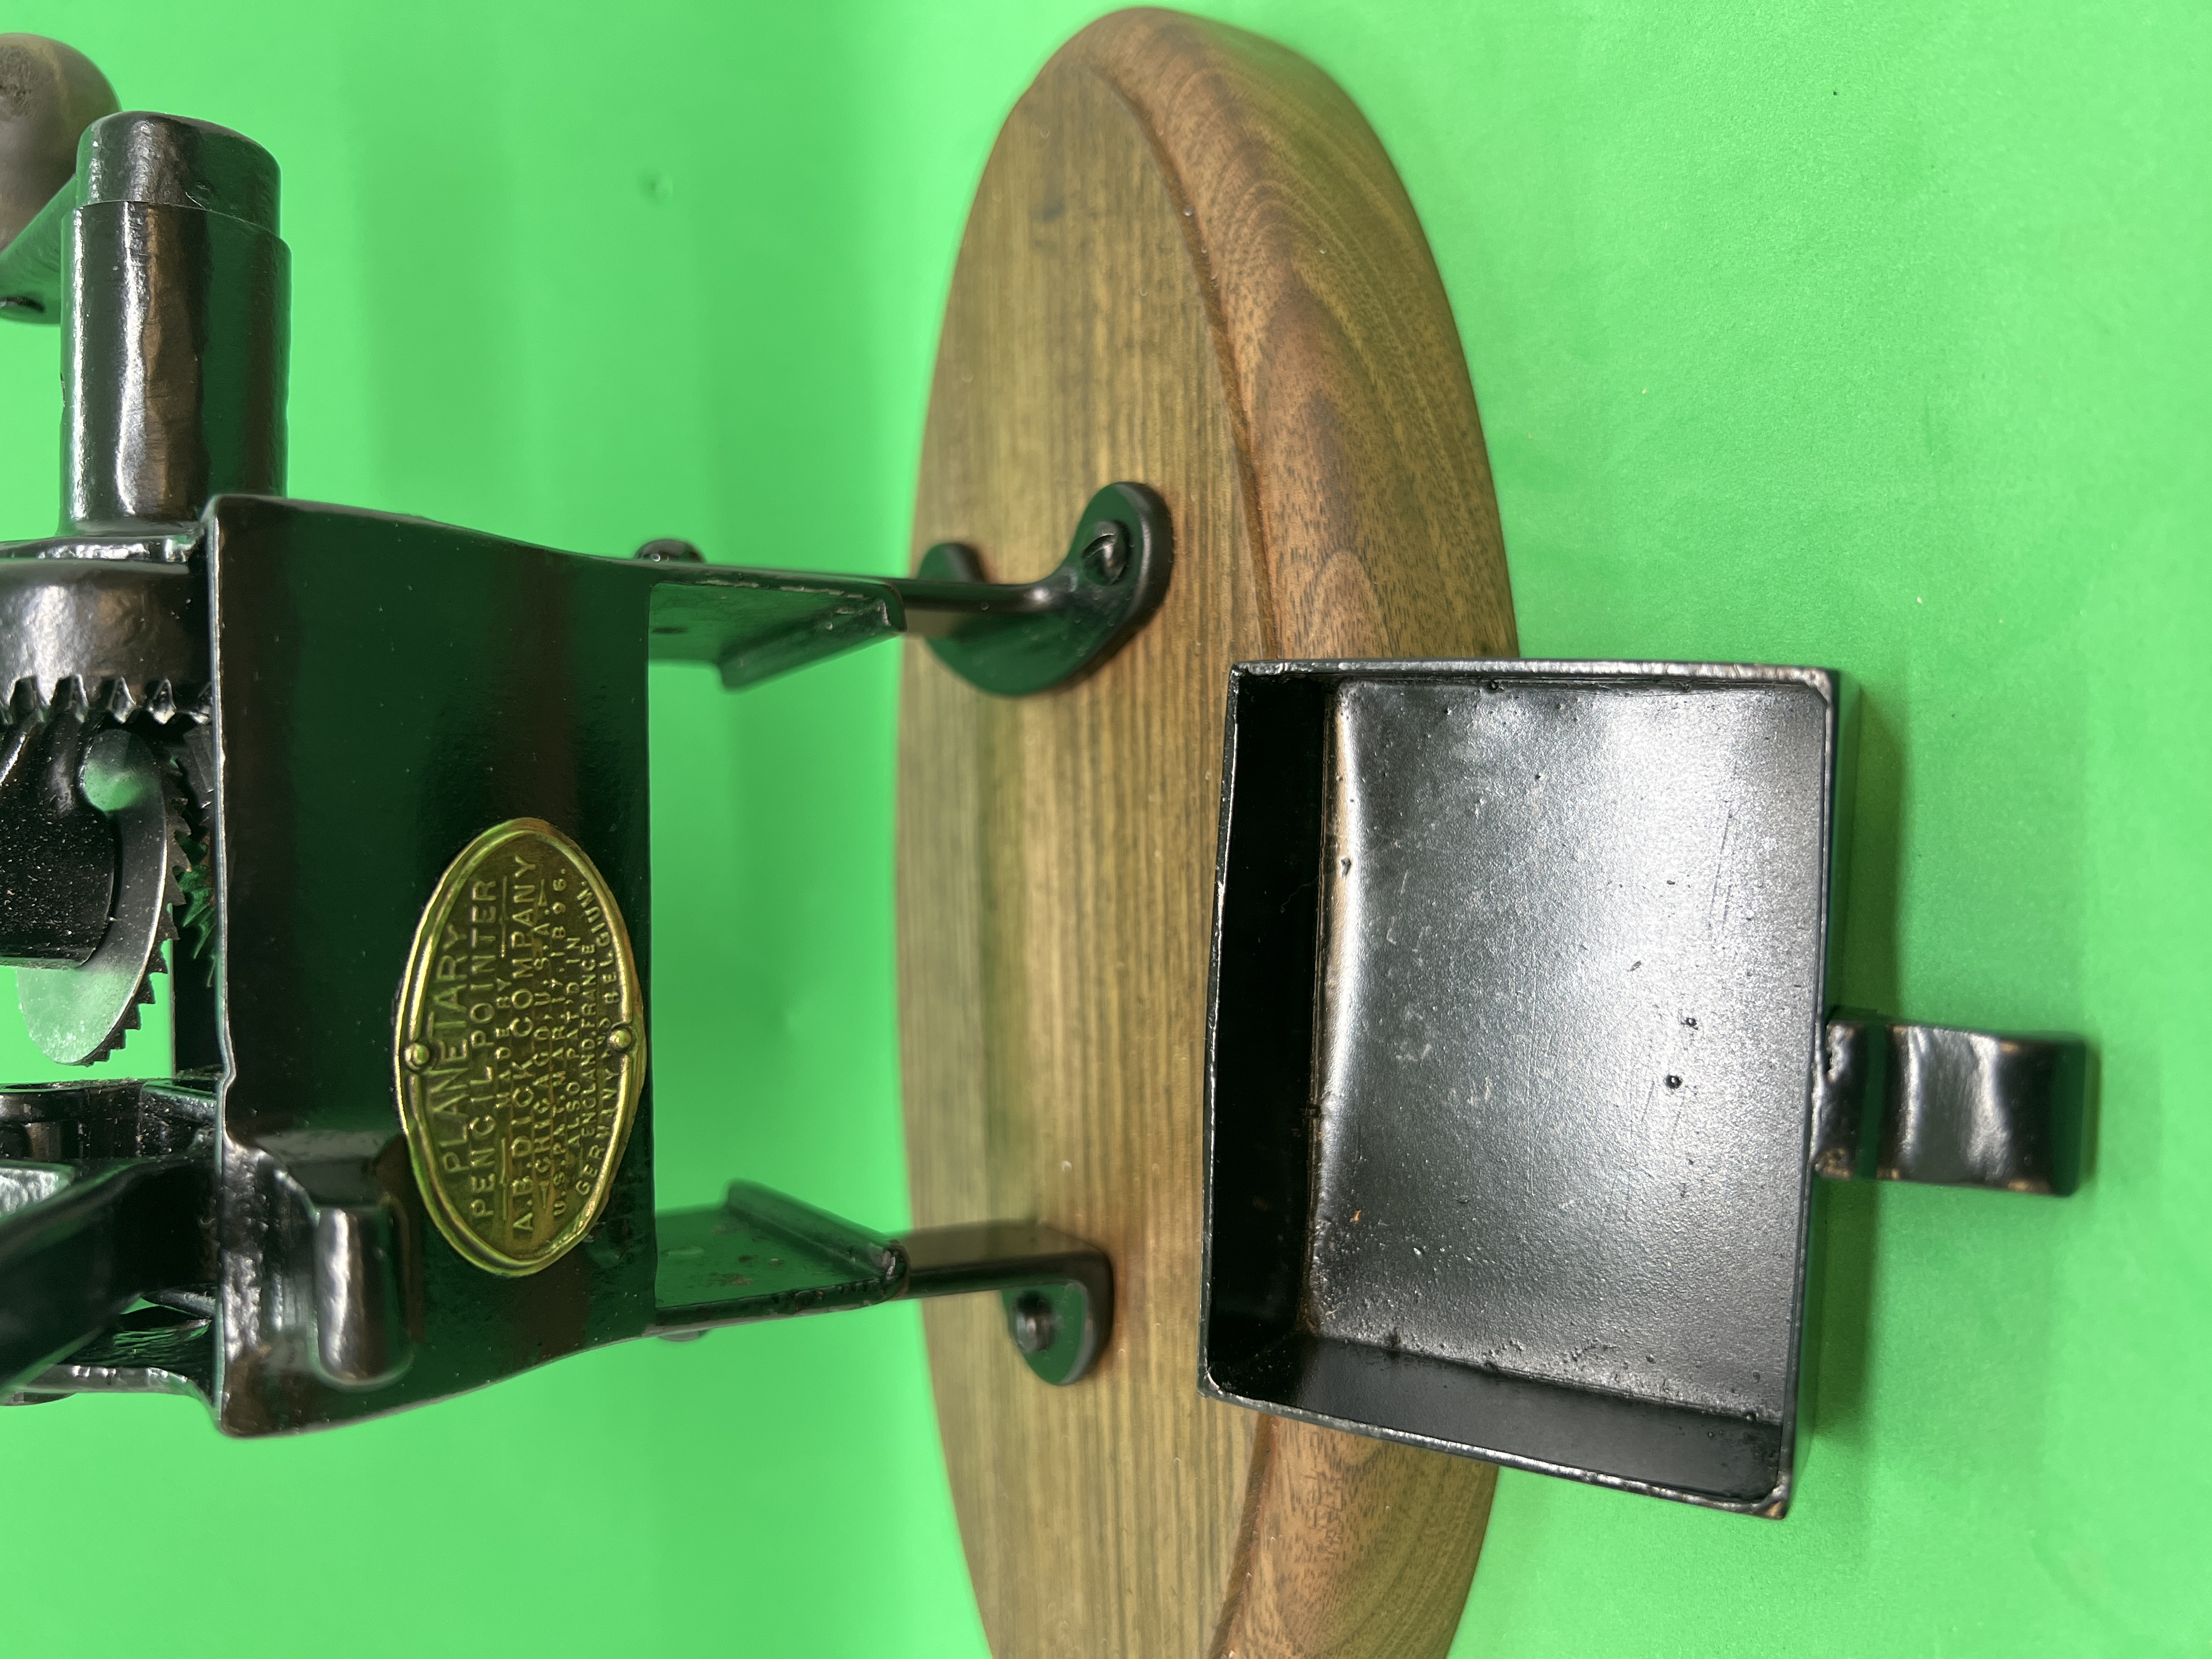
The drawer to capture the shavings was missing so I had to make one. This took about three attempts to get it right. Using 16 gauge metal, the box was made and the corners were welded. A drawer pull was fabricated and welded to the drawer. I’m not a very good welder so this step also required a lot of sanding too. Once the drawer was fitted and prepared, it was also painted.
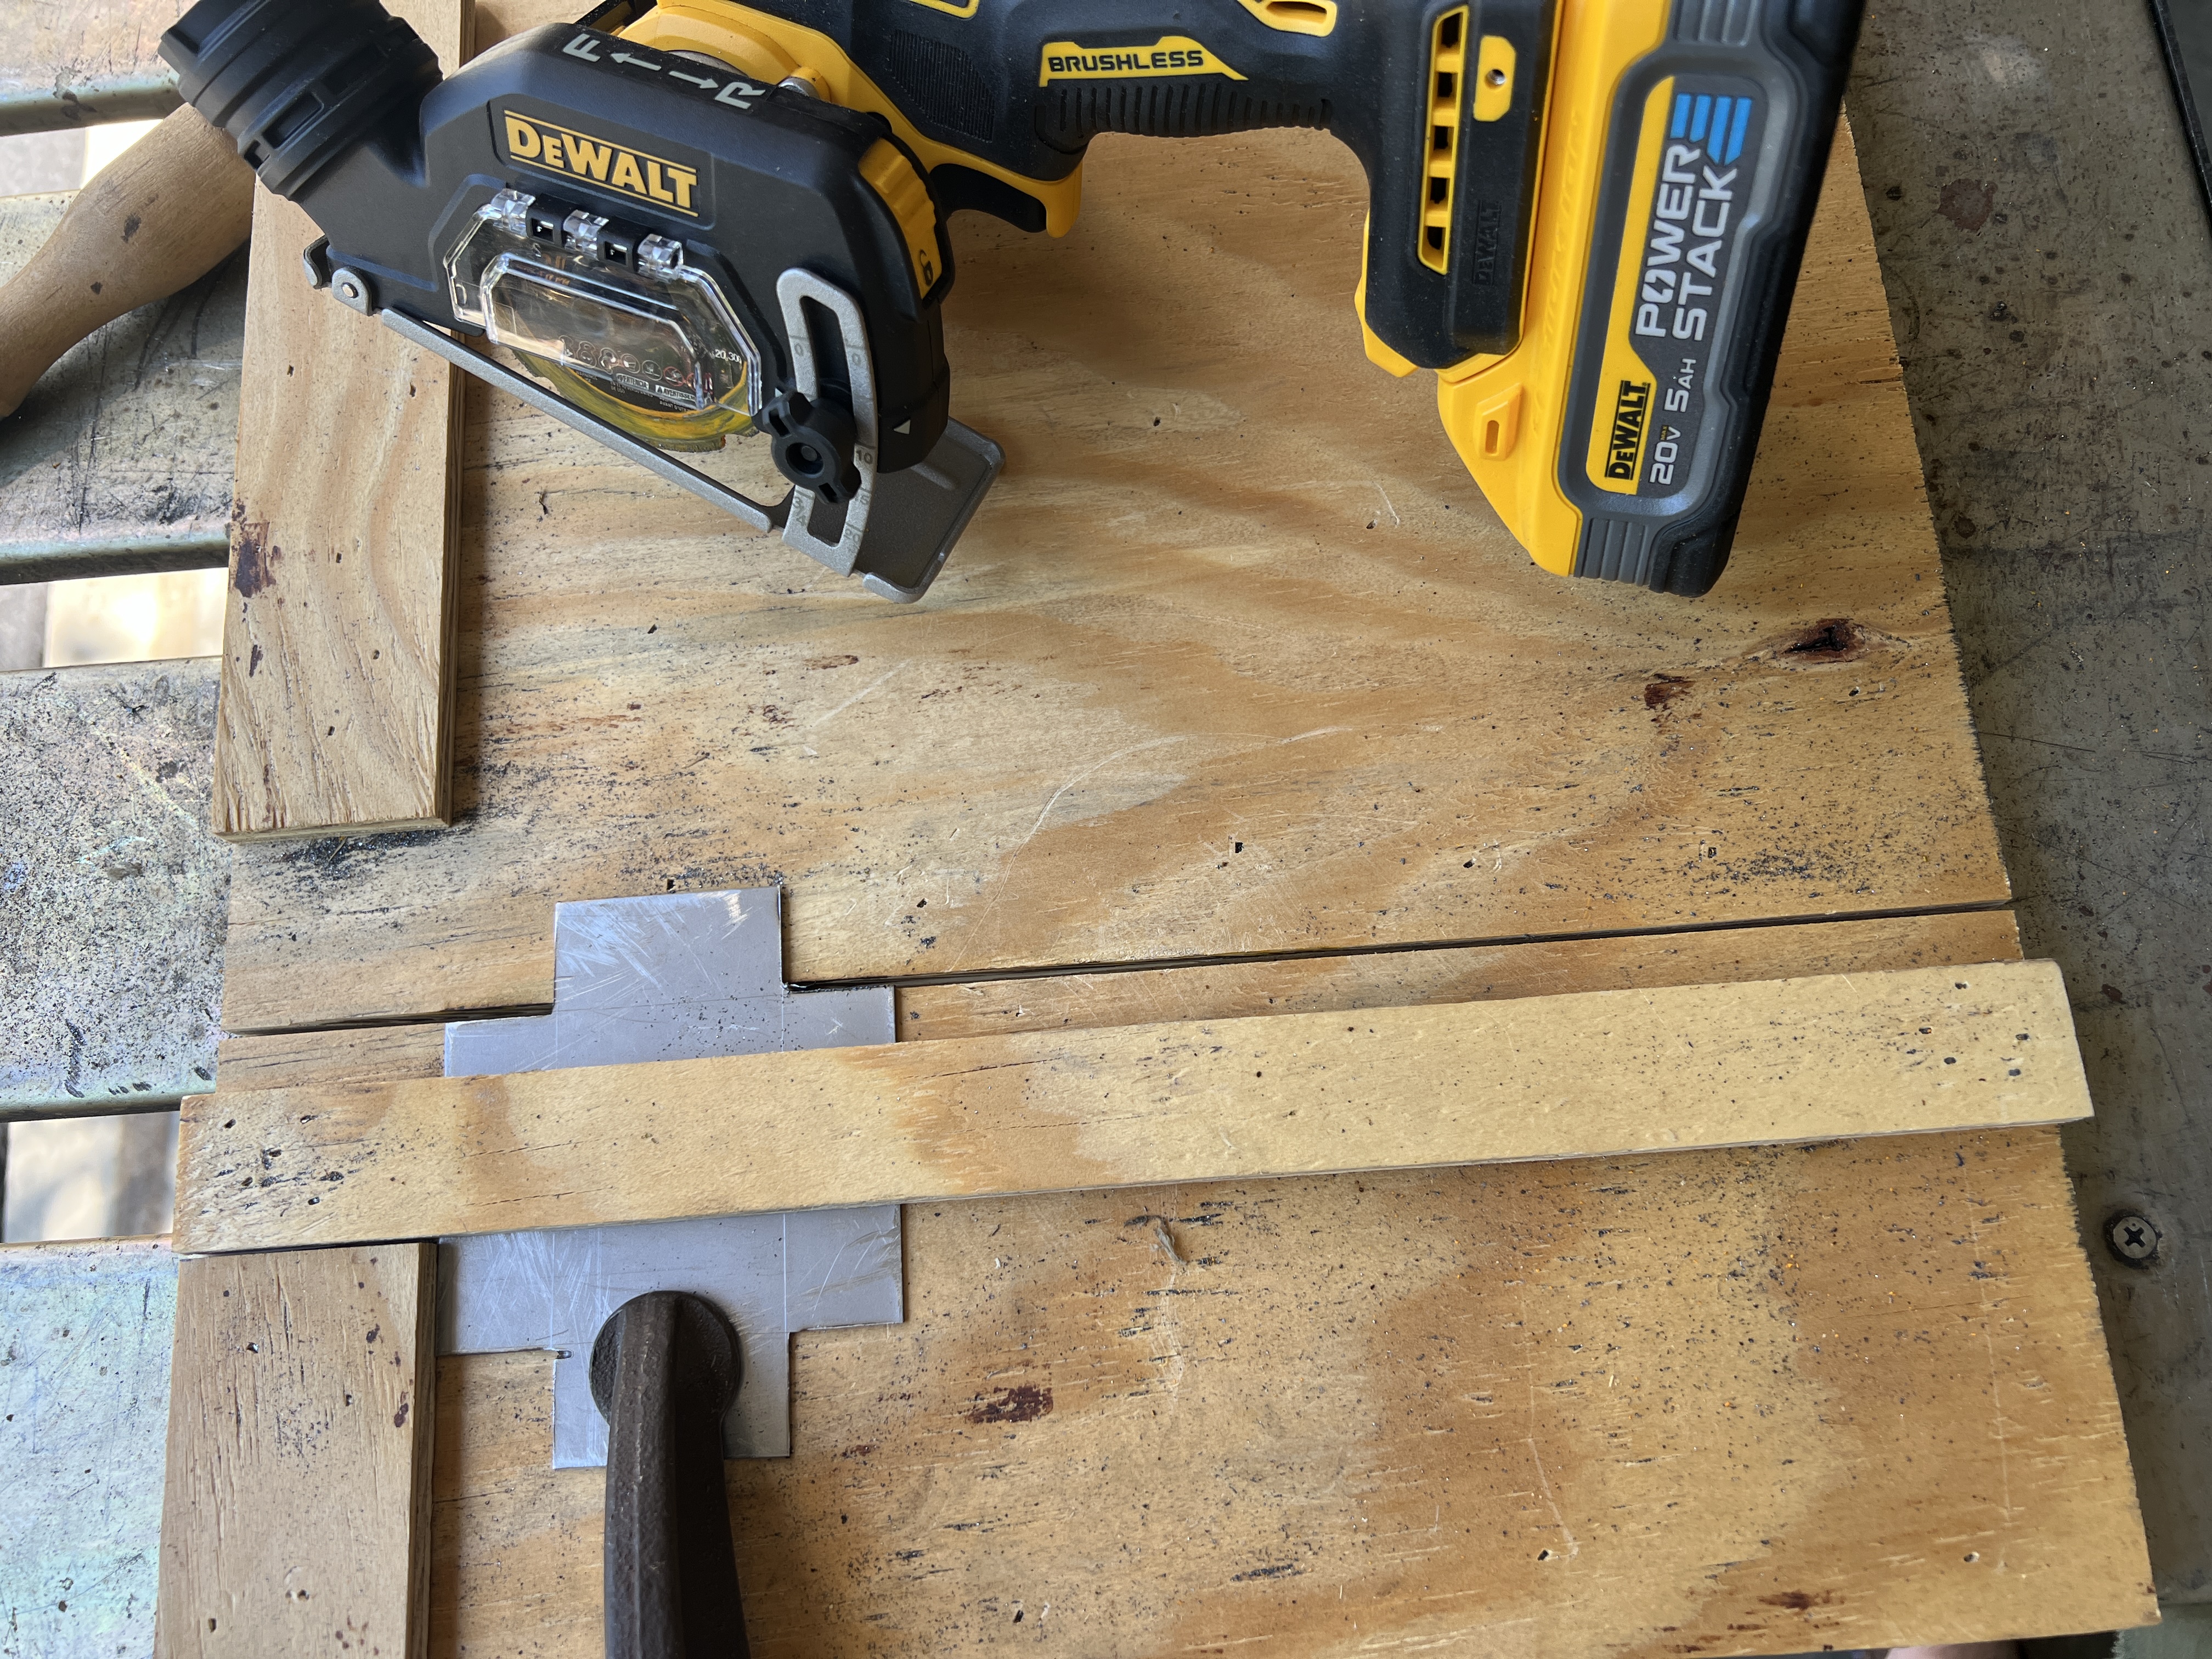
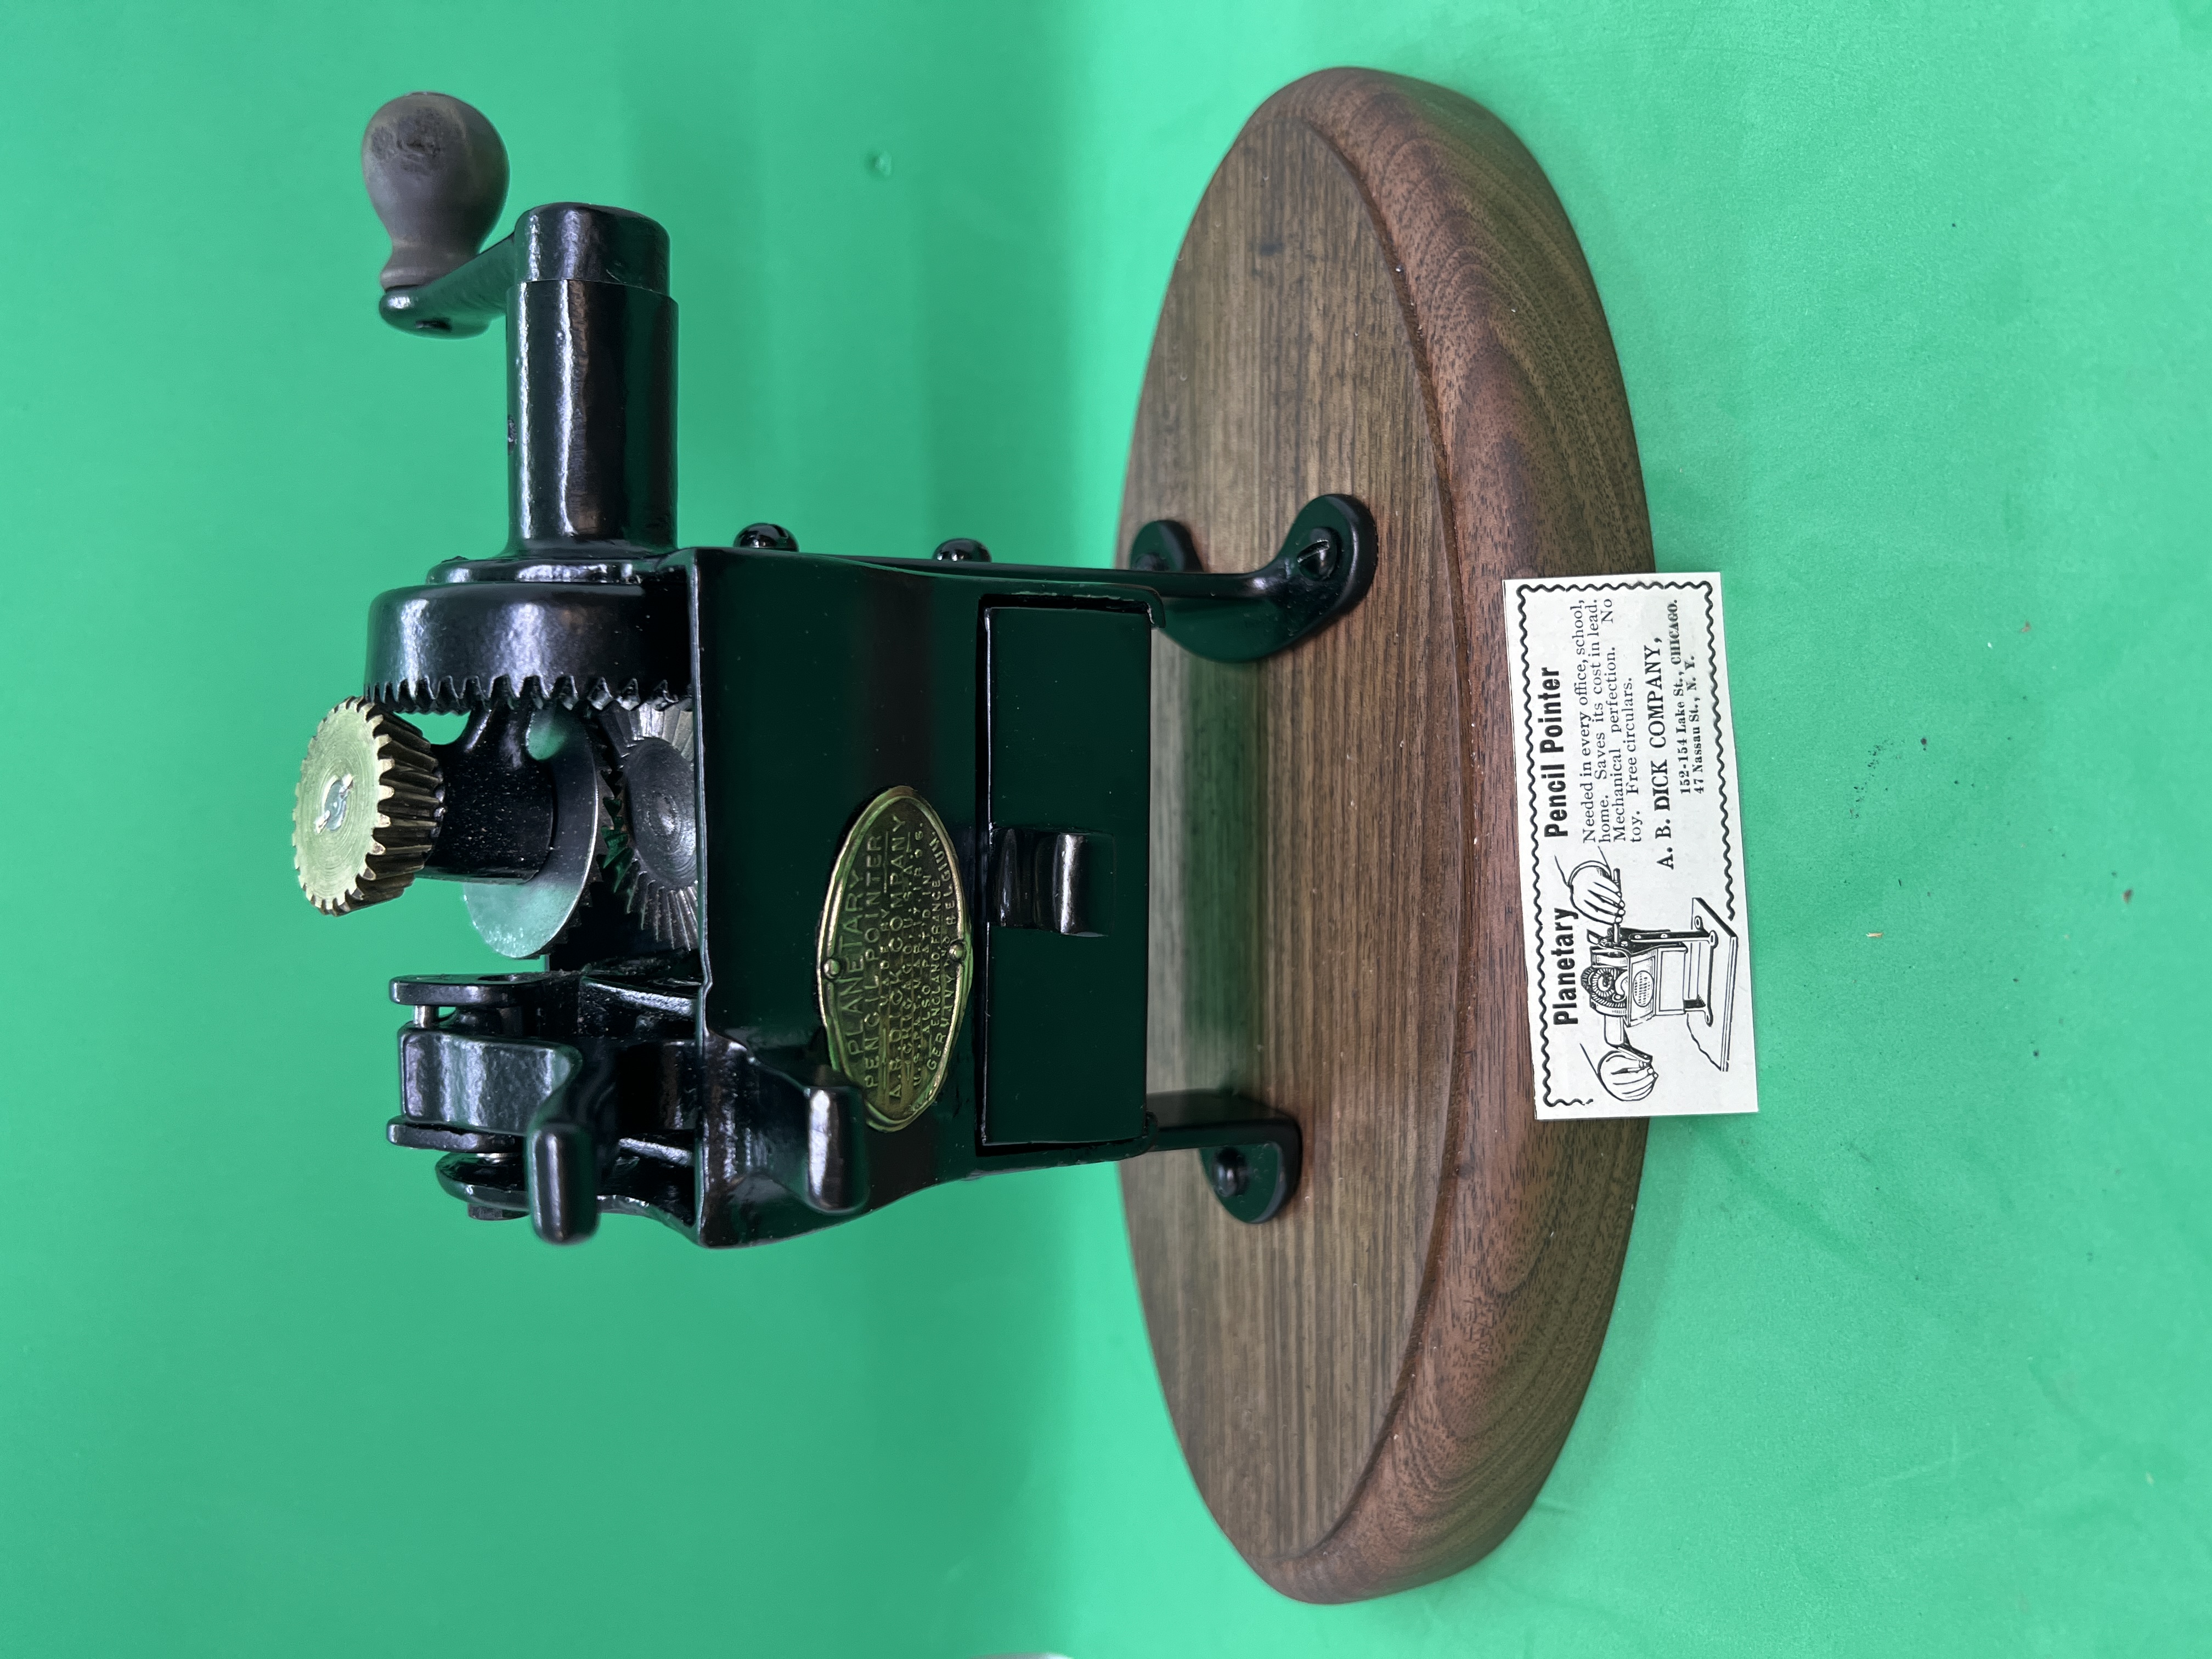
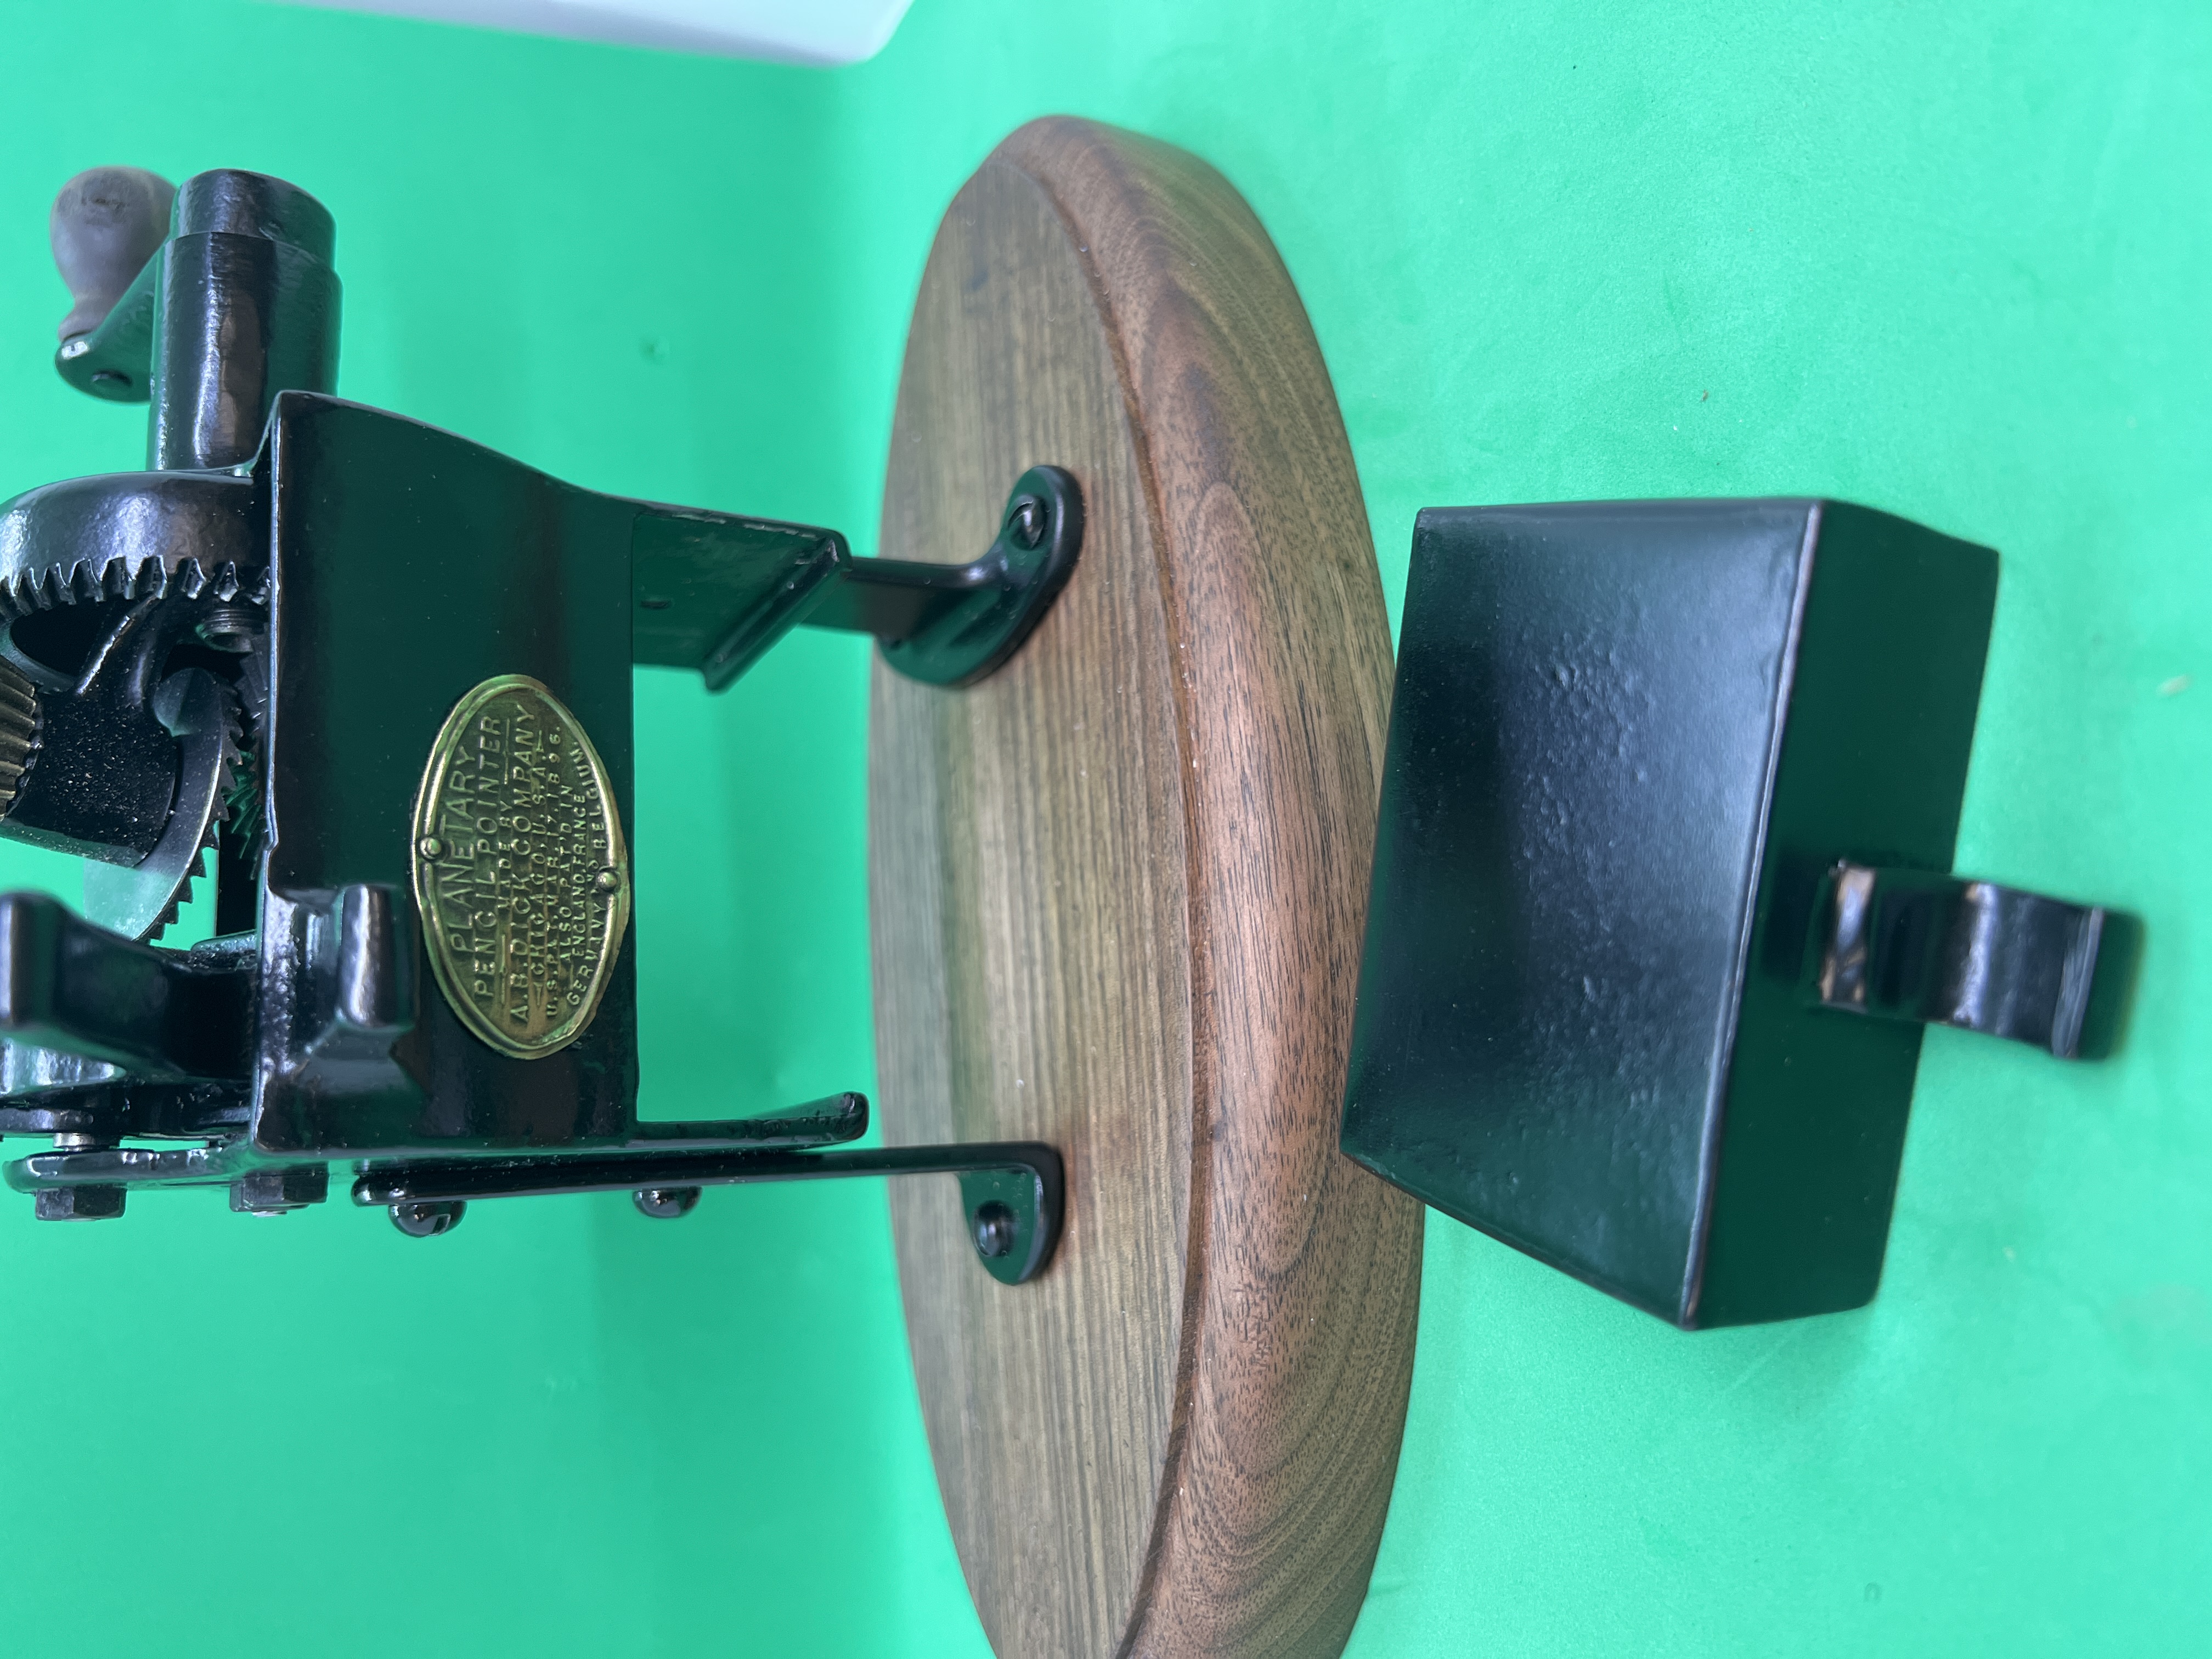
Step 5: Make a base for the Pencil Sharpener
I made a walnut base to mount the pencil sharpener on. The walnut complements black color of the pencil sharpener.
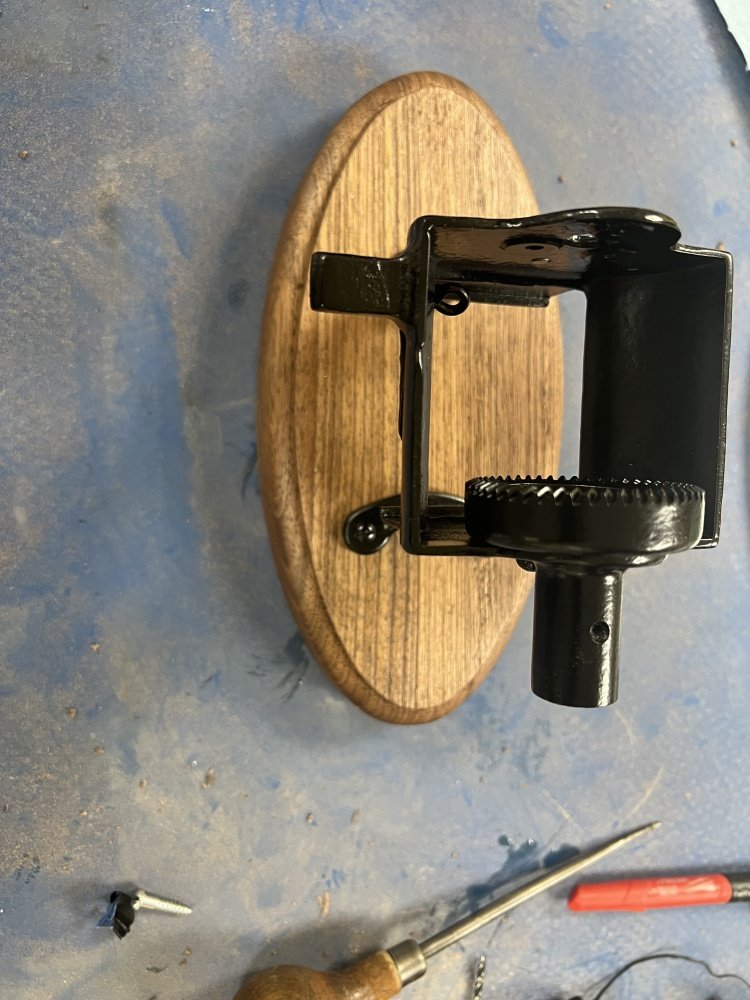
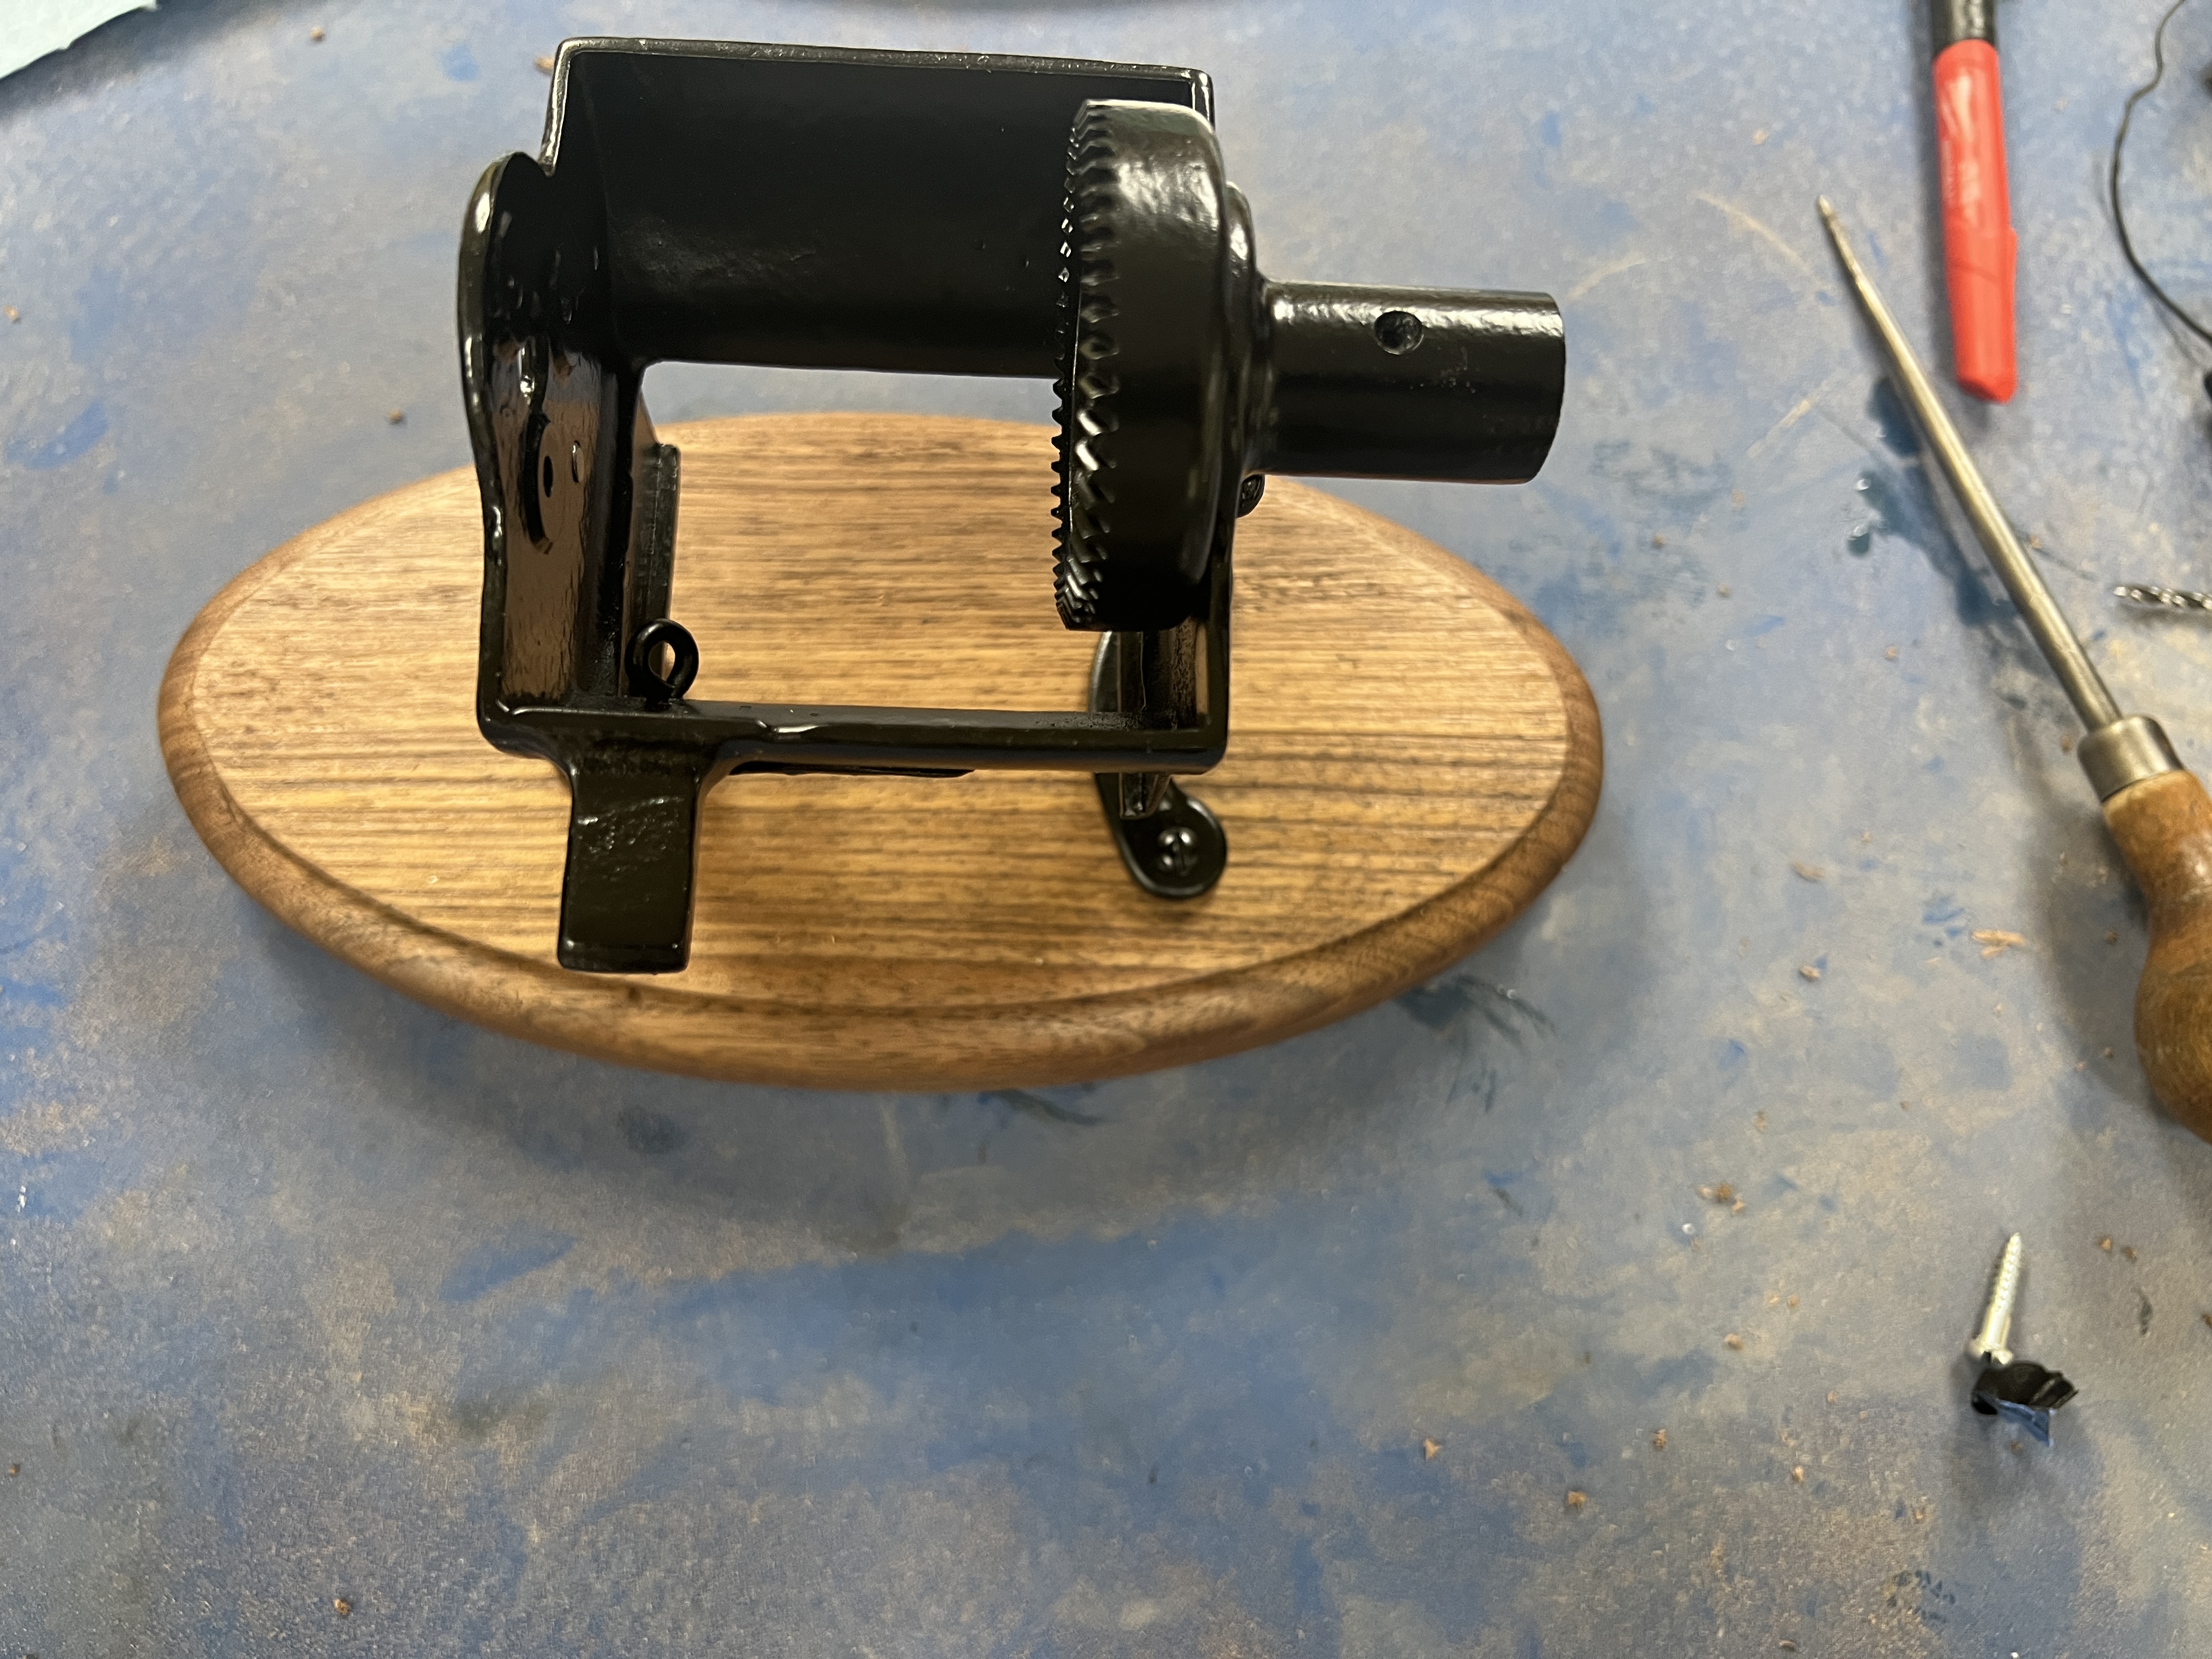
Step 6: Assembly

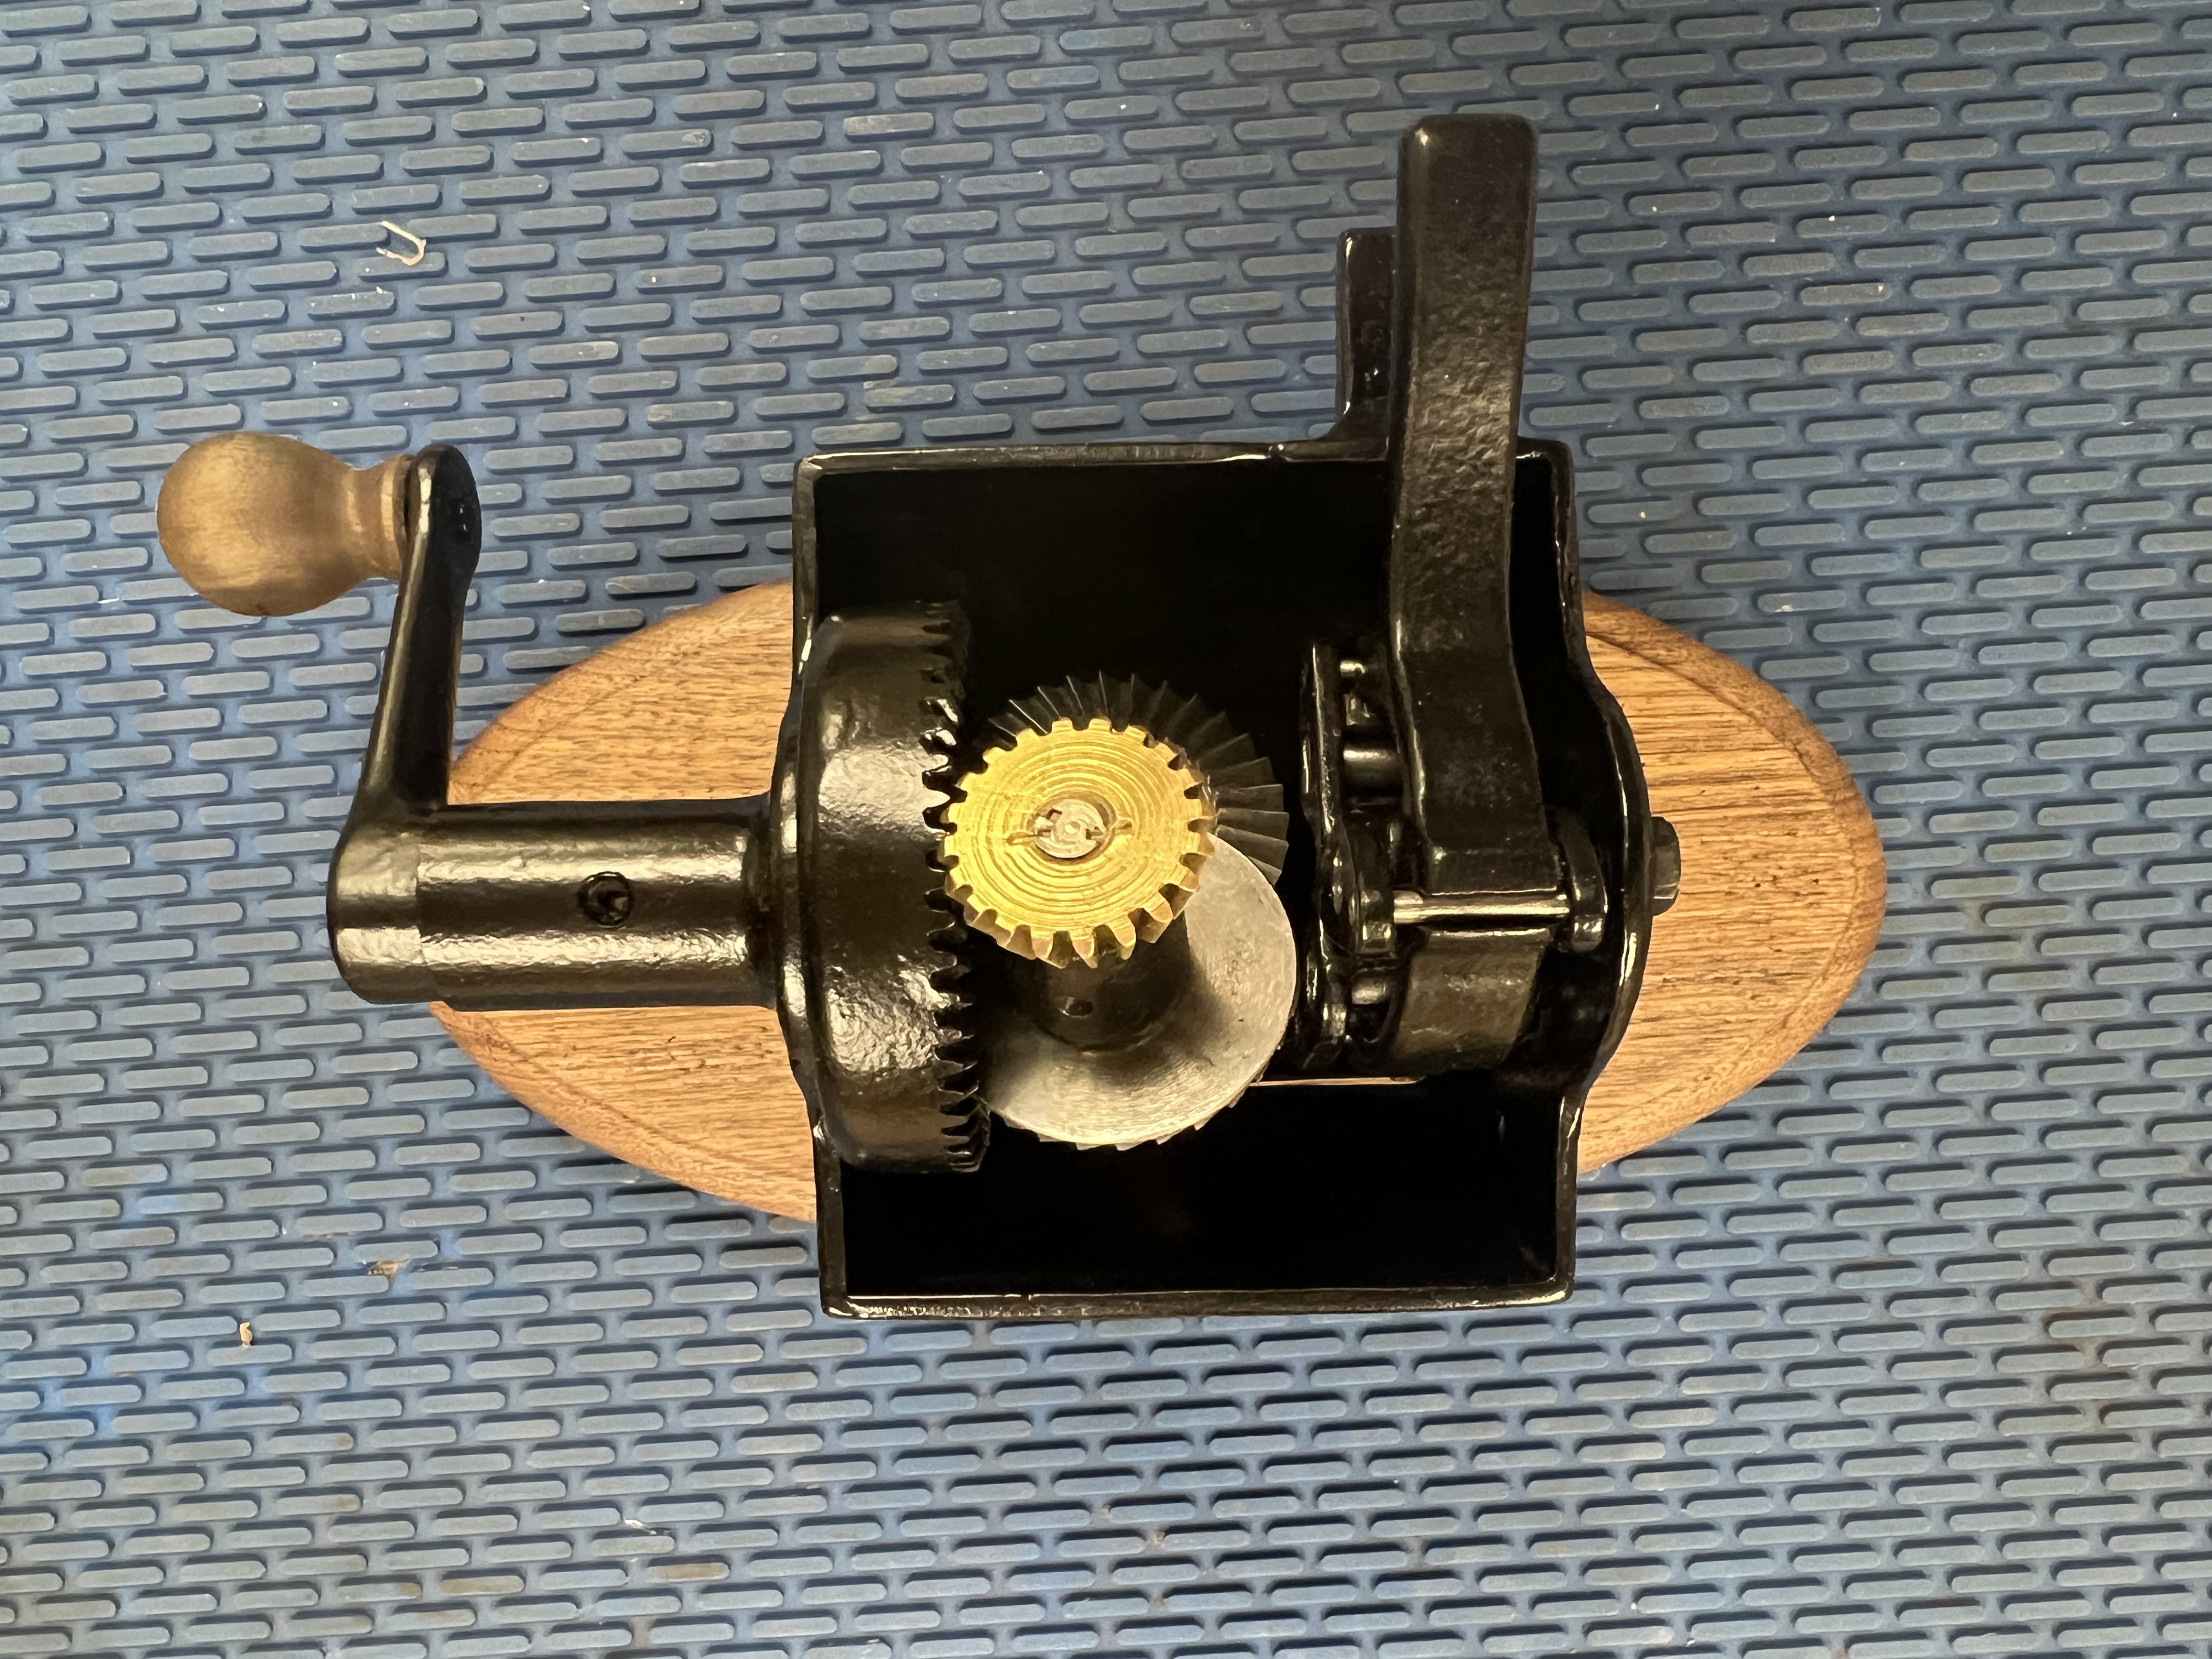
Putting it all together. I used a lot of WD-40 to lubricate and protect the moving parts.
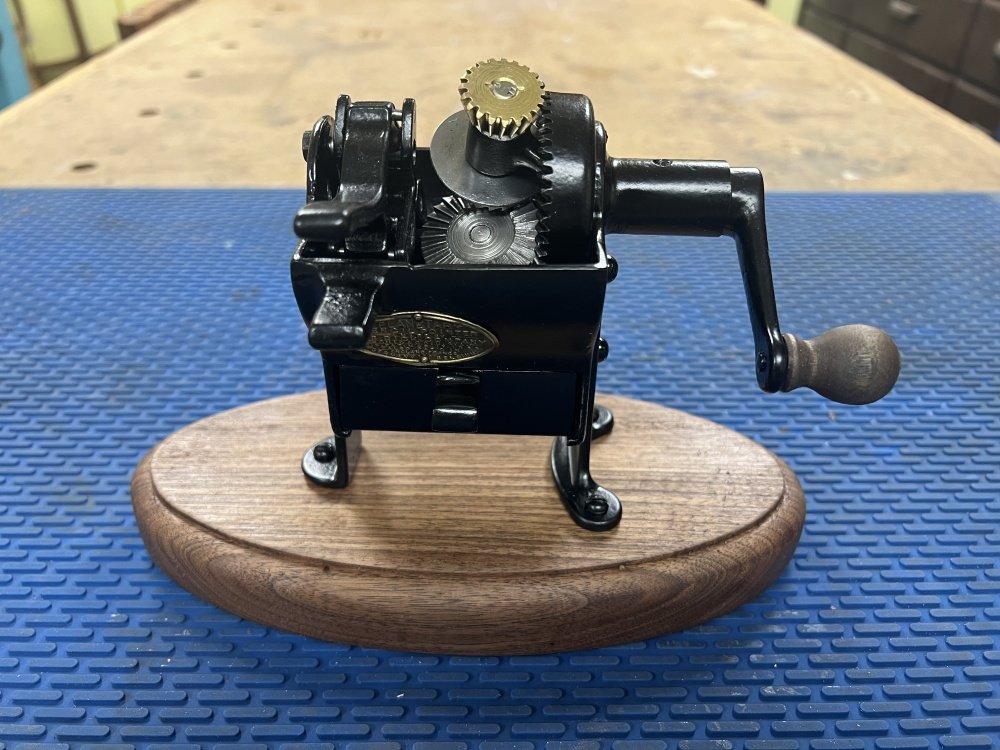
Step 7: Put it to use
Plus 3 more

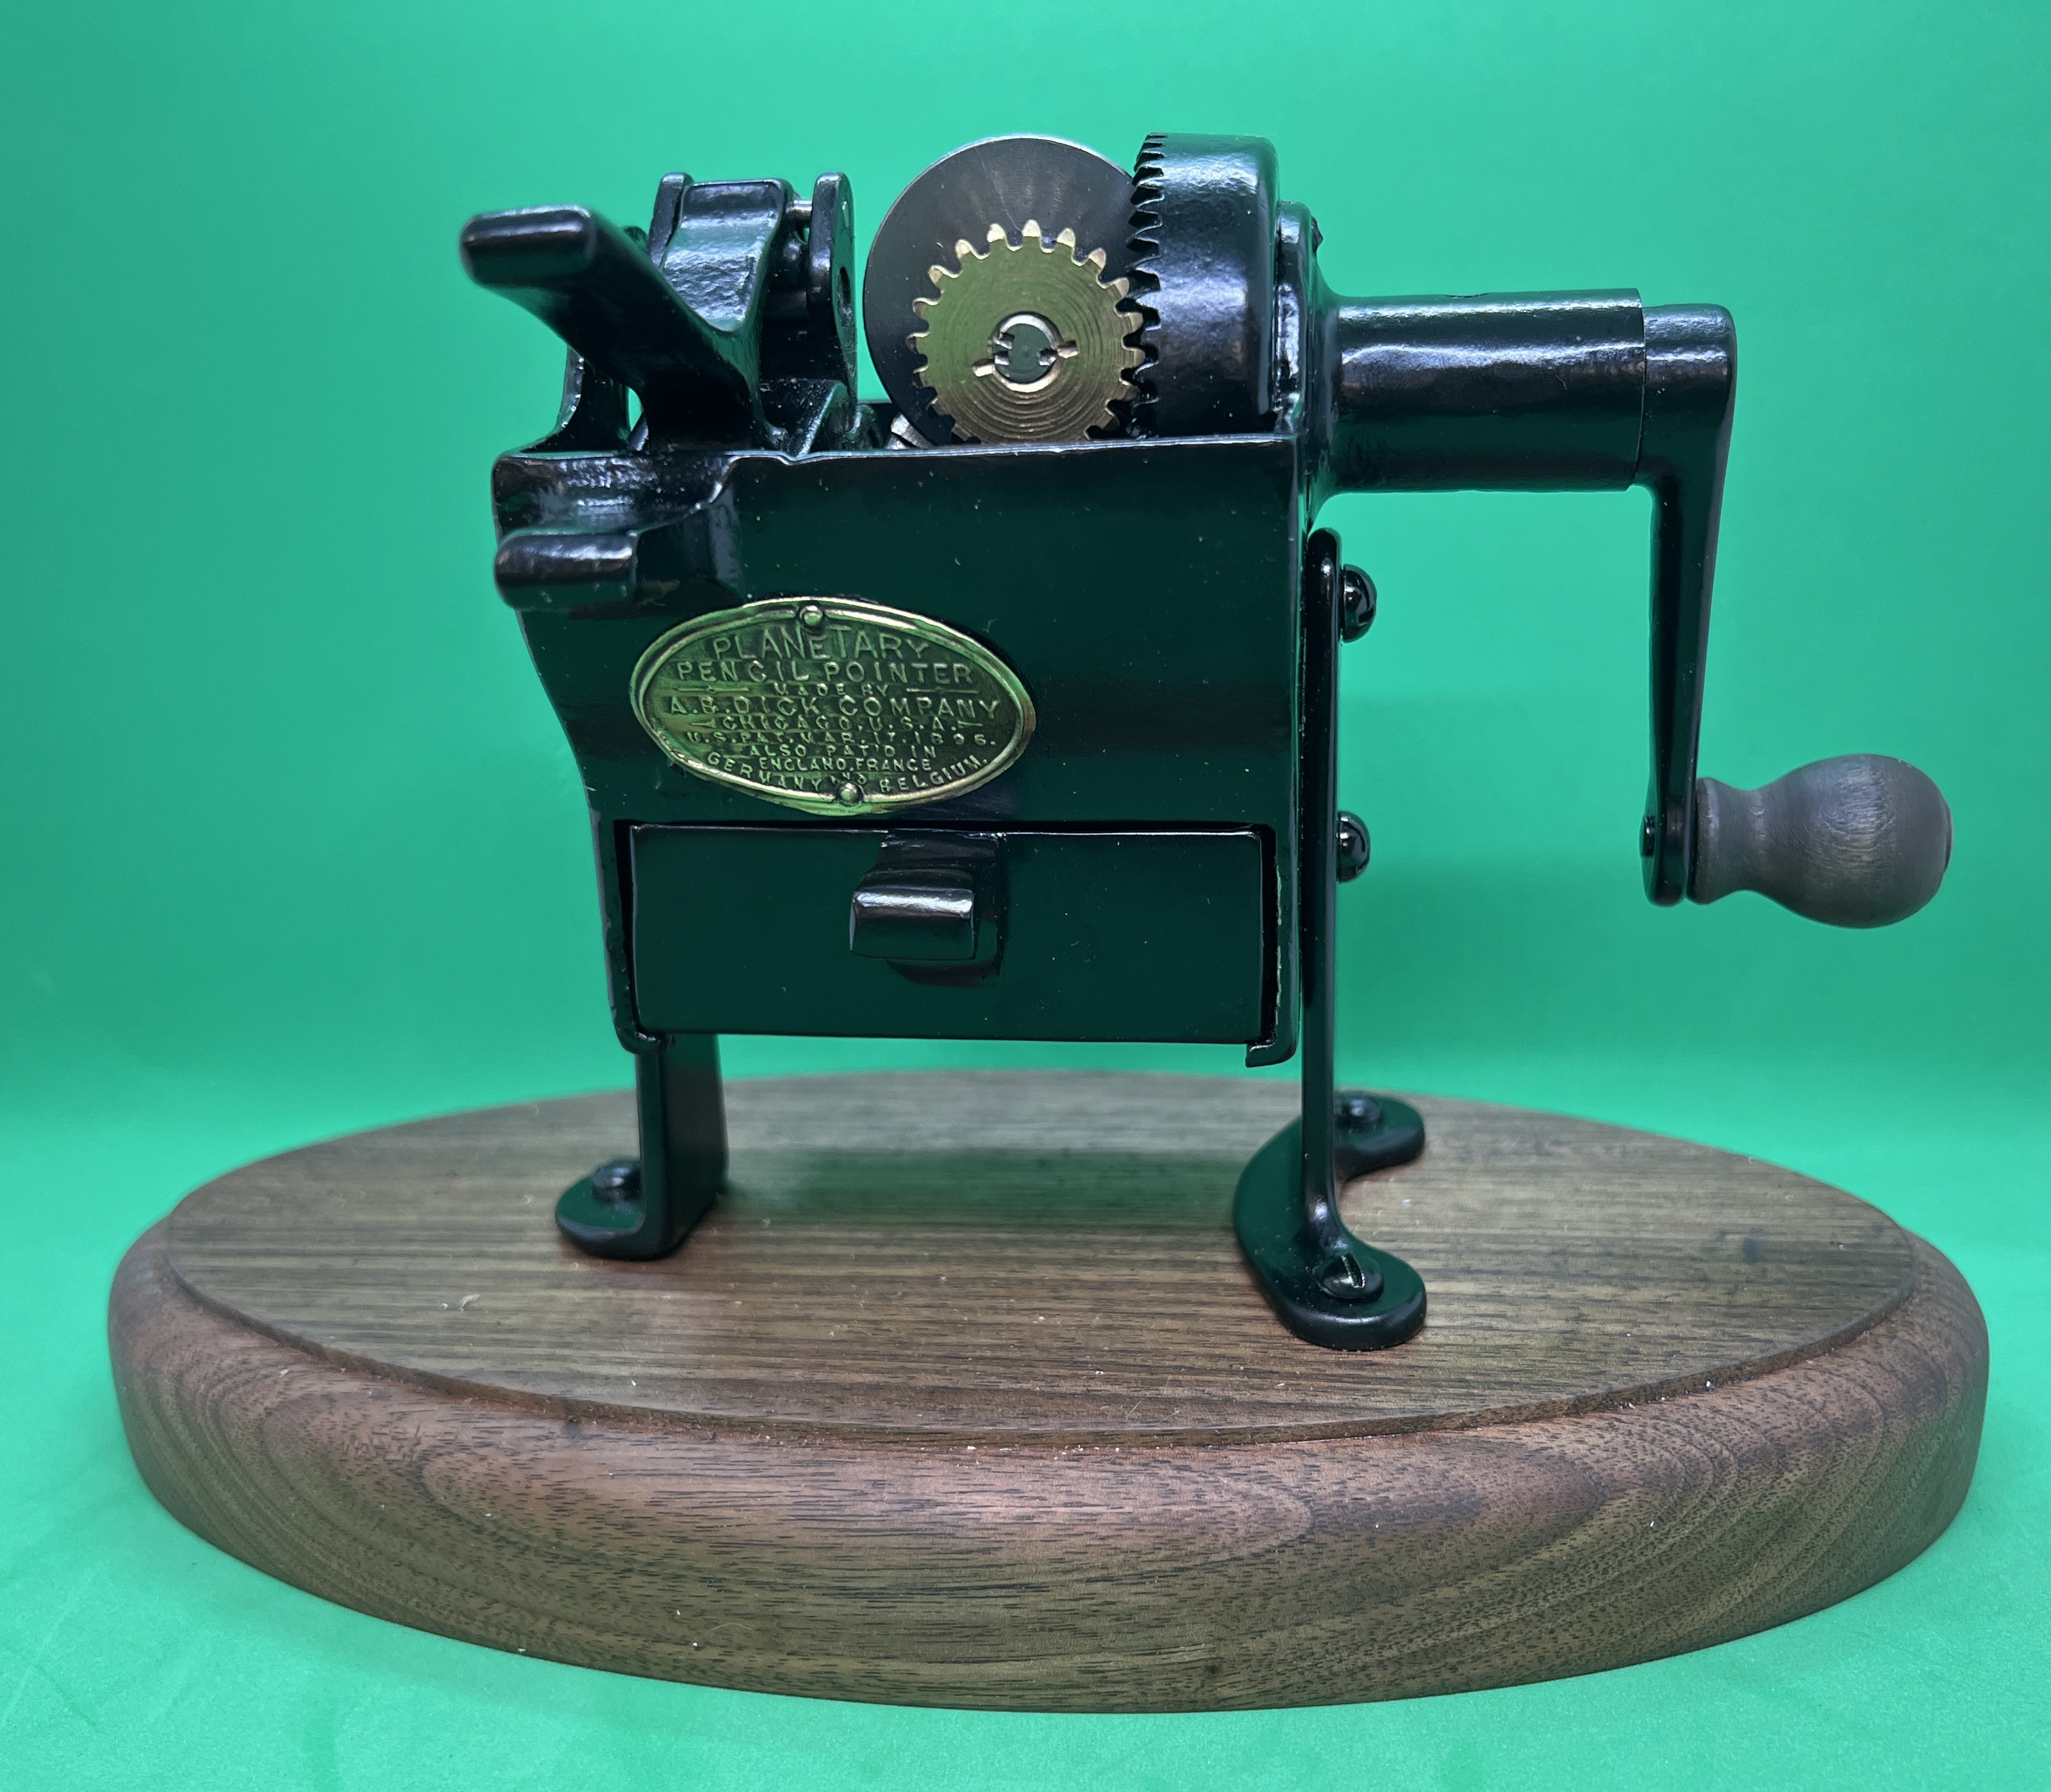
This is a great part of the project where the work pays off. Take lots of pictures, show the family and try to show everyone just how cool this project is. To bring life back to an artifact that wasn’t working is always a great feeling of accomplishment. WD-40 made it possible, heck I wouldn’t have even got it disassembled without it.
Thank you.