

1920s Room Rescue

Plus 3 more


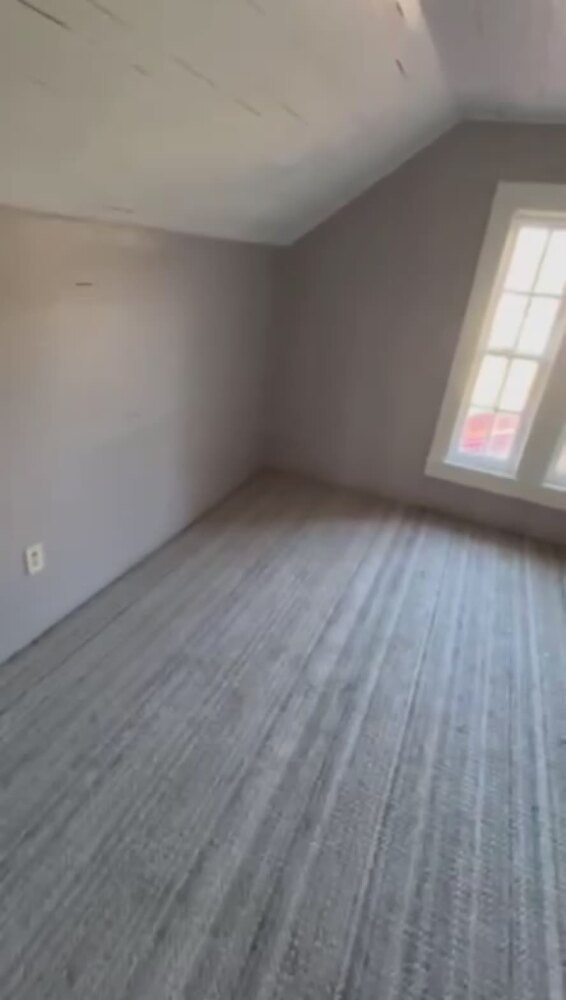
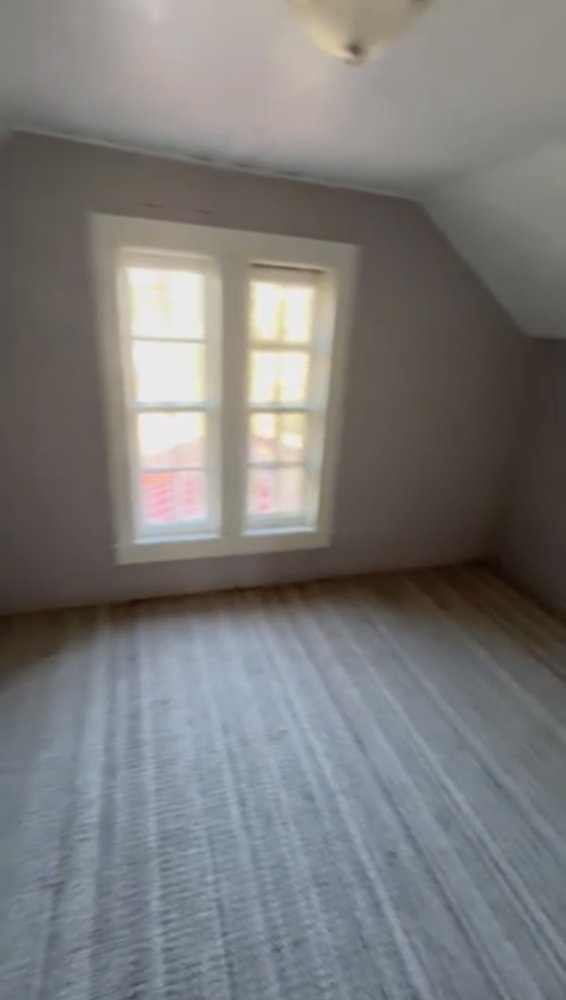
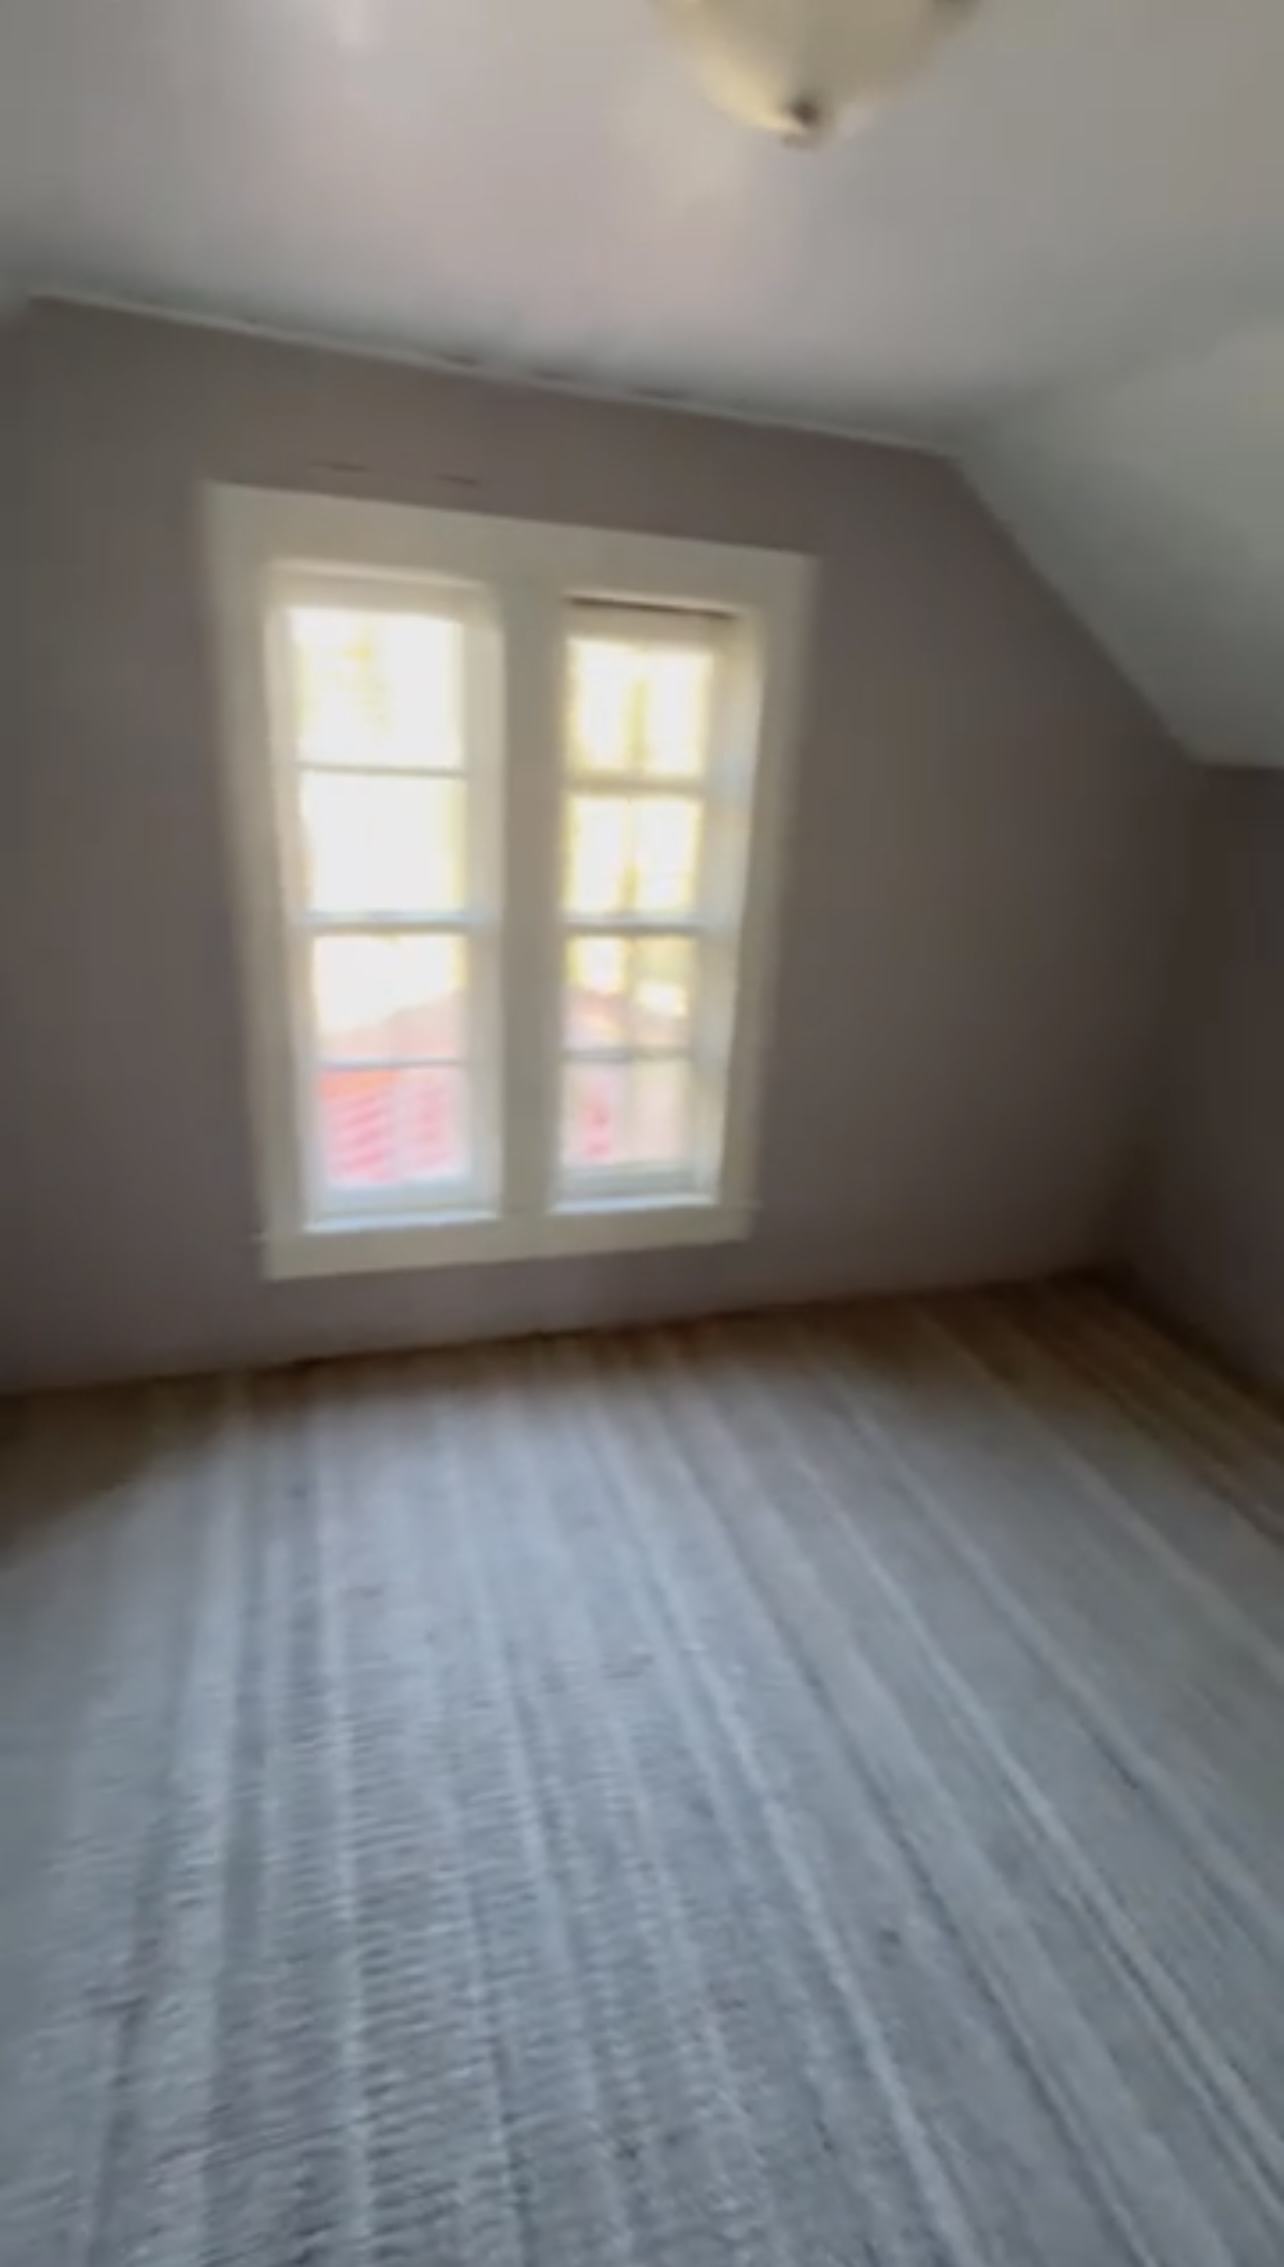
This room wasn’t falling apart—it was just lost. The carpet was nearly new, but it didn’t belong. It clashed with the history and character of the house, so I made a bold decision: rip it out and restore the space to its former glory.
This home was built in the 1920s by a Black family in a small town in Kentucky. That history matters to me. I wanted every choice in this project to reflect the craftsmanship, dignity, and soul of the people who first lived here.
I pulled up the carpet and refinished the original wood floors by hand. Every wall was patched, primed, and painted. I reworked the trim, refreshed the ceiling, and leaned into a soft, timeless color palette that honors the home’s age while still feeling cozy and lived-in.
No contractors—just vision, determination, and a lot of sanding.
Now, this once mismatched room feels like it’s always belonged. It’s warm, elegant, and grounded in legacy. Restoration isn’t just about fixing what’s broken—it’s about listening to what a space should be and bringing it back to life.
Step 1: Step 1: Clear the Room
I started by removing all the furniture, decor, and modern carpet. The carpet was clean and almost new, but it didn’t match the historic energy of the home, so I rolled it up and removed the padding underneat
Step 2: Step 2: Assess the Original Floors
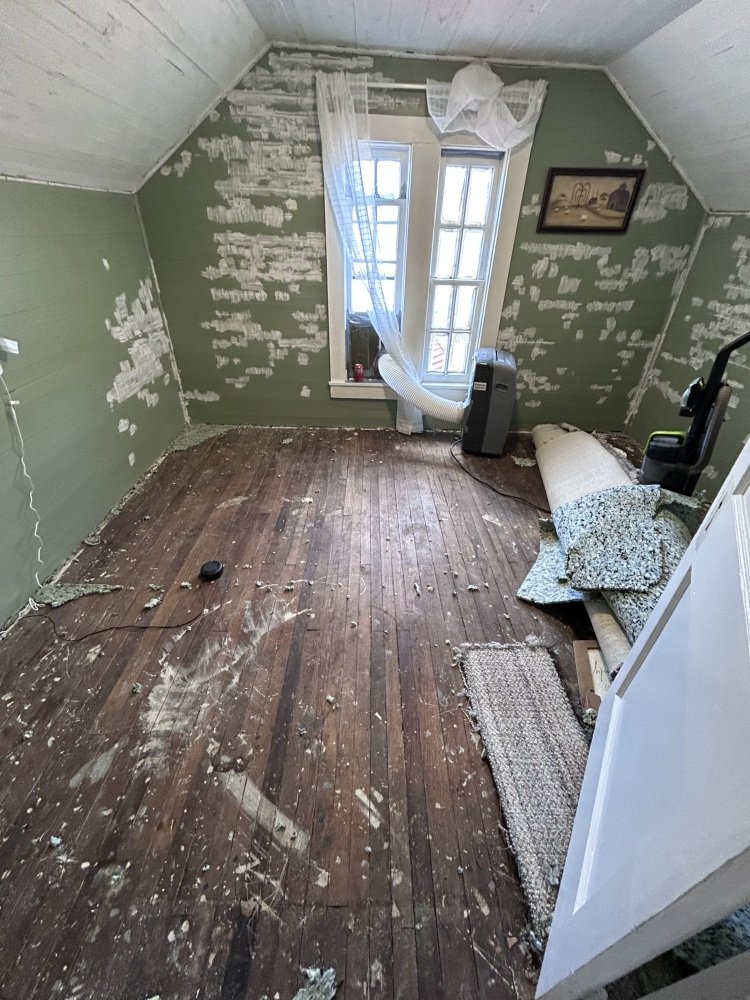
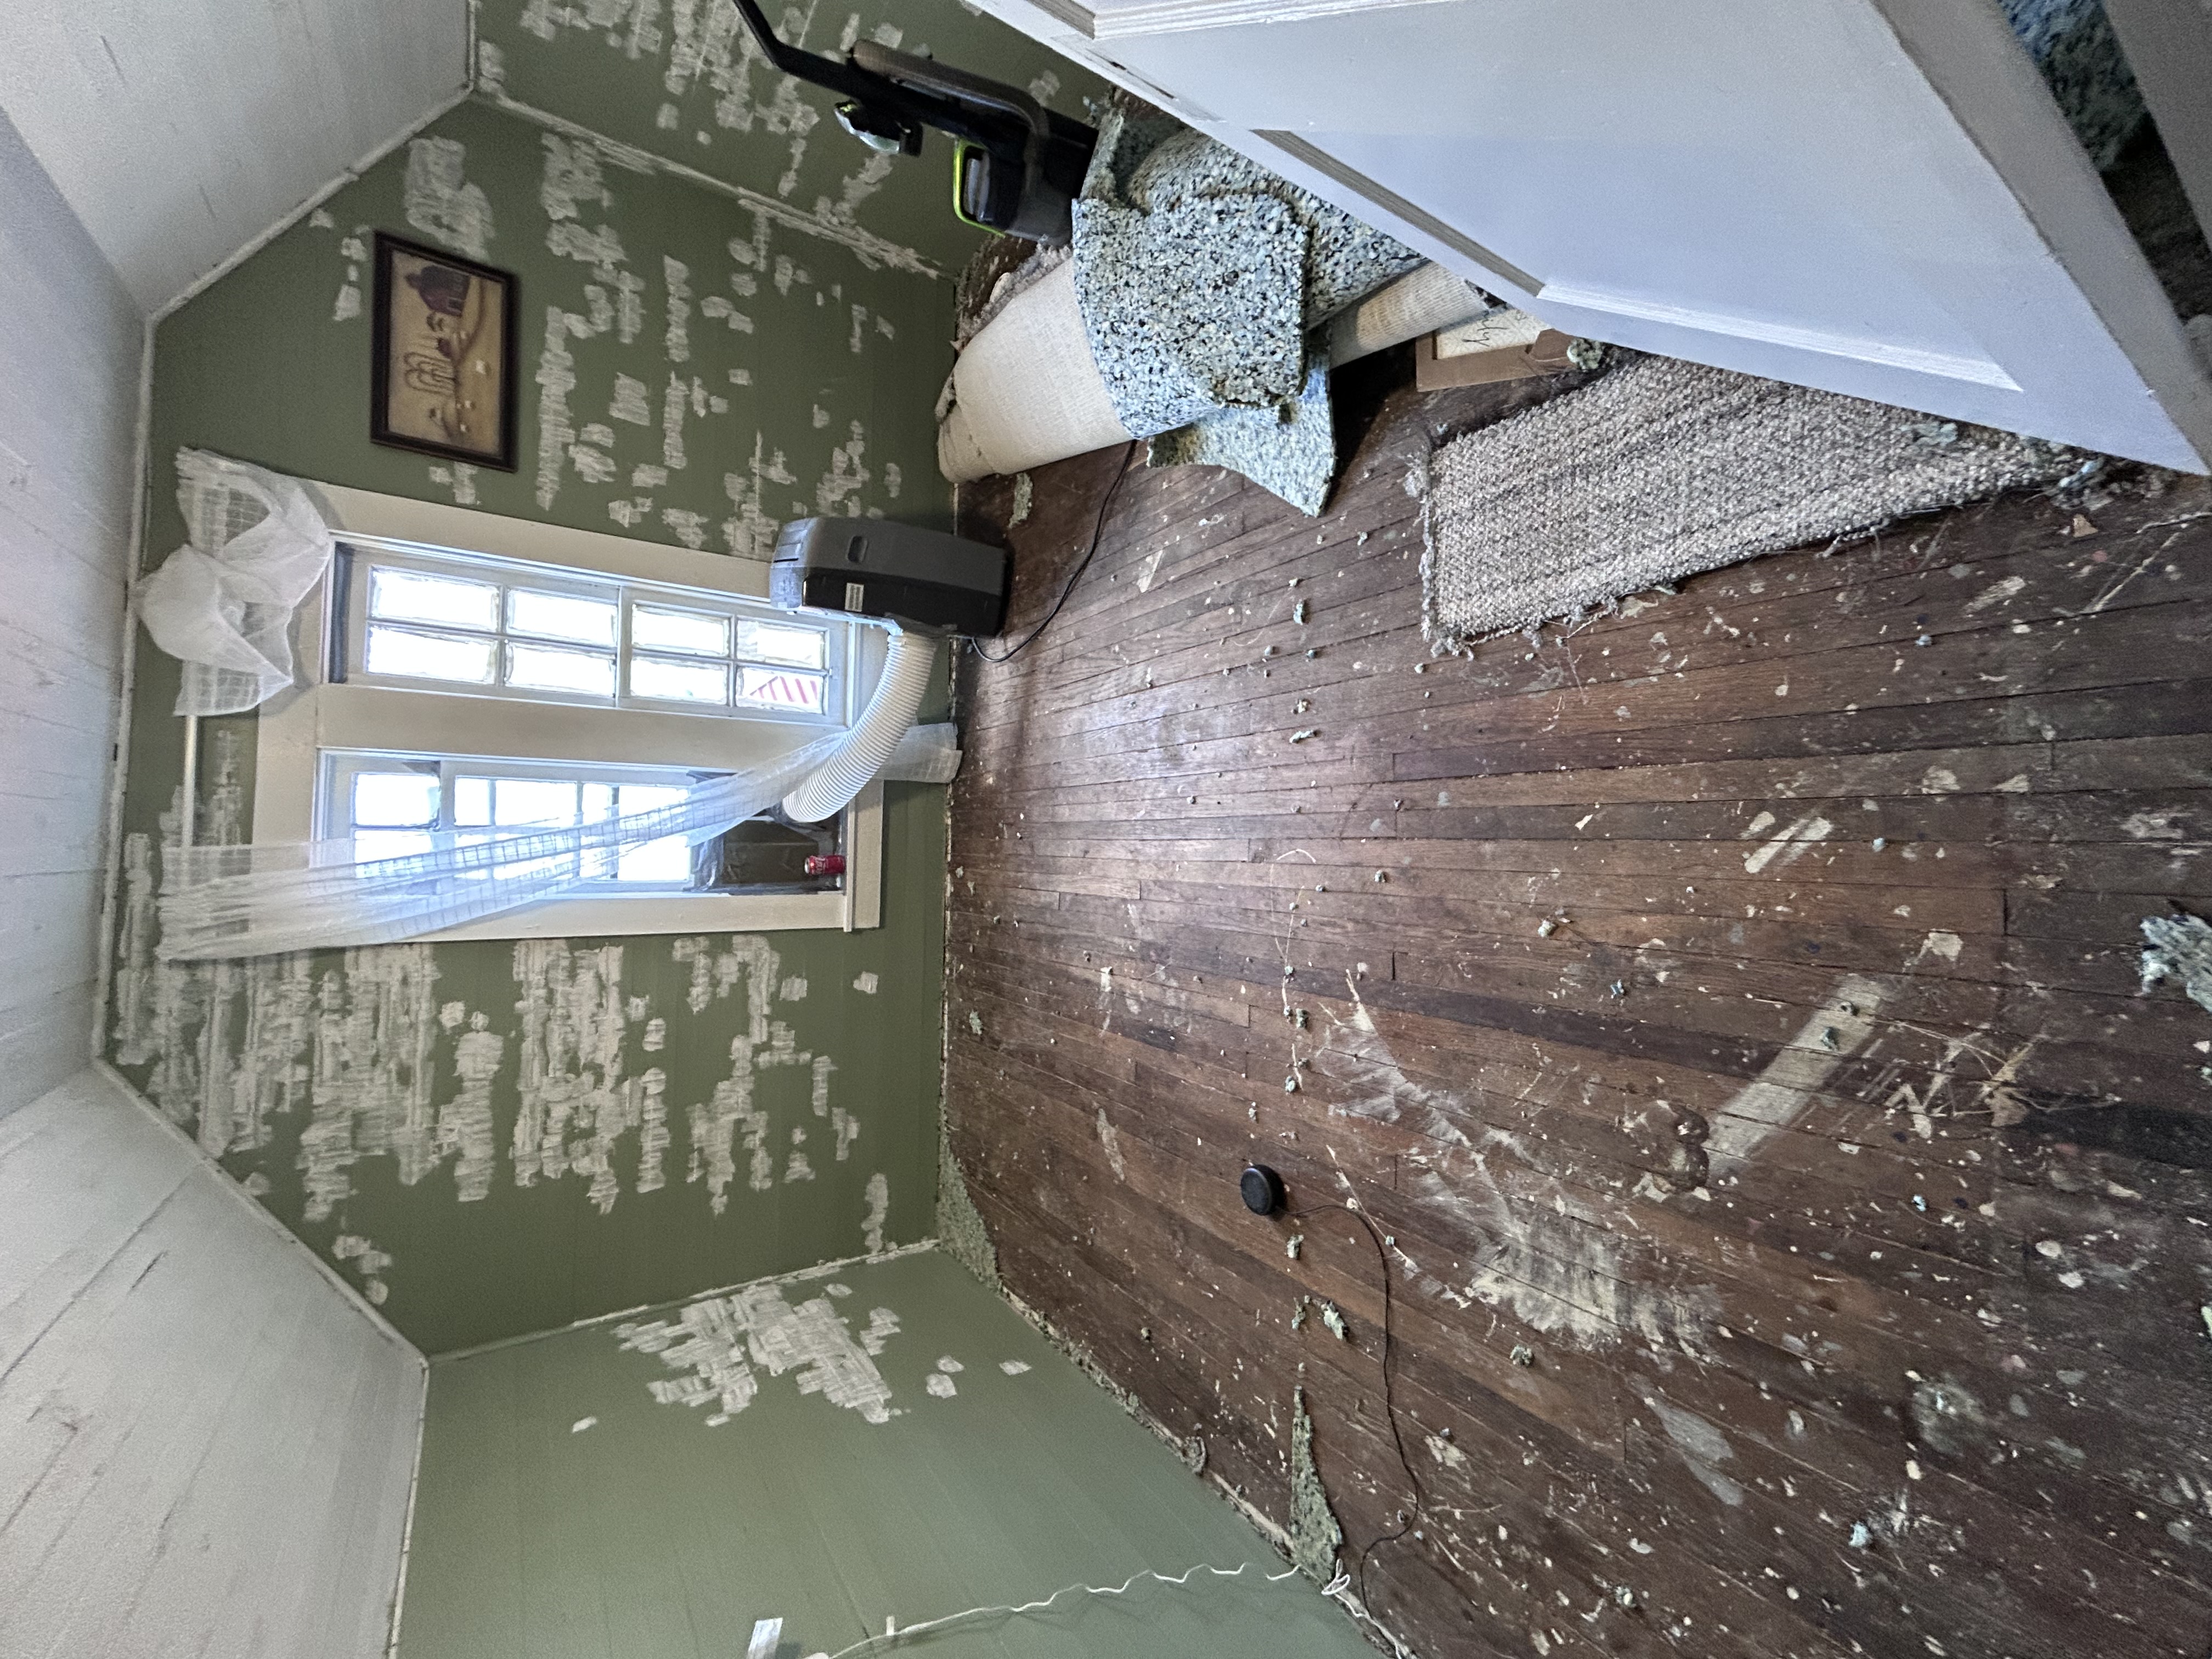
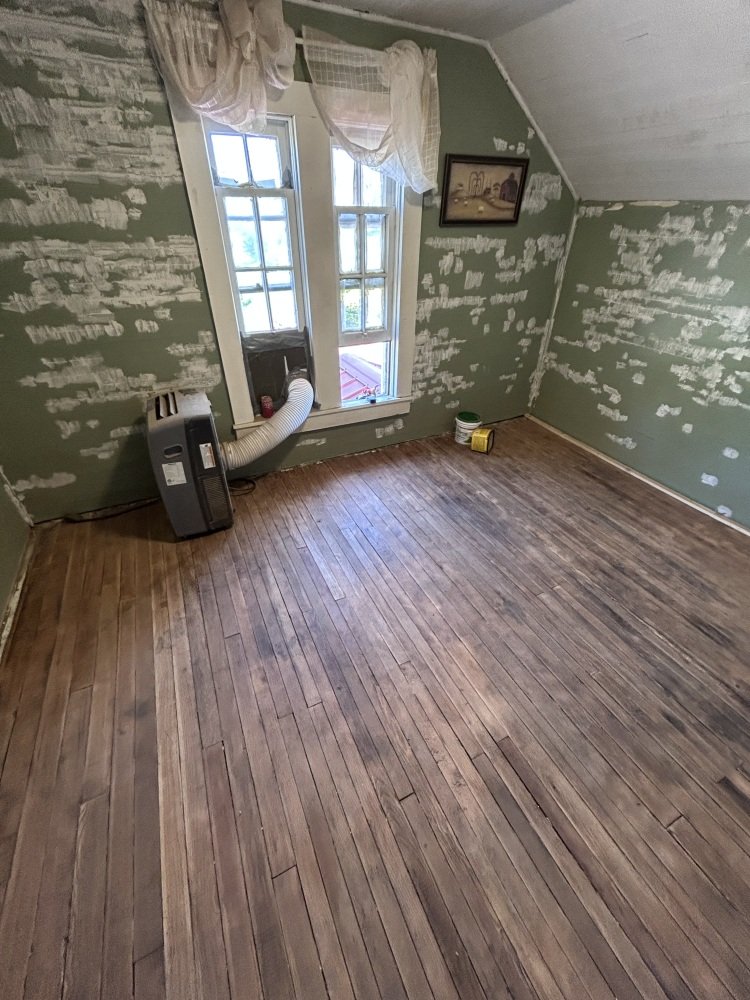
Once the carpet was gone, I found the original wood floors—scarred, dusty, and worn down. I swept and vacuumed all the debris to get a better idea of the damage.
Step 3: Step 3: Patch the Walls
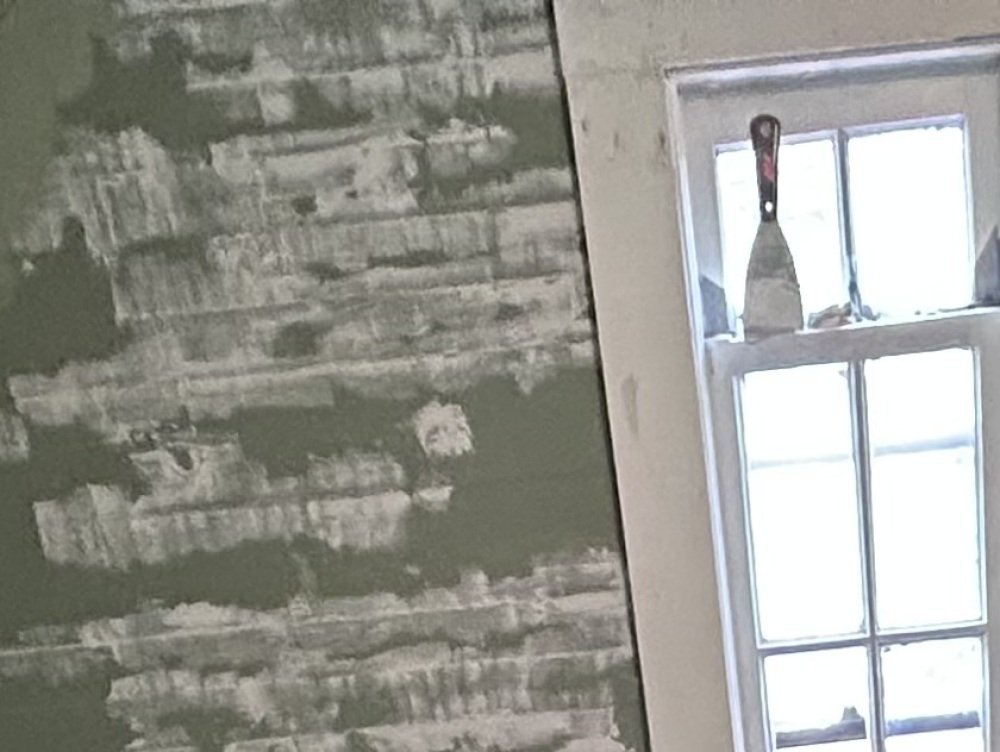
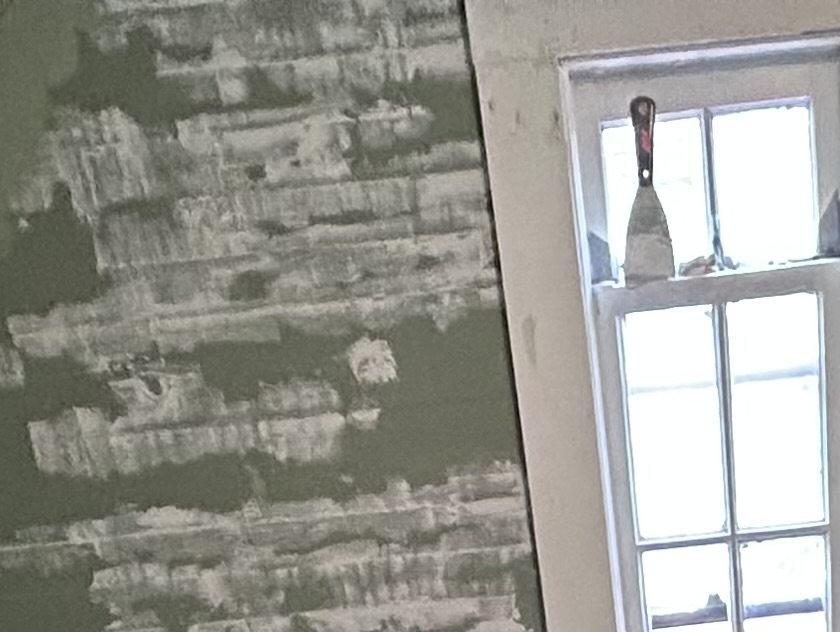
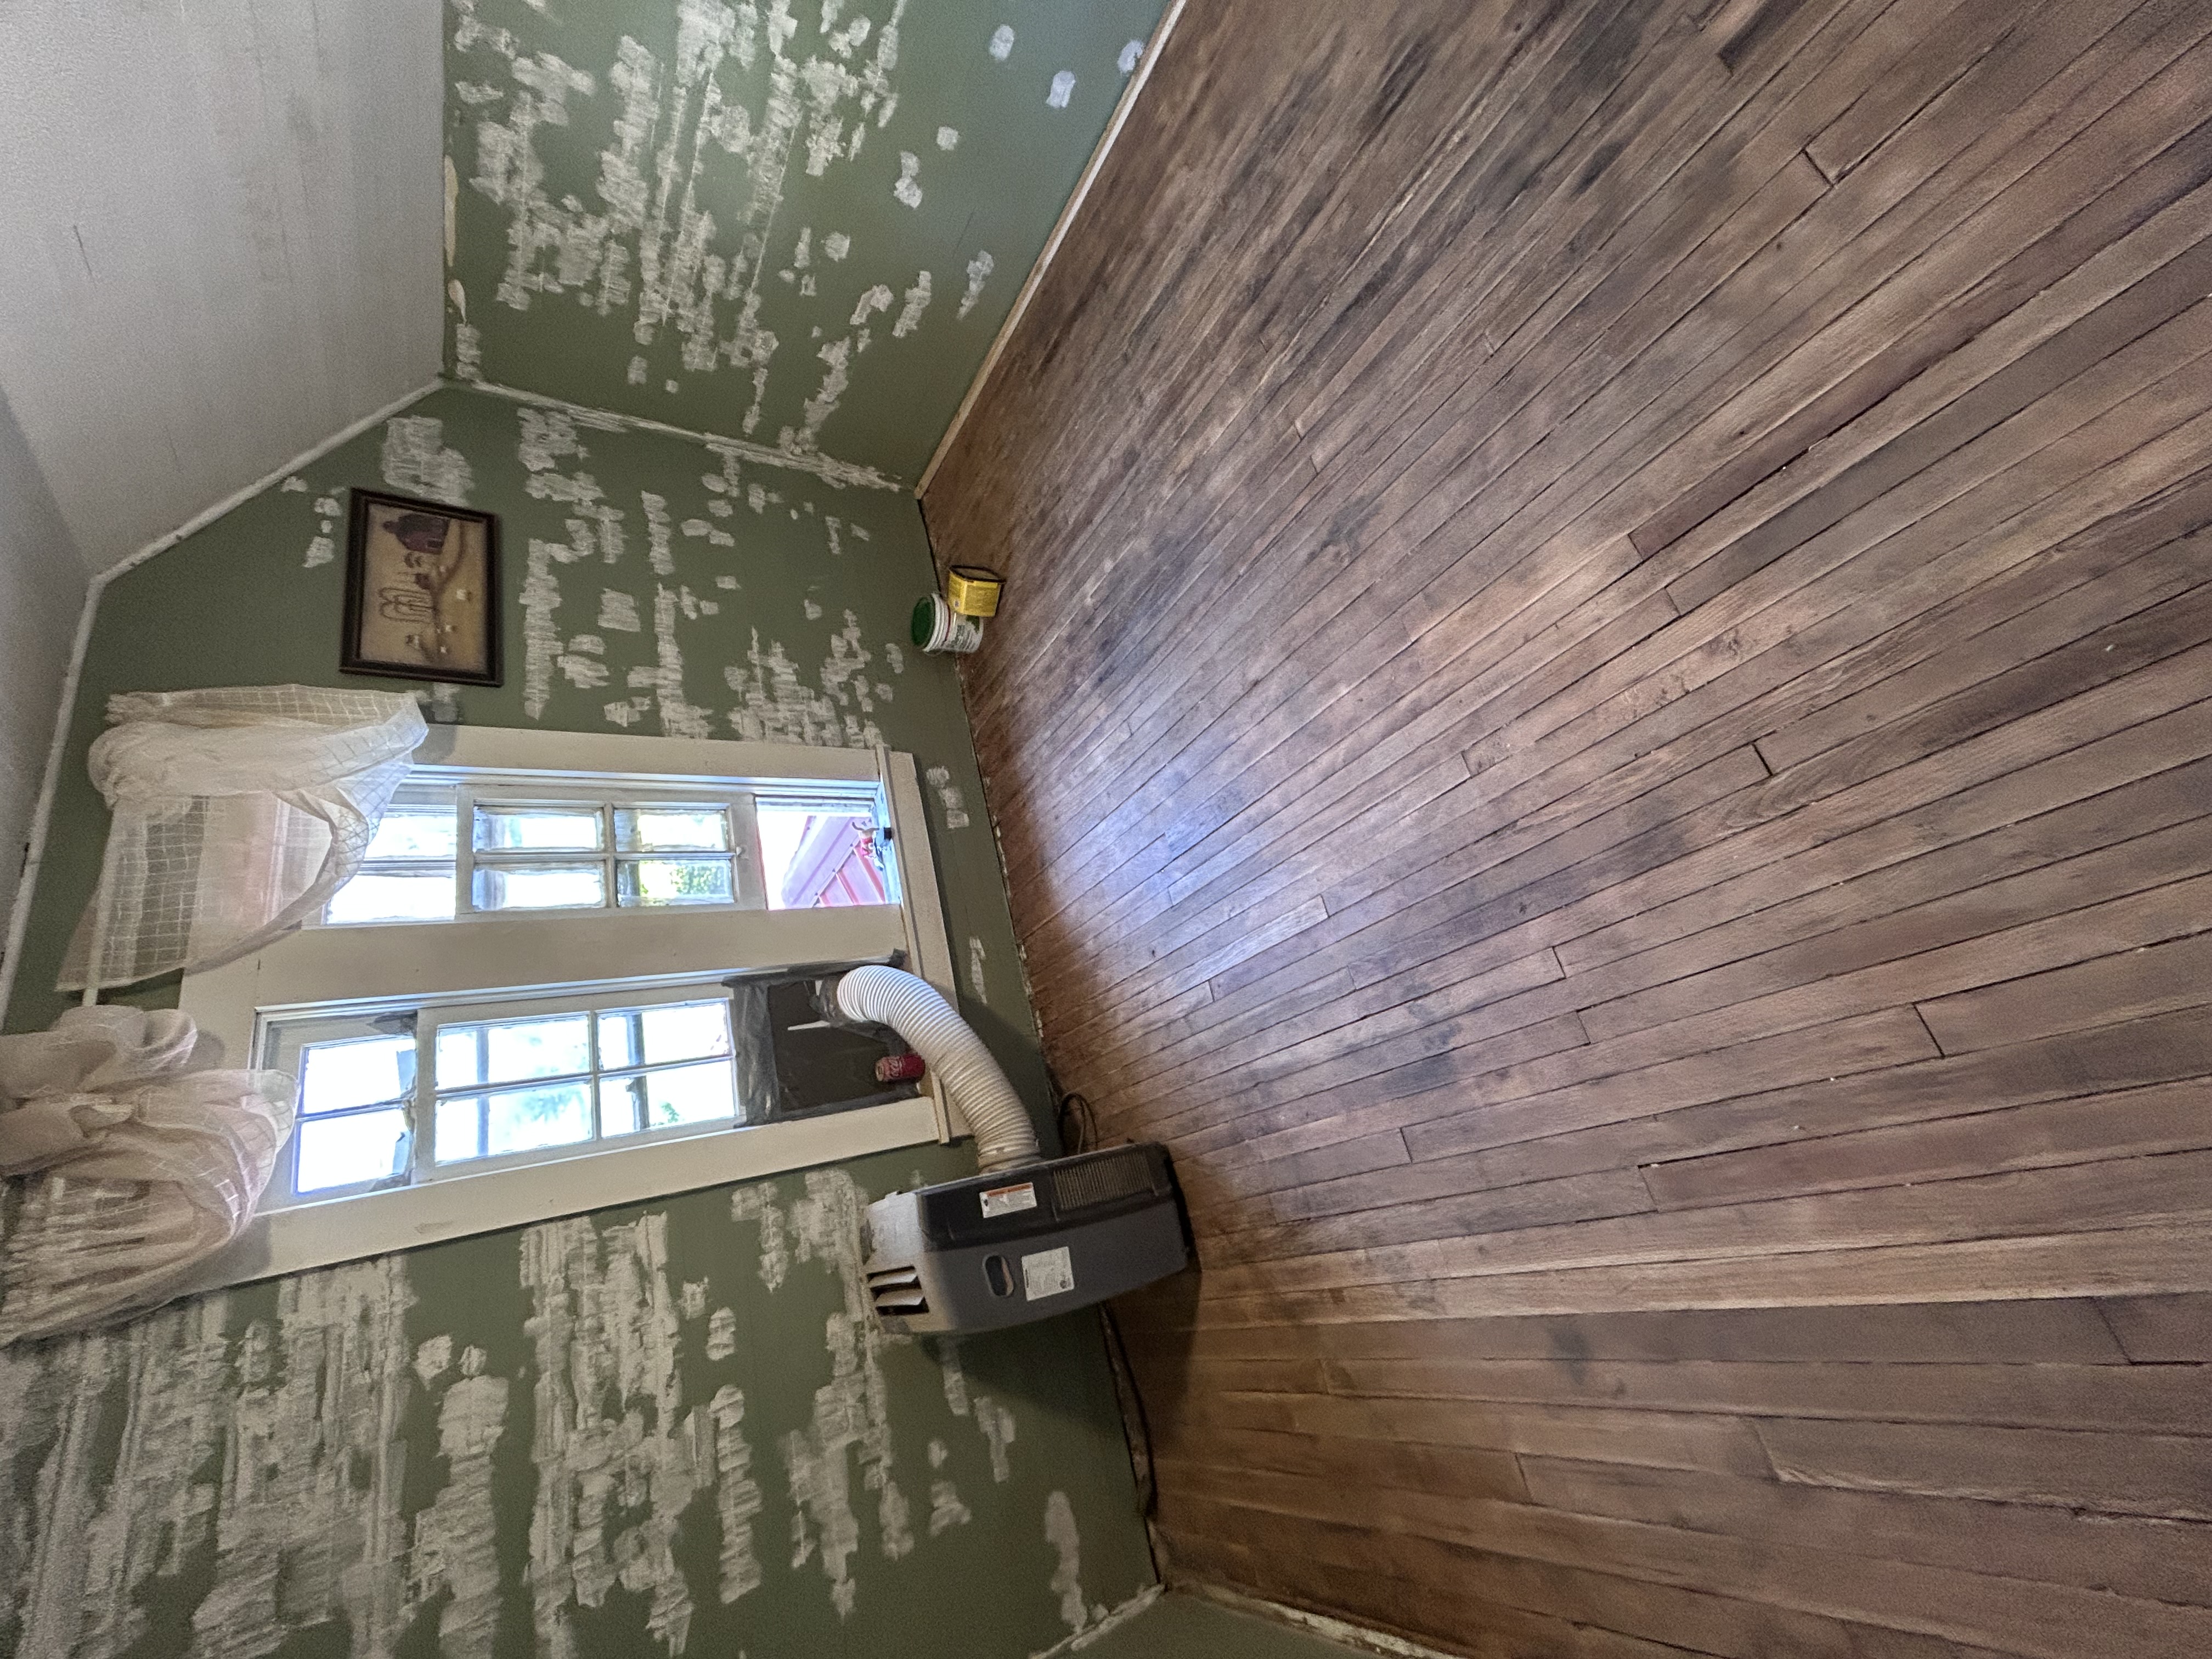
The green walls were heavily textured and full of dings and nail holes. I used joint compound to patch every crack, dent, and gouge by hand. After drying, I sanded them down until the walls were smooth and uniform.
Step 4: Step 4: Prime & Paint
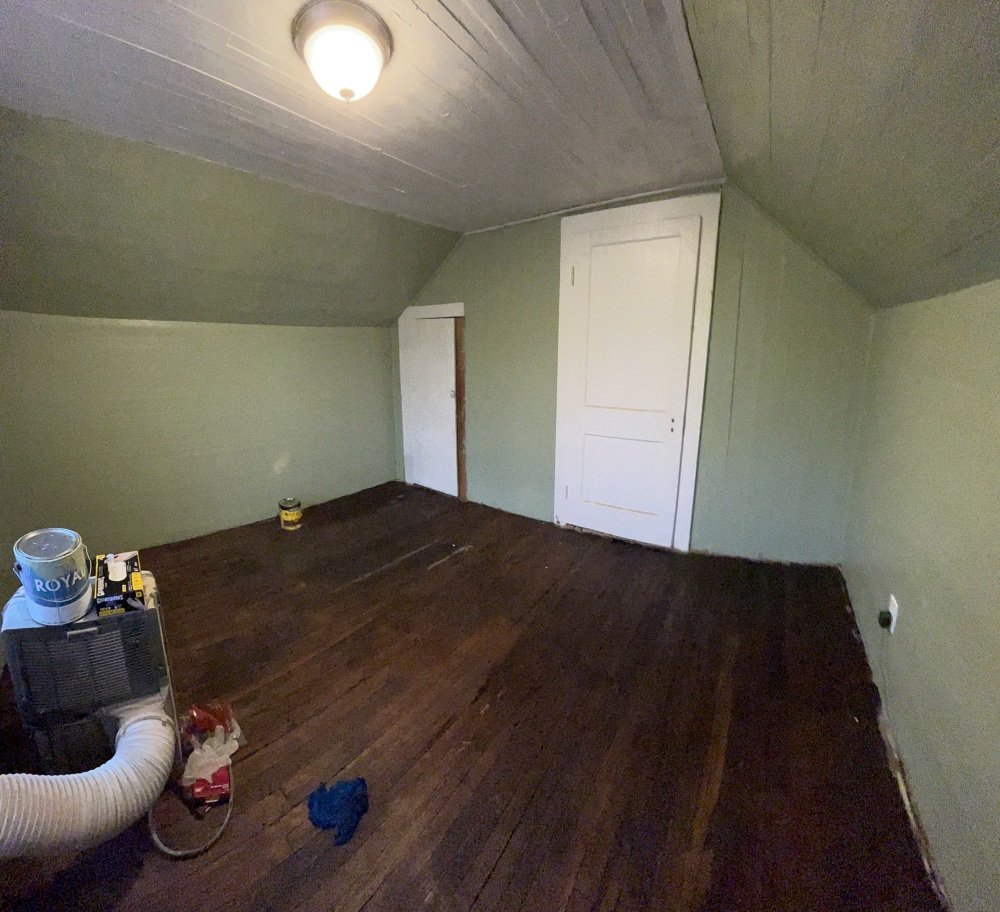
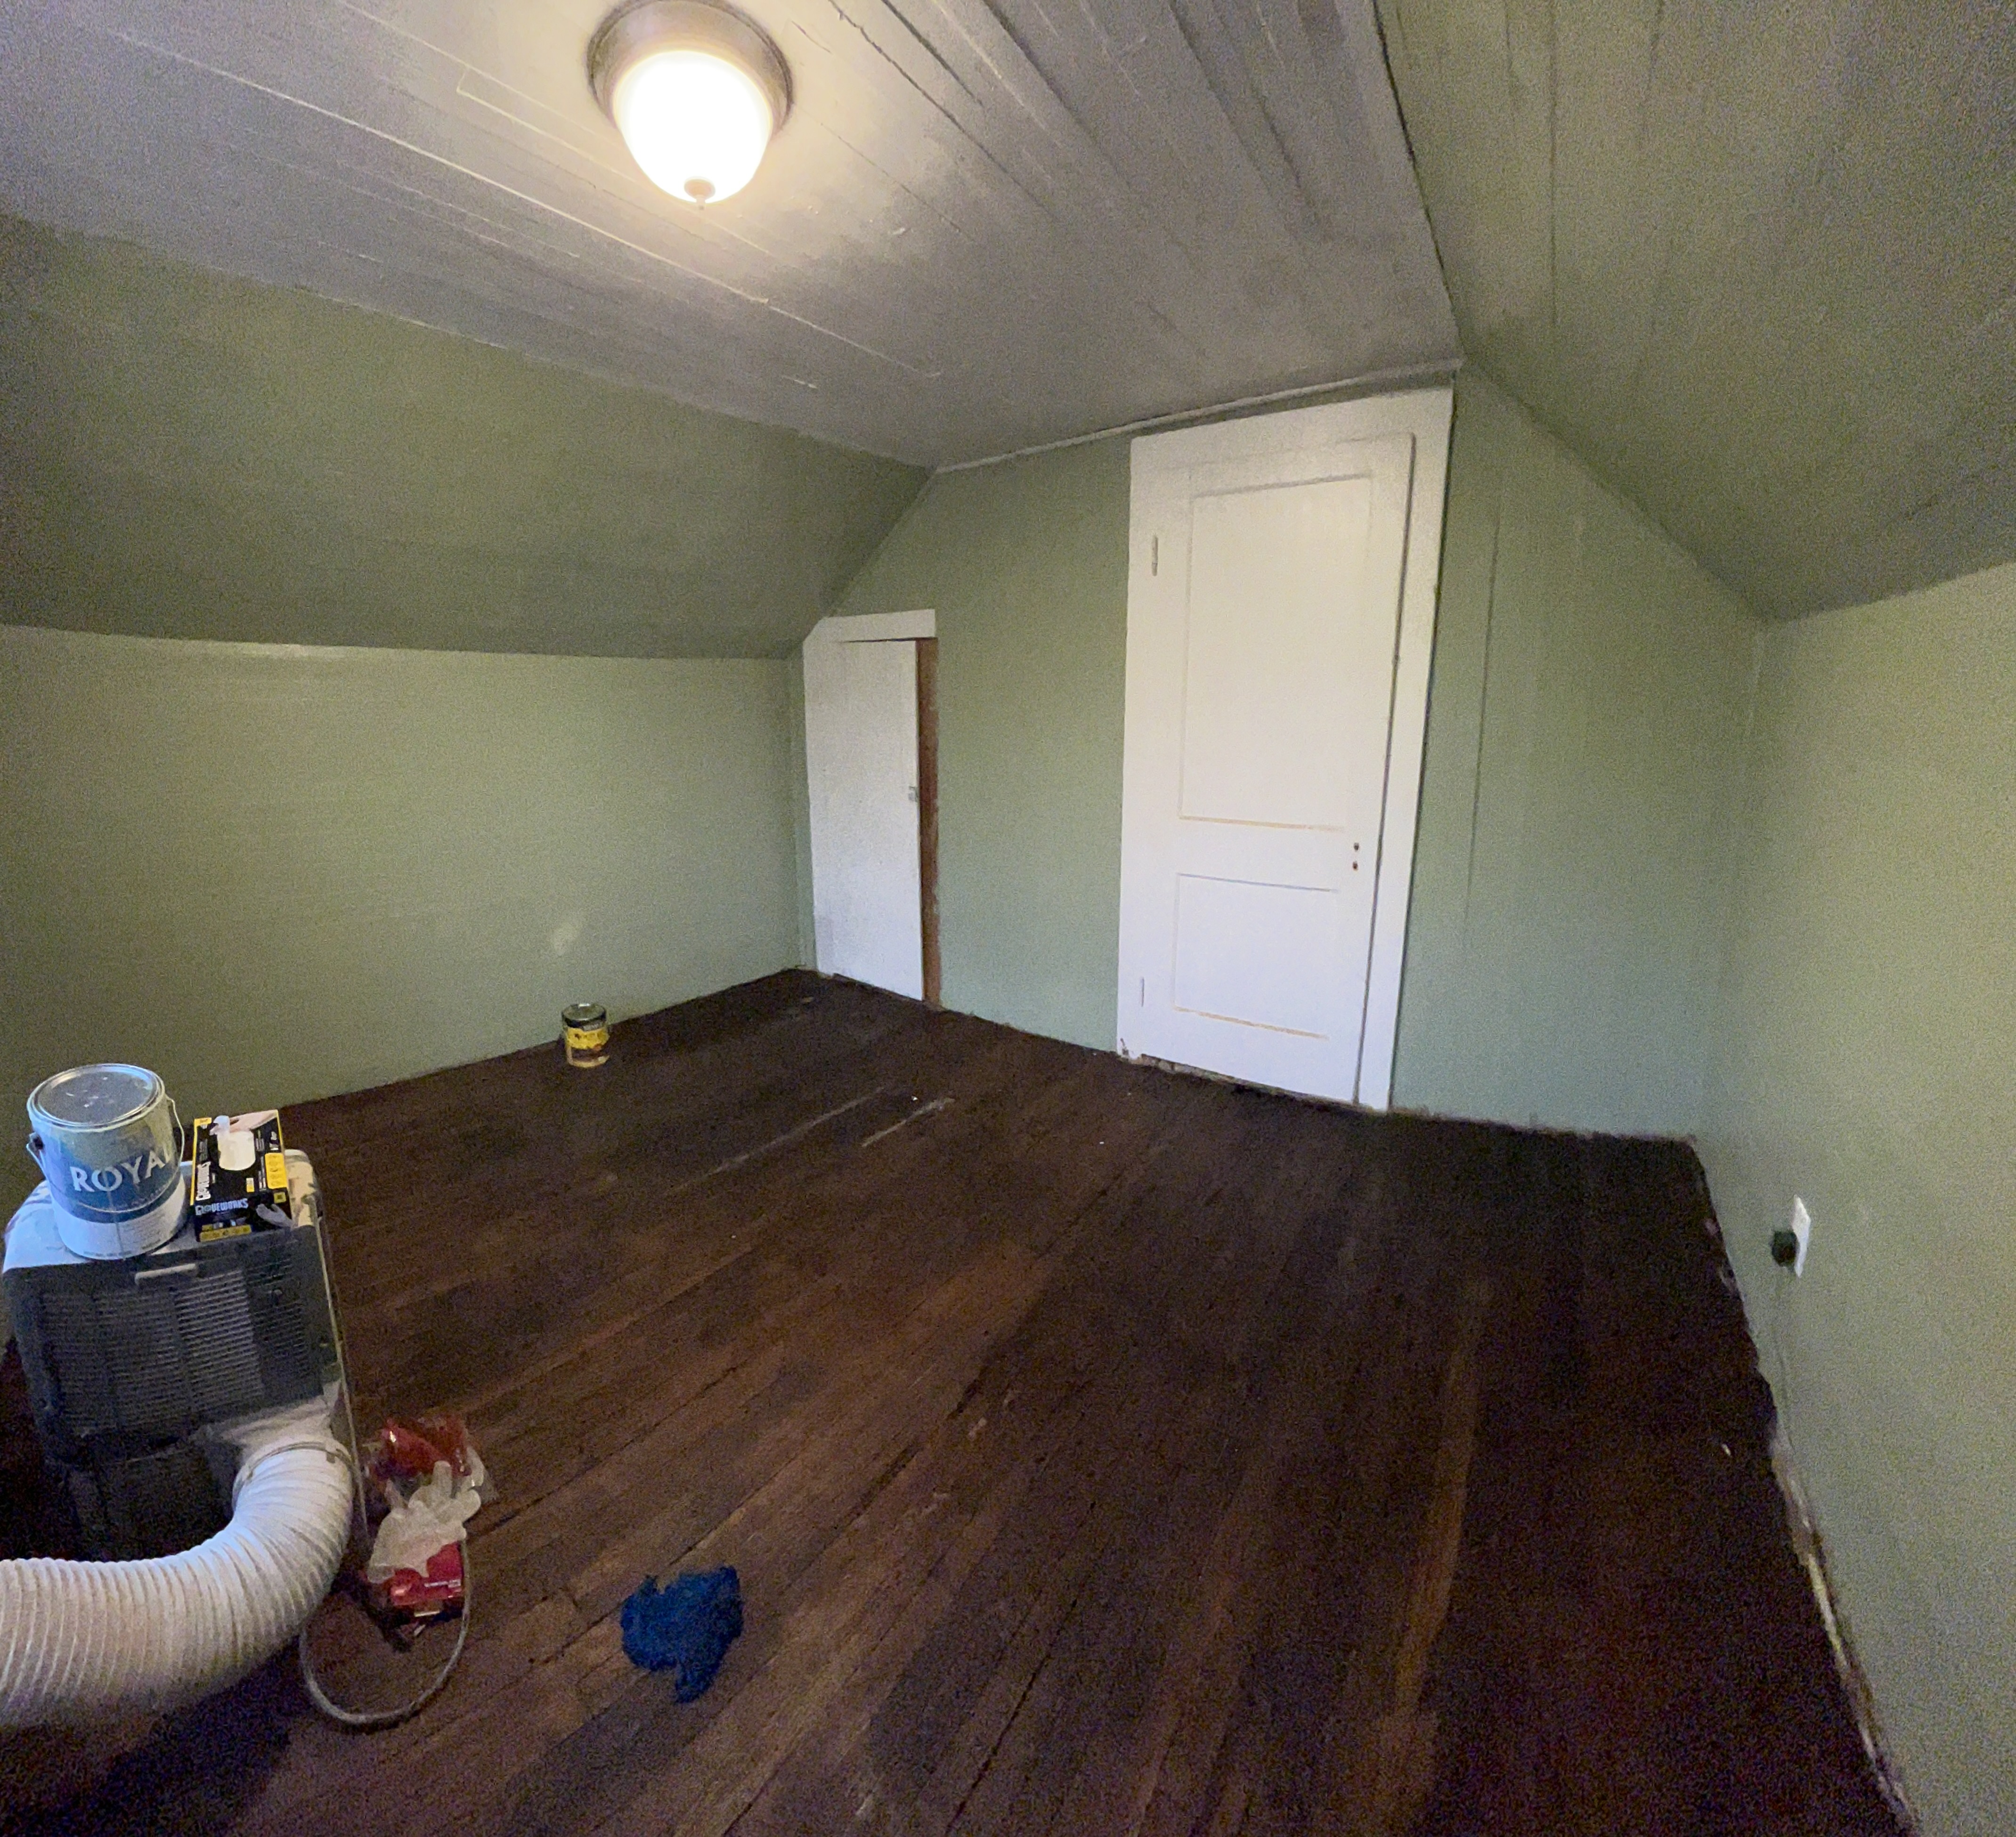
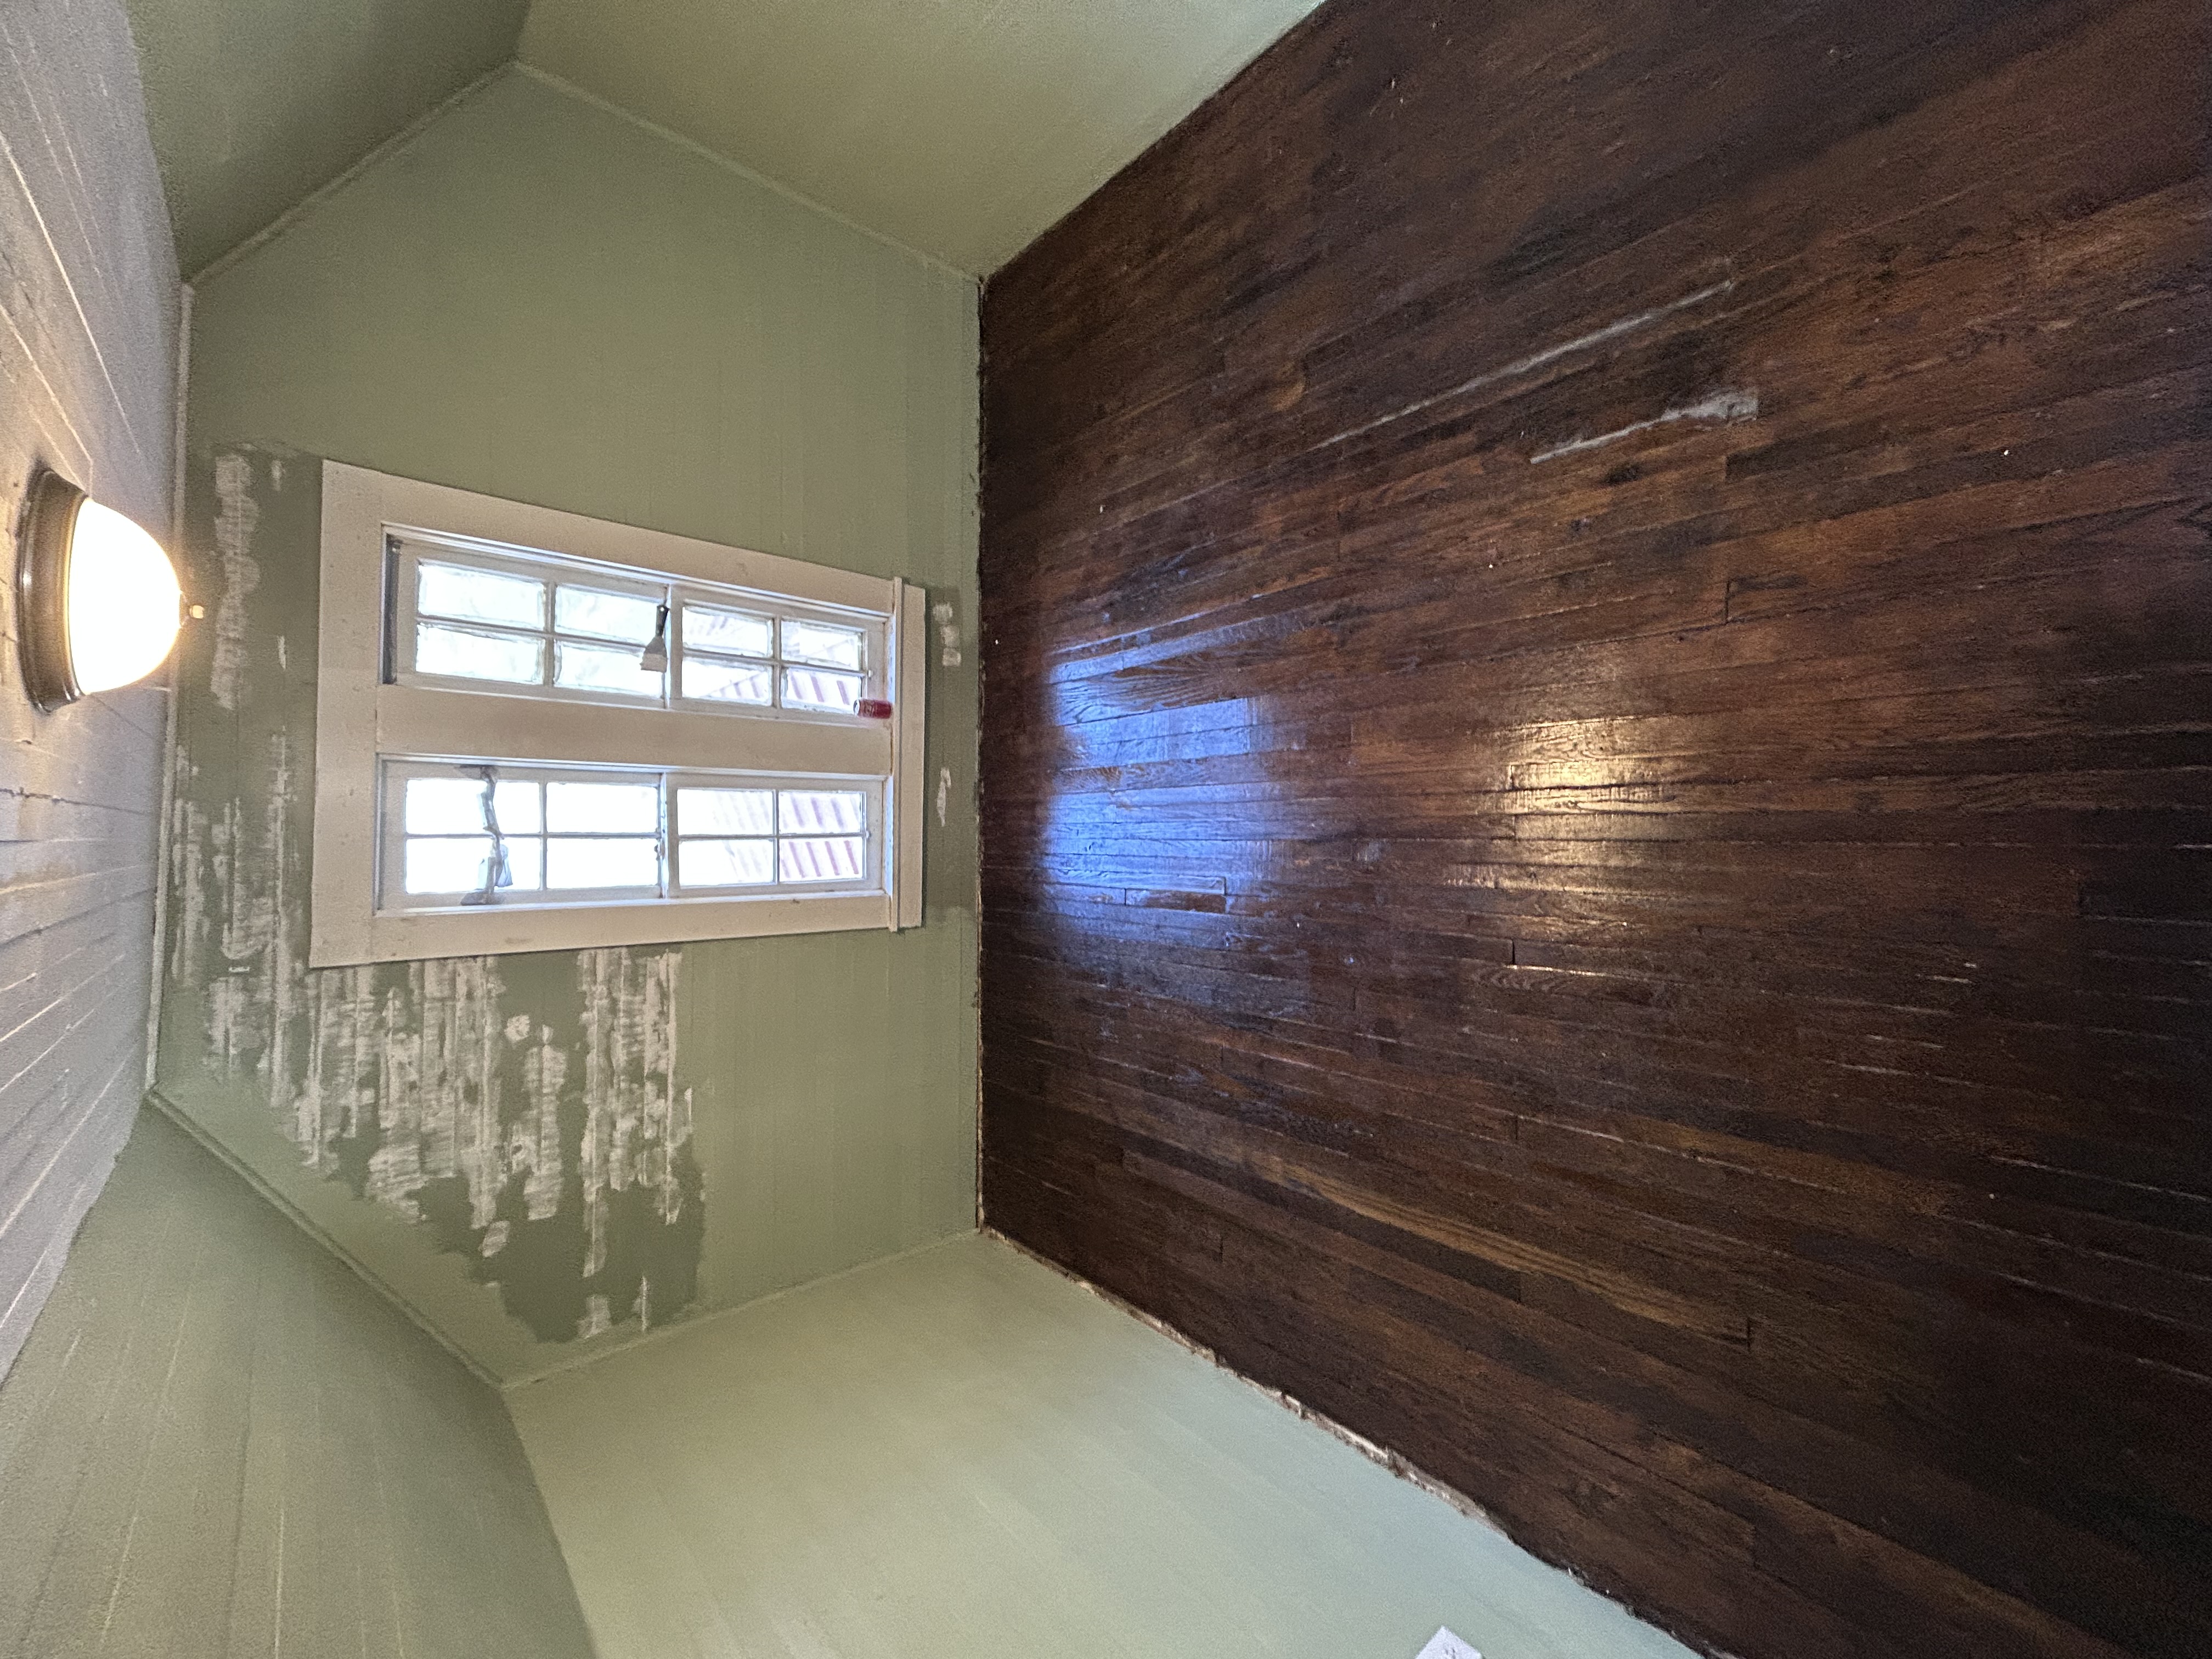
I applied a full coat of primer to both the walls and ceiling. Once dry, I painted the walls a muted sage green to stay true to the home’s historic feel, and refreshed the ceiling in a soft white for contrast and brightness
Step 5: Step 5: Refinish the Wood Floors


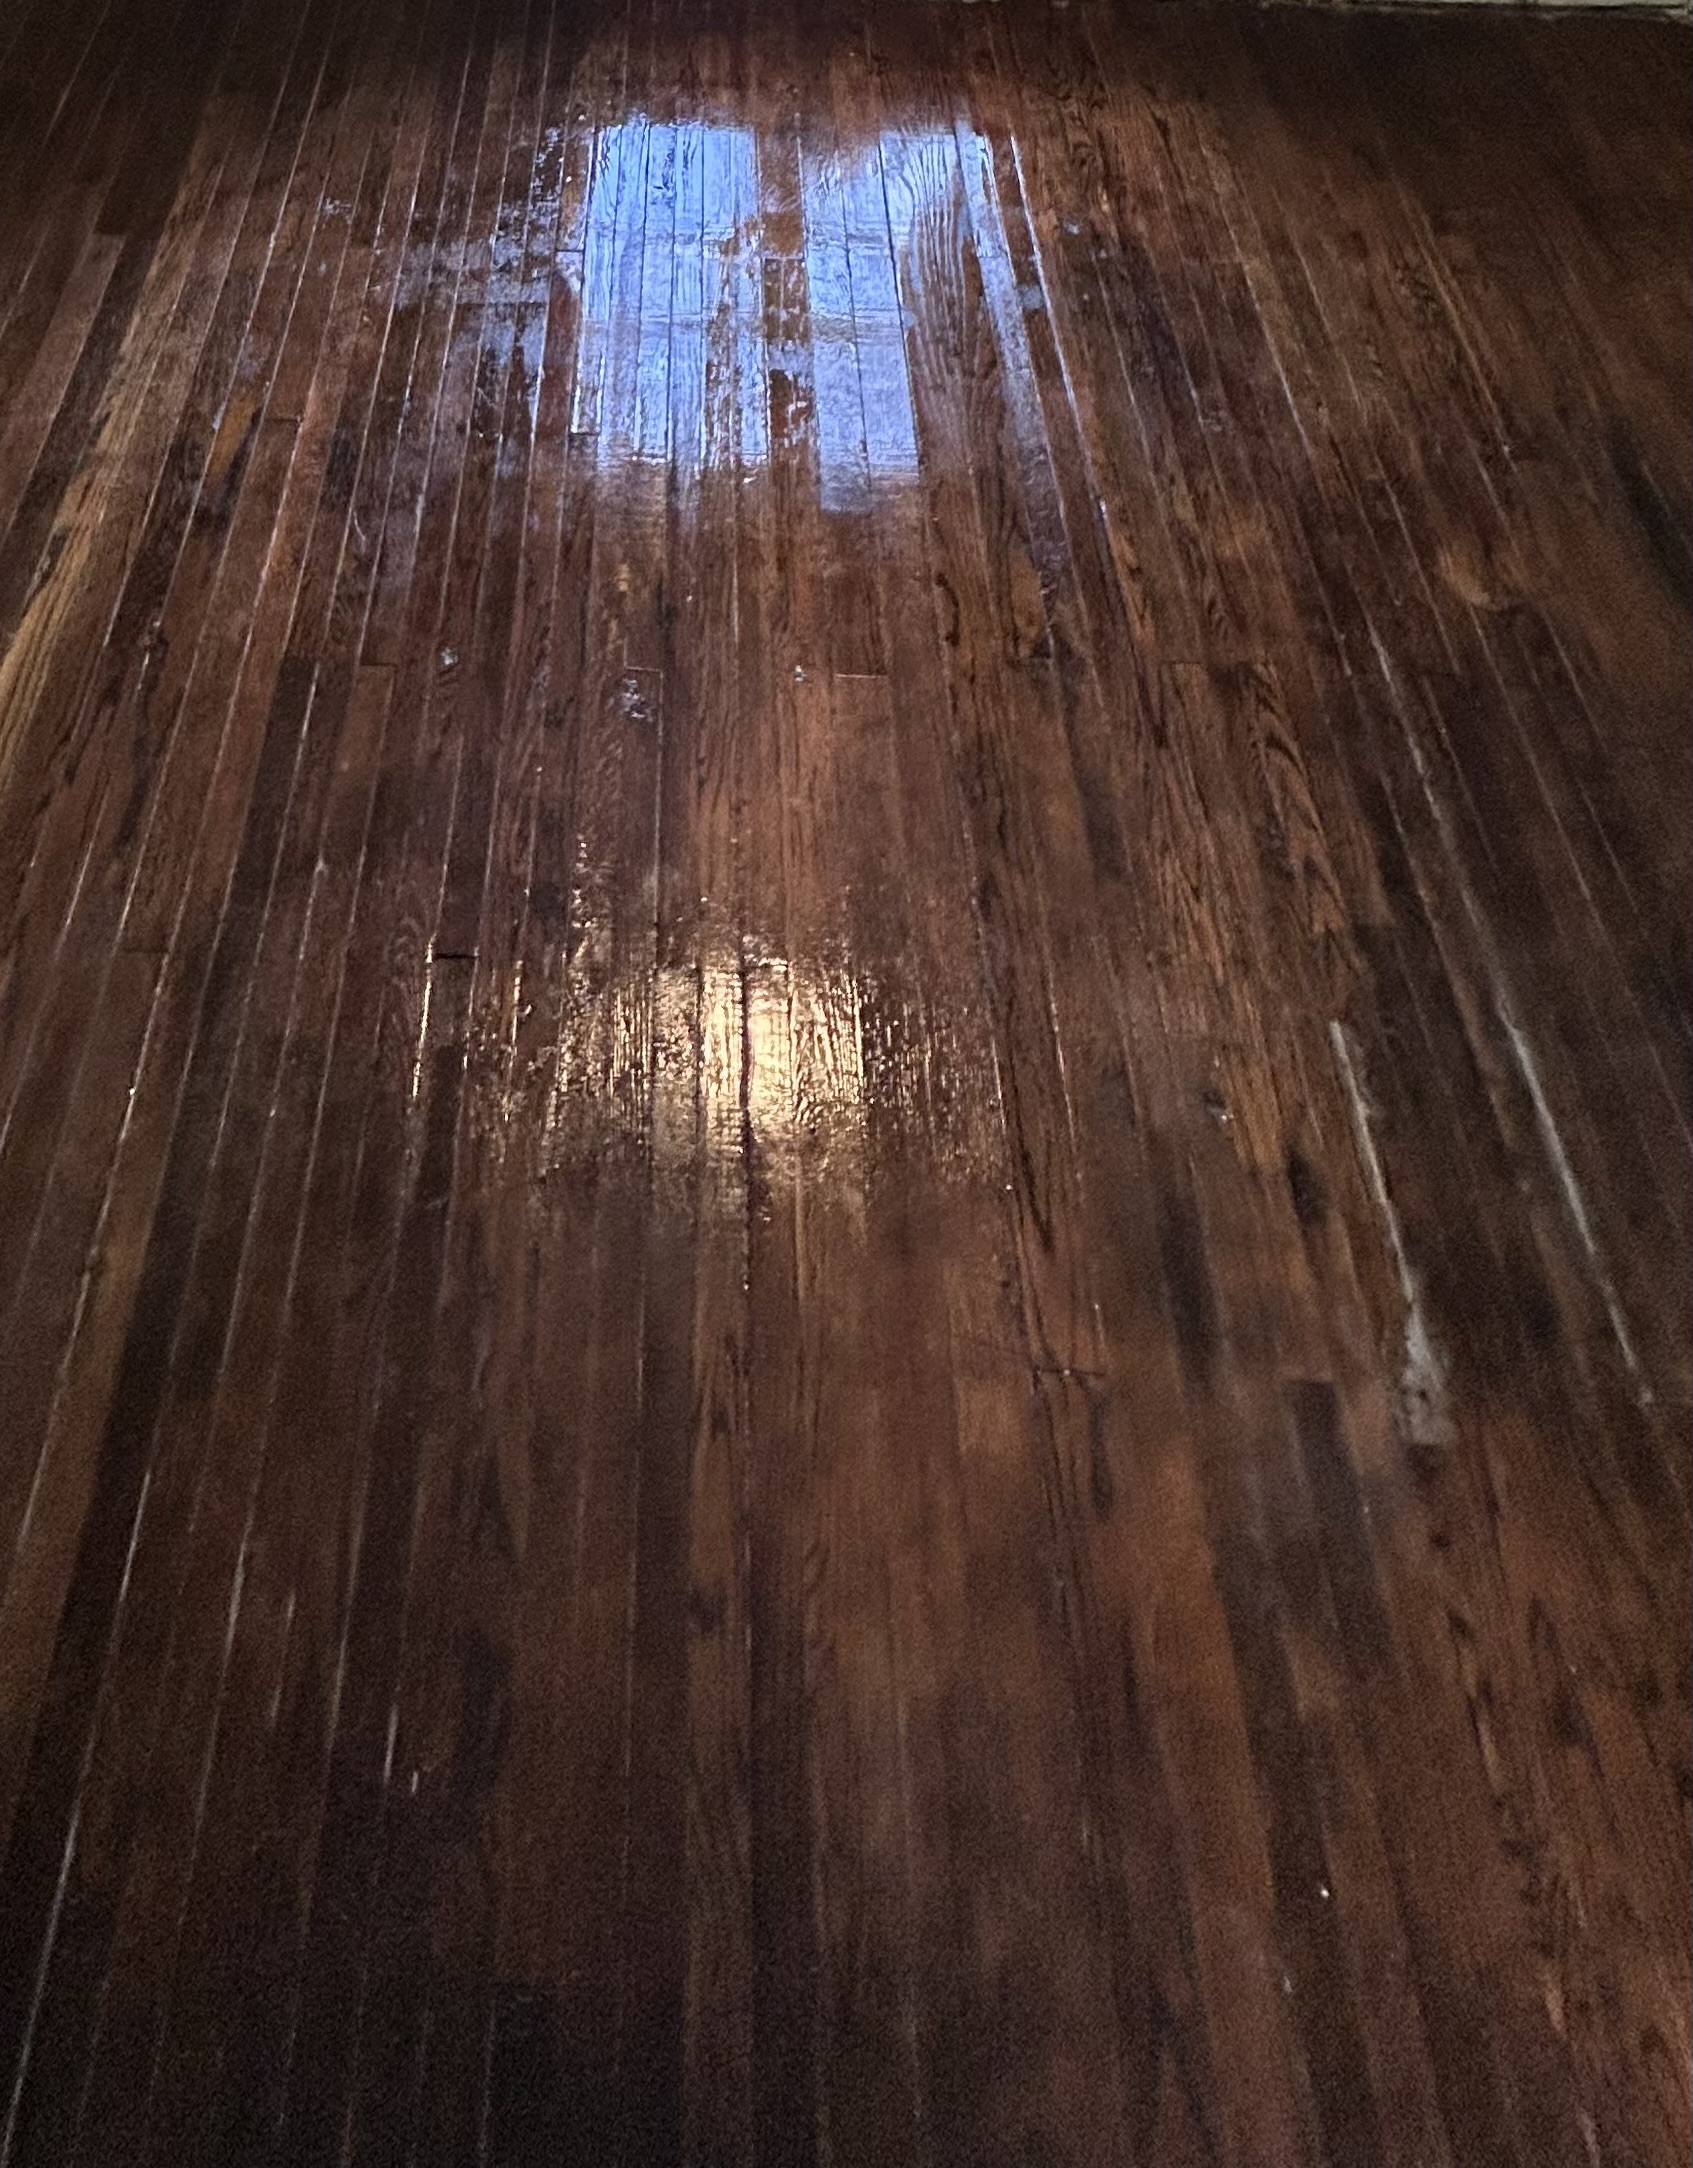
The floor needed love. I hand-sanded it in sections using a palm sander and sanding blocks, gradually working down the roughness. Then, I cleaned all the dust and applied a rich wood stain to restore its depth. Finally, I sealed it with multiple coats of polyurethane for durability and shine.
Step 6: Step 6: Repair Trim and Doors


The original trim and doors were cleaned, lightly sanded, and painted in a neutral off-white to complement the green walls and enhance the room’s vintage bones.
Step 7: Step 7: Reassemble the Room


I brought in classic, simple furniture to match the feel of the space—iron bed frame, vintage-style quilt, old nightstand, and a chest of drawers. My cat Garfield quickly made himself at home.
Step 8: Step 8: Final Touches
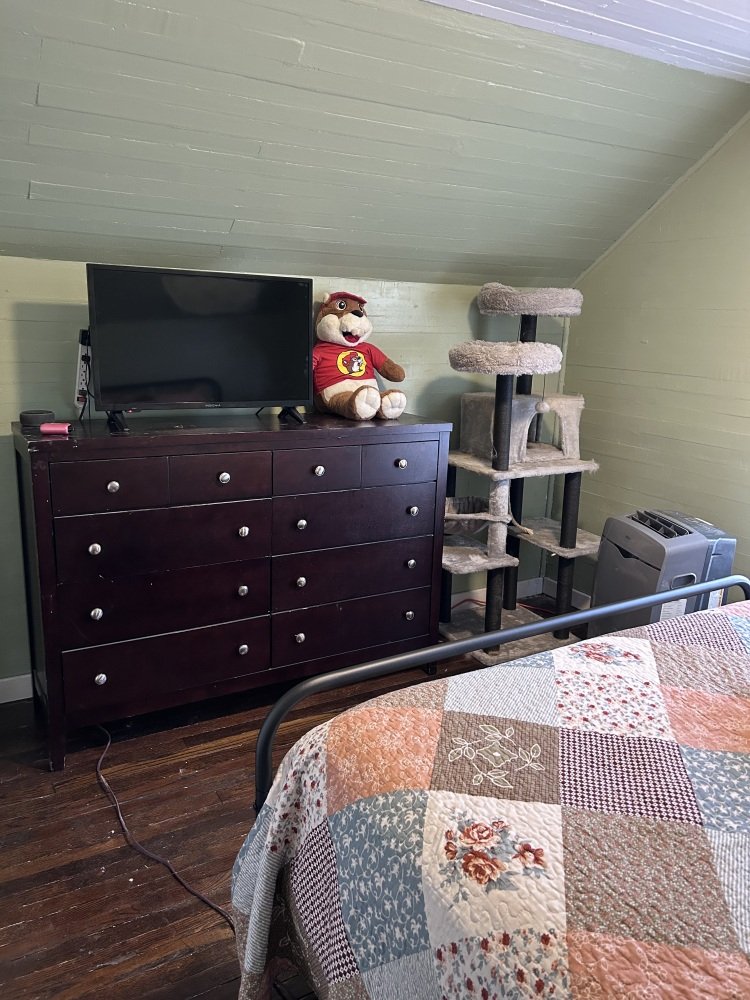
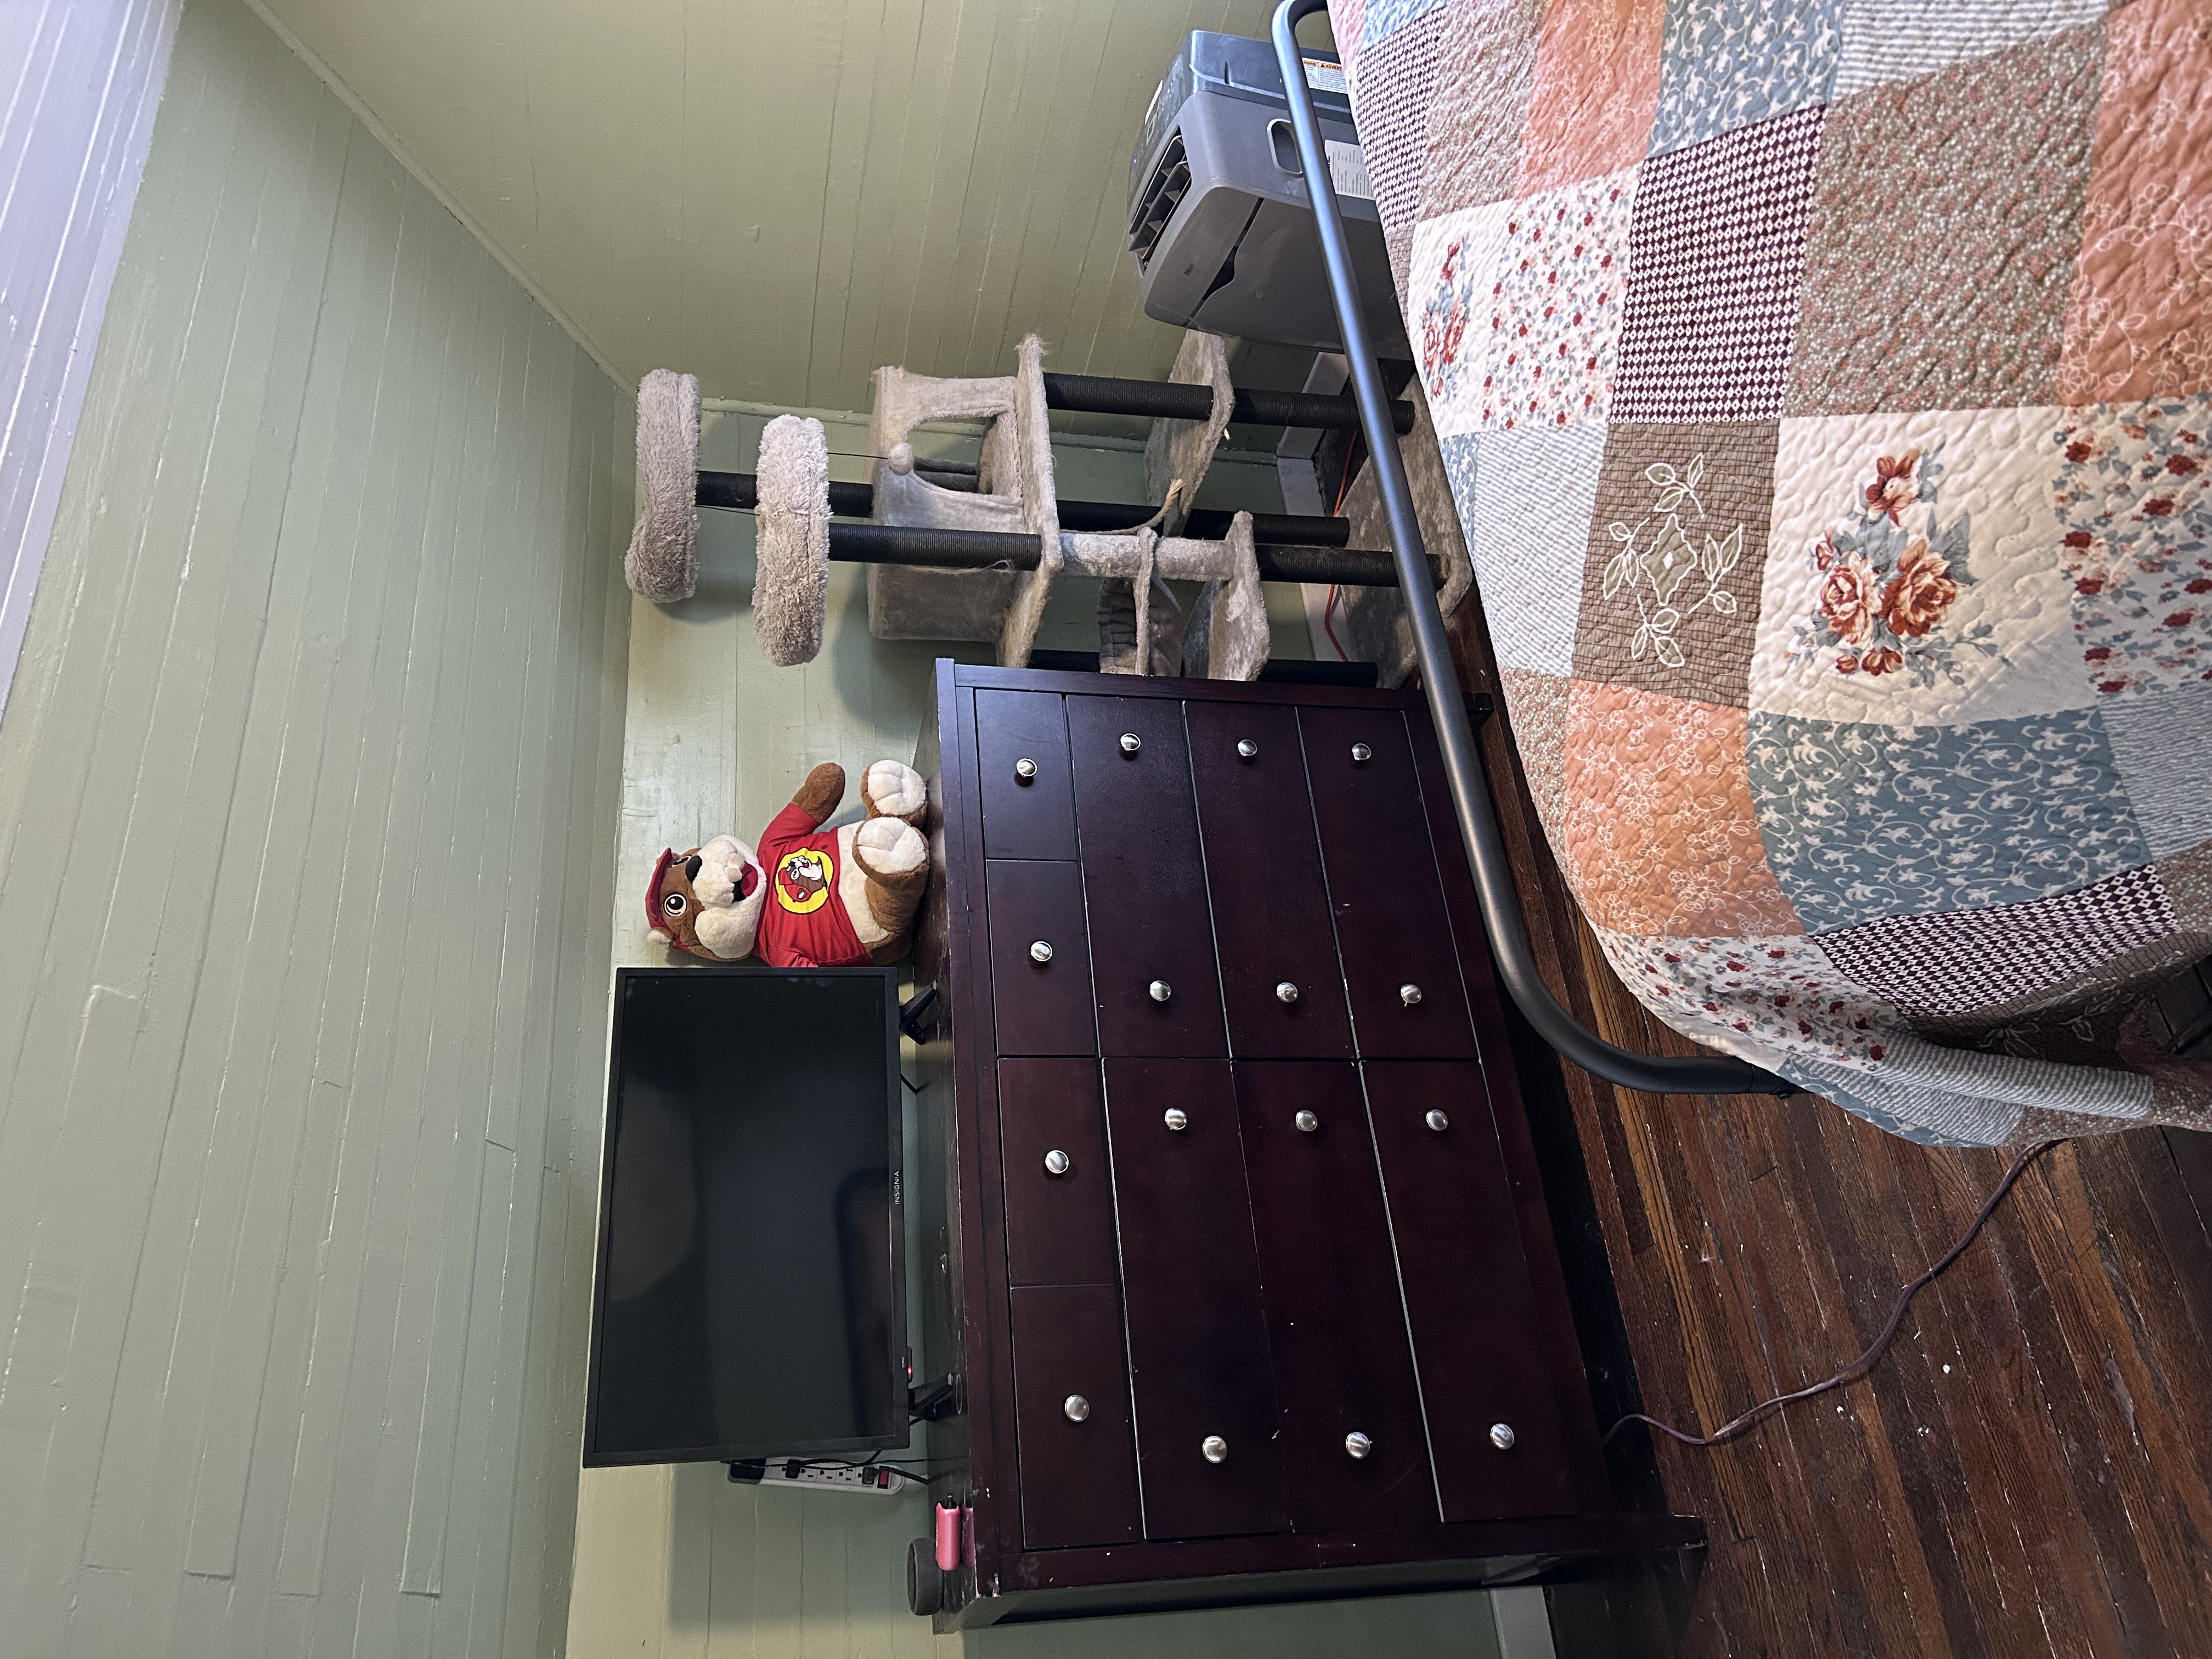
Sheer white curtains were added to soften the window light and preserve the historic charm. I added a cat tree, TV, and oil lamp for a blend of comfort and character.