

Aiwa Stereo Repair

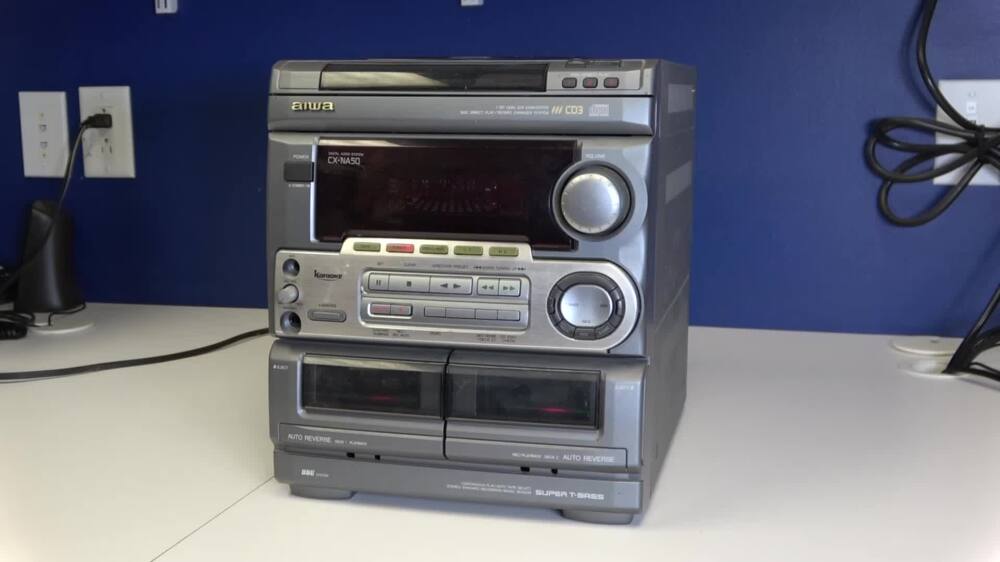
Picture this…you’re a high school senior jamming out to your favorite tunes on an Aiwa bookshelf stereo system! Oh, the marvel of a compact disc player. Who could forget the flashing LED lights that illuminate one’s bedroom like a dance floor?
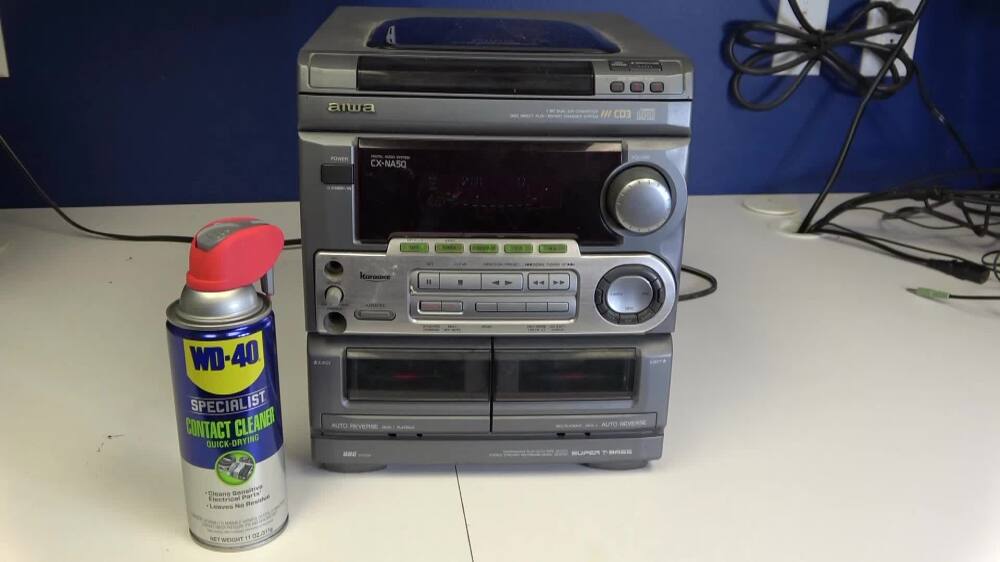
Unfortunately, this iconic part of my childhood quit working over 20 years ago. Ironically, the failure was both common and frustrating. The volume knob quit working! This unit has been sitting in my garage because I just cannot make myself throw it away.
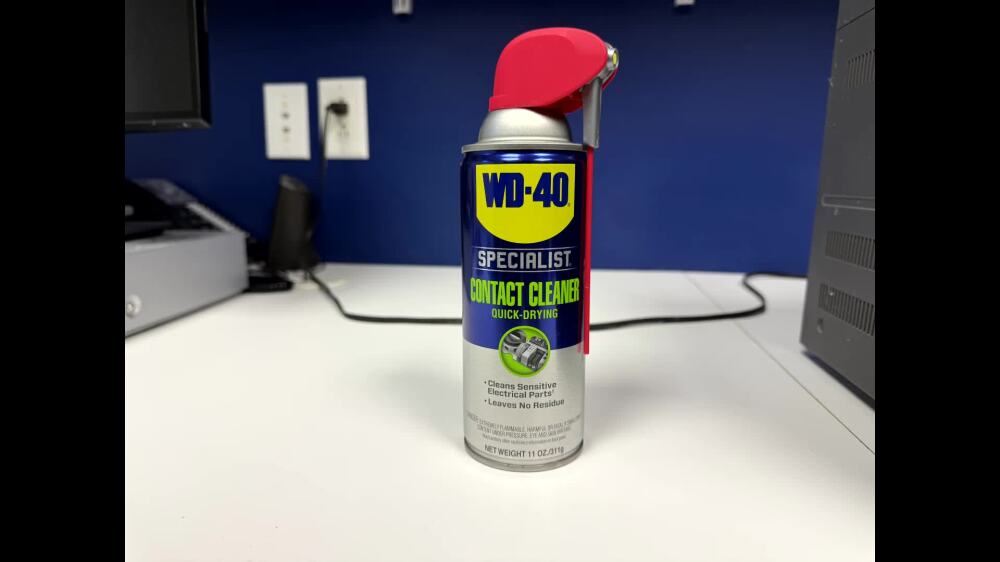
With the help of WD-40 Specialist Contact Cleaner, I am going to change the fate of this forever loved stereo system. I am going to repair the volume knob and playback my favorite memories from the past.
Step 1: Remove Front Bezel
Before unplugging the system, open the CD tray to remove the front bezel. You can remove the bezel by simply releasing the three tabs underneath.
After removing the bezel, close the CD tray and unplug the system.
Step 2: Remove Optical Port Cover
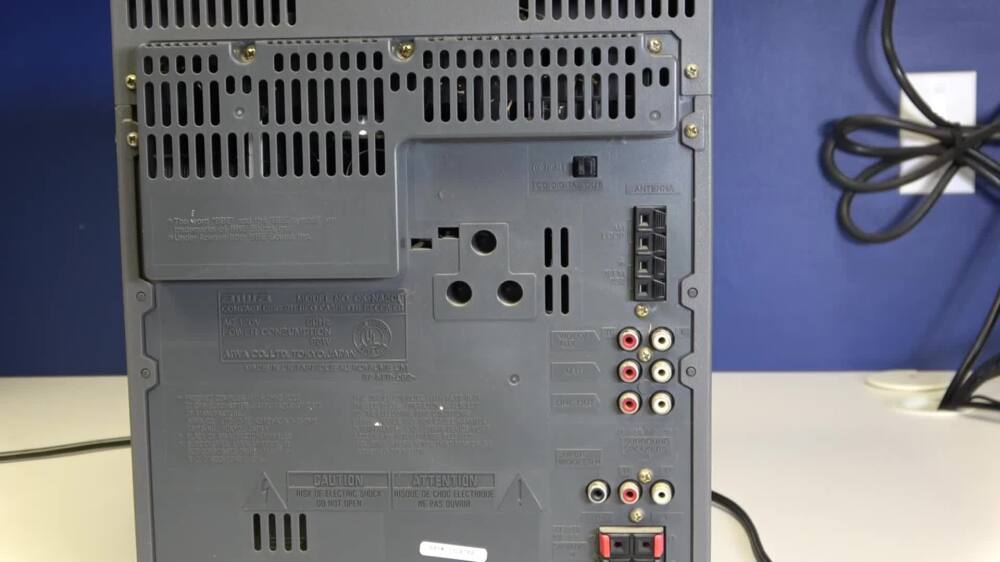
Remove the optical port cover, located on the rear of the unit. The optical port cover must be removed because the port is part of the CD player assembly which will be removed in a later step.
Step 3: Remove Top Cover
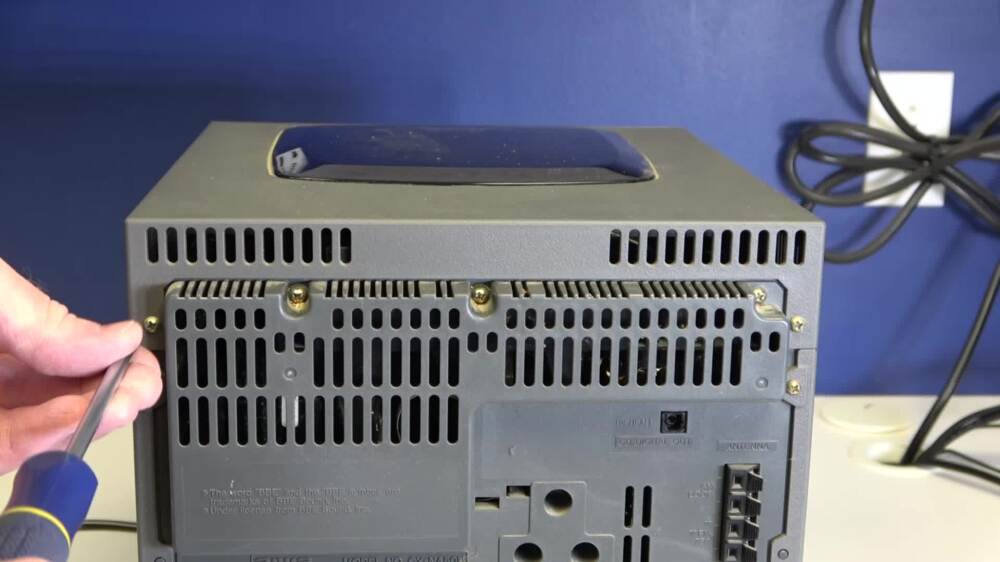
Remove the two screws that fasten the top cover to the unit. After removing the screws, simply lift up and slide the cover towards you to remove it entirely.
Step 4: Remove Side Panels
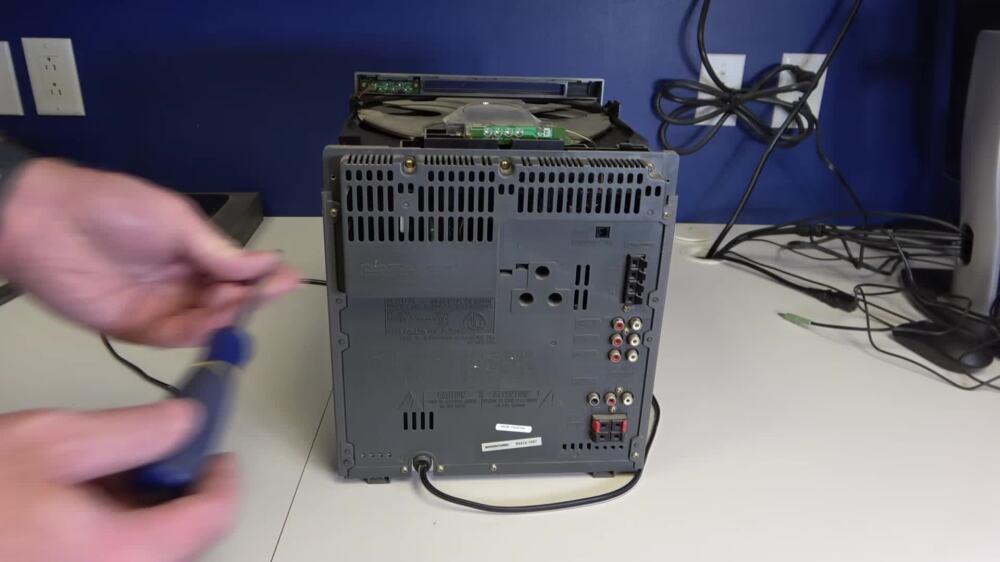
Each side panel is held on with two screws. After removing the pair of screws, you can simply slide the panel towards the rear of the unit to remove it. The side panel covering the main board (closest to rear audio jacks) has a tendency to stick. You may need to pull on the panel to release it.
Step 5: Remove CD Player Cables
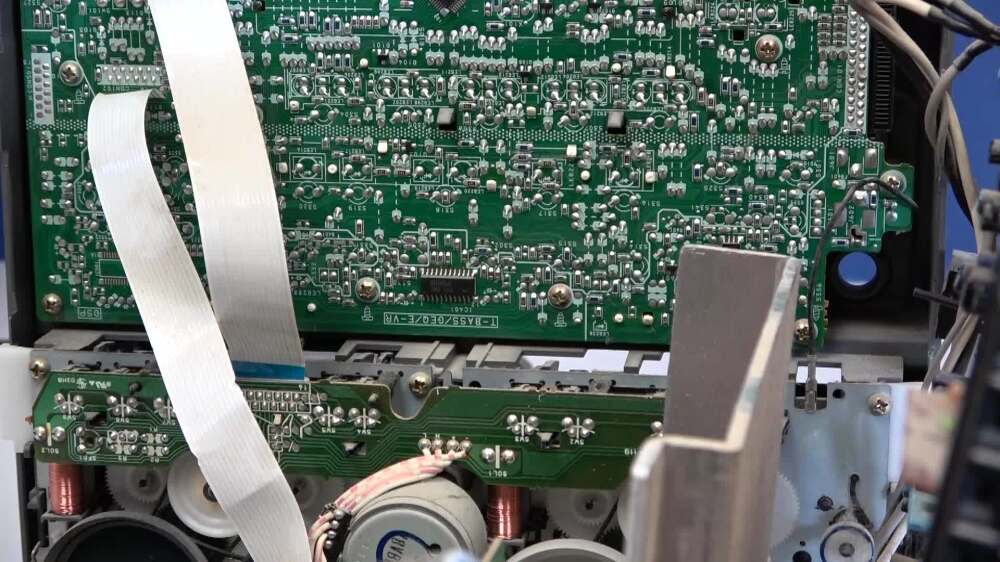
There are two cables that connect the CD player to the unit. The narrow cable, connected to the main board, is the power cable. The wide cable connects the CD player to the front control board. Both cables must be removed in order to remove the CD player.
Step 6: Remove CD Player Assembly
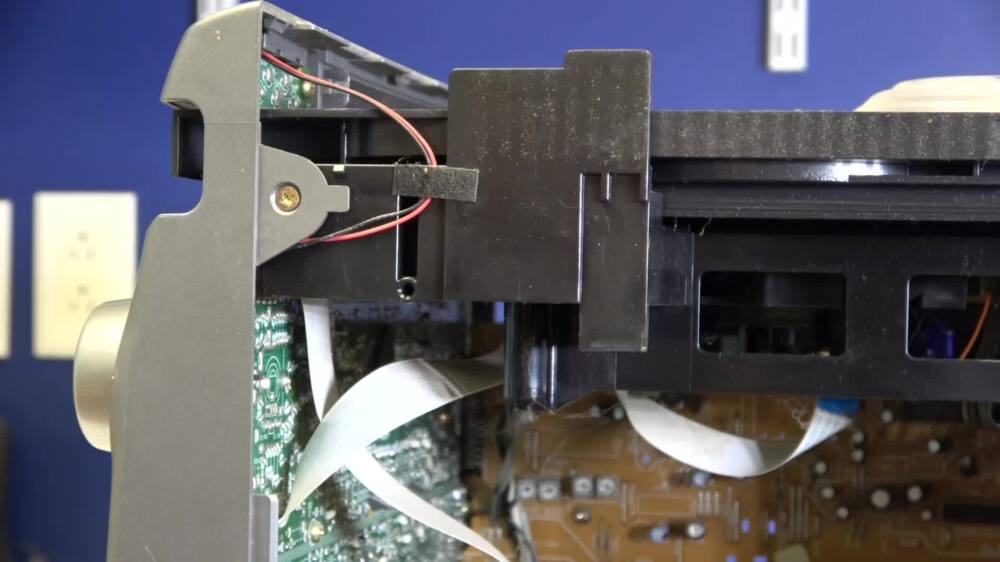
The CD player assembly is held in place with five (5) screws. There are two (2) screws at the front of the unit and three (3) screws at the rear of the unit. There is a small piece of adhesive holding a red and black wire to the side of the CD player assembly. Be sure to pull this back prior to removal. You should now be able to lift the CD player assembly out of the unit and set it aside.
Step 7: Remove Back Panel
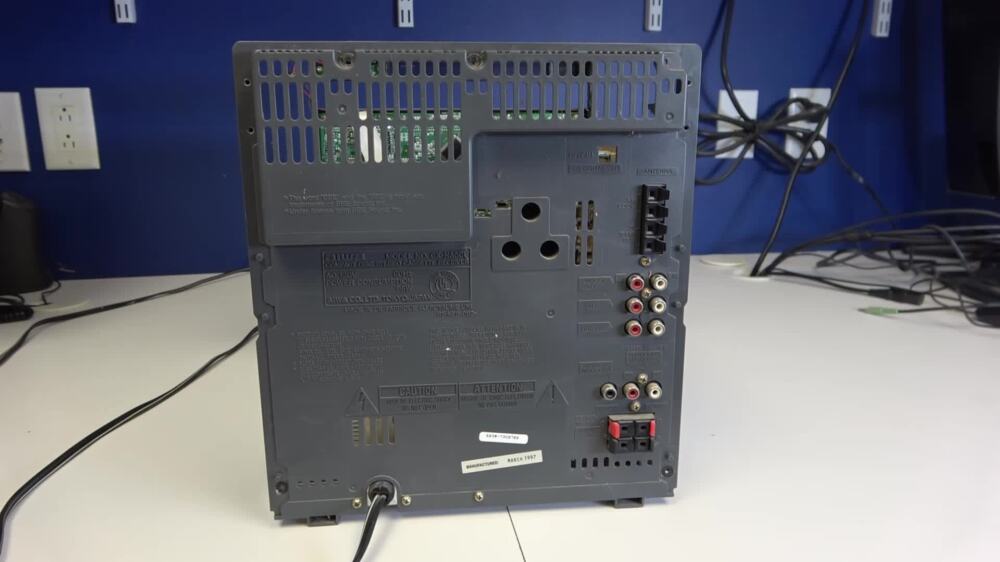
The back panel is held in place with seven (7) screws. Remove all of the screws and use extra care around the audio jacks. There is also a small hook that holds a cable to the back cover. You will need to lift the cable from the hook prior to removing the panel. After the screws and cable are removed, the back panel should lift off.
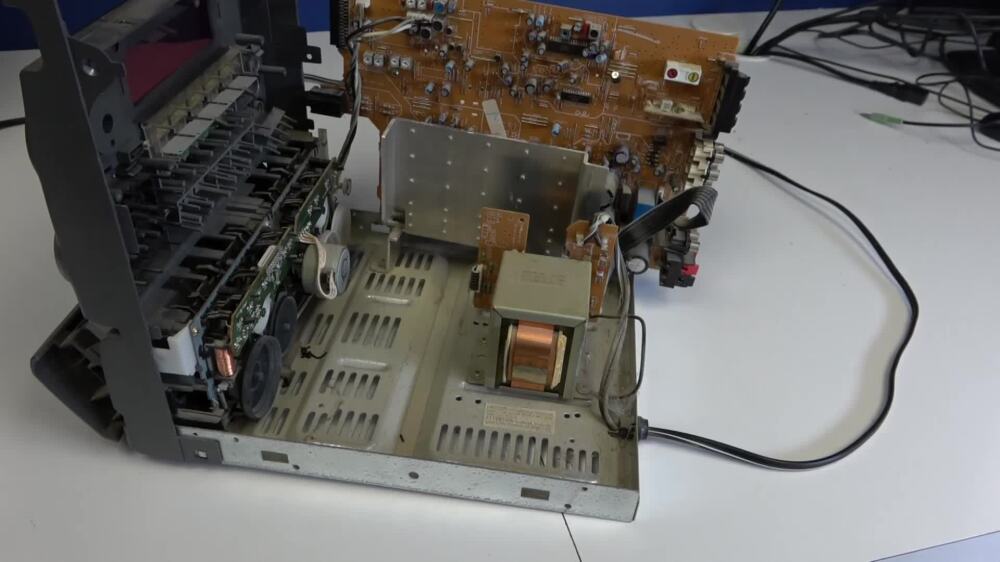
Step 8: Partially Remove Main Circuit Board
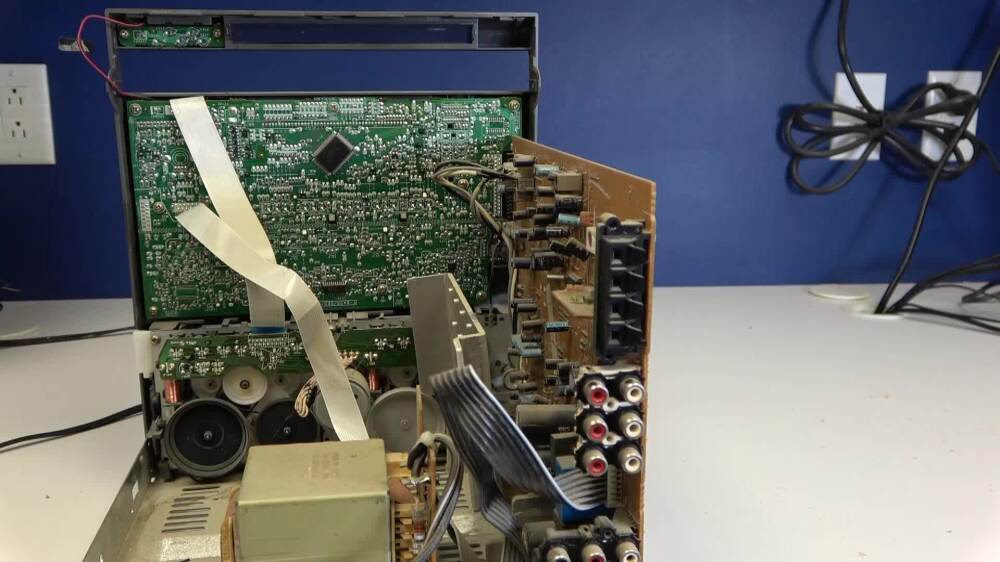
There are four (4) screws that hold the main circuit board in place. Two (2) screws are located on the bottom of the unit. Two (2) screws are located on the side of the unit. After all screws are removed, gently pull back on the main board to separate it from the front board. Be careful not to damage the socket that connects the two boards.
Step 9: Prepare for Front Control Board Removal
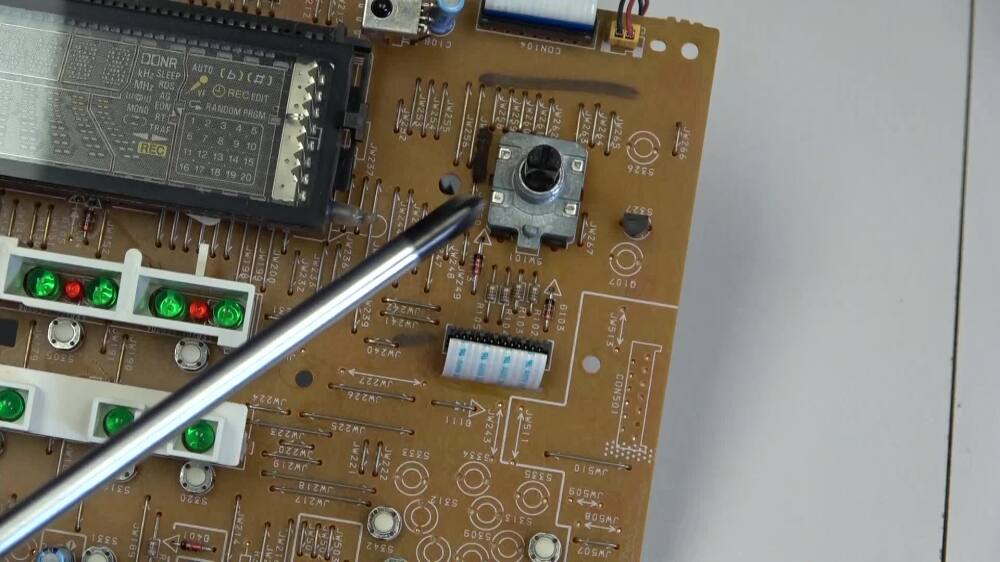
Disconnect front control board cable from the tape deck. Gently pull the volume knob towards you to remove it. There are eleven (11) screws that secure the front control board. The two screws on the bottom right will require a short-handled screwdriver.
Step 10: Remove Front Control Board
There are two plastic tabs that hold the front control board in place. Press these two tabs to release the control board from the unit. There is a black ground wire that is connected to the frame using a spade connector. Remove this wire from the frame. There is also a red and black wire that runs from the control board to the CD changer control board. You may either disconnect the wire from the front control board or alternatively you may remove the CD changer control board.
Pay close attention to the plastic pieces behind the control board. These pieces provide illumination and control for the stereo. They can be tricky to match up if they fall out. If any pieces fall out, replace them immediately so you remember their exact position.
Step 11: Repair Volume Control Assembly

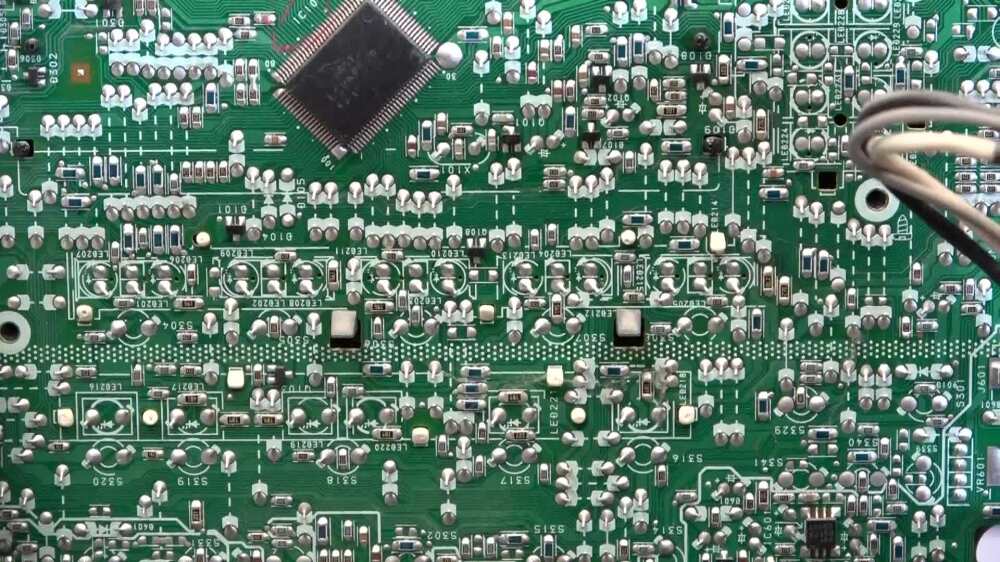
Use WD-40 Specialist Contact Cleaner to clean the back of the control board. Be sure to shake the can well before use and only use in a well-ventilated area. The results are evident in the close-up images.
Use a small screwdriver to bend the tabs on the volume control assembly out of the way. Be careful not to bend the tabs too far. Once the tabs are out of the way, lift off the top piece. Hold the piece on its side and spray with WD-40 Specialist Contact Cleaner. Once again, be sure to shake the can well before use and only use in a well-ventilated area.
Spray the bottom half of the volume control assembly with WD-40 Specialist Contact Cleaner. Be sure to tilt the board while spraying to help the excess cleaner runoff. Allow the board to dry completely and reinstall the top half. Be sure the the tab on the top half is facing down. After the top half is in position, bend all of the tabs back into place. Double-check to be sure that all four tabs are in contact with the top half of the assembly.
Step 12: Clean the Unit
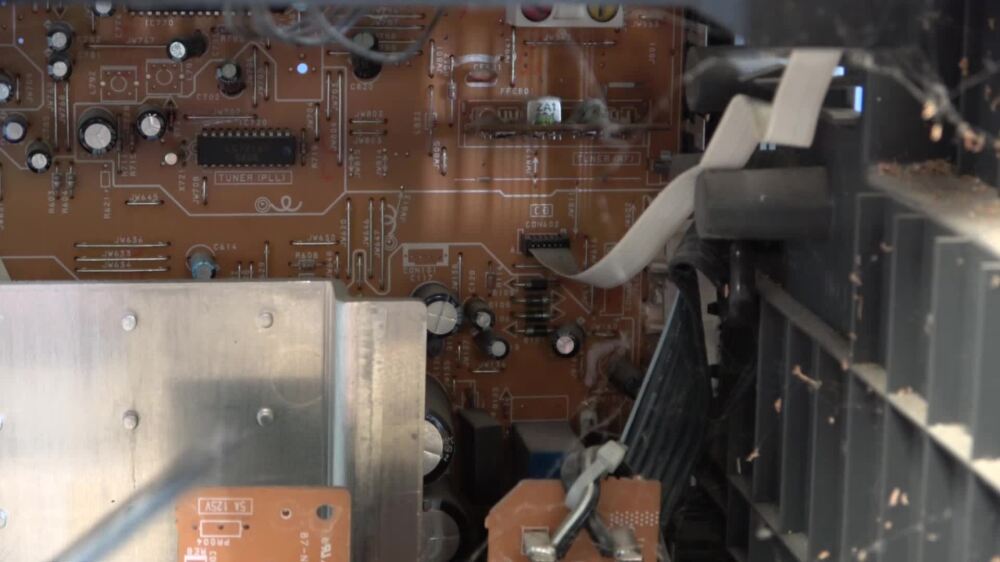
Before reassembling the unit, be sure to blow out any excess dust or debris. You can use a disposable can of air duster or a suitable alternative. In this case, I am using an electric air duster/blower that is safe for electronics.
After using an air duster, use WD-40 Specialist Contact Cleaner to clean the main control board. The board is already in a vertical position. Simply spray it and give it a few moments to dry.
Additionally, use WD-40 Specialist Contact Cleaner to clean the audio jacks at the rear of the unit. Spray thoroughly and allow a few moments for them to dry.
Step 13: Reassemble the Unit and Test Operation
Reassemble the unit by following steps 1-10 in reverse order. Pay particular attention to the quantity of fasteners used in each step. Take your time. The unit should not be plugged in until you reassemble the front bezel on the CD tray.
Test the repair and relive your childhood!