

Bringing Back Old Rusty Back to Life!

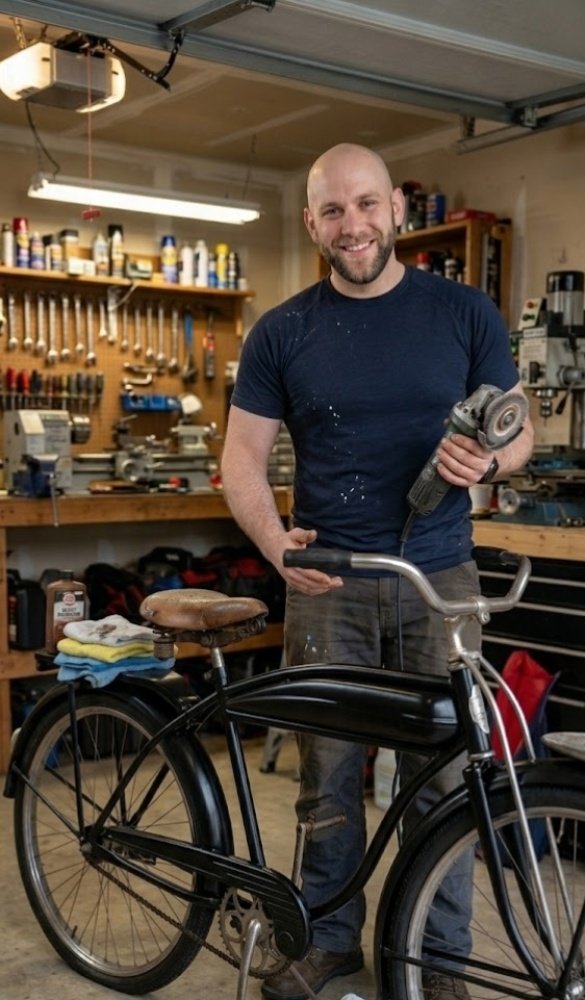


The bike restoration project turned out to be a massive success, transforming a heavily weathered, vintage bicycle into a sleek, functional machine. "Old Rusty" has been in the family so many years so this project was quite fun!
Here is a breakdown of how the project went
The Rust Removal Process: The project started with a bike covered in a heavy, deep layer of surface rust. Through careful effort, the rust was completely stripped away, revealing a beautiful, clean, matte black frame underneath.
Tools Used:
Wire Brushes & Sanding Blocks: Used in the initial stages to manually scrub and break down the thickest layers of rust on the main frame.
Power Grinder / Rotary Tool: Equipped with a wire wheel/abrasive disc attachment to efficiently polish away stubborn corrosion and smooth out the metal surfaces.
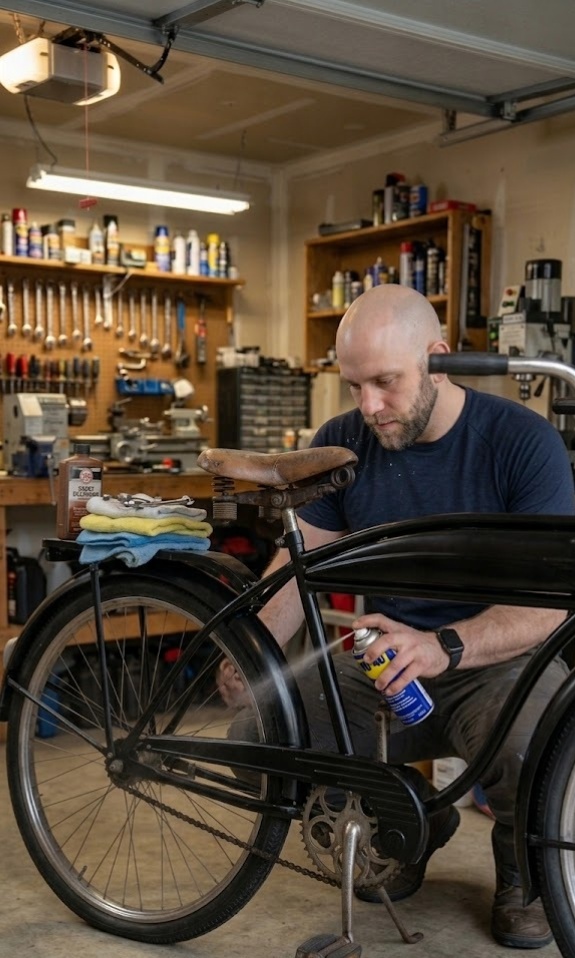
How WD-40 Was Used & Helped: A can of classic WD-40 was brought in to tackle the mechanical components. It was sprayed directly into the chain, sprocket, and rear wheel hub areas. The fine spray penetrated the stiff, rusted chain links, freeing up the seized drivetrain, displacing trapped moisture, and providing a protective layer of lubrication to ensure smooth pedaling.
Step 1: Wire Brush is your friend
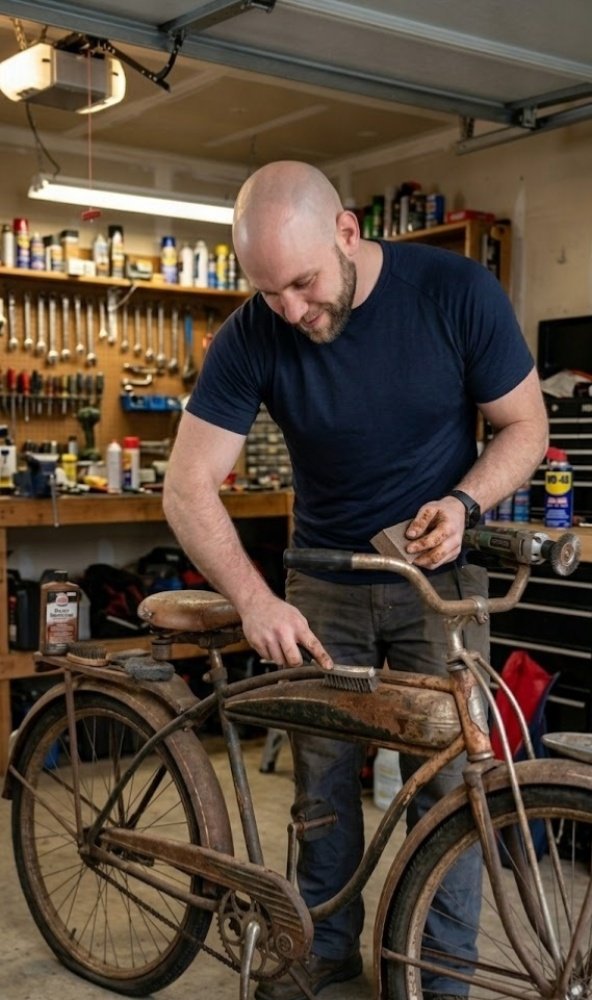

A simple wire brush was used to scrub and break down the thickest layers of rust on the main frame
Step 2: Rotary Tools


Power Grinder / Rotary Tool: Equipped with a wire wheel/abrasive disc attachment to efficiently polish away stubborn corrosion and smooth out the metal surfaces.
Step 3: Our Classic Friend WD40


A can of classic WD-40 was brought in to tackle the mechanical components. It was sprayed directly into the chain, sprocket, and rear wheel hub areas. The fine spray penetrated the stiff, rusted chain links, freeing up the seized drivetrain, displacing trapped moisture, and providing a protective layer of lubrication to ensure smooth pedaling.