

Saving a 1985 BMW

After 40 years of driving and multiple owners tinkering on it, this 1985 BMW needed a serious refresh! We had never done anything like this but knew the car needed some work before we could safely enjoy driving it. The goal of this project was to restore and upgrade the rear subframe of the car so it could keep driving safely and smoothly into its vintage car years.
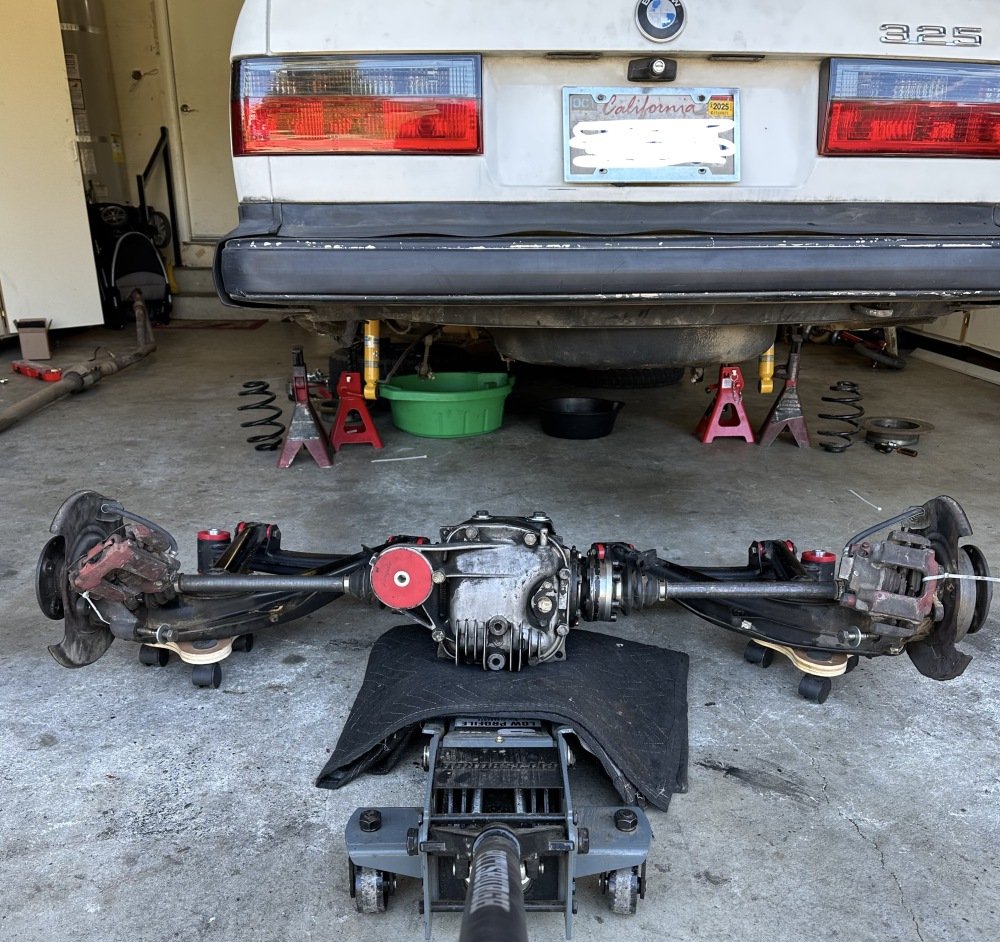
Step 1: Remove the subframe
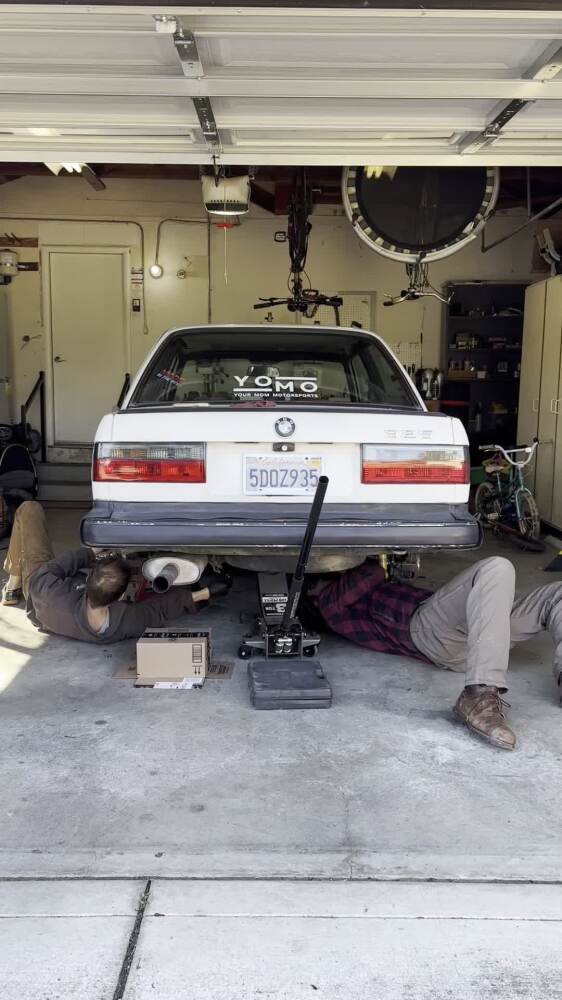
We called in some friends and got to work removing the rear subframe. This was quite a task since it is connected in so many places and bolted in with 40 year old hardware caked in decades of muck. It took a lot of elbow grease and lubricant to get those bolts to move!
First, we took off the wheels and removed the exhaust. Then, we disconnected the axels and the drive shaft and slowly lowered the entire subframe down to the ground.
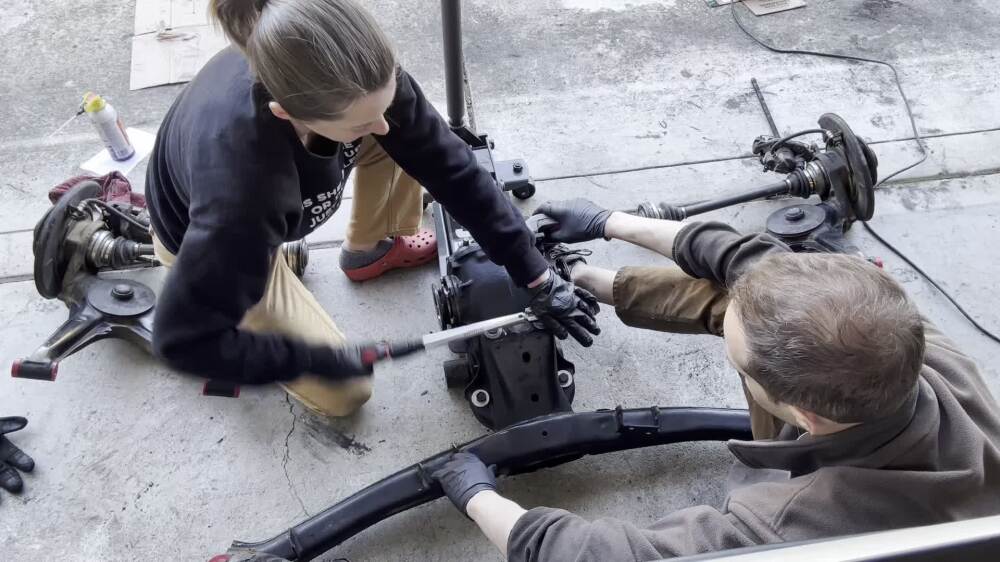
Step 2: Replace the mounts & scrub it clean
The old subframe mounts were cracked and disintegrating. We used a combination of drill bits, lubricant, and a hydraulic press to get all the old rubber out.
Then, we took a wire brush to the subframe itself to scrub off many years of grease and dirt build up. Finally, we pressed the new mounts into place and the subframe looked good as new!
Step 3: Reassemble and enjoy!
We put all the subframe pieces back together and lined everything back up to re-attached the subframe to the car, slipping the hardware into the new mounts with ease. Once everything was bolted back together, we lowered the BMW back onto the ground and hopped in for a ride around the block to feel the difference a little effort (and a lot of lubricant) can make!