

The Sticky Symphony: Saving Grandma’s Piano One Key at a Time

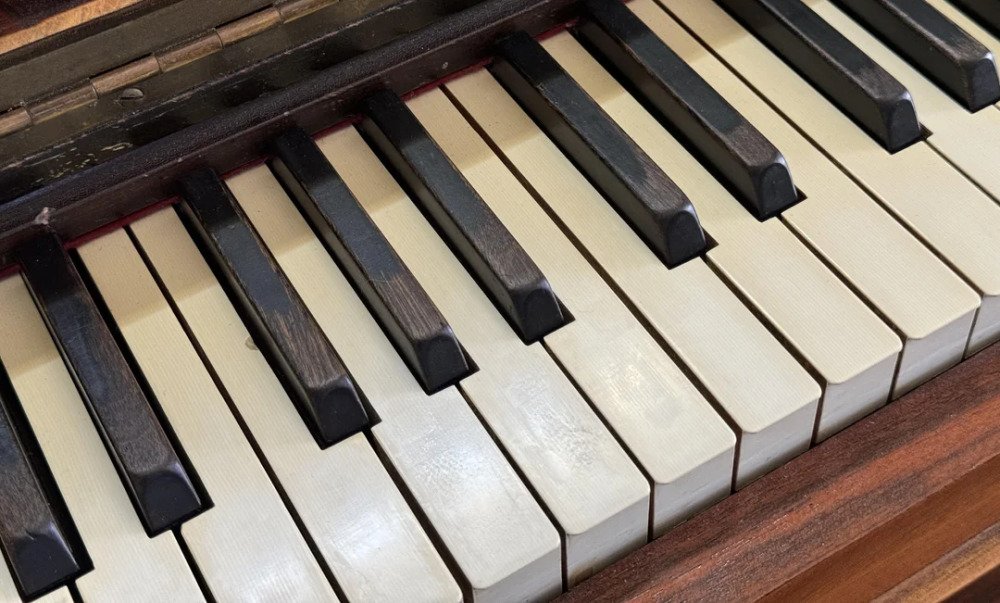
Grandma's piano sounded more like a haunted house soundtrack — keys sticking, clunking, or refusing to play at all. Dust, grime, and old age had turned our family heirloom into a musical no-go.
Thanks to the help with WD-40, the results include smooth, responsive keys that glide like a dream. The piano plays Bach instead of “clunk.” WD-40® Specialist® Contact Cleaner brought it back to life with a few spritzes and some TLC.
WD-40 didn’t just fix the stick — it hit the right note. The keys are clean, the mechanism smooth, and the heirloom? Ready to score a few more generations of living-room recitals (and maybe a few awkward "Chopsticks" renditions).
Step 1: Unplug and Open It Up

Open the piano casing carefully (upright or digital) to access the key bed and mechanism. Unplug it if it’s electric. Safety first — unless you want a shocking encore.
Step 2: Clean Out the Debris
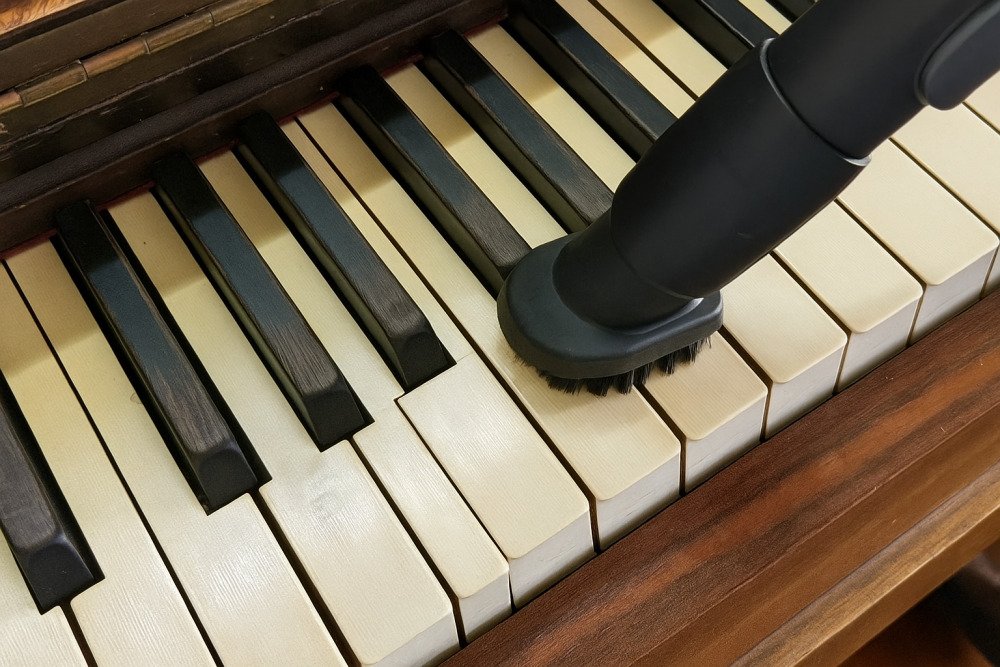

Use a soft brush or vacuum to remove dust bunnies that have been living rent-free since 1997.
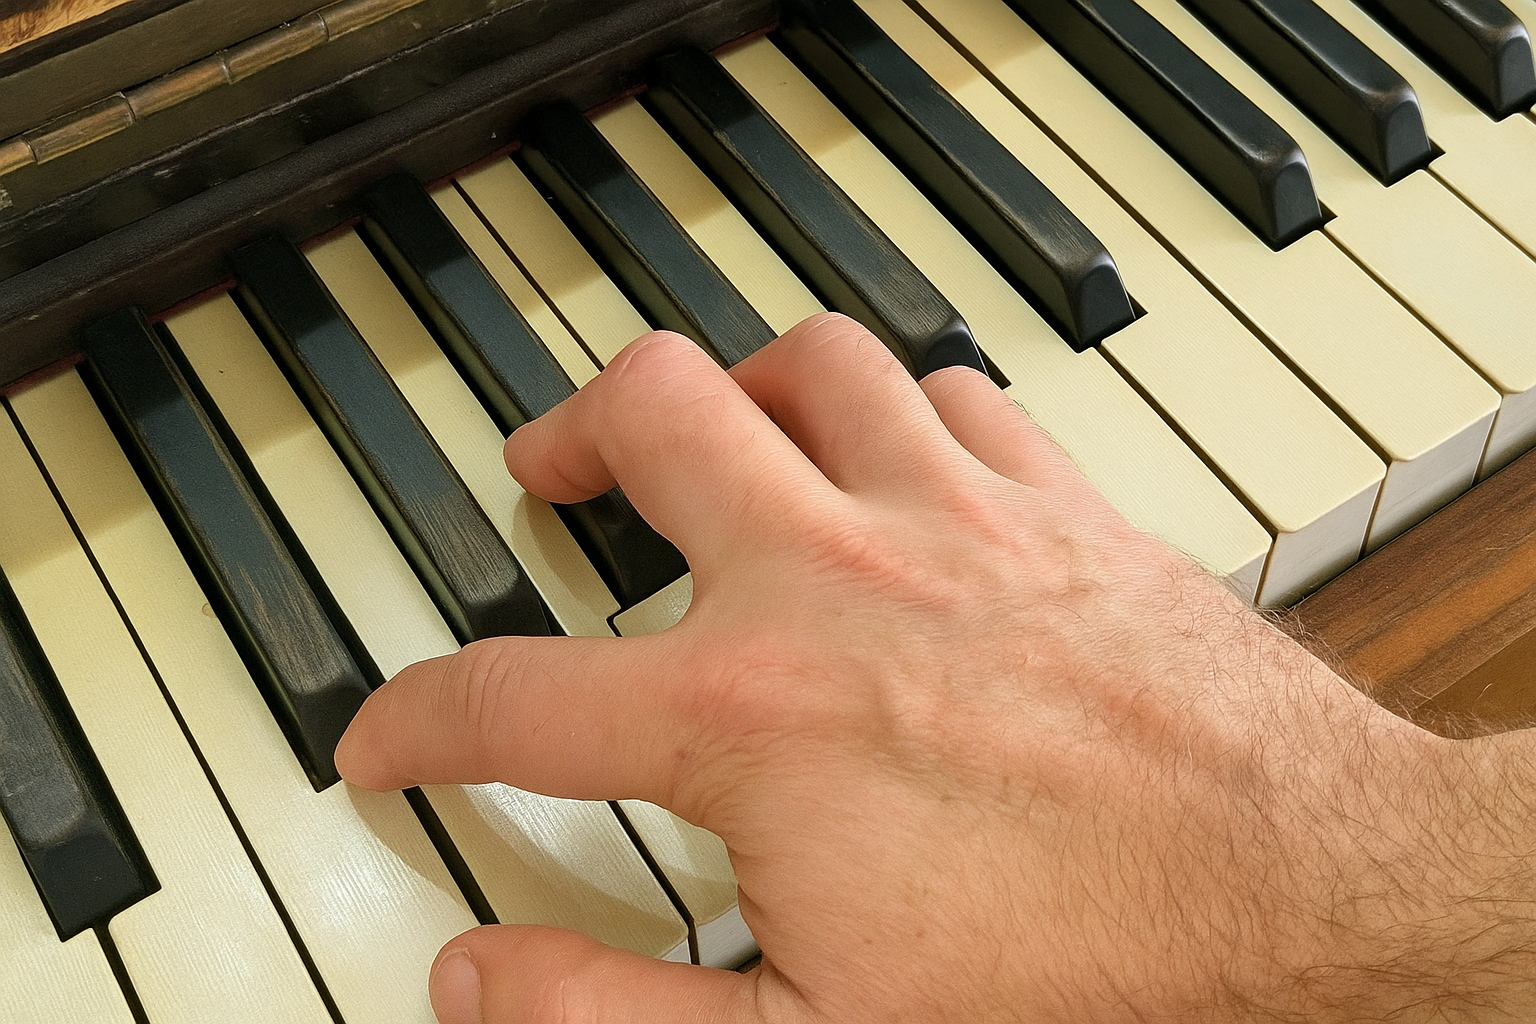
Step 3: Identify Sticky or Sluggish Keys

Press each key. The ones that lag behind like a teenager waking up for school are your problem children.
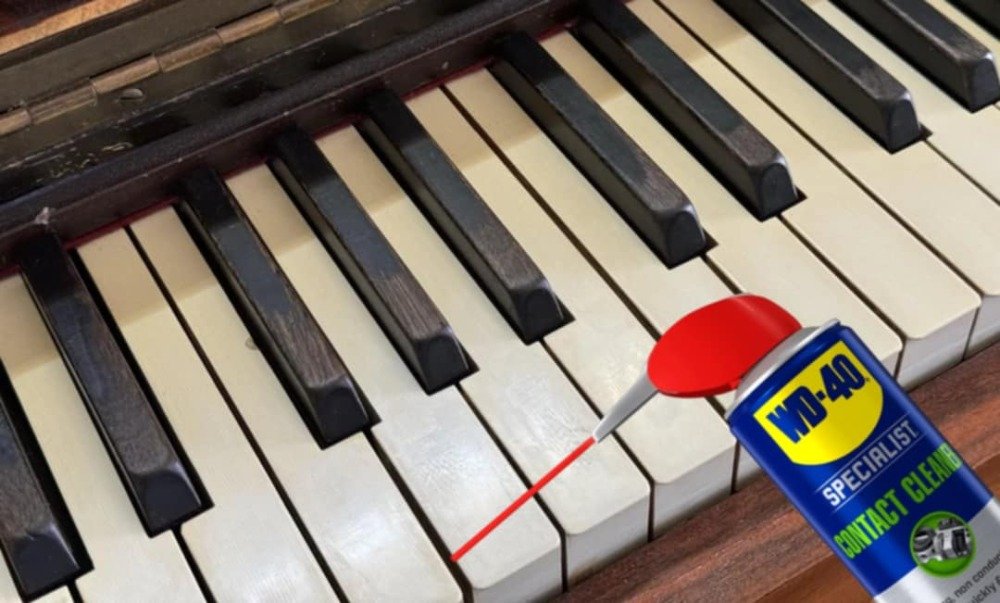
Step 4: Apply WD-40® Specialist® Contact Cleaner


Carefully lift the sticky key just enough to expose the mechanism. Spray a small amount of WD-40® Contact Cleaner into the pivot points or felt bushings.
PRO TIP: Use the smart straw for precision without flooding the area.
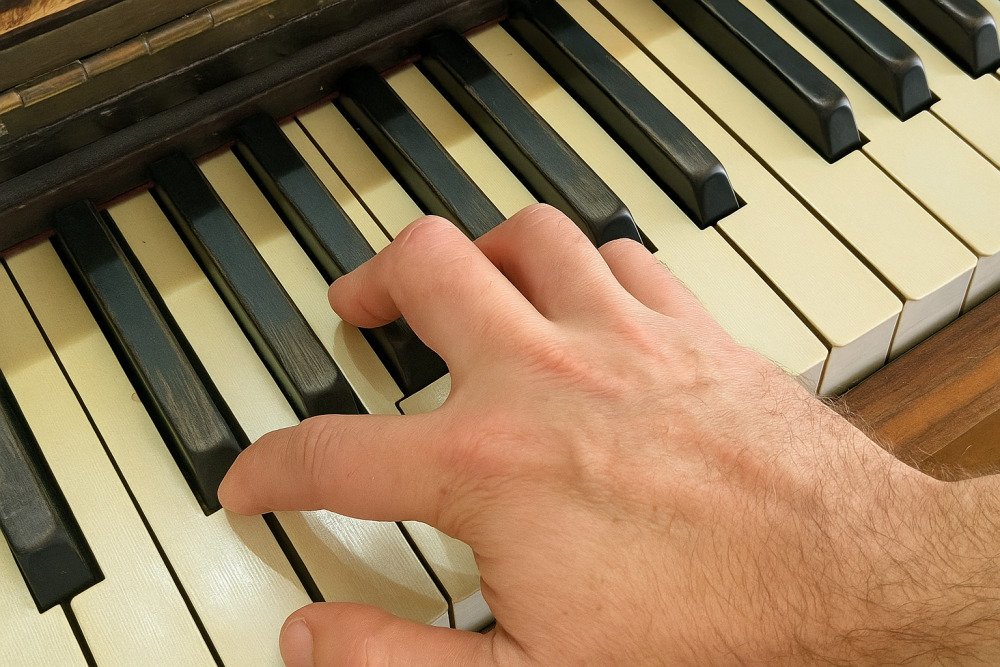
Step 5: Work the Key
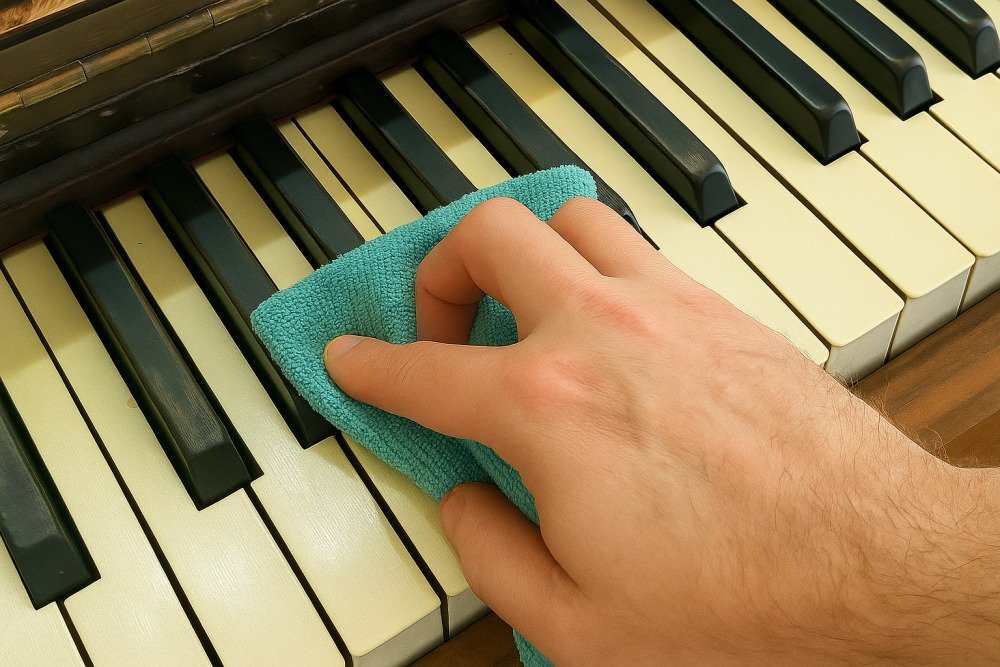

Press it repeatedly to distribute the cleaner and loosen grime. Wipe off any excess with a microfiber cloth.
Step 6: Repeat for Other Keys

Go key by key. You’ll feel the difference immediately. The keyboard gets smoother and more responsive, almost like it wants to be played again.