

The Things Worth Saving: Restoring My Grandfather’s Toolbox with WD-40

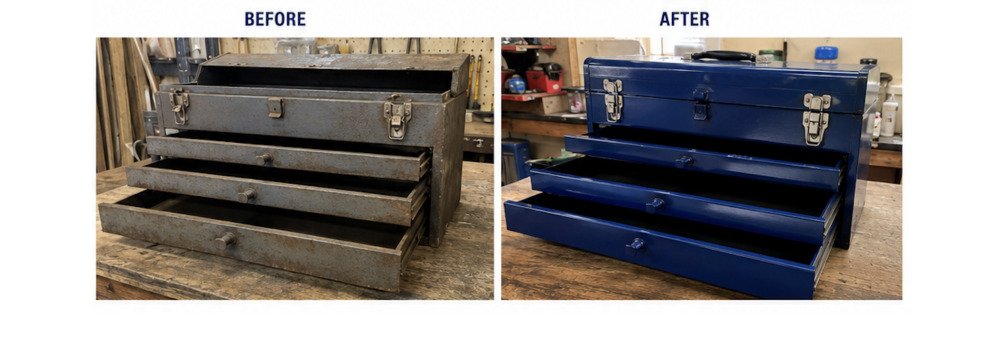

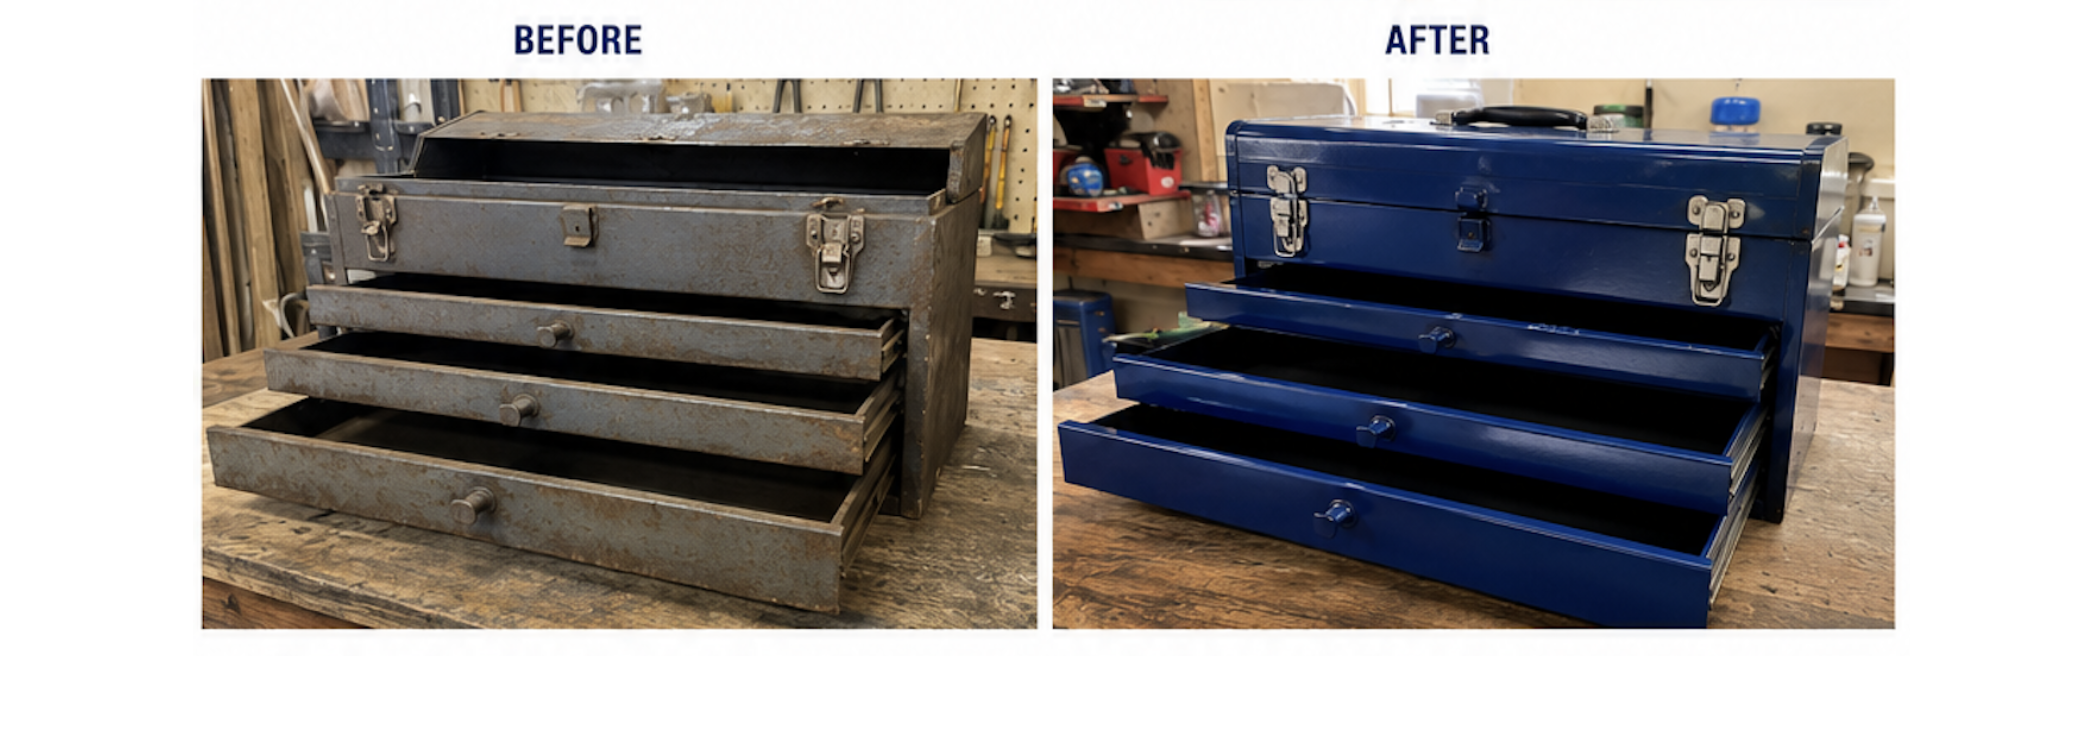
Some things are worth more than their age, their appearance, or their price tag. They are worth saving because of the memories they carry.
This toolbox belonged to my grandfather. After decades of use, it had become scratched, rusty, dirty, and difficult to open. The drawers stuck, the latches were stiff, and years of grime had settled into every corner. It would have been easy to replace it with a newer toolbox, but replacing it would have meant losing a small piece of family history.
Instead, I decided to restore it.
I started by using WD-40 Multi-Use Product on the rusty hinges, latches, drawer mechanisms, and other moving parts that had become difficult to operate. I gave it time to penetrate, then carefully worked each mechanism back and forth to loosen the built-up rust and grime. I cleaned away the loosened dirt, wiped down the surfaces, and continued working the hardware until the drawers began moving smoothly again.
The transformation was not about making an old toolbox look brand new. It was about bringing back the character that made it special while making it useful again. Every scratch and mark tells part of its story, and now the toolbox can continue making new ones.
What started as a worn-out box that was easy to overlook is now back in the workshop, holding tools and ready to be used again.
For me, this project is a reminder that repair is about more than fixing an object. It is about choosing to keep something that matters, giving it another chance, and making sure the things we love do not become disposable just because they have gotten old.
It was my grandfather’s toolbox. I could have replaced it. Instead, I chose to give it another chapter.
Step 1: Loosen the Rust and Grime
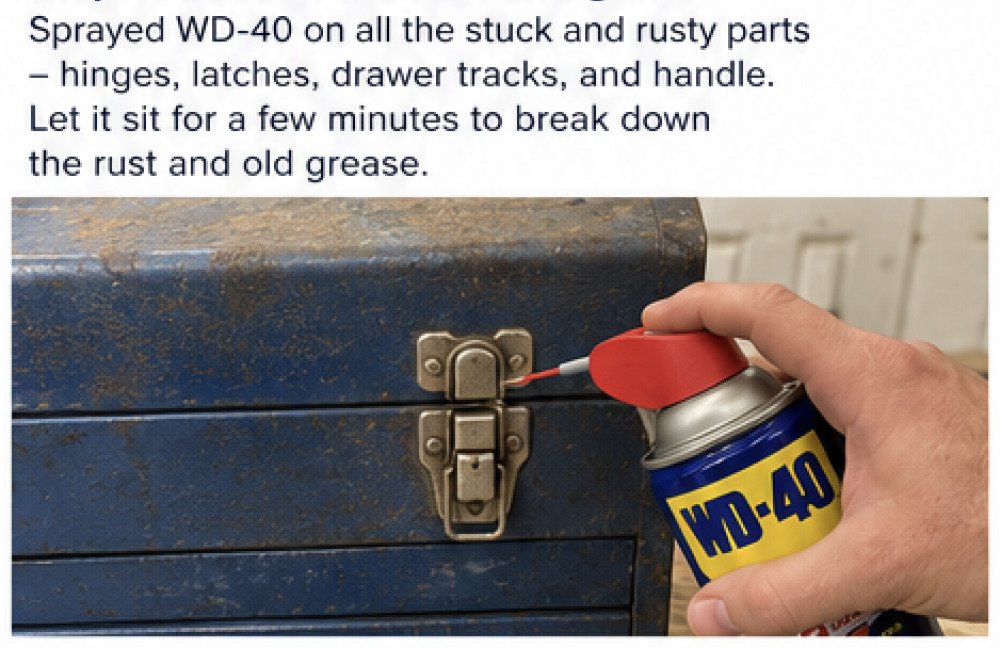
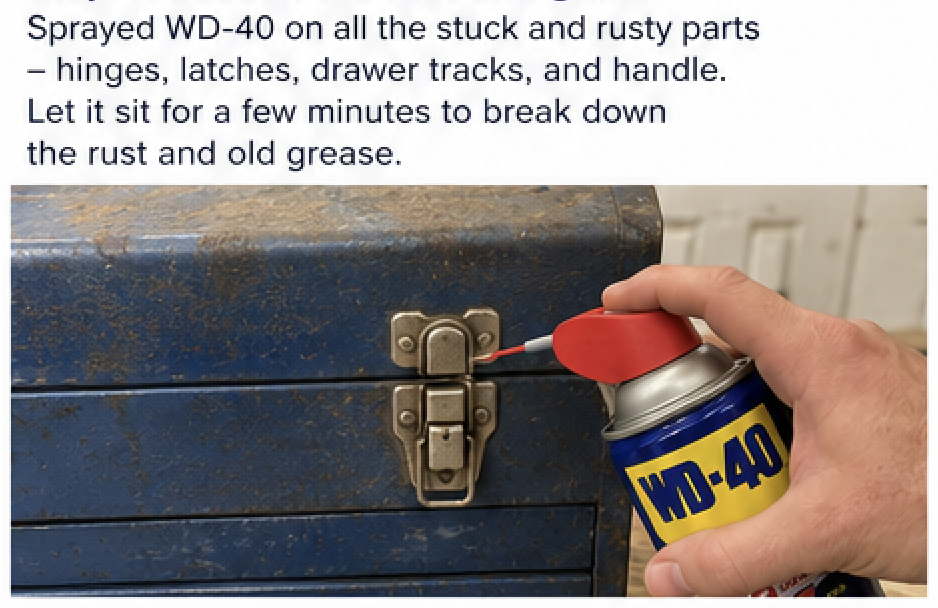
I started by applying WD-40 Multi-Use Product to the toolbox’s rusty hinges, latches, drawer tracks, and other stuck moving parts. I let it sit for a few minutes so it could work into the buildup. Years of rust, dirt, and old grime had made the hardware difficult to move, so this first step was all about breaking things loose and getting the toolbox moving again.
Step 2: Bring the Stuck Mechanisms Back to Life
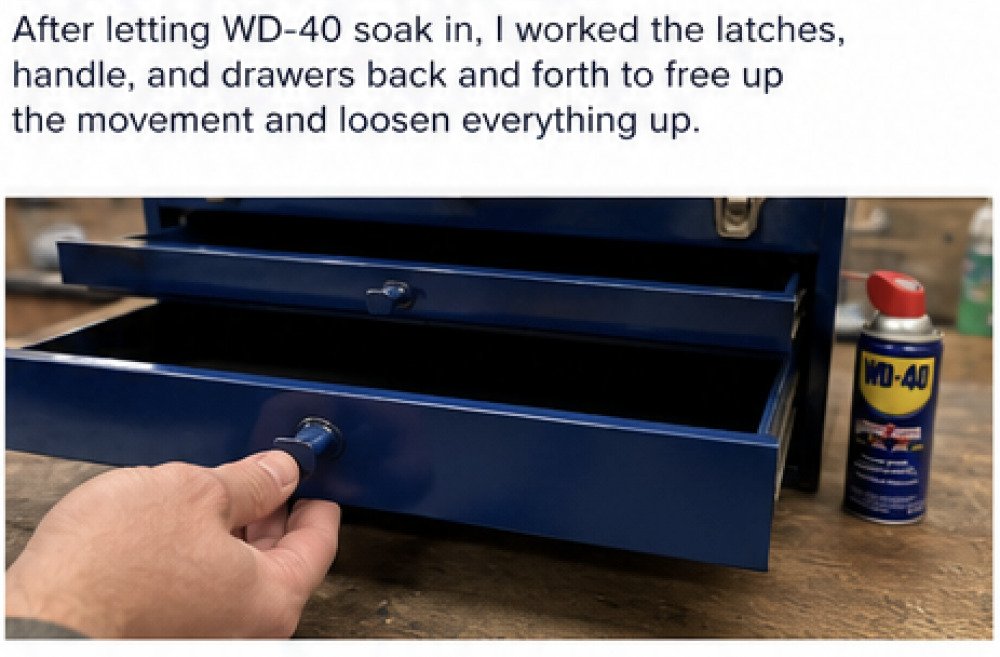
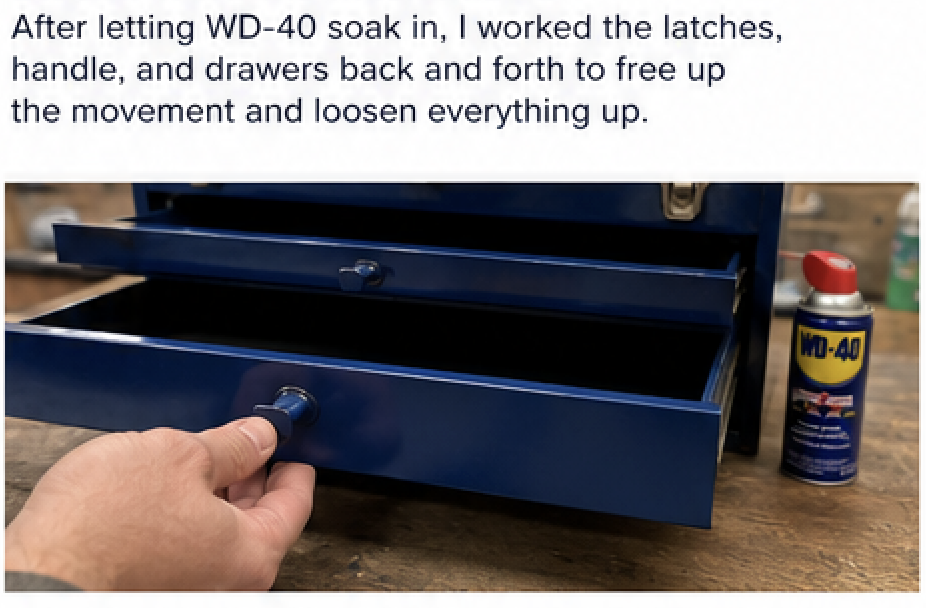
Once the WD-40 had had time to work, I slowly worked each latch, handle, and drawer back and forth. At first, some of the mechanisms barely moved. With a little patience, they started to loosen up. I kept working them until the drawers opened smoothly and the hardware moved the way it was meant to again. No replacement parts were needed. I was able to bring the original mechanisms back to life.
Step 3: Clean Away Years of Buildup
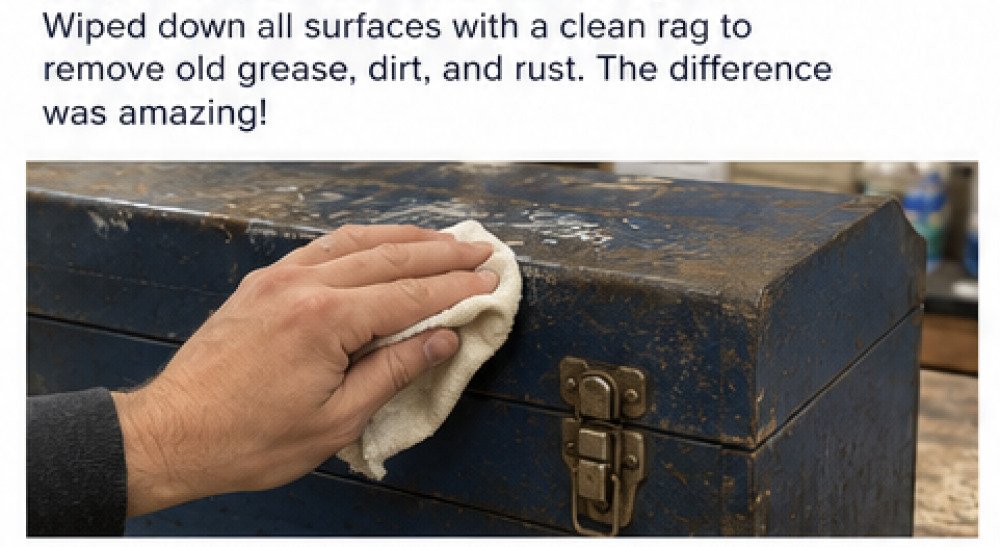
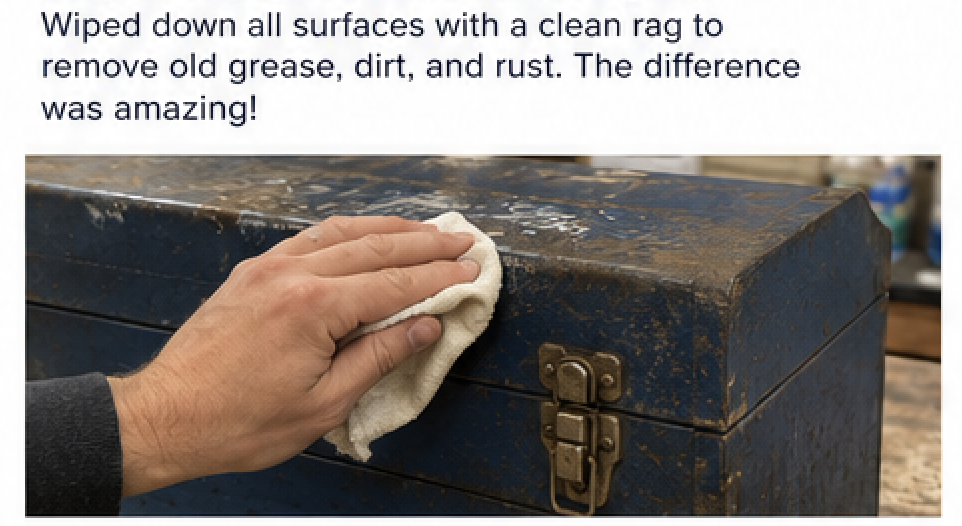
With the mechanisms working again, I turned my attention to the years of dirt and grime covering the toolbox. I wiped down the surfaces with a clean rag, removing the loosened buildup and working carefully around the original hardware. I wanted to clean it up without erasing the character that came from decades of use. Every scratch and mark is part of its story.
Step 4: Protect the Moving Parts and Put It Back to Work
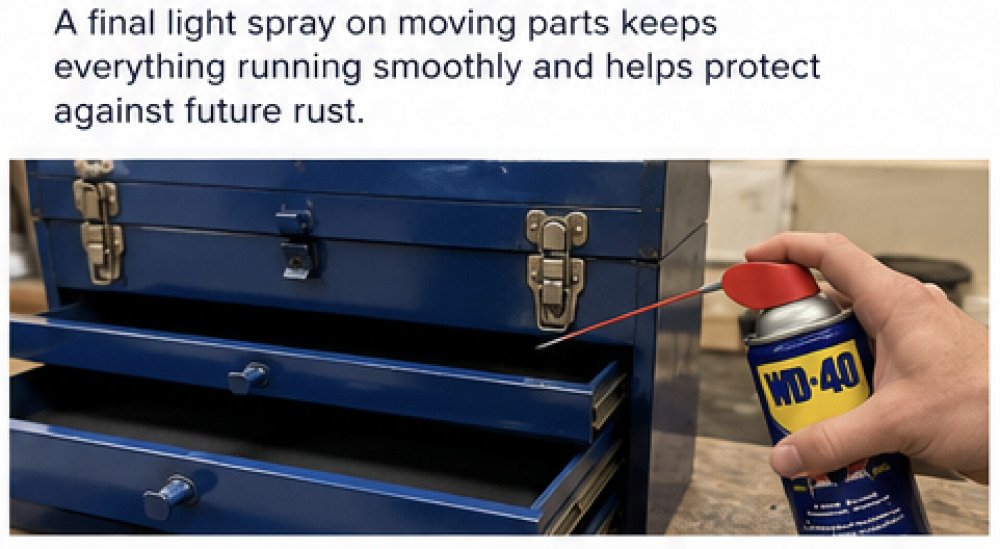
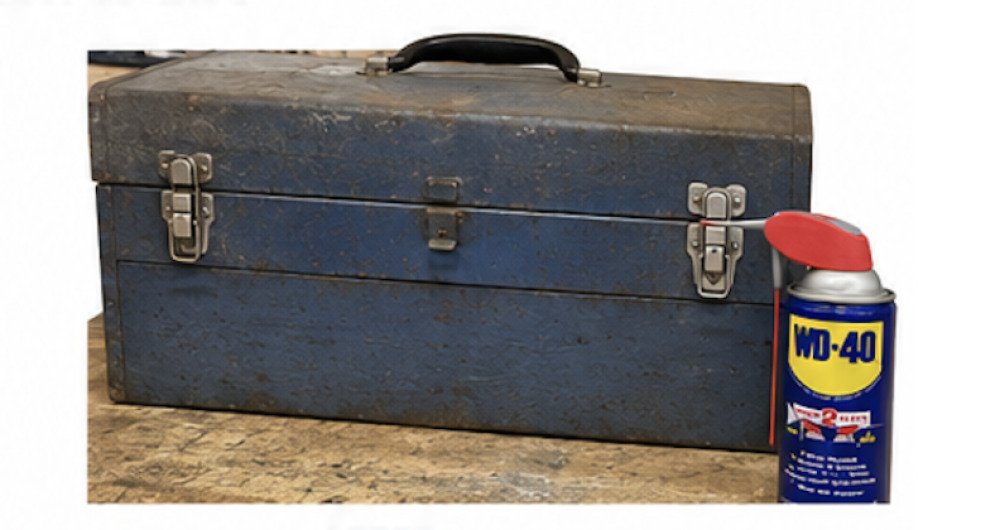
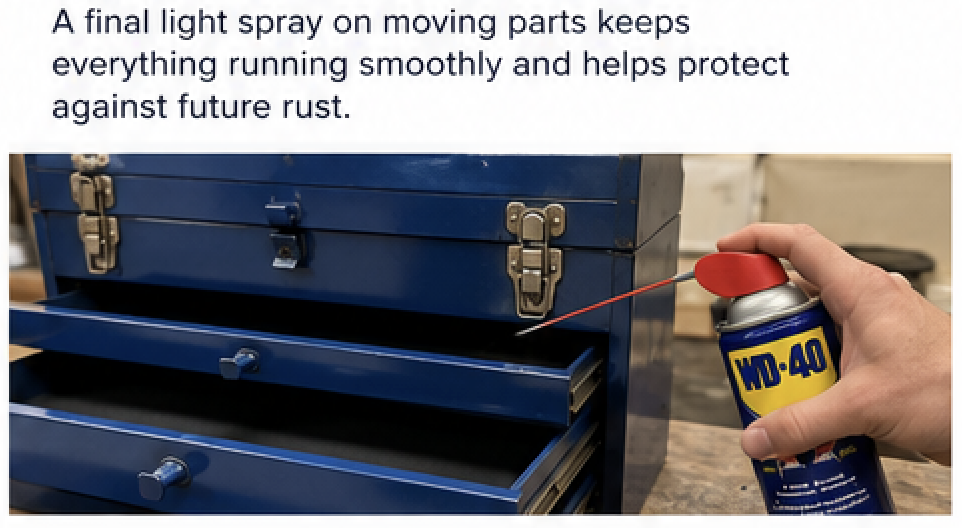
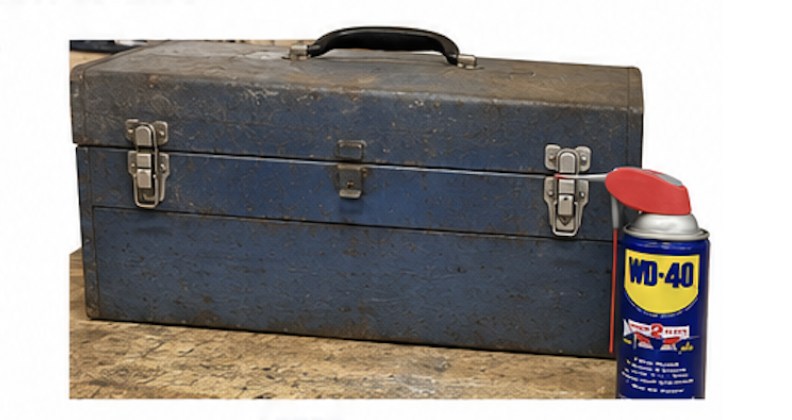
For the final step, I gave the moving hardware a light application of WD-40 and worked the drawers and latches one more time. Everything was noticeably smoother and easier to operate. After cleaning up the toolbox and putting the tools back inside, it was ready to return to the workshop. What had once been stuck, rusty, and nearly forgotten was useful again, and my grandfather’s toolbox had a new chapter ahead of it.