

Tractor for Dad

Plus 1 more
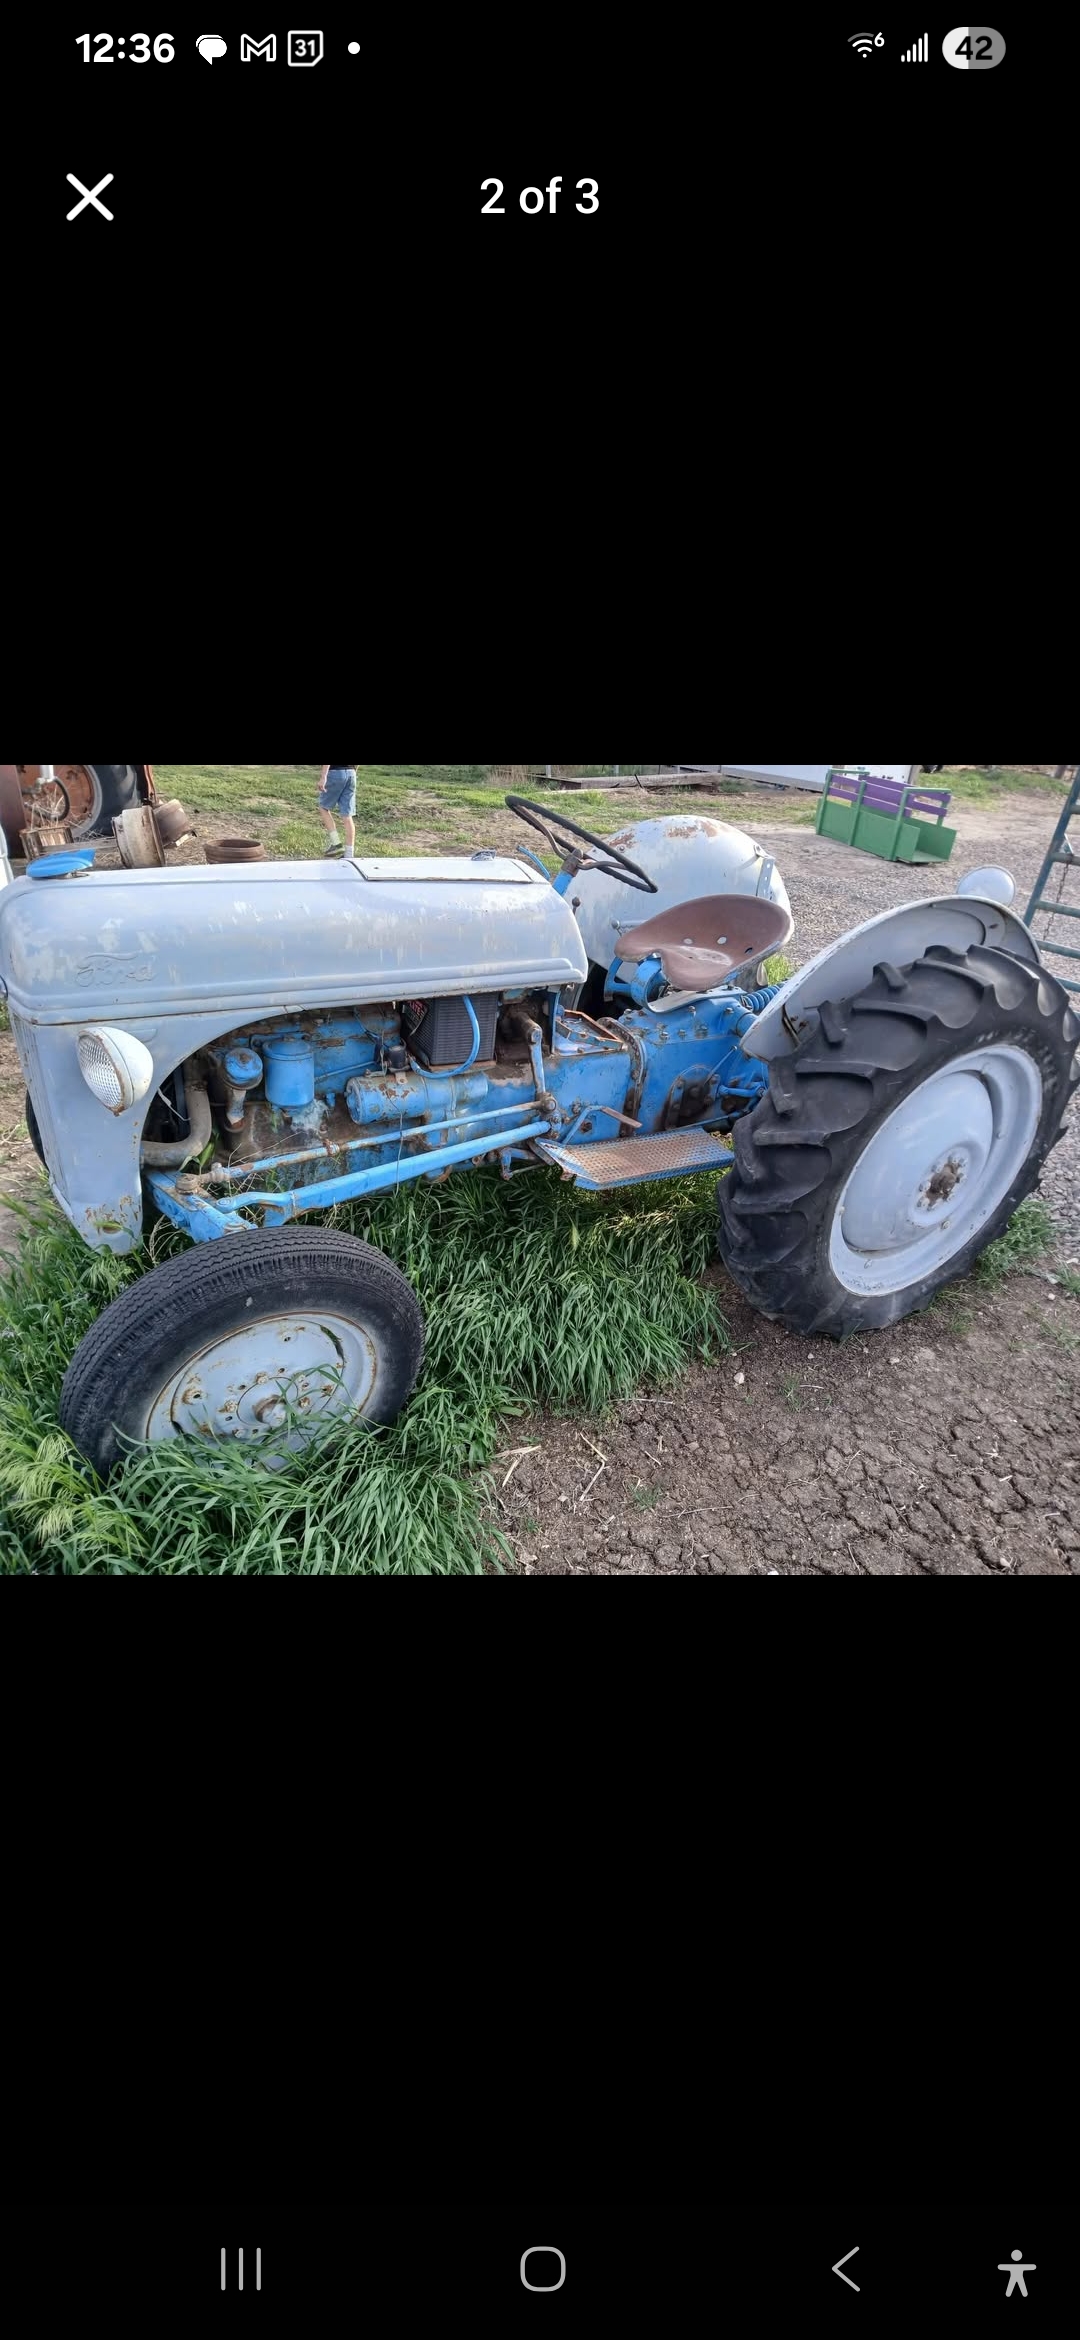
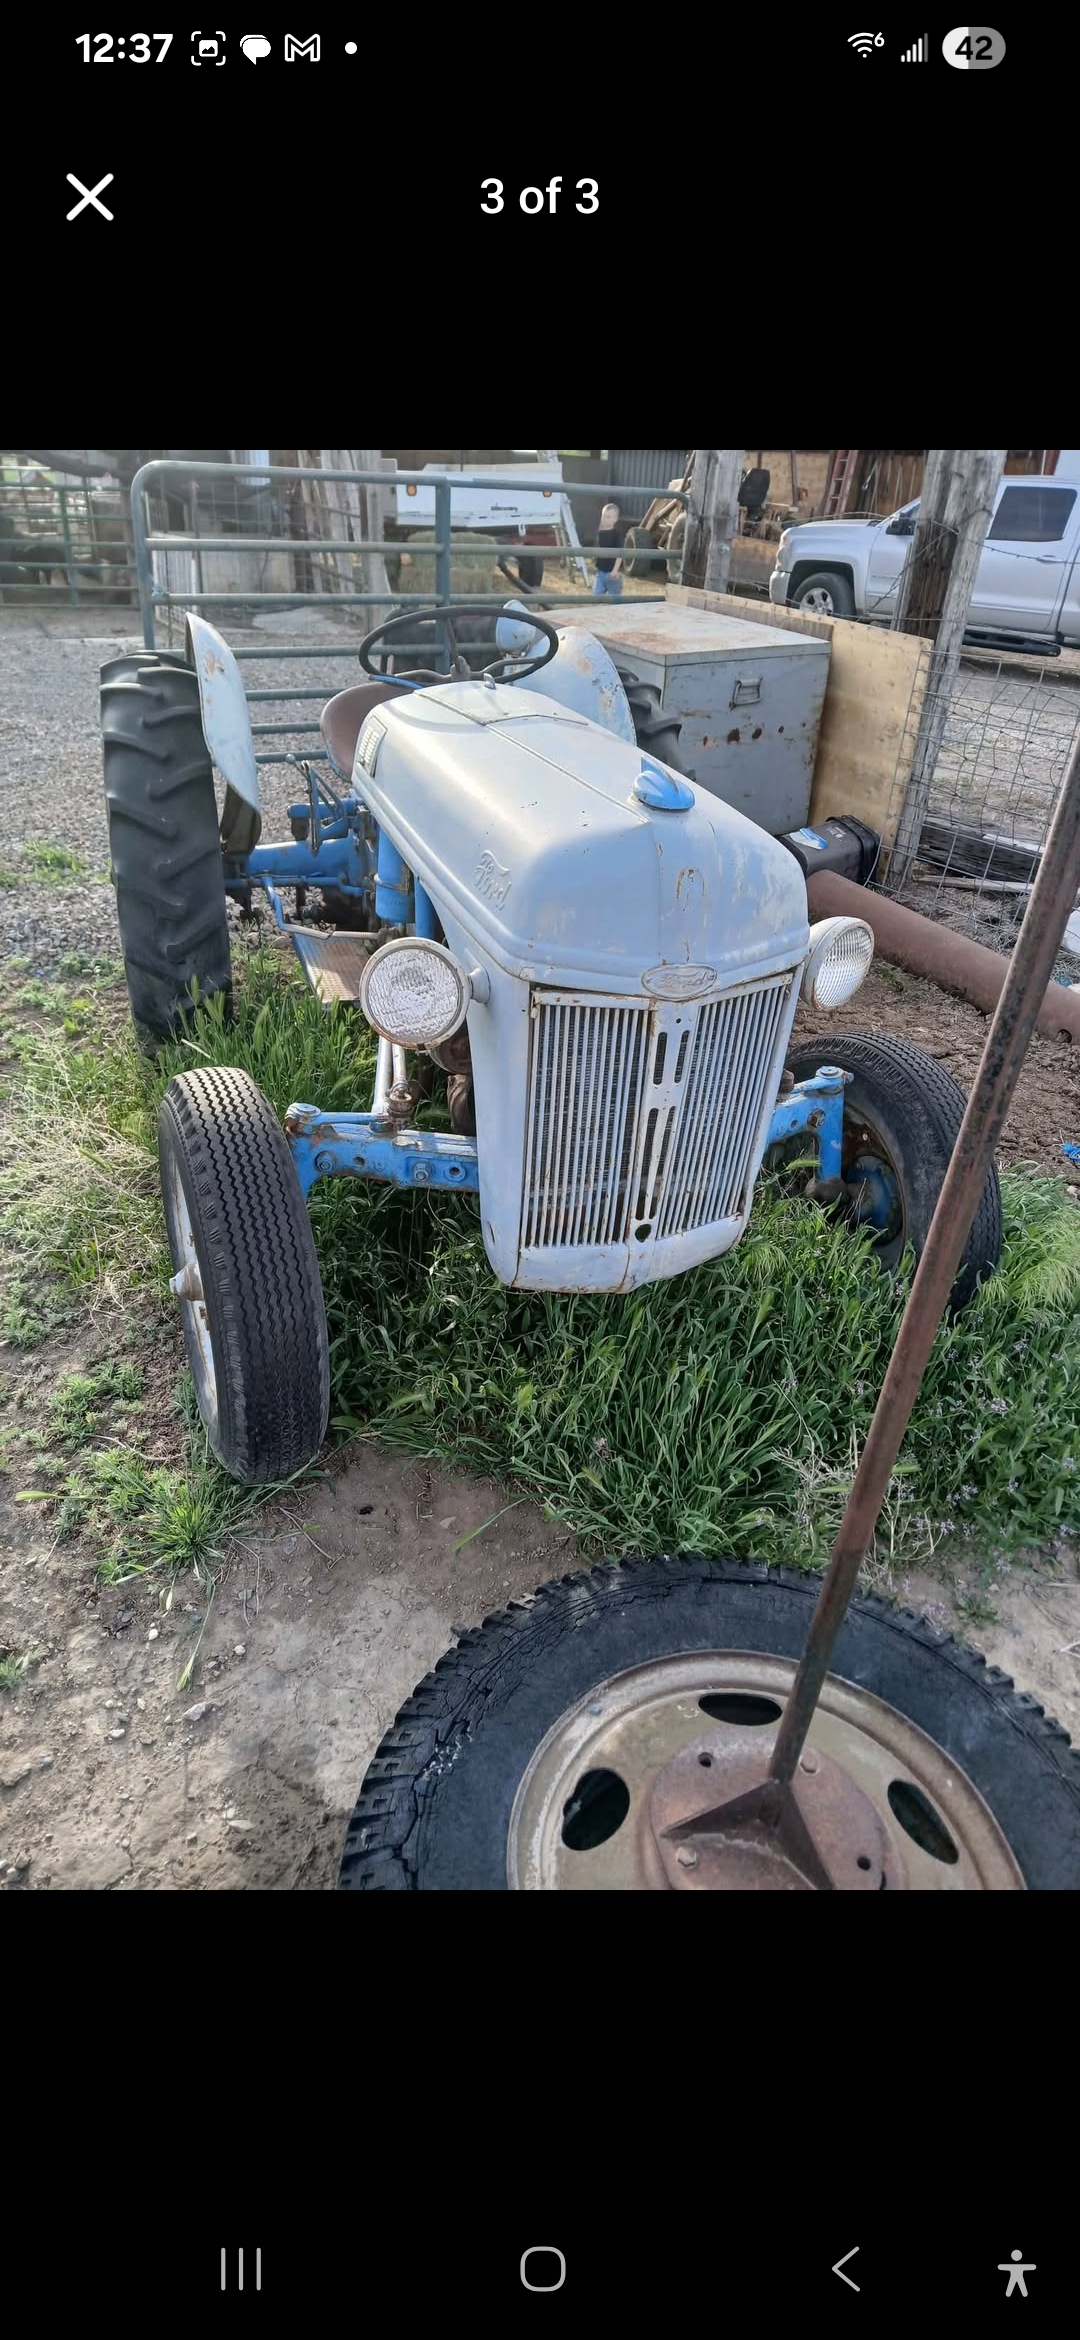
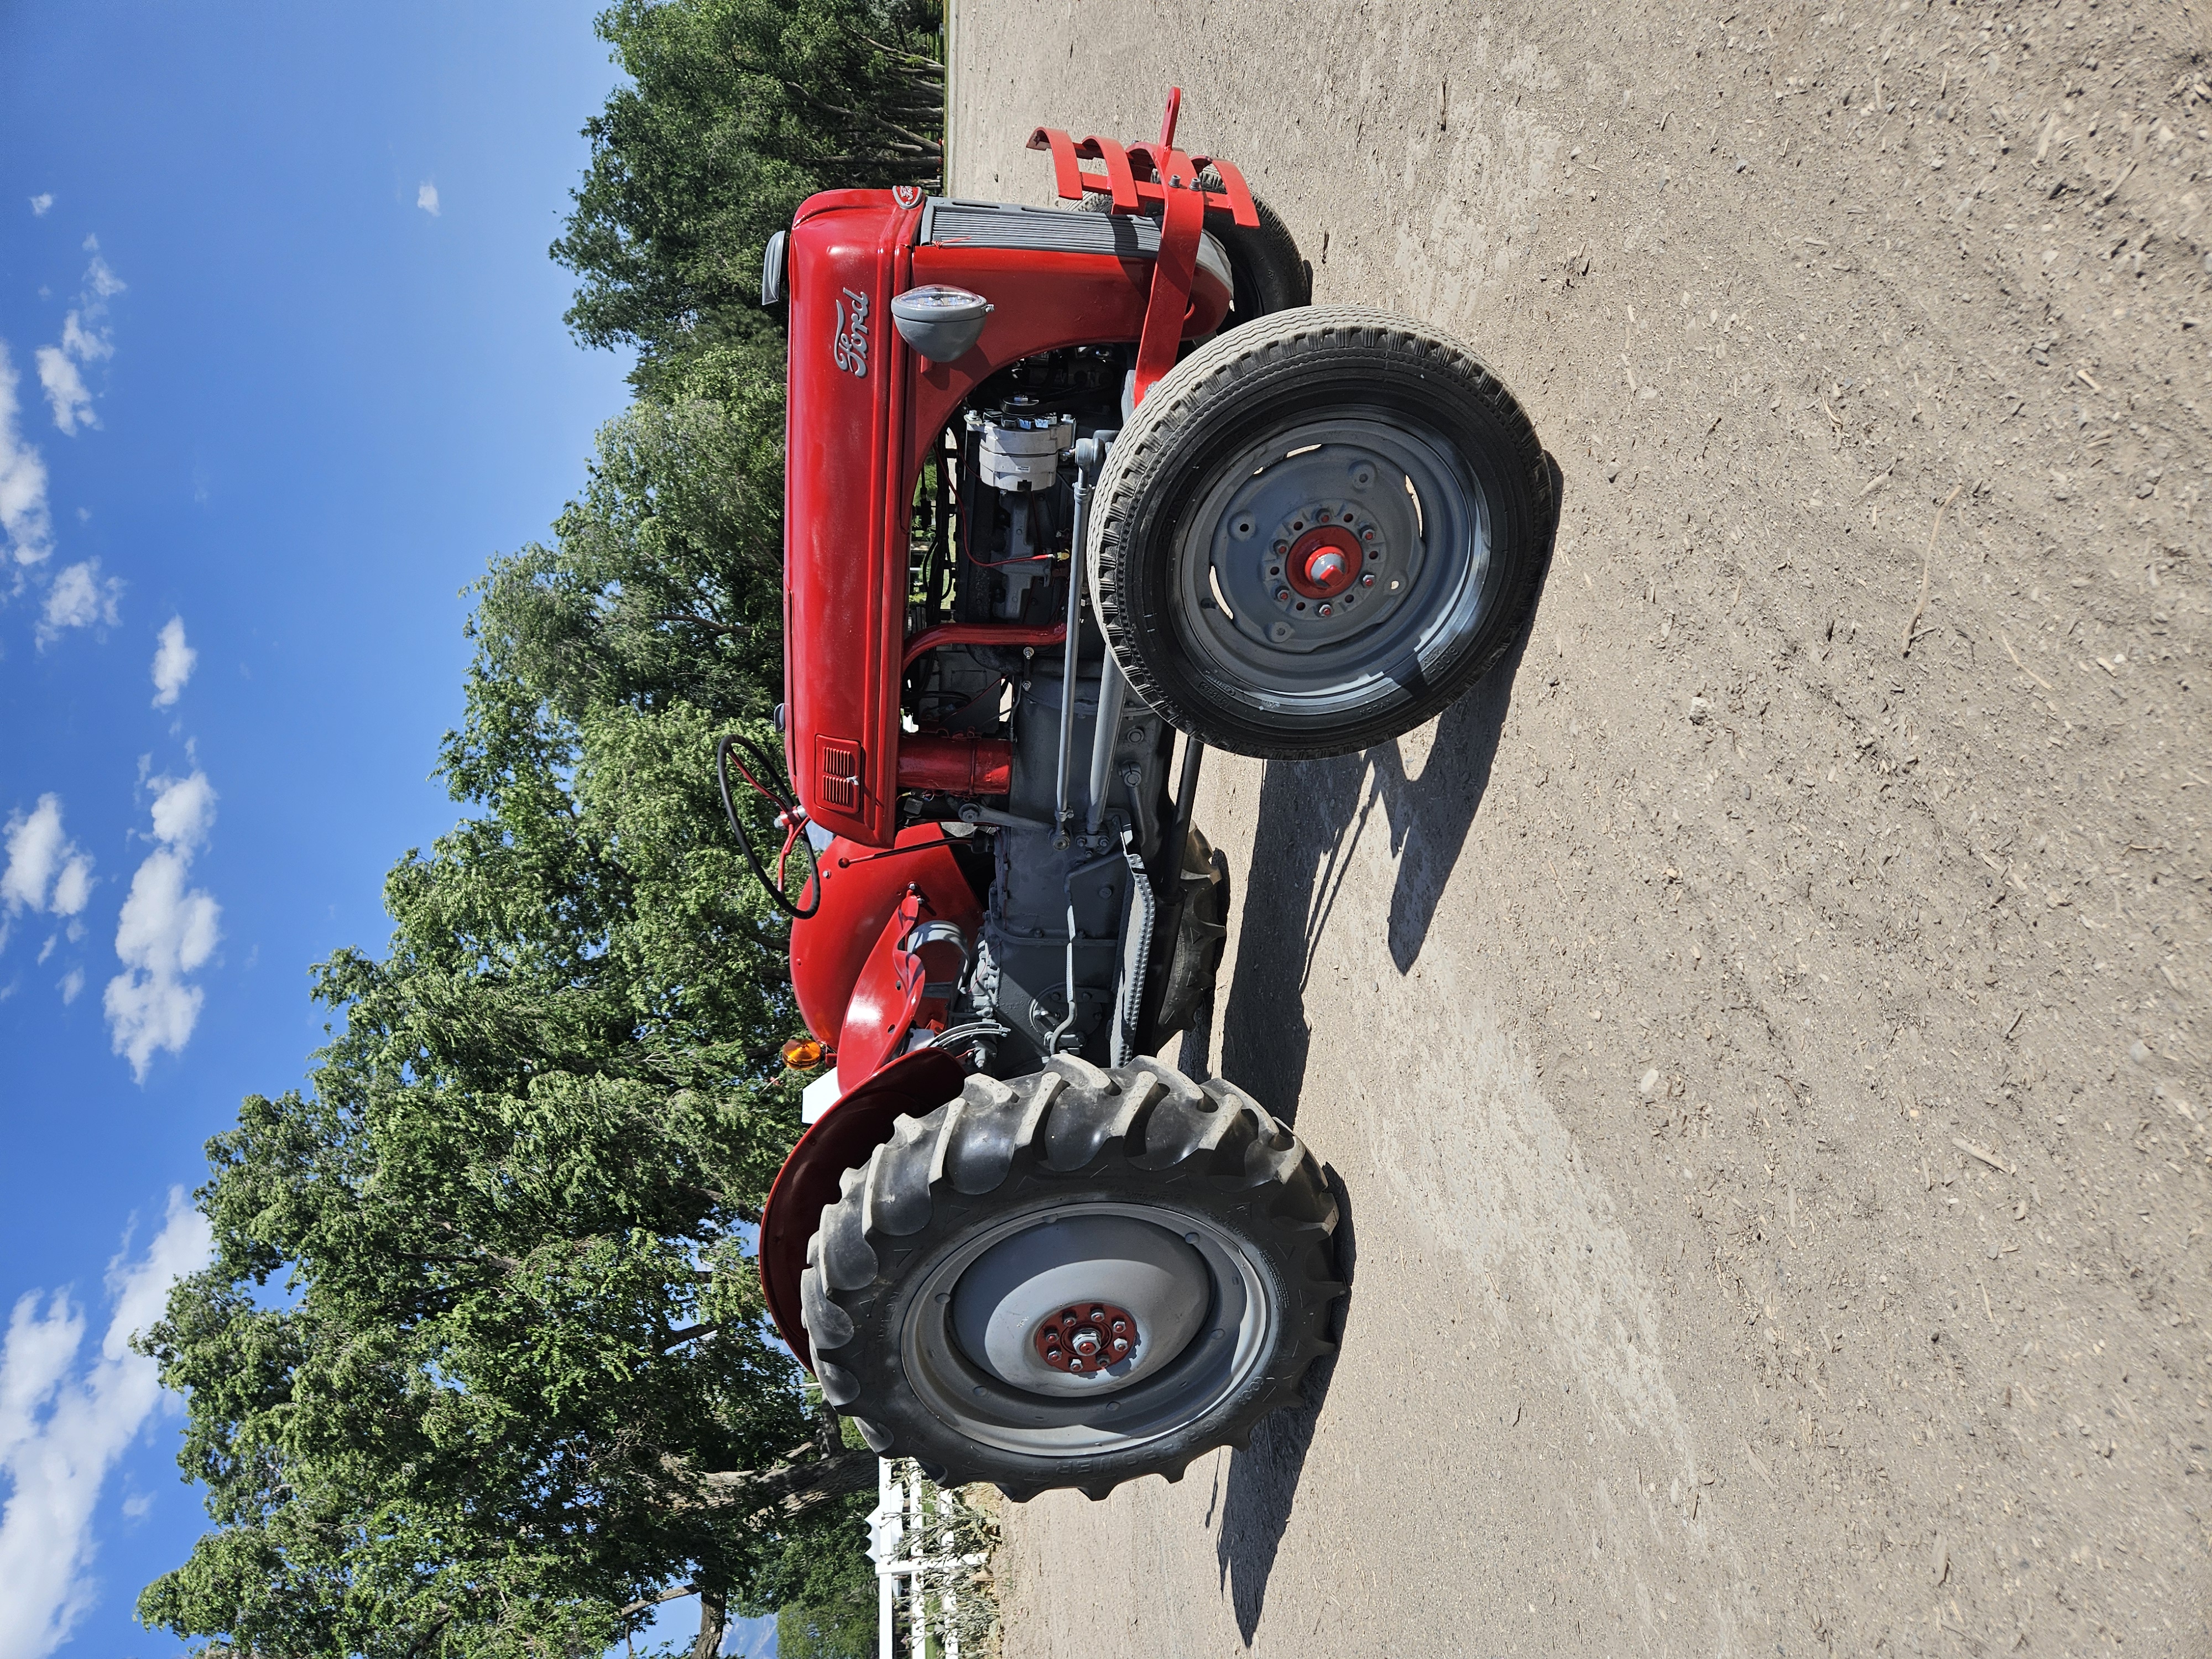

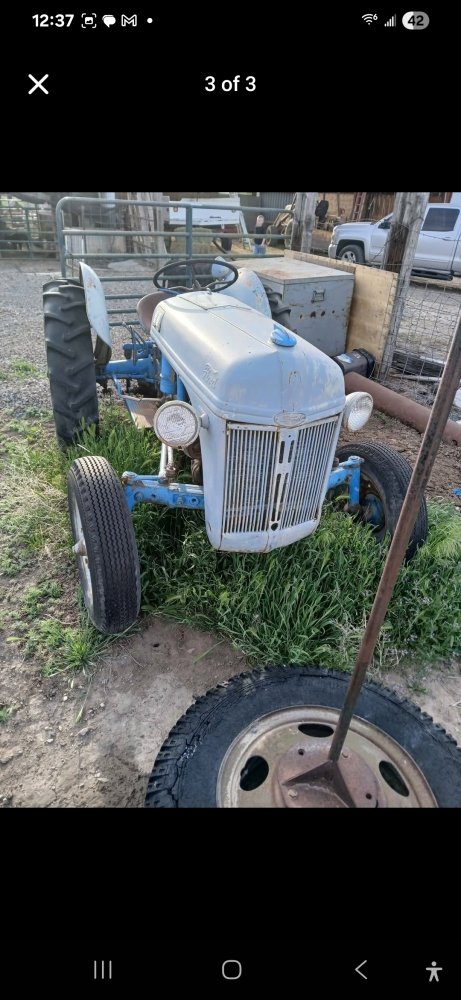
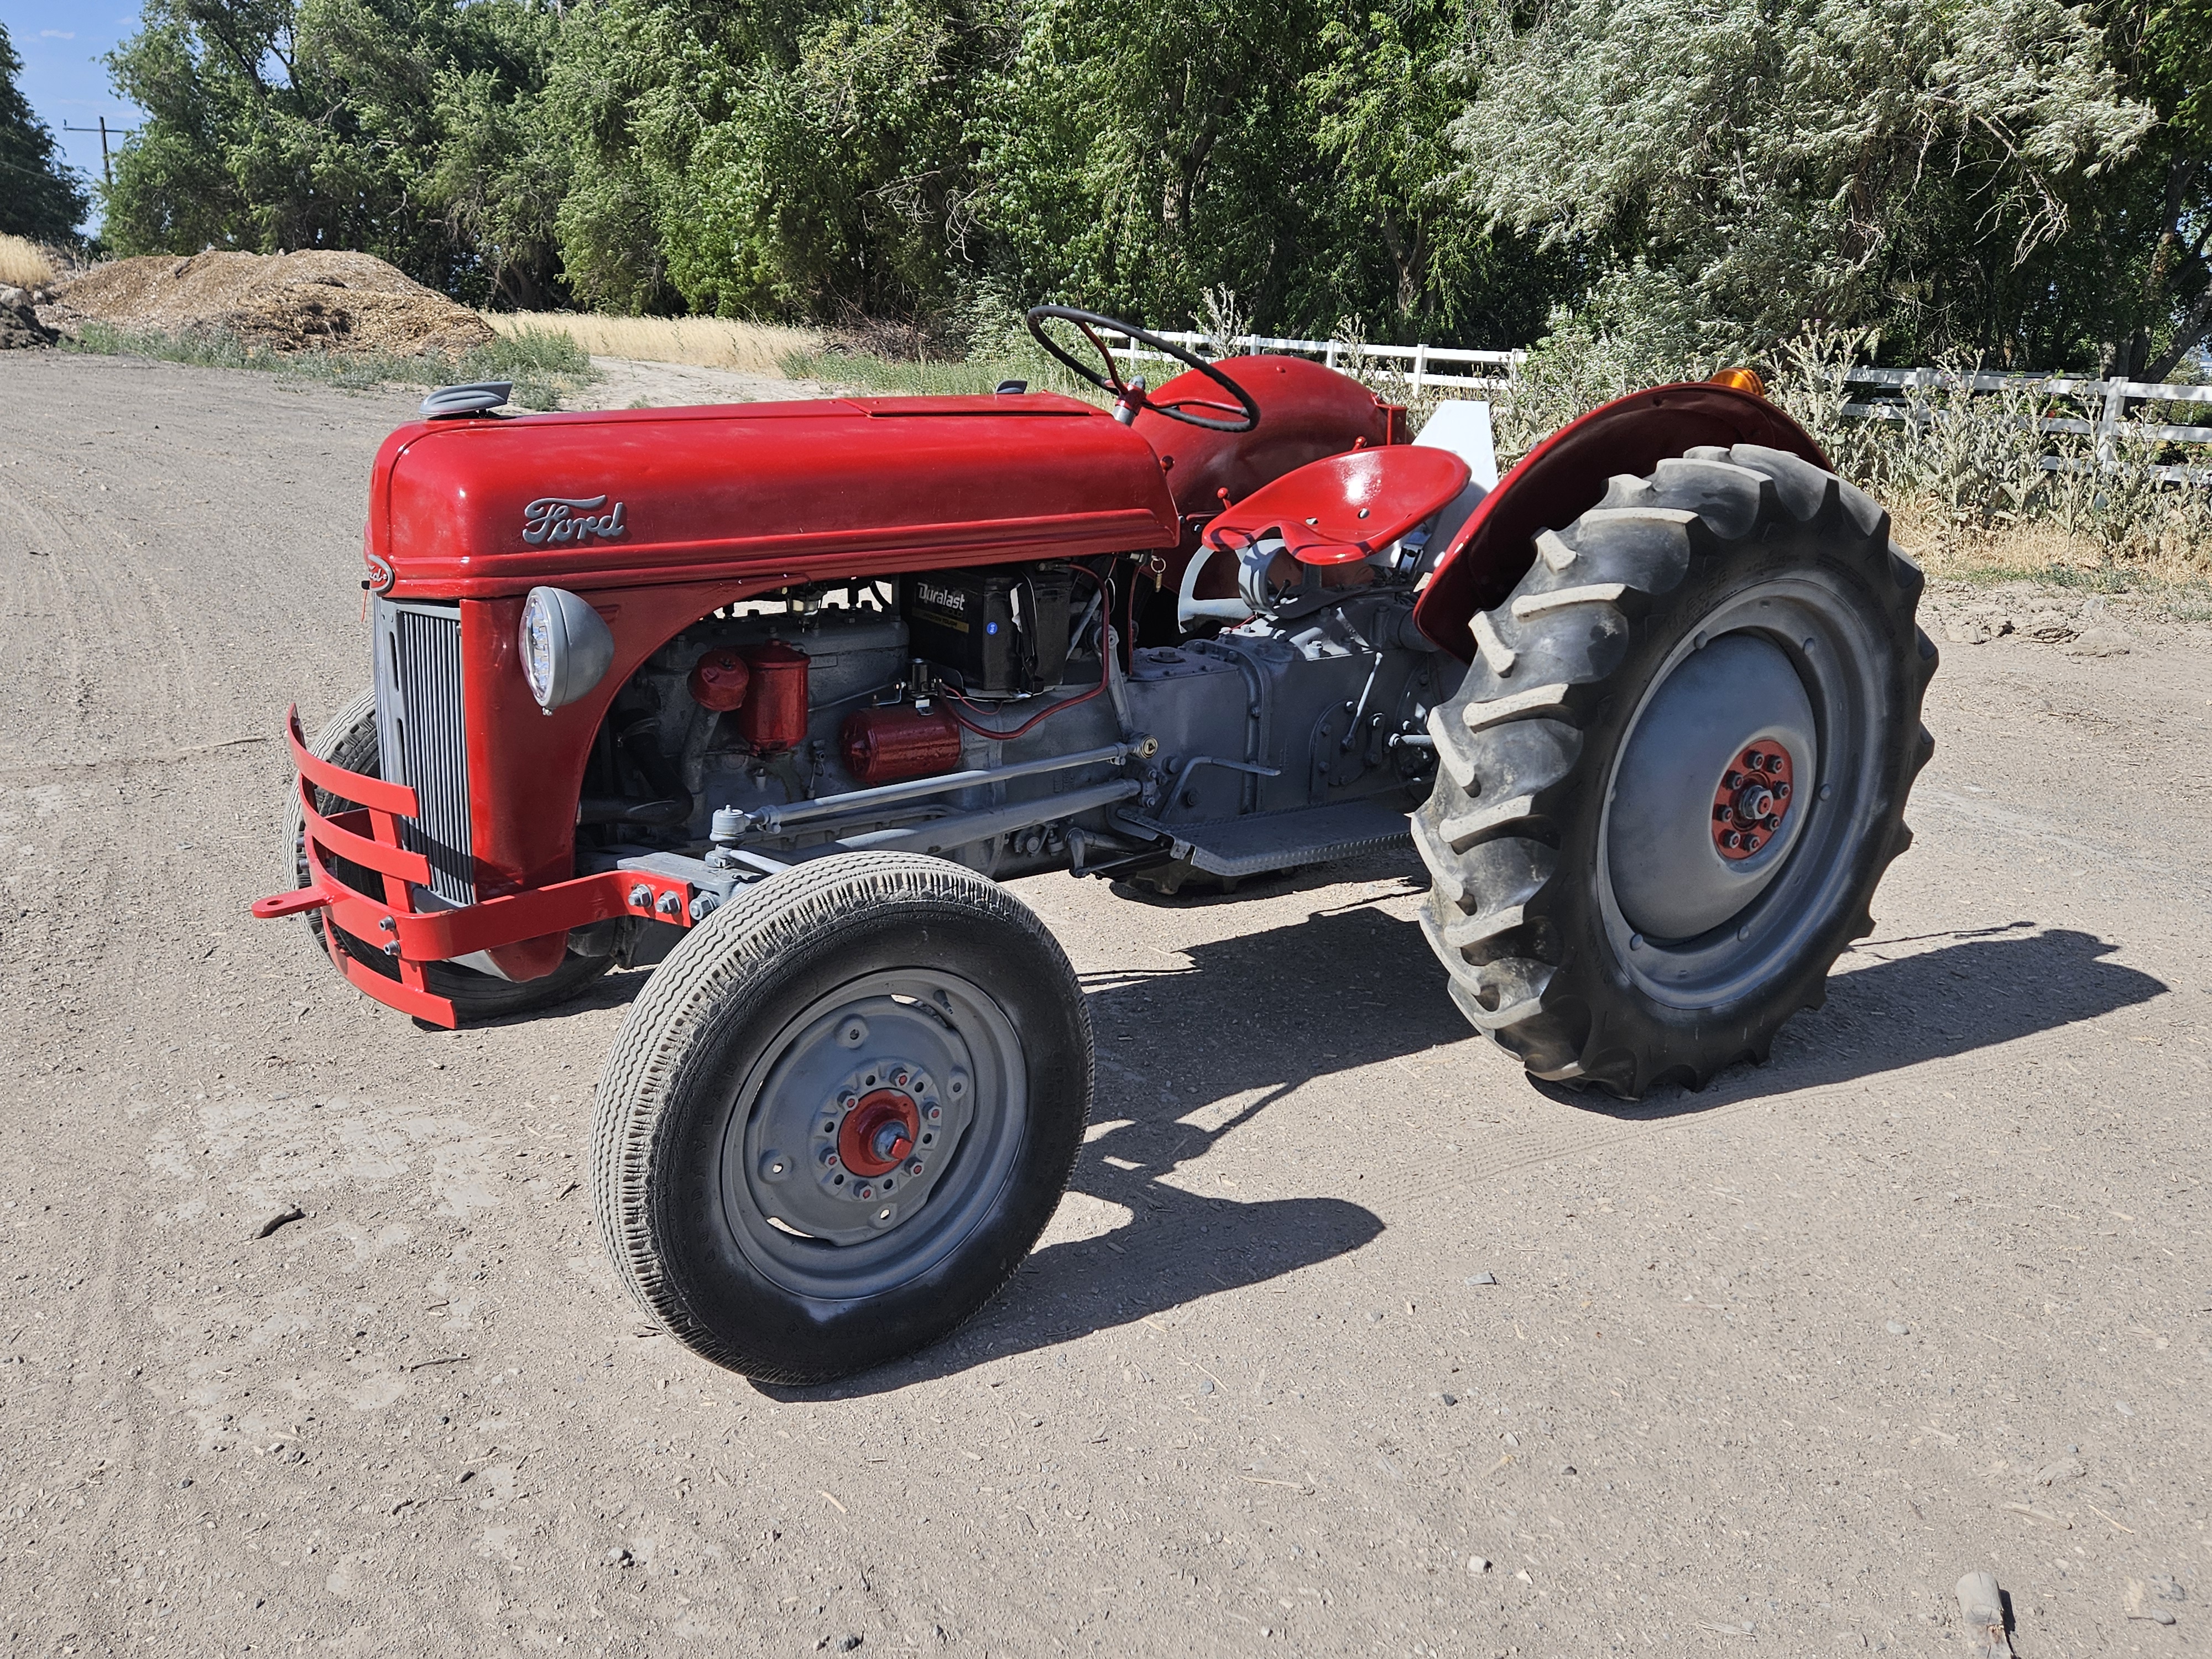
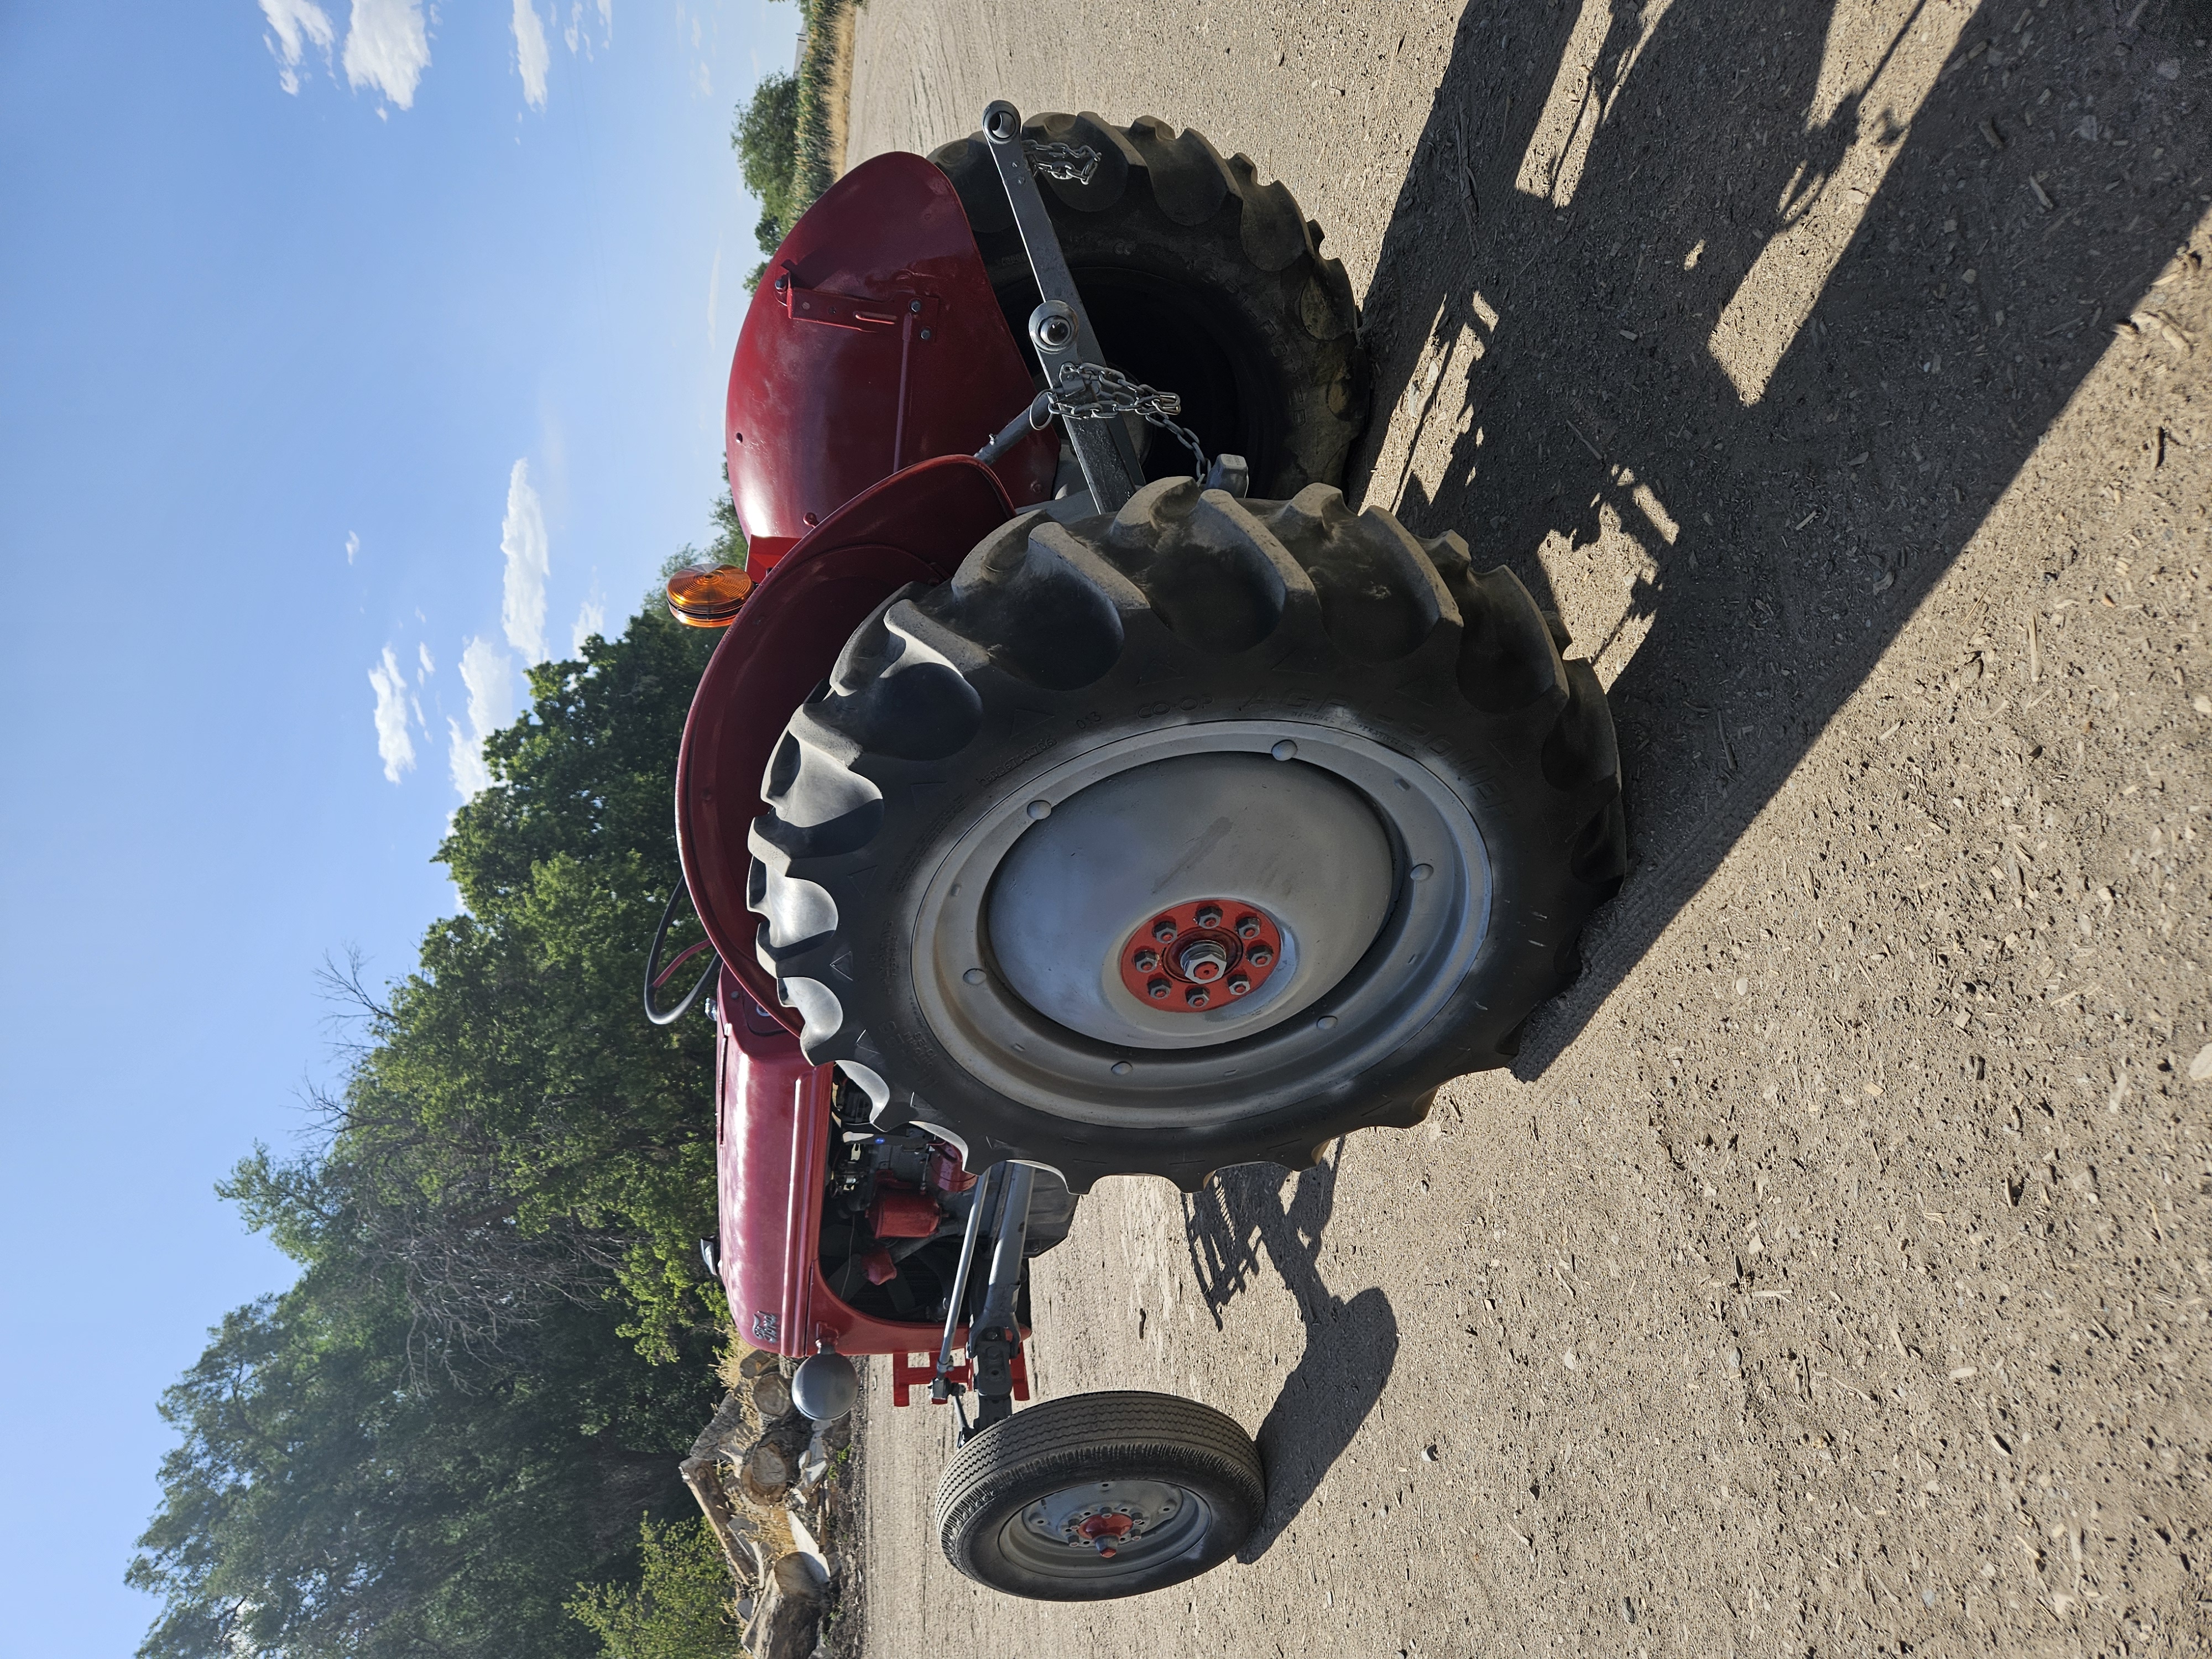
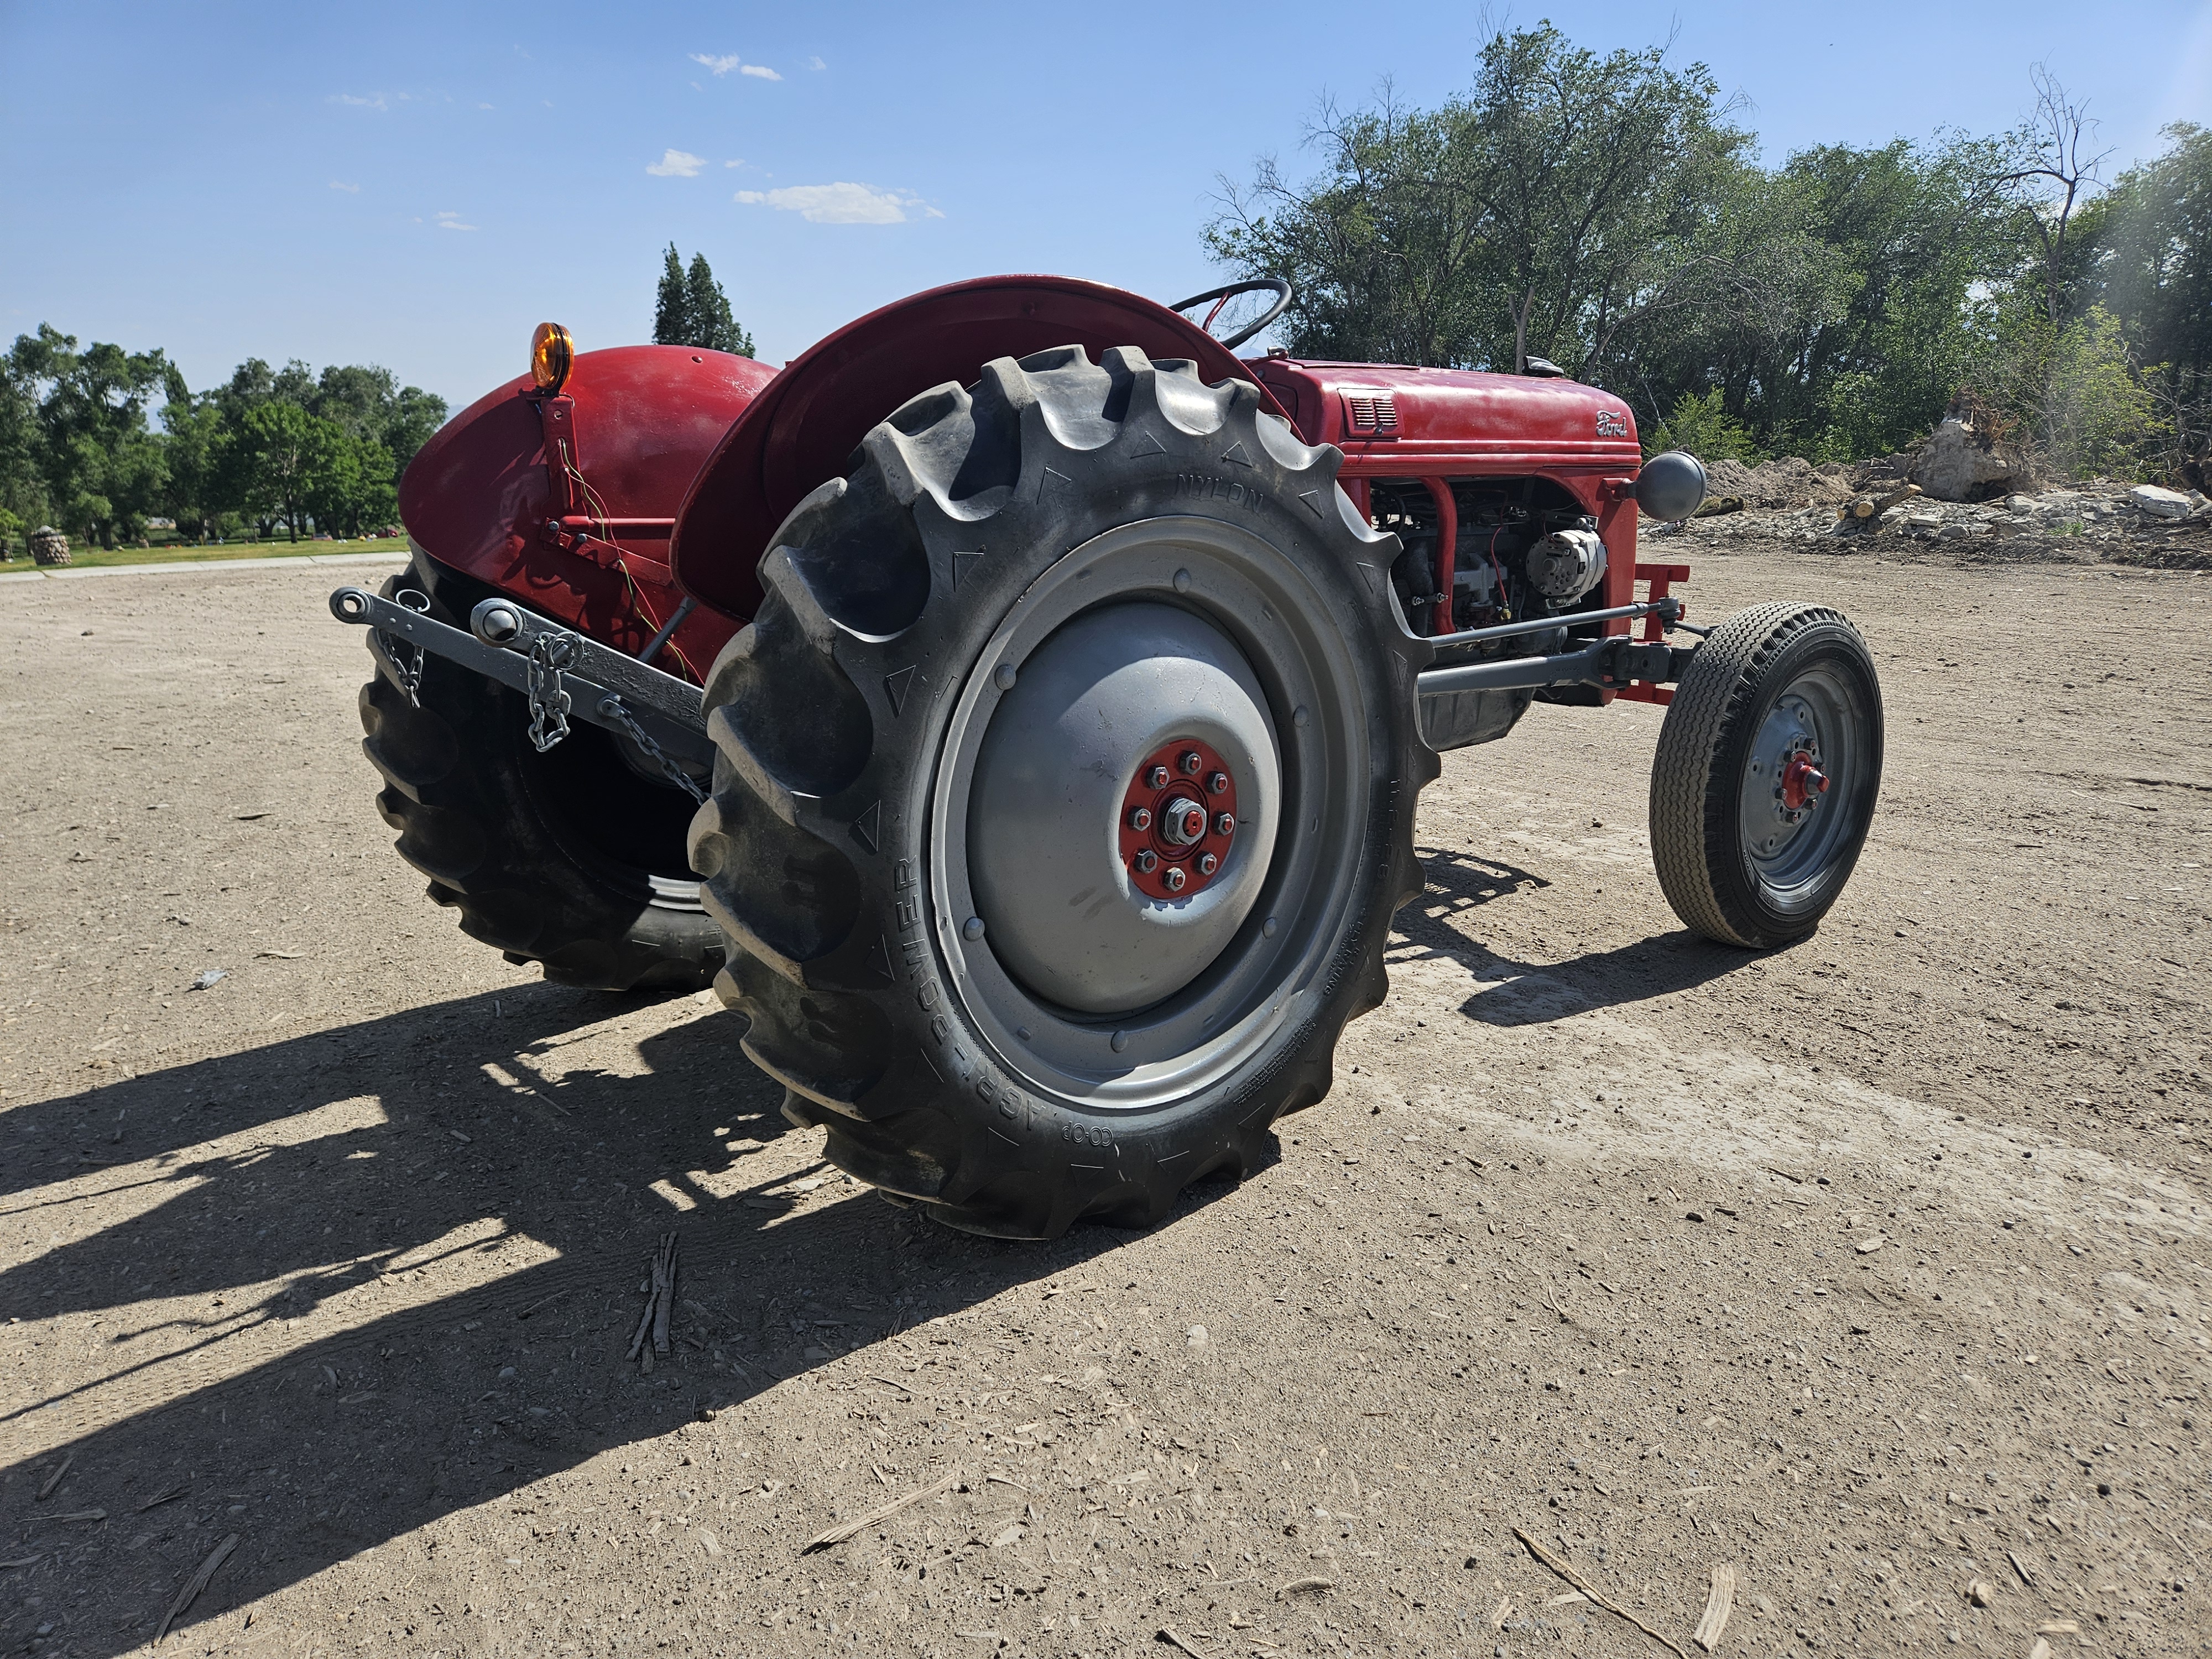
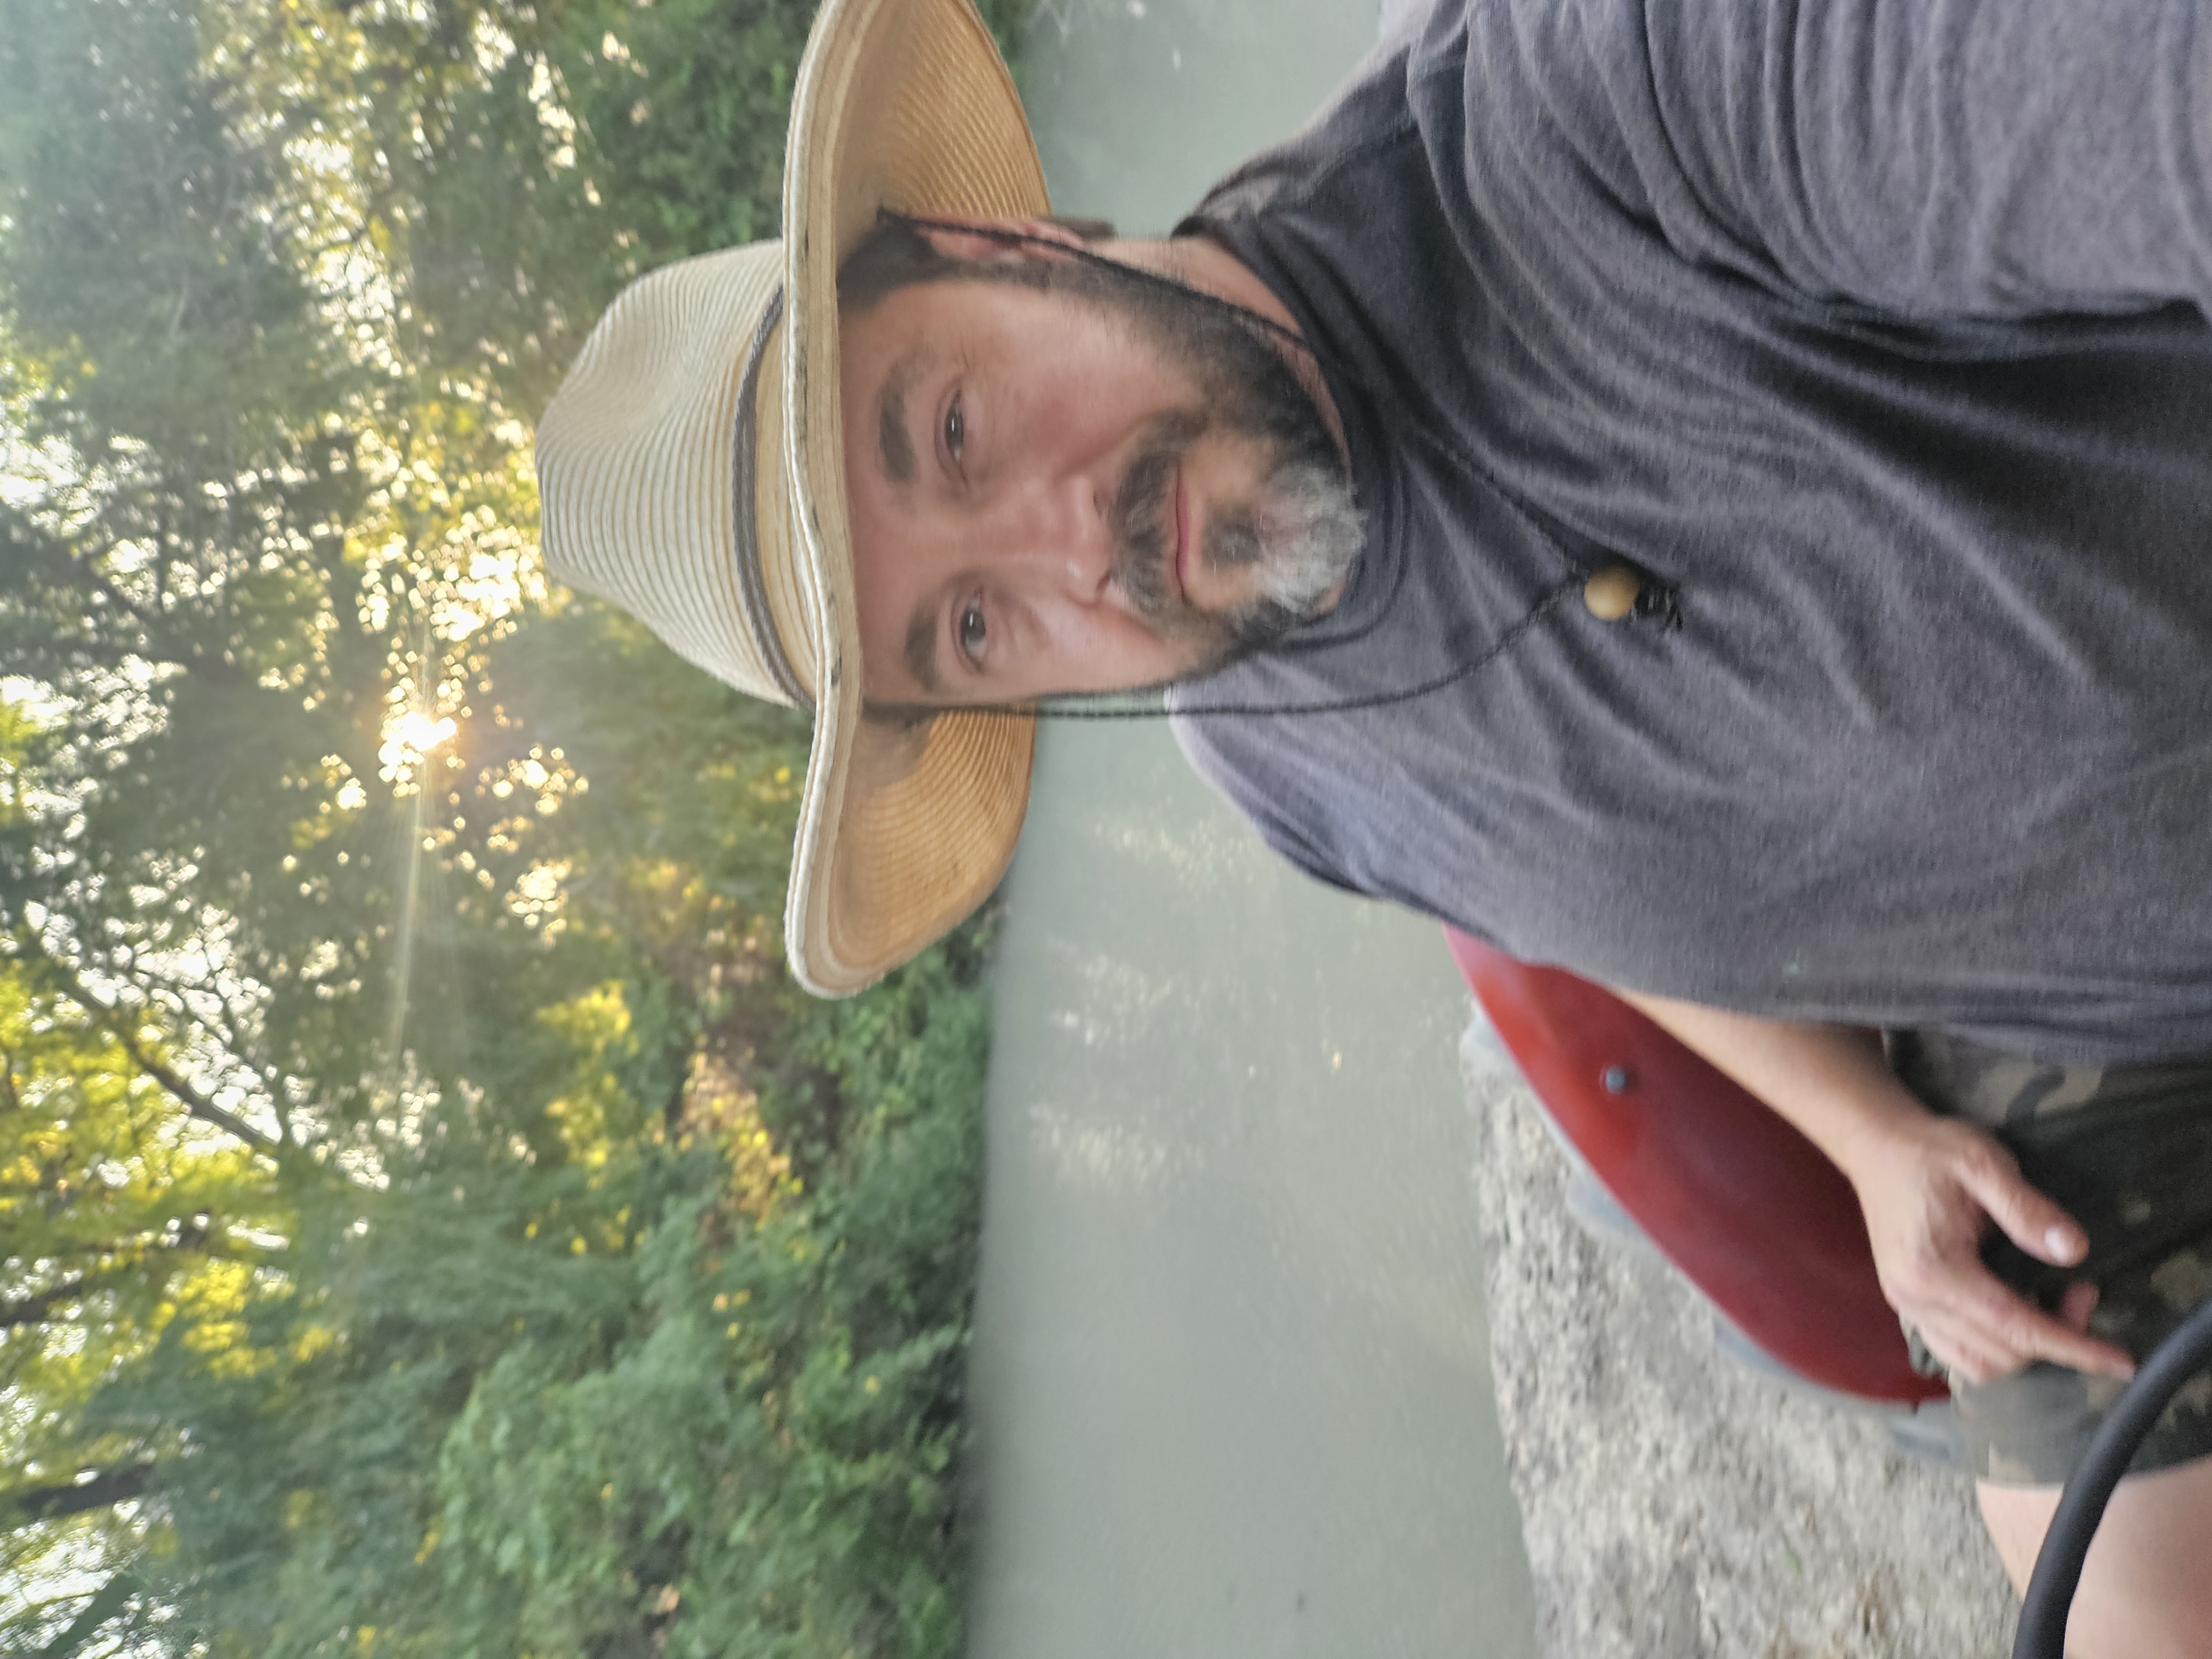
I wanted to buy a riding lawnmower project to fix up and mow some family property where my dad grew up. I came across a vintage 1948 Ford 8N for about the same price as most of the mowers I was finding. It immediately reminded me of my Dad who passed almost 3 years ago. He grew up on a dairy farm and had a tractor similar to this. I find that when I fix up old tools and machines that he would have liked that I feel close to him. So with some past amateur car repair knowledge, Internet forums, and YouTube, I fully restored this old tractor and named it after my father, Glade. WD-40 was a big help in getting old rusty nuts and bolts off of this 77+ year old tractor. I'm confident some of these bolts hadn't been touched in 50+ years. With a lot of WD-40 and elbow grease, I was able to remove, replace as needed, and reinstall everything. This project was truly a labor of love.
Step 1: Acquire project
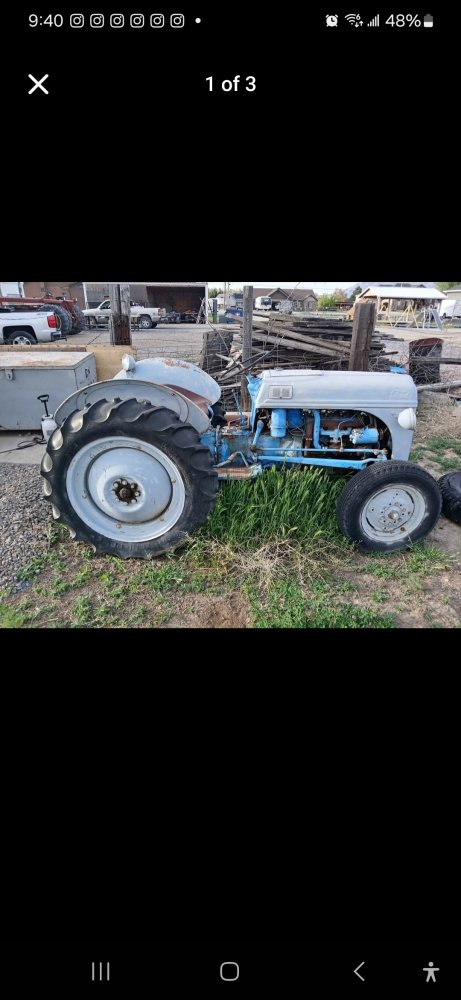

Search classifieds until you find the perfect project. Contact seller to understand repairs needed and purchase.
Step 2: Identify
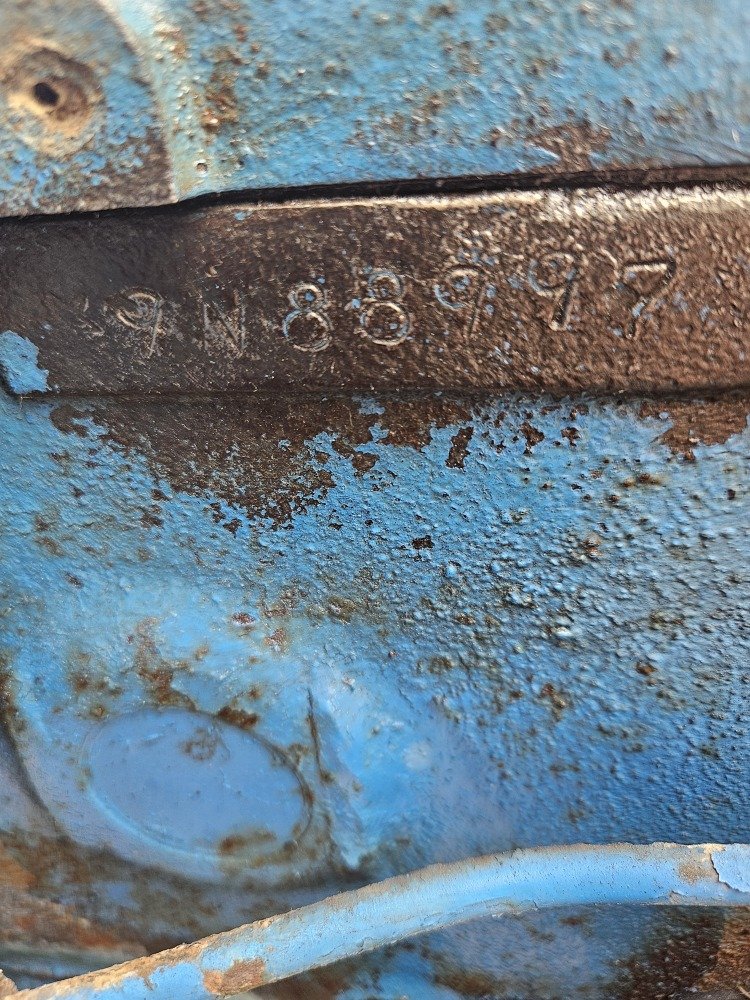
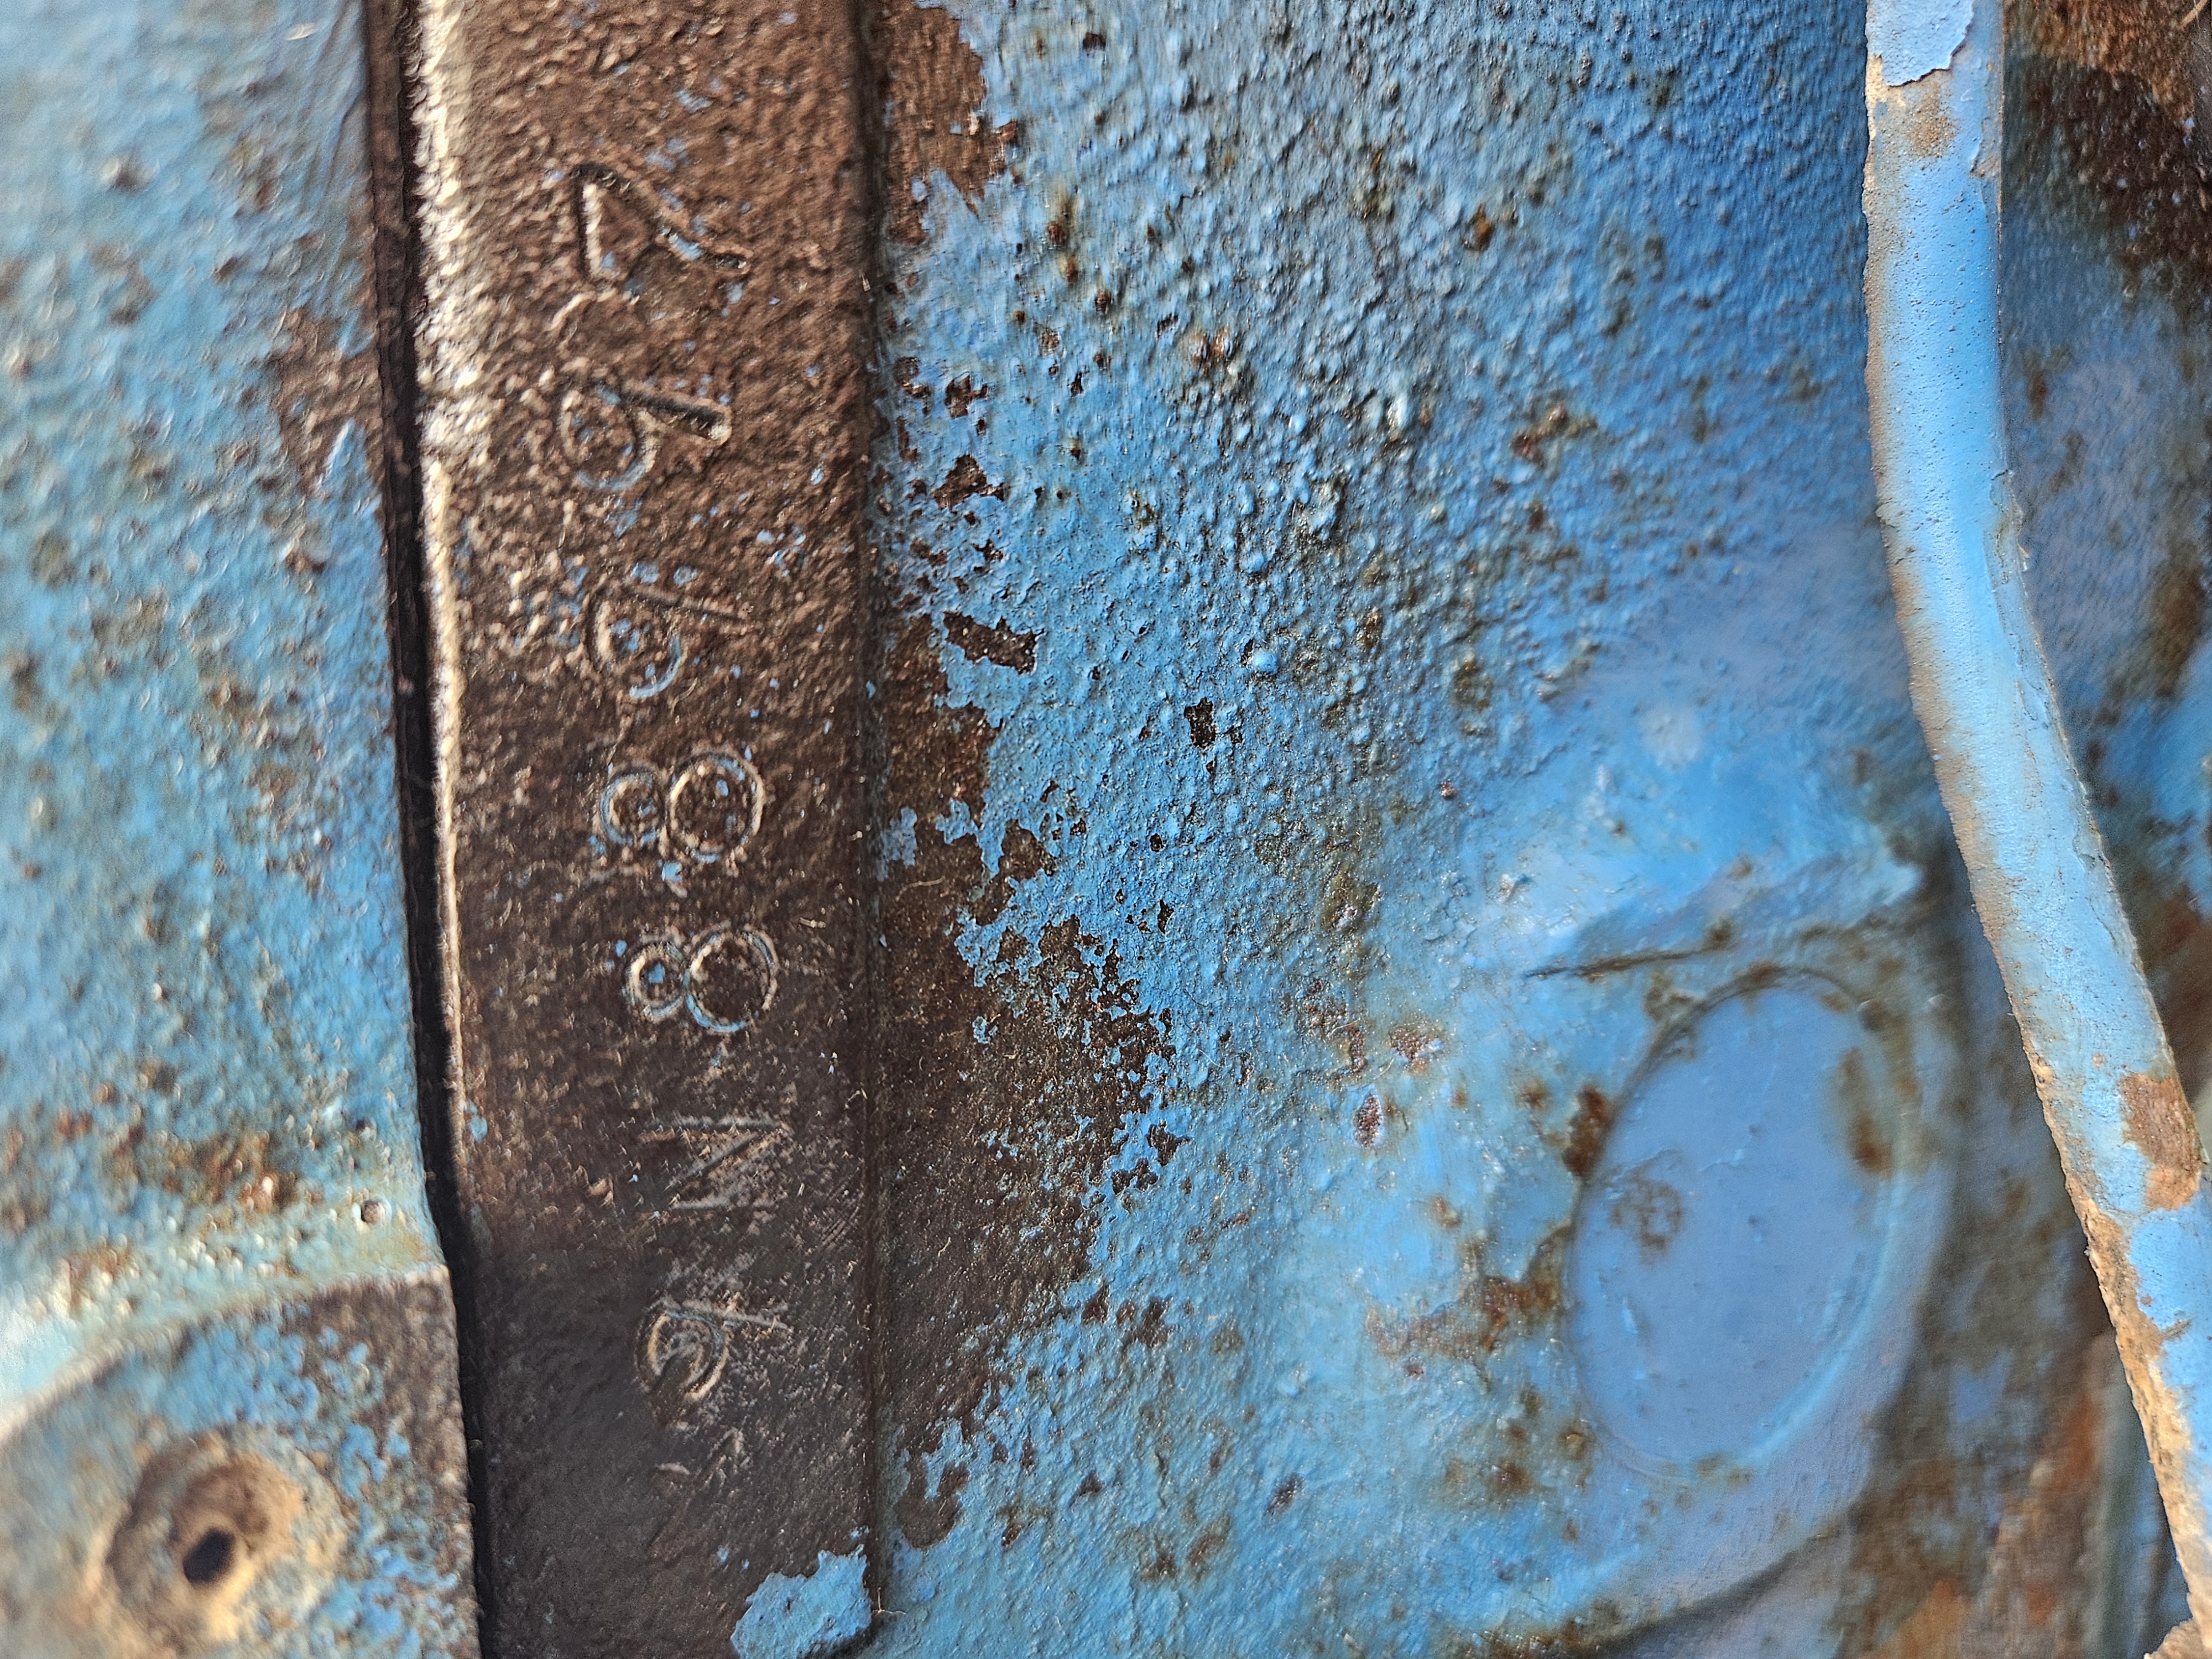
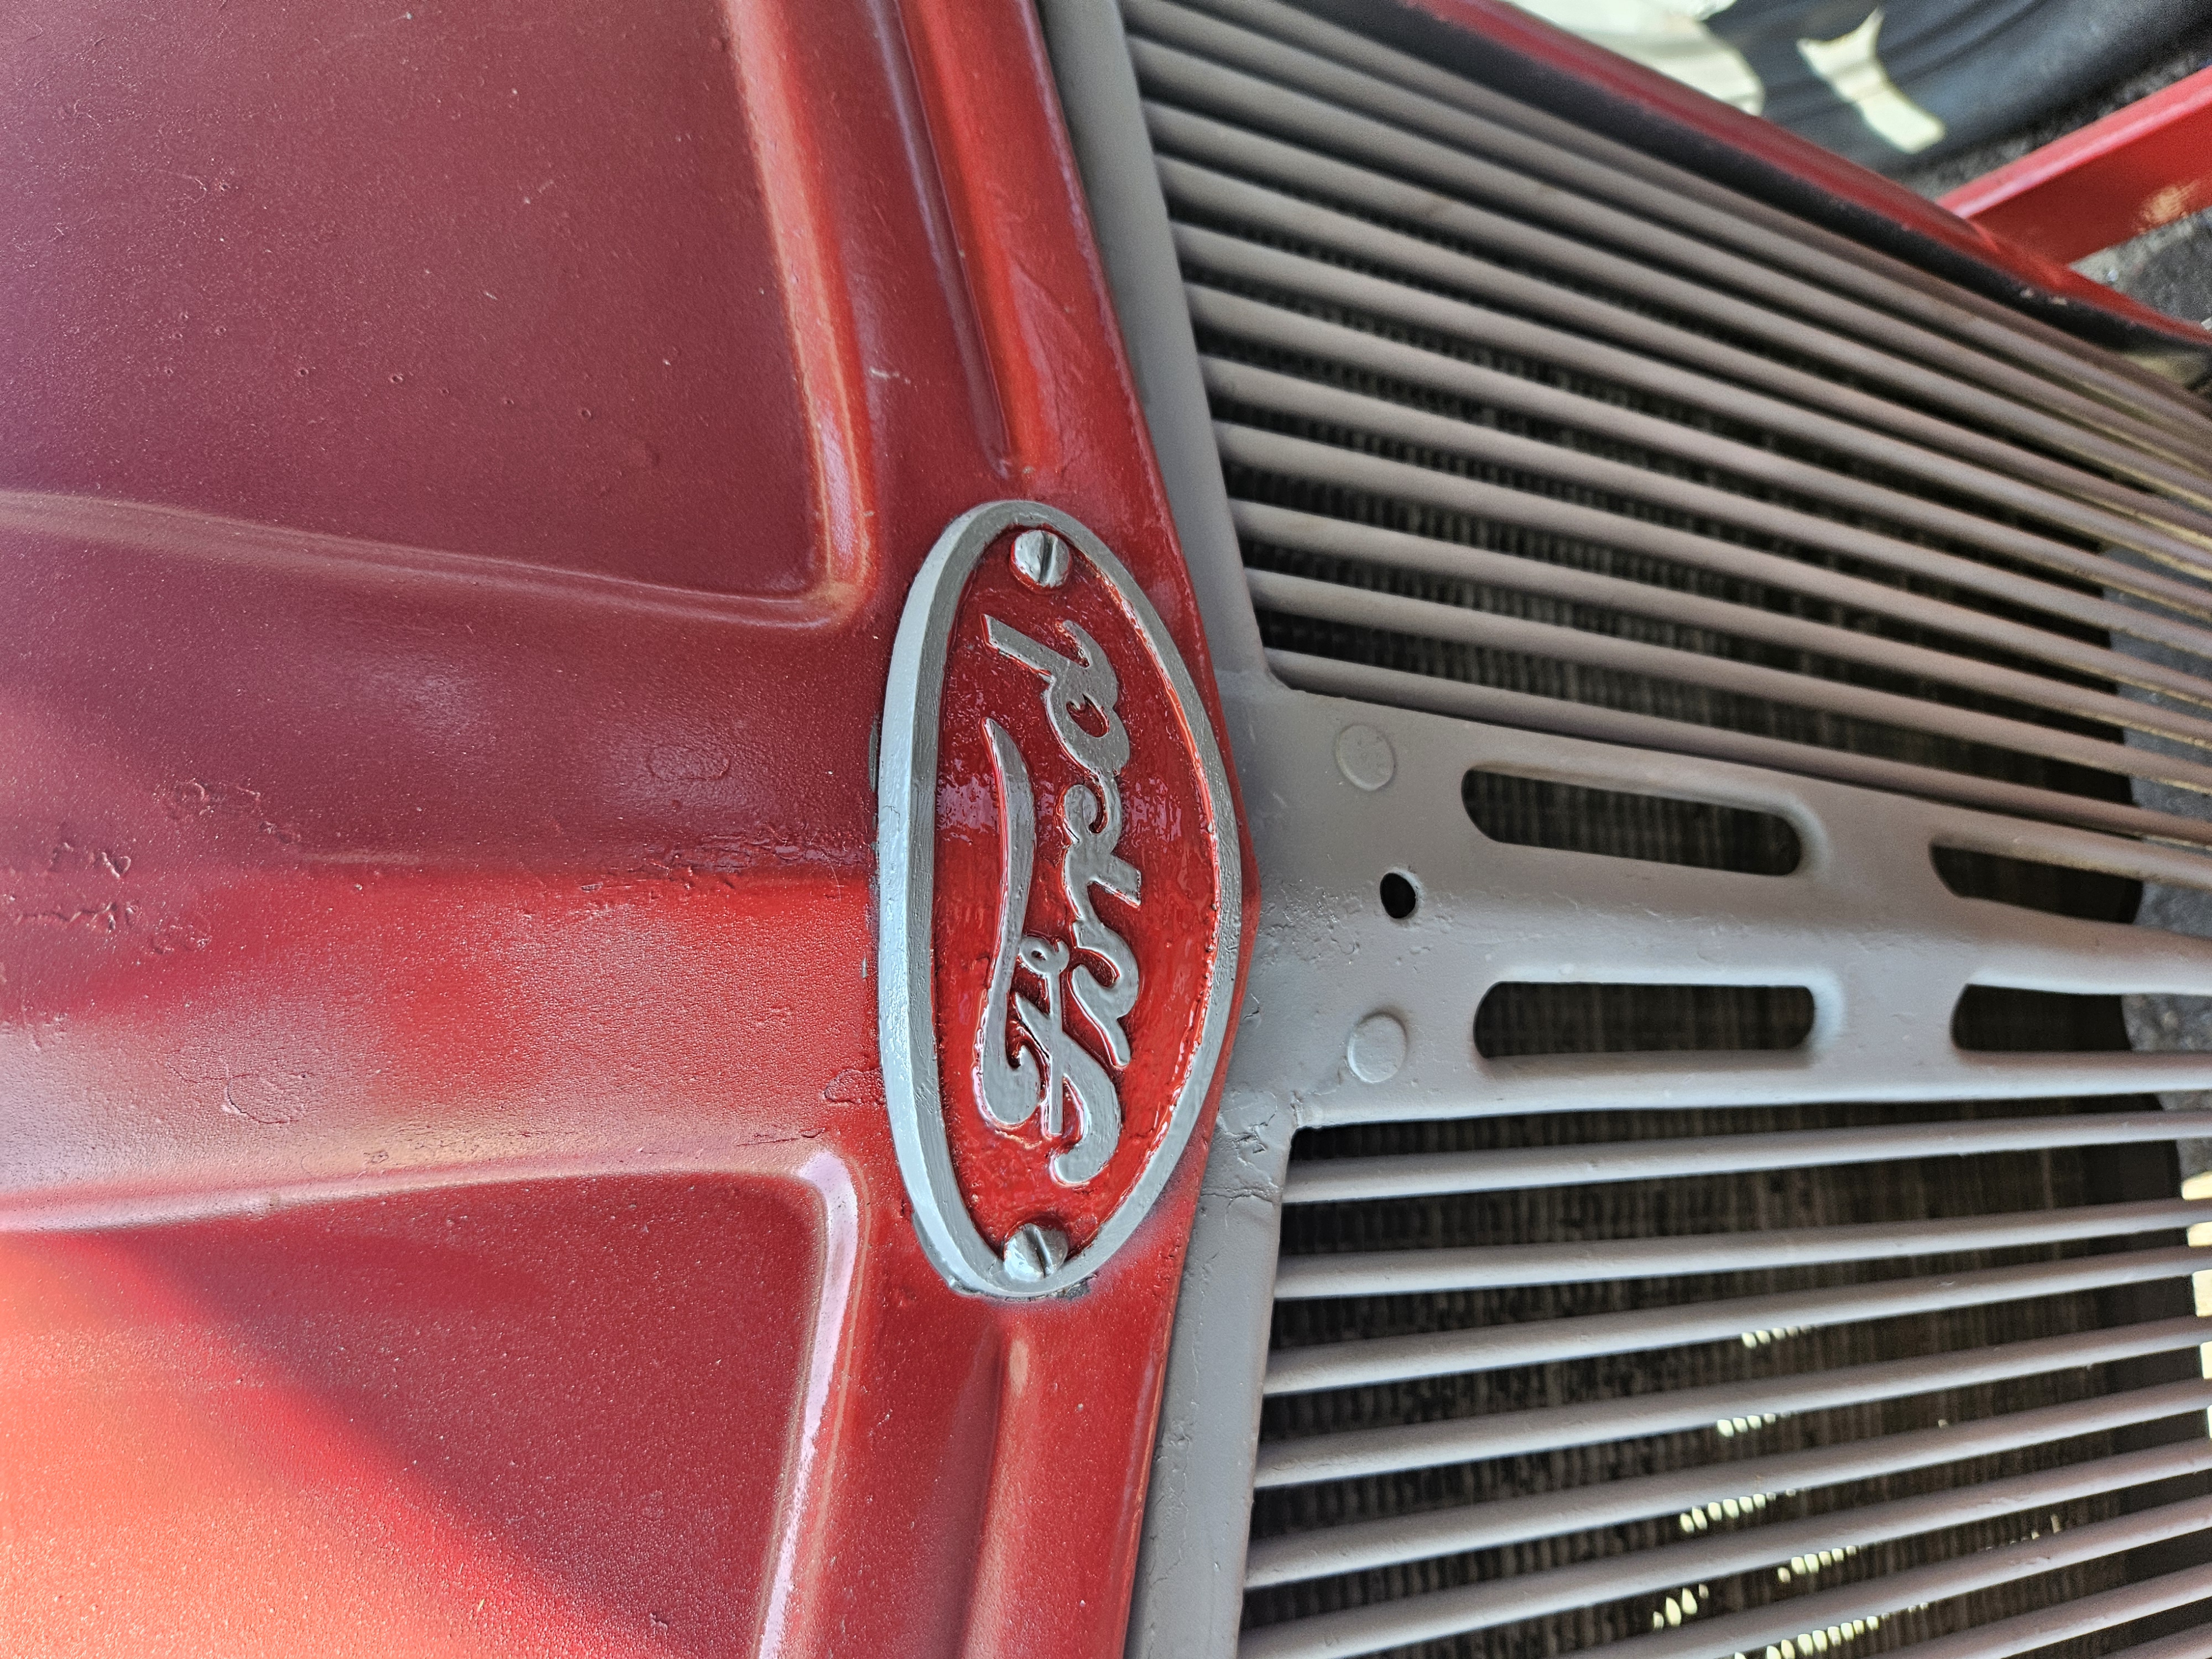
Once acquired and received at repair site, find VIN or serial number to verify make and model. (Classified ads are often incorrect).
Step 3: Troubleshoot
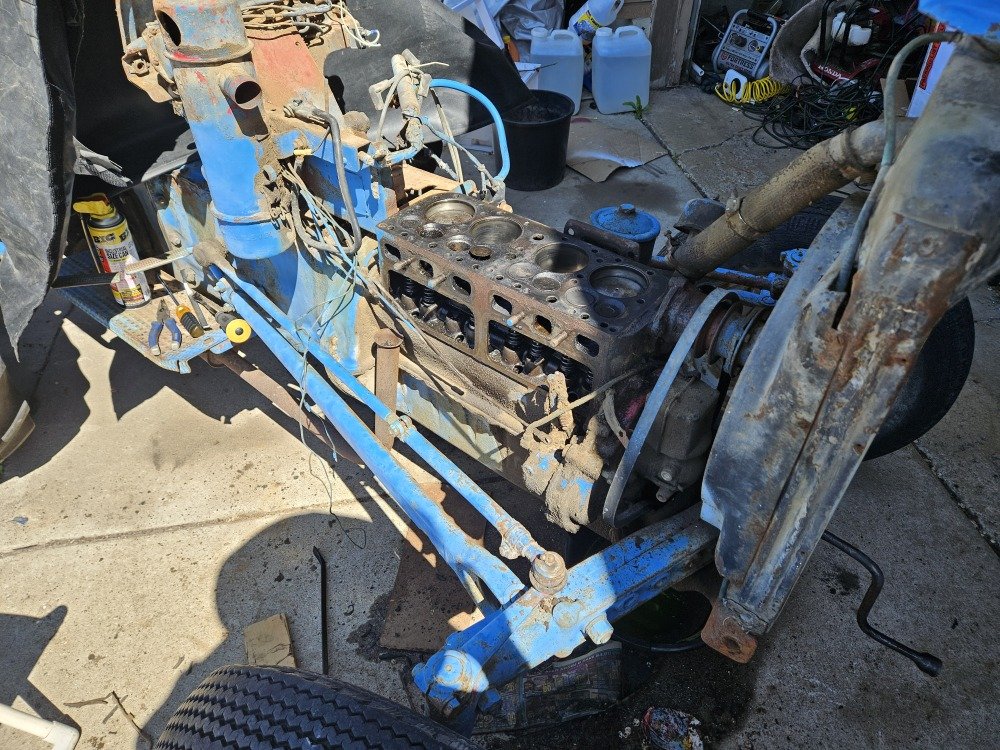

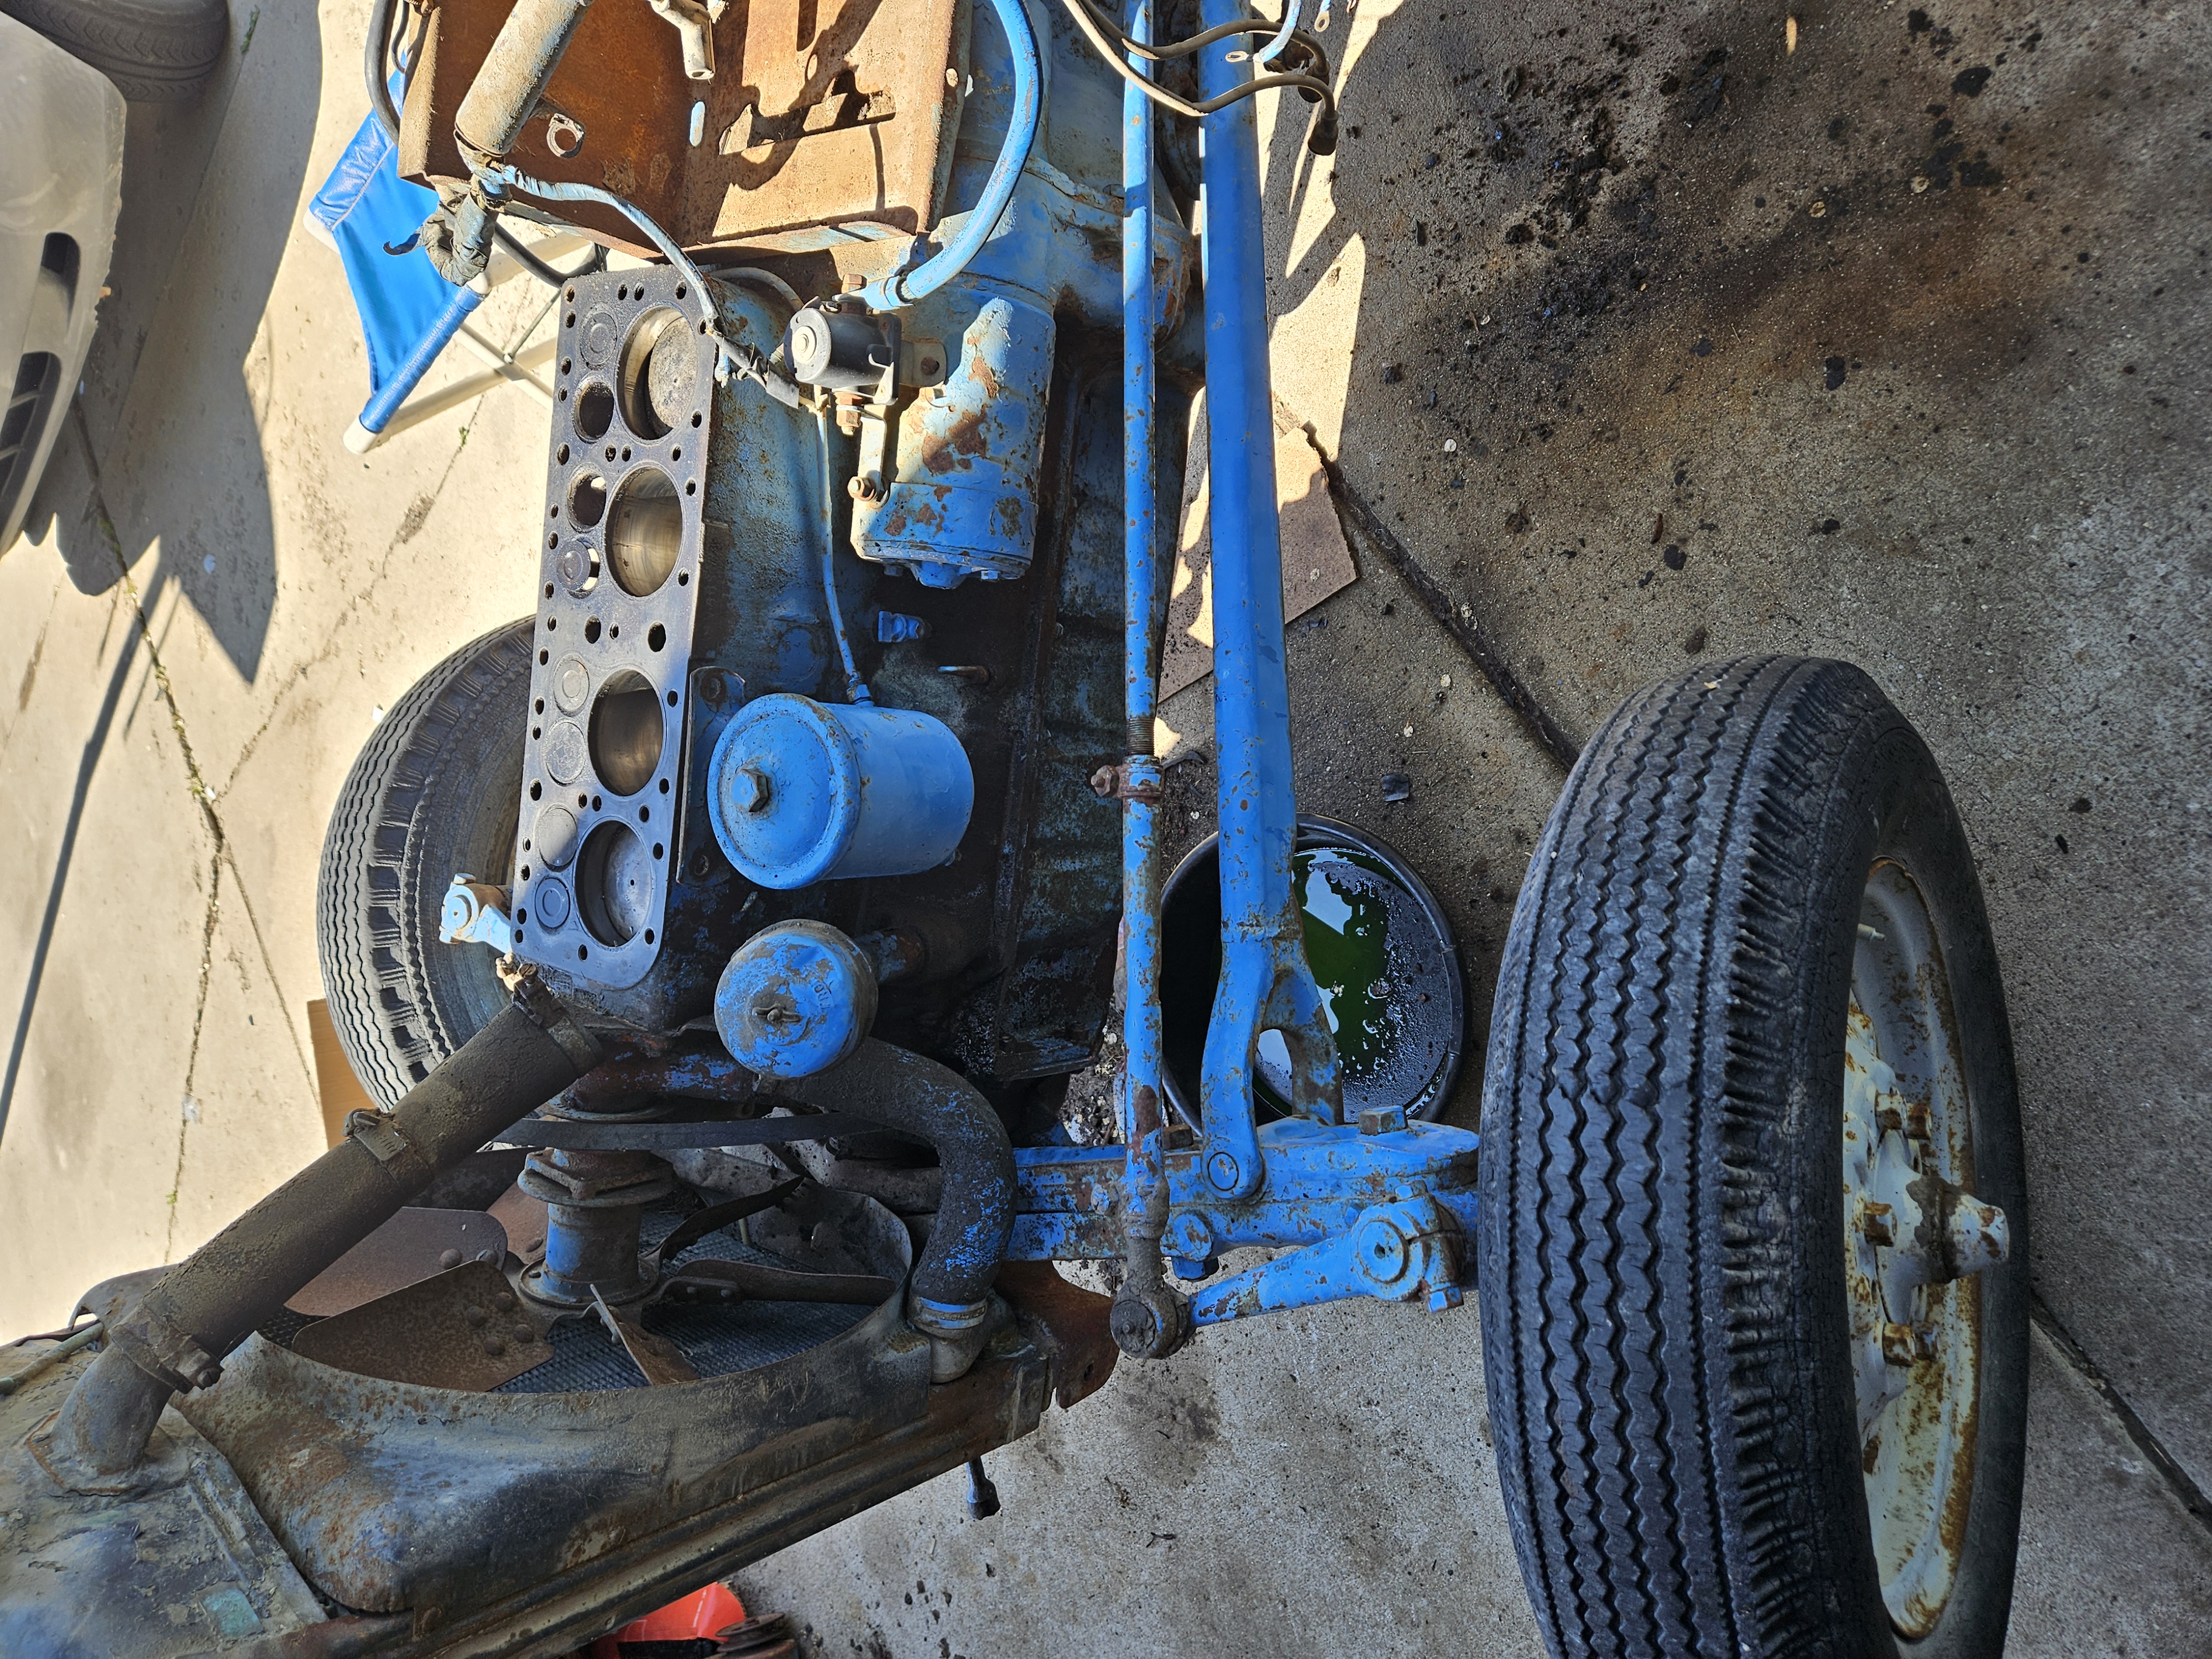
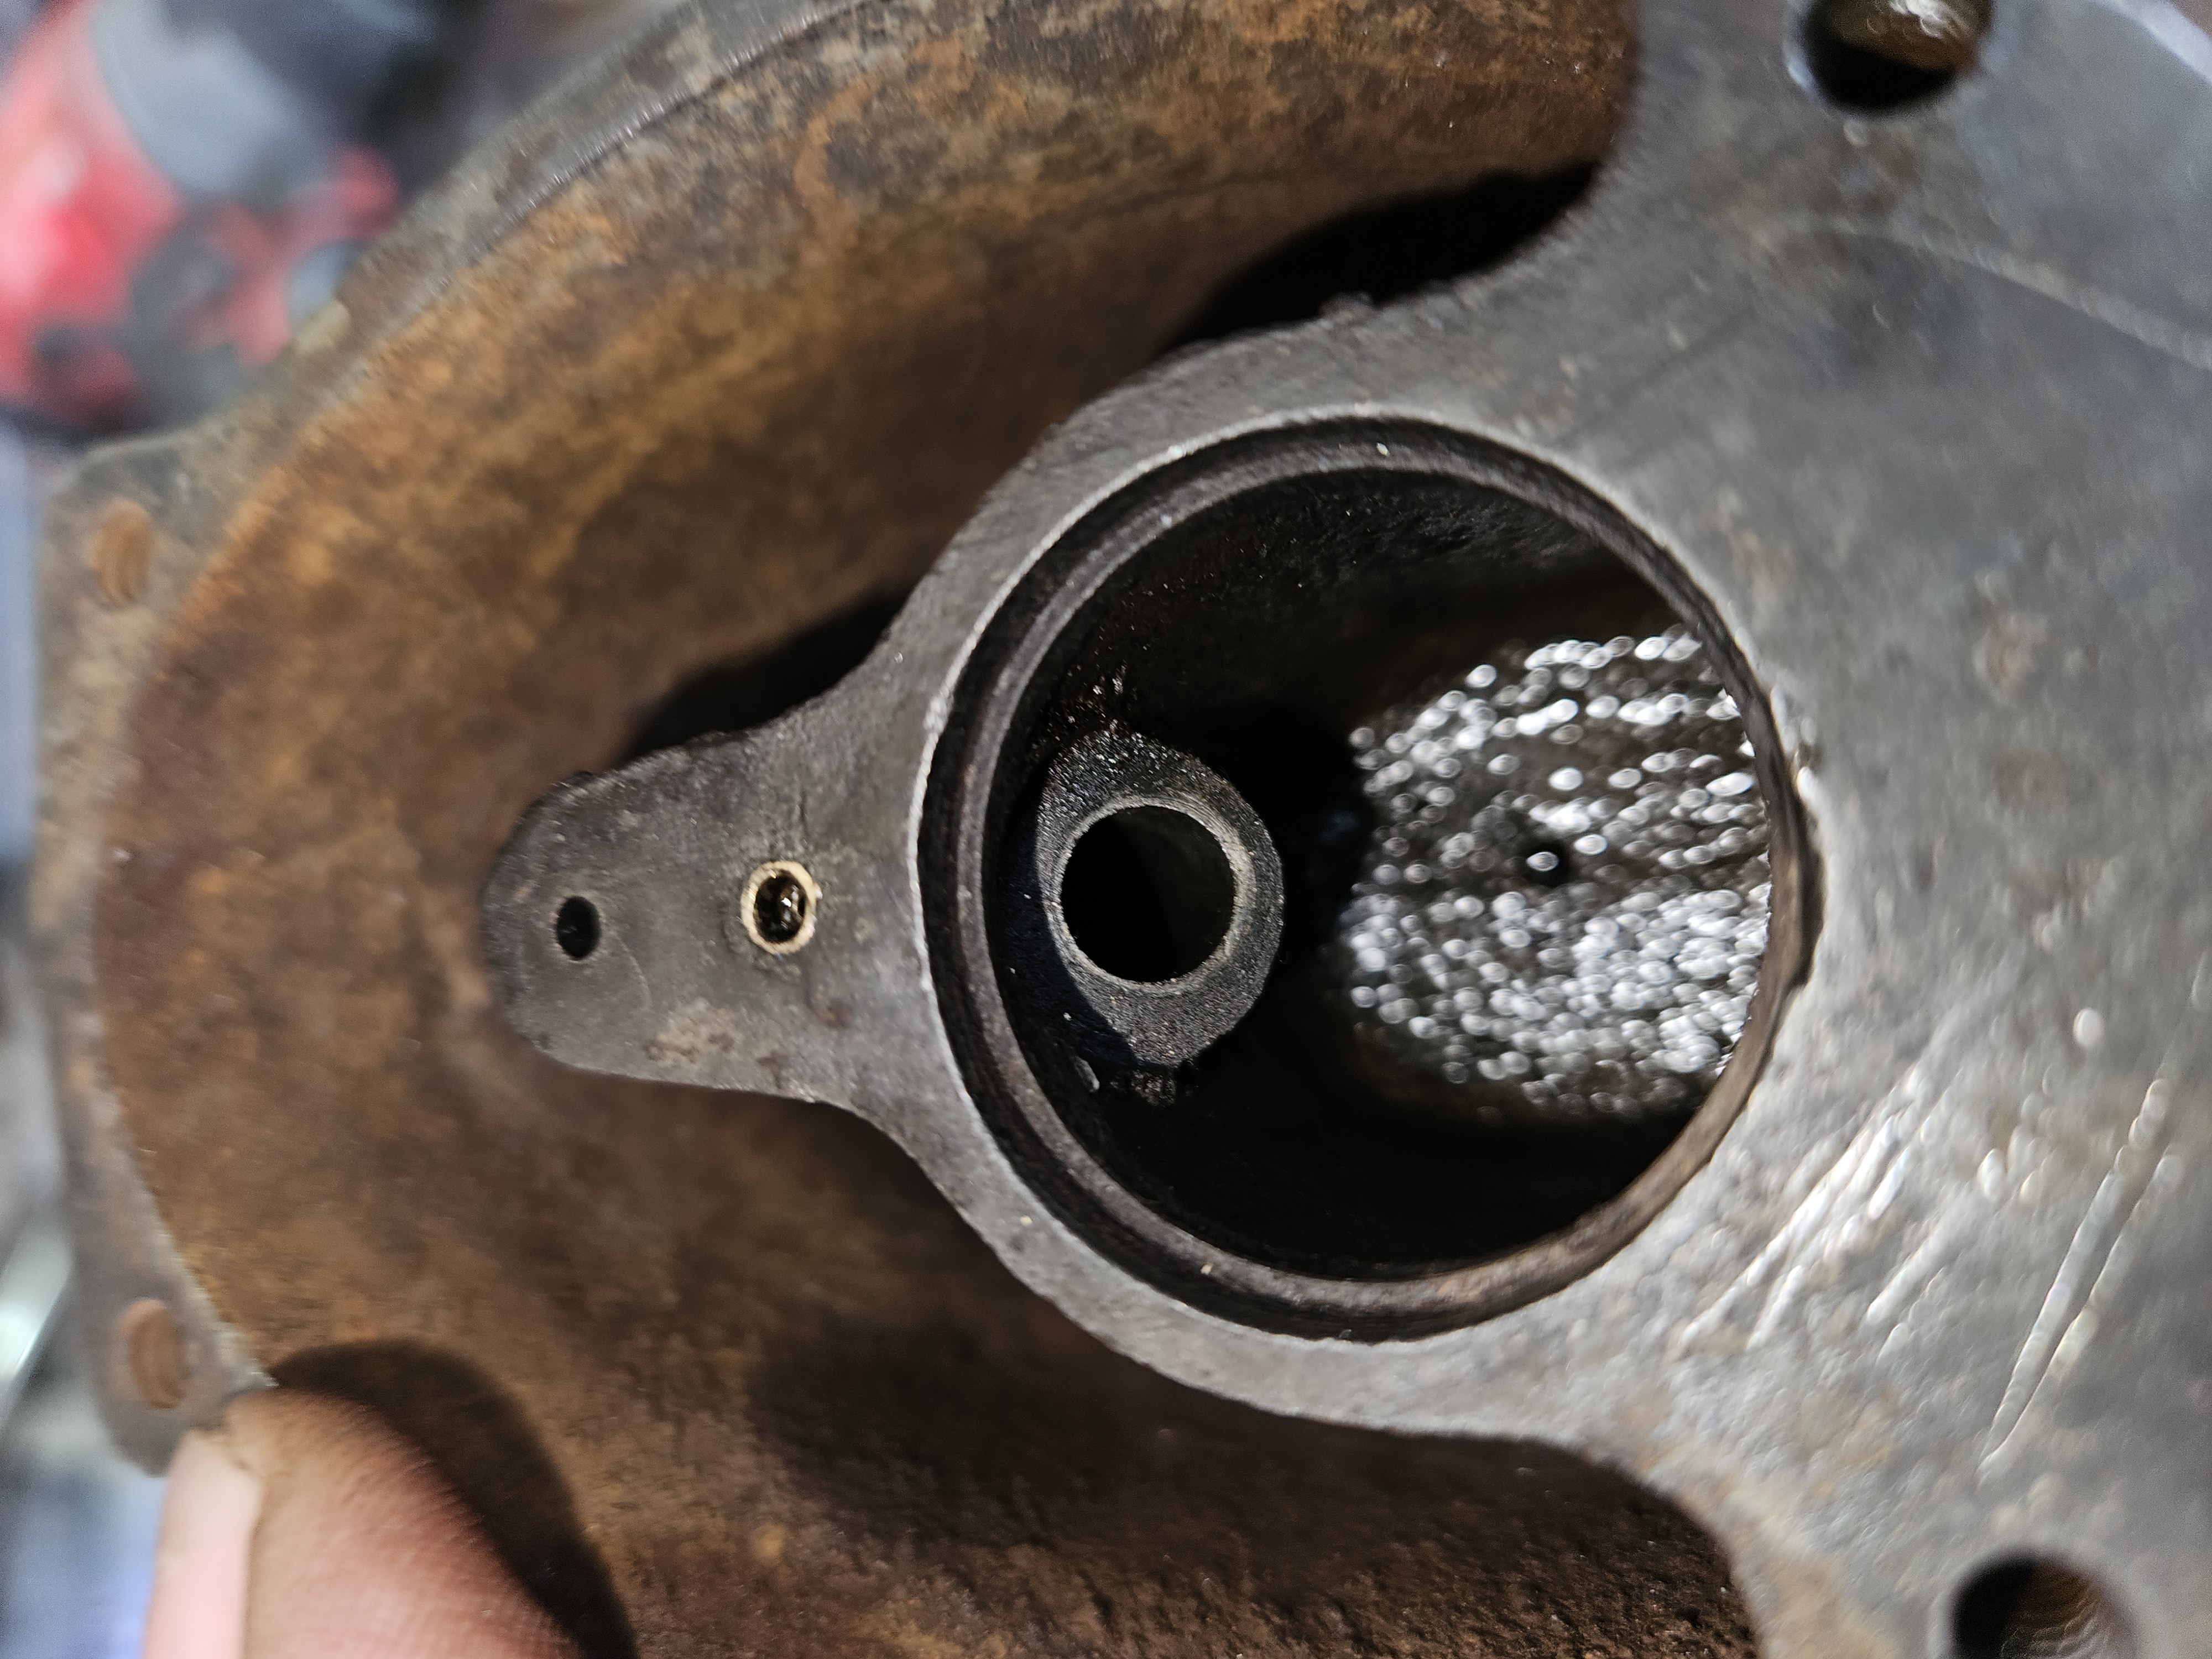
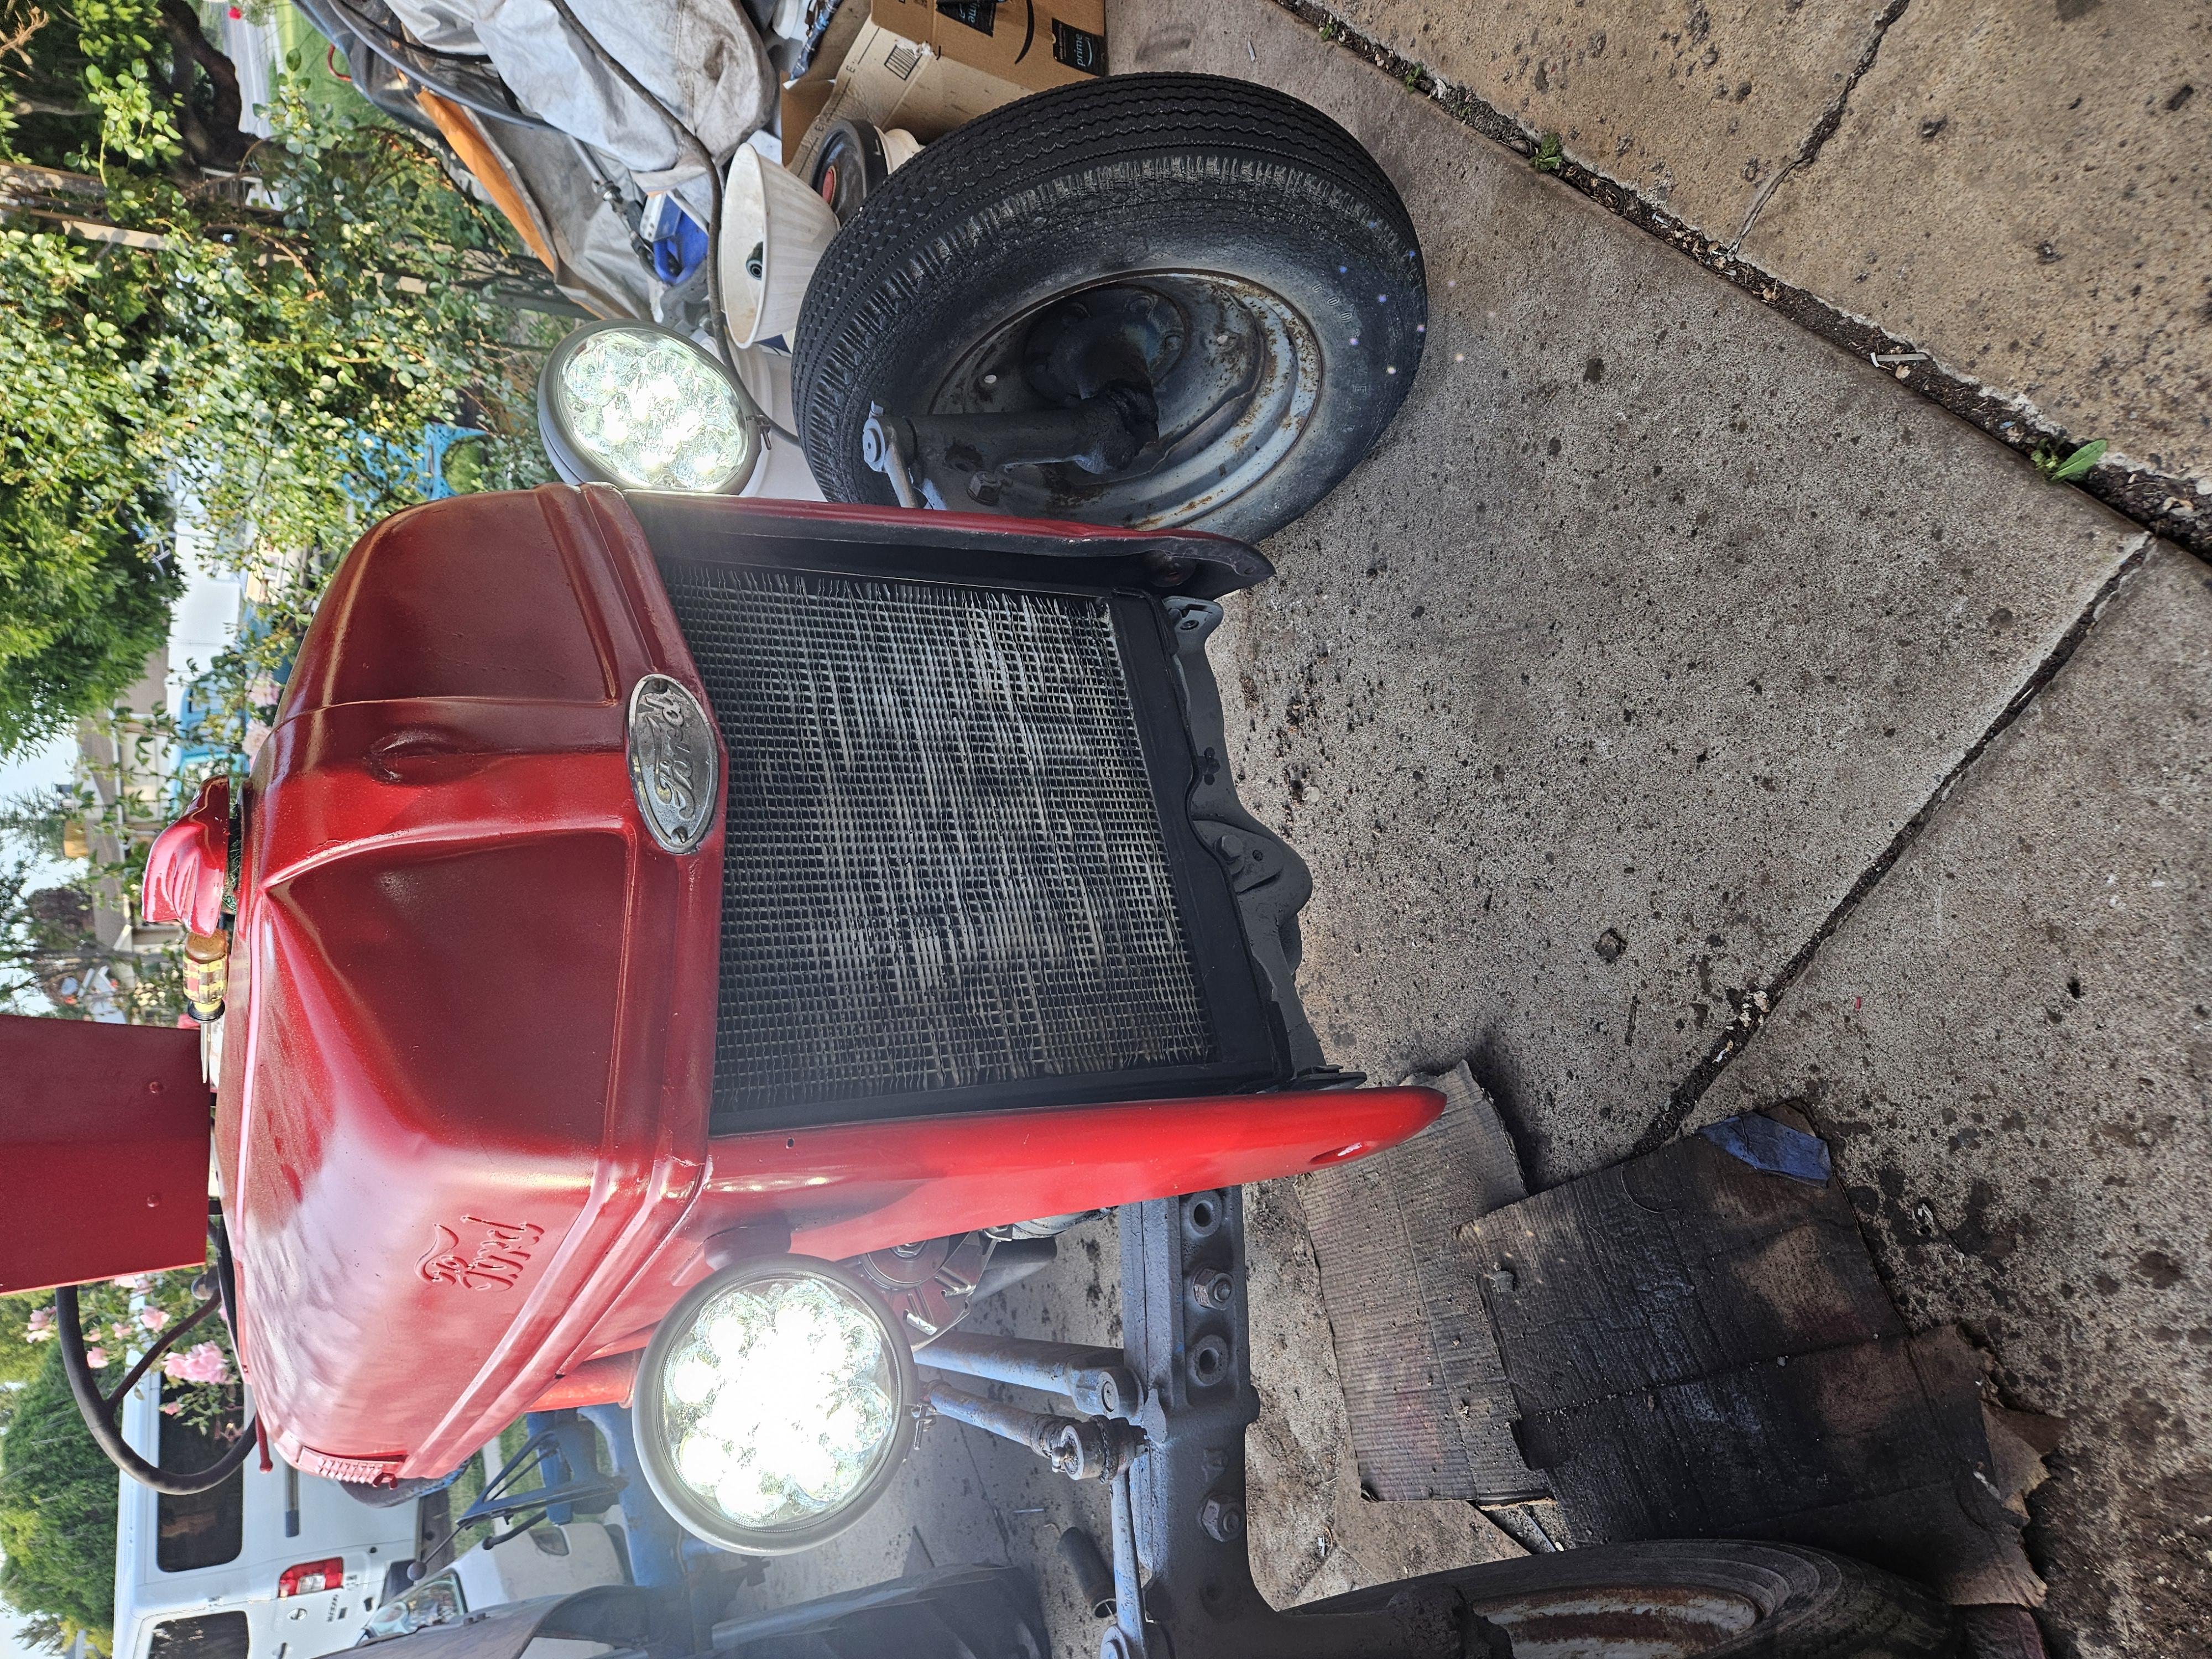
Remove housing, covers etc to view engine parts and check for functionality. I verified that this tractor indeed had stuck valves. Despite much research online and efforts with penetrating oil ie WD-40, the valves would not free up and stay free. I had to pull the head and hand crank the engine to verify.
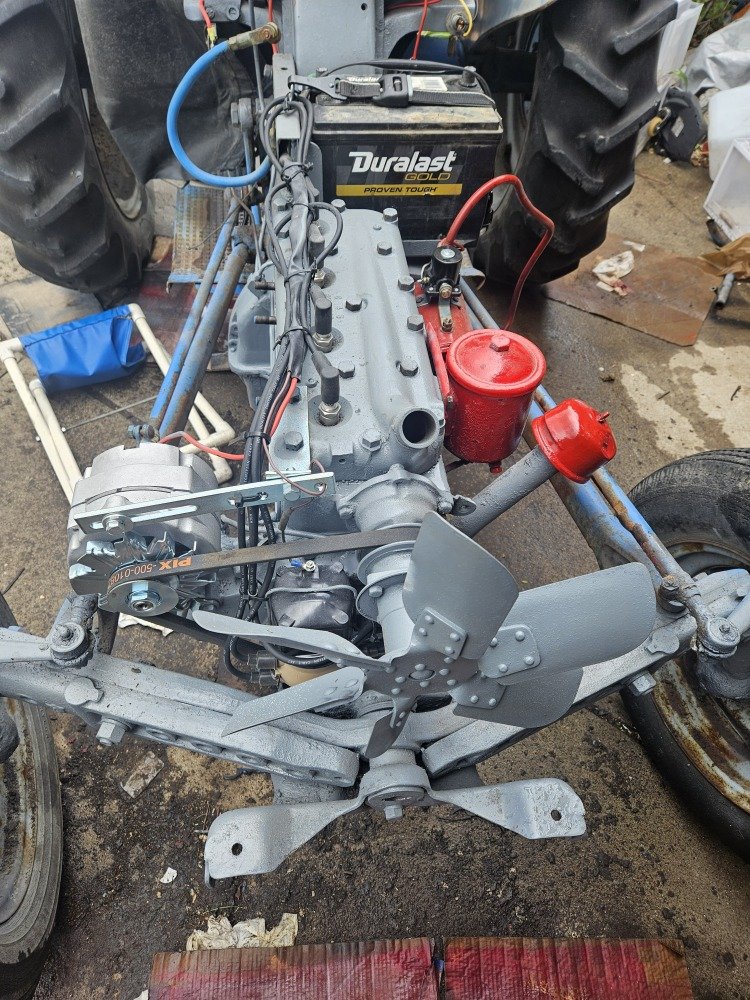
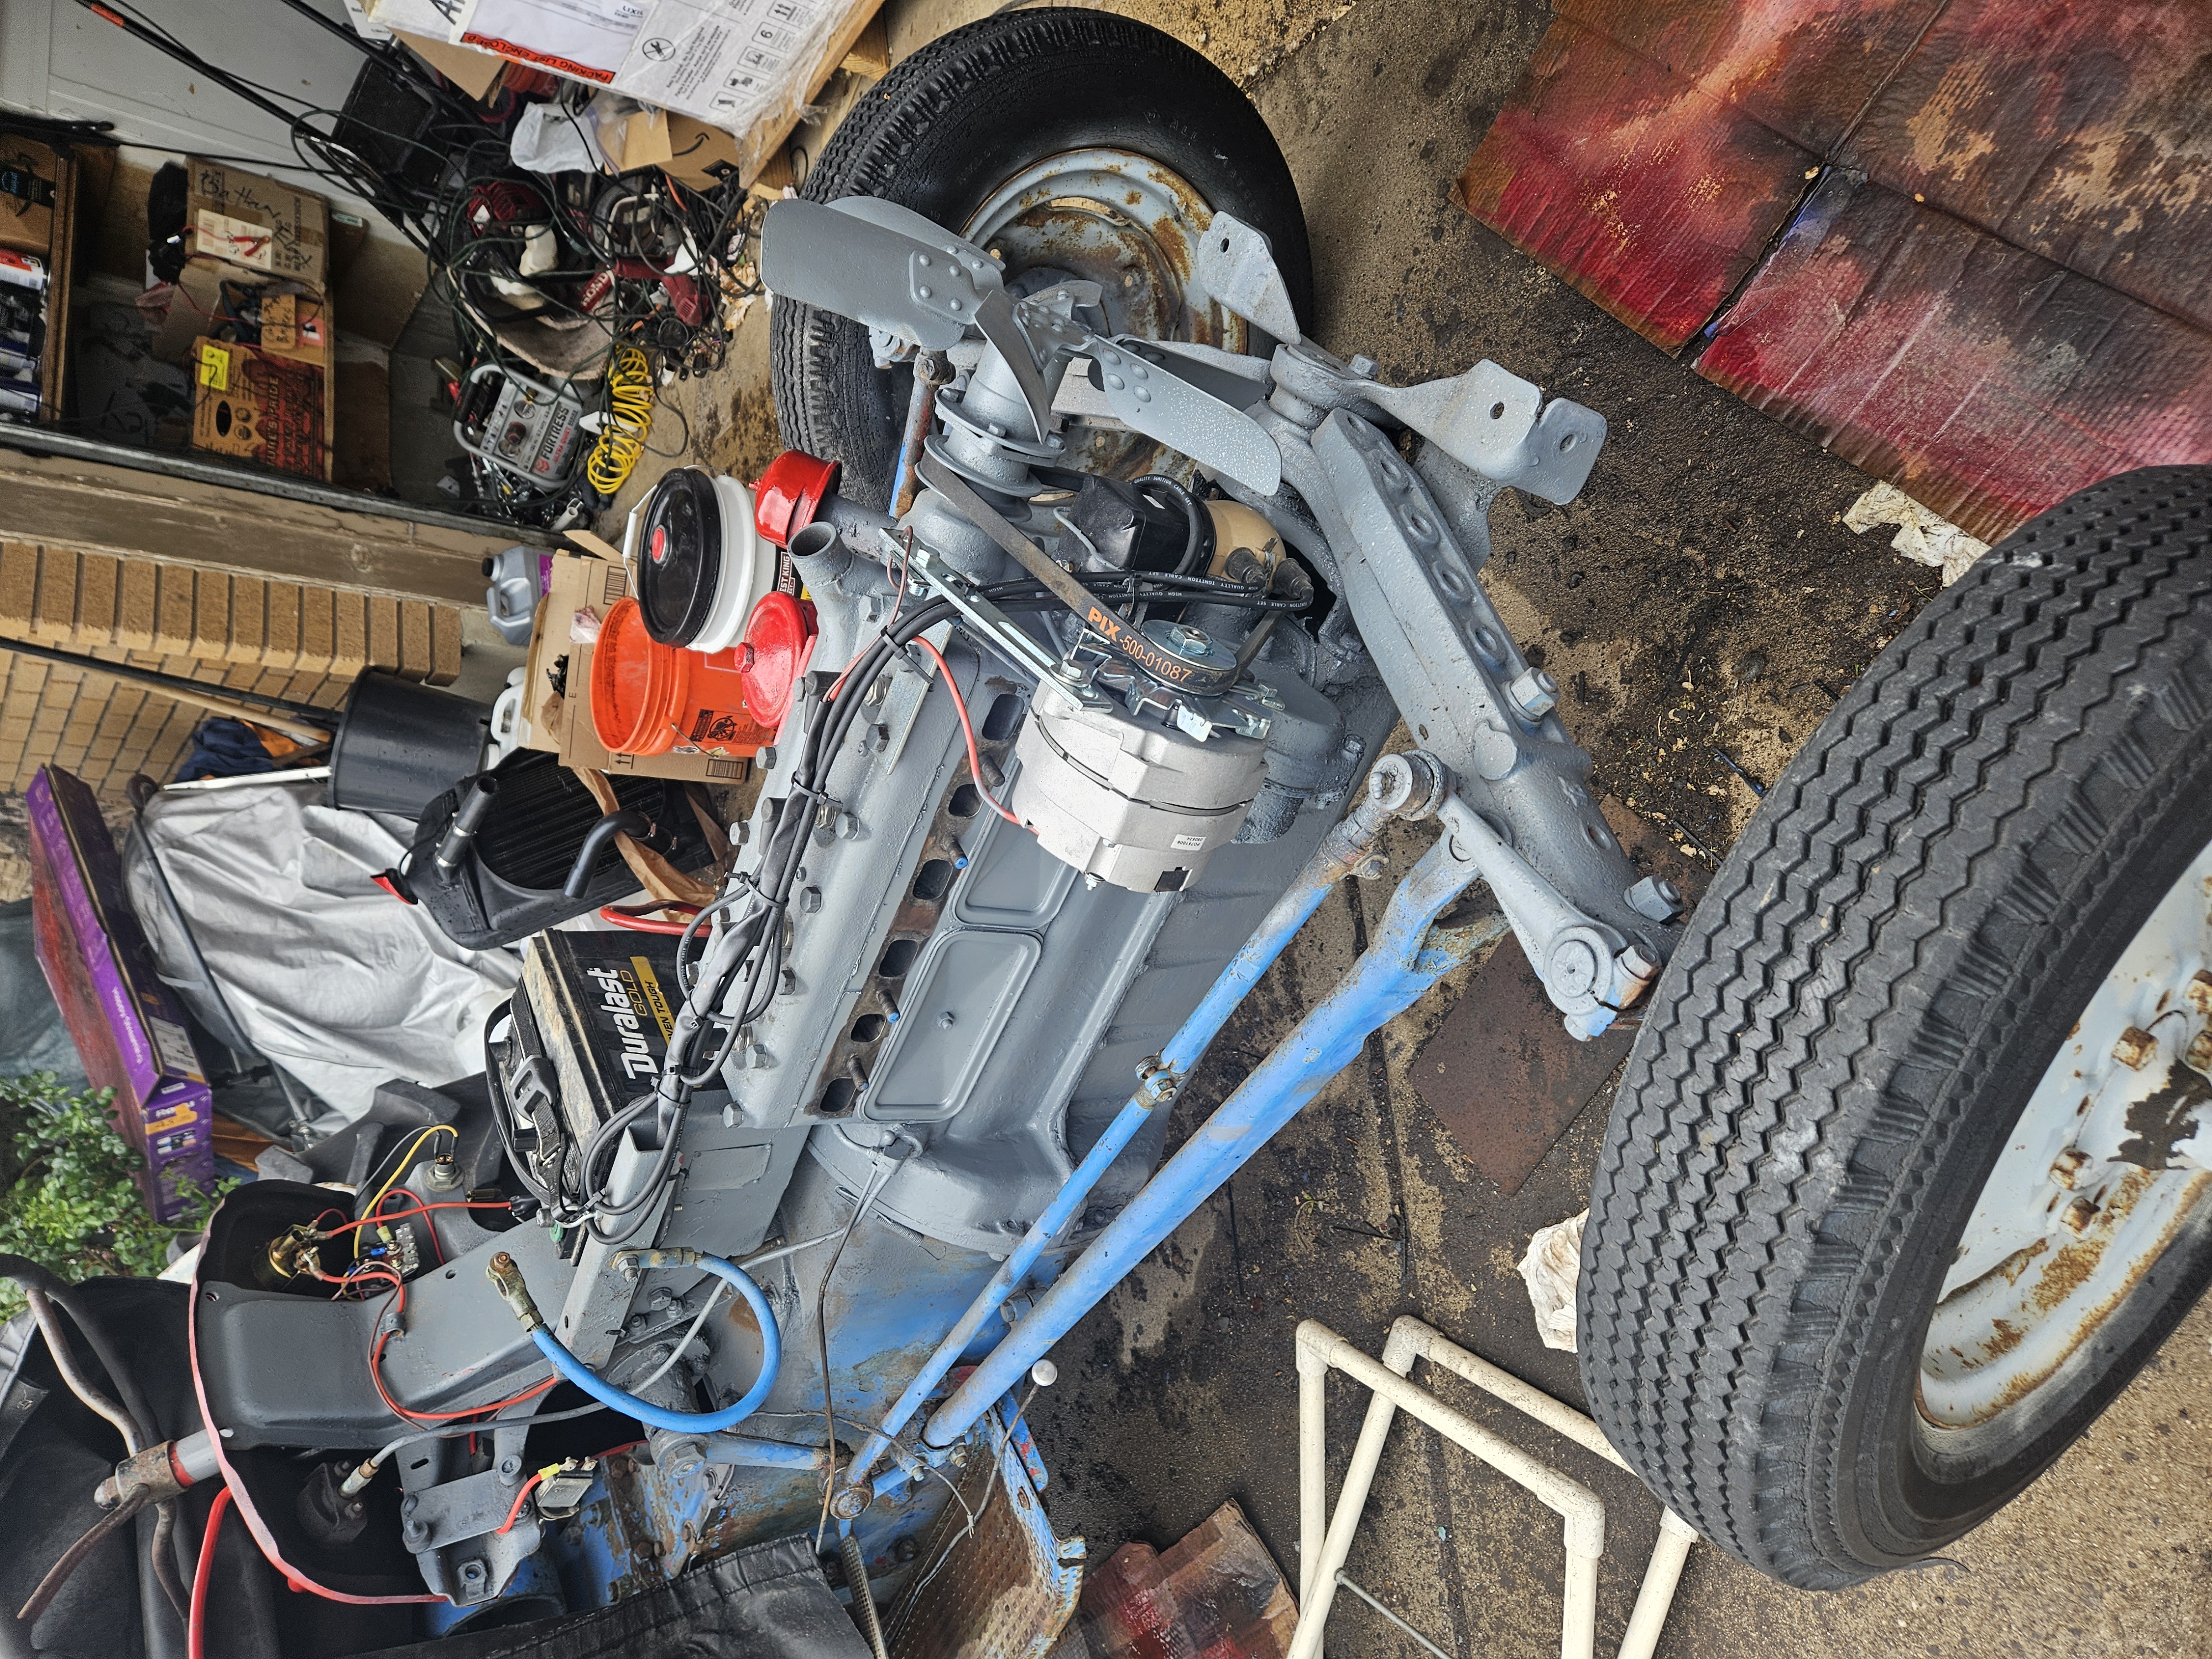
Step 4: Repair, reassemble, prep and paint.
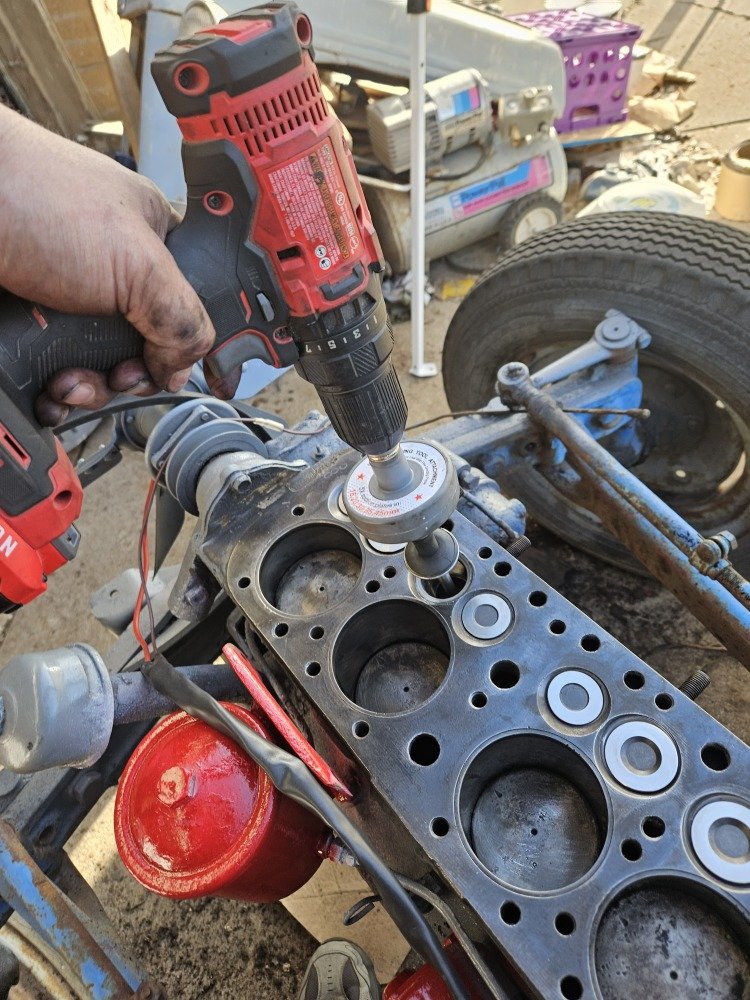
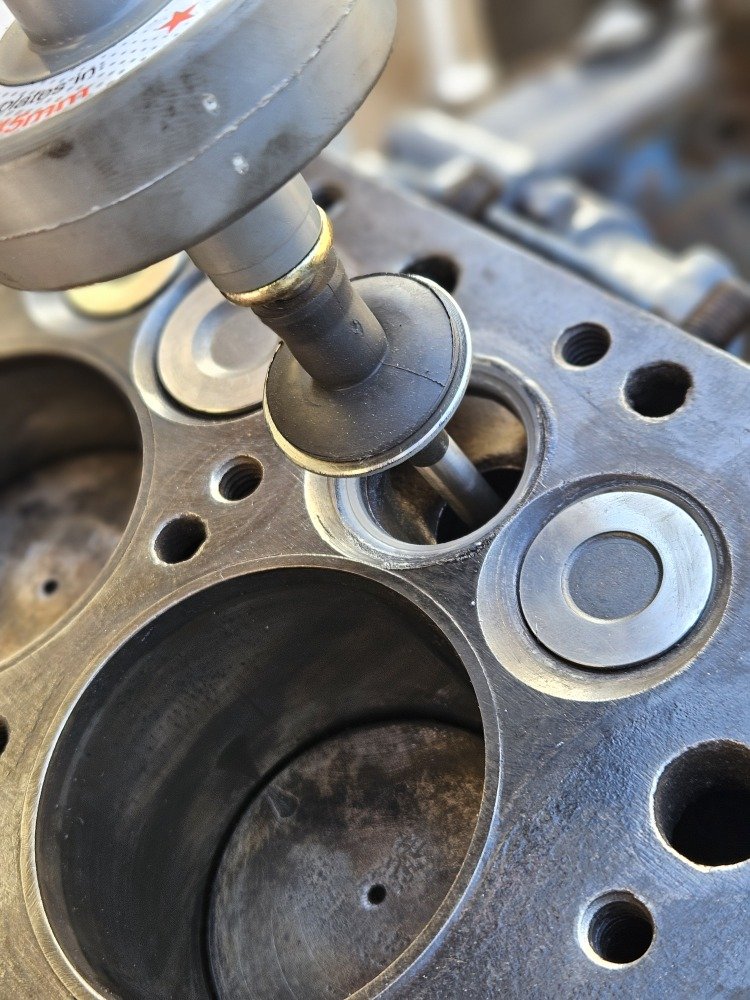
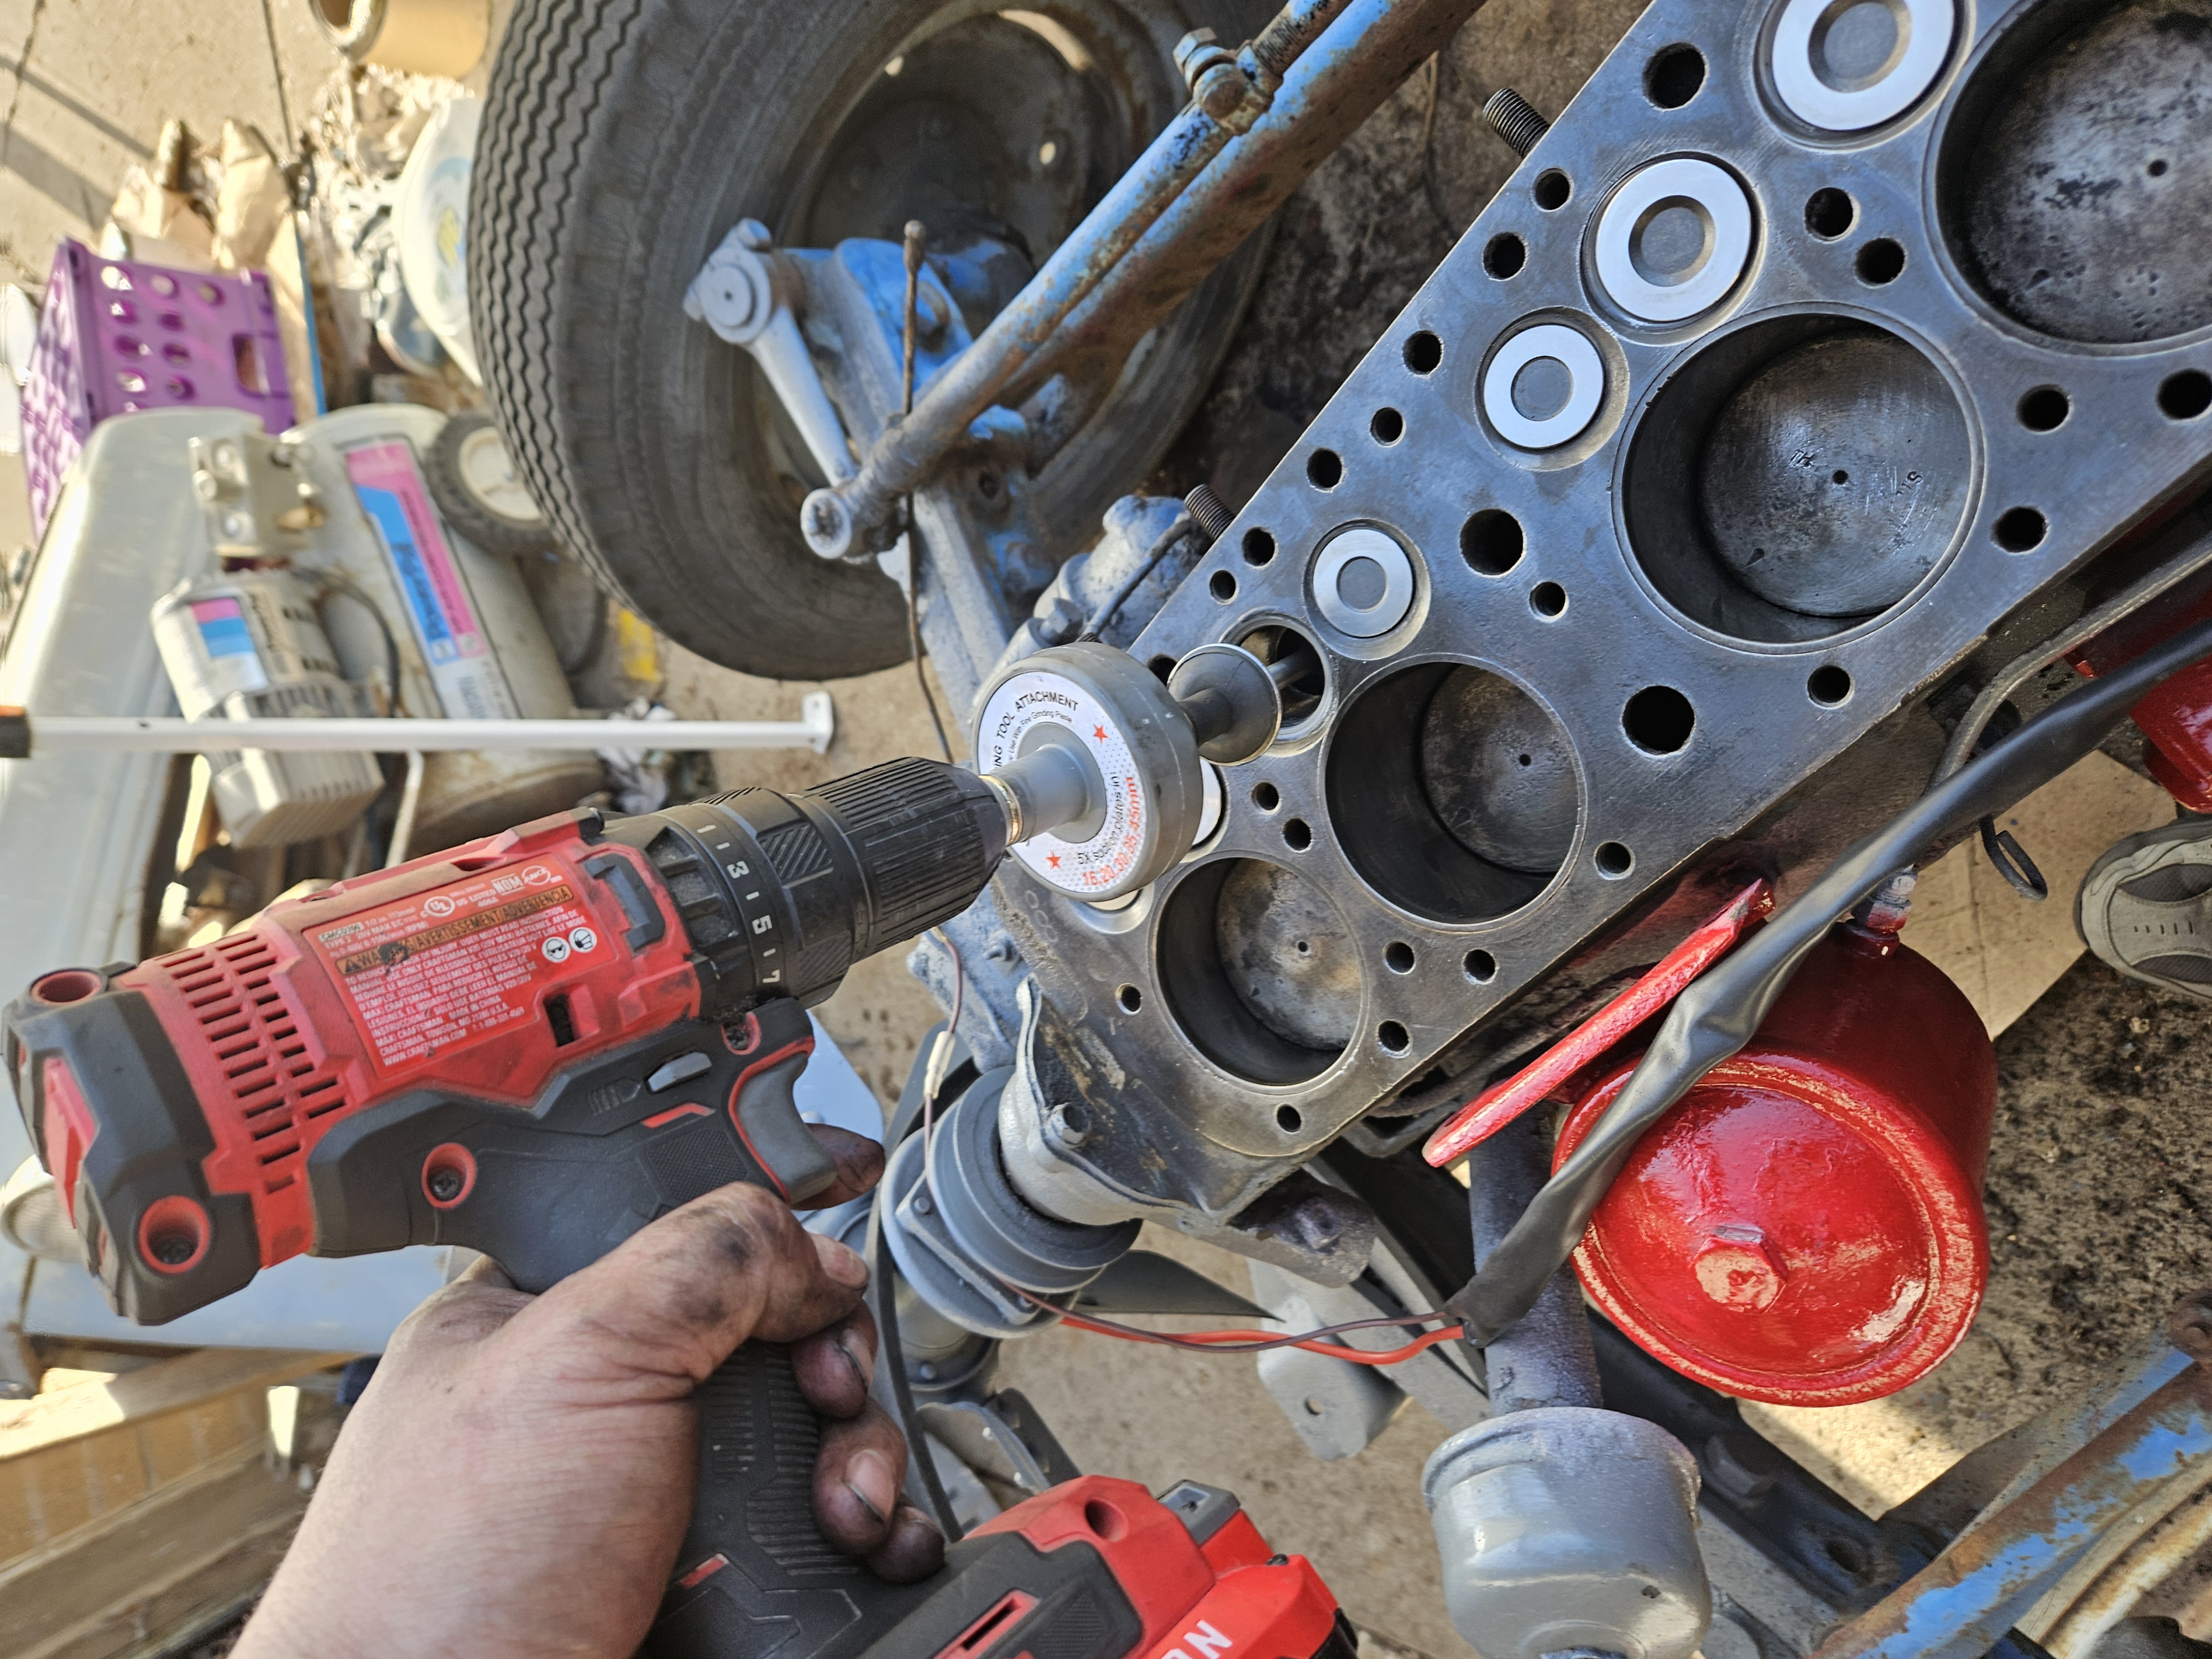

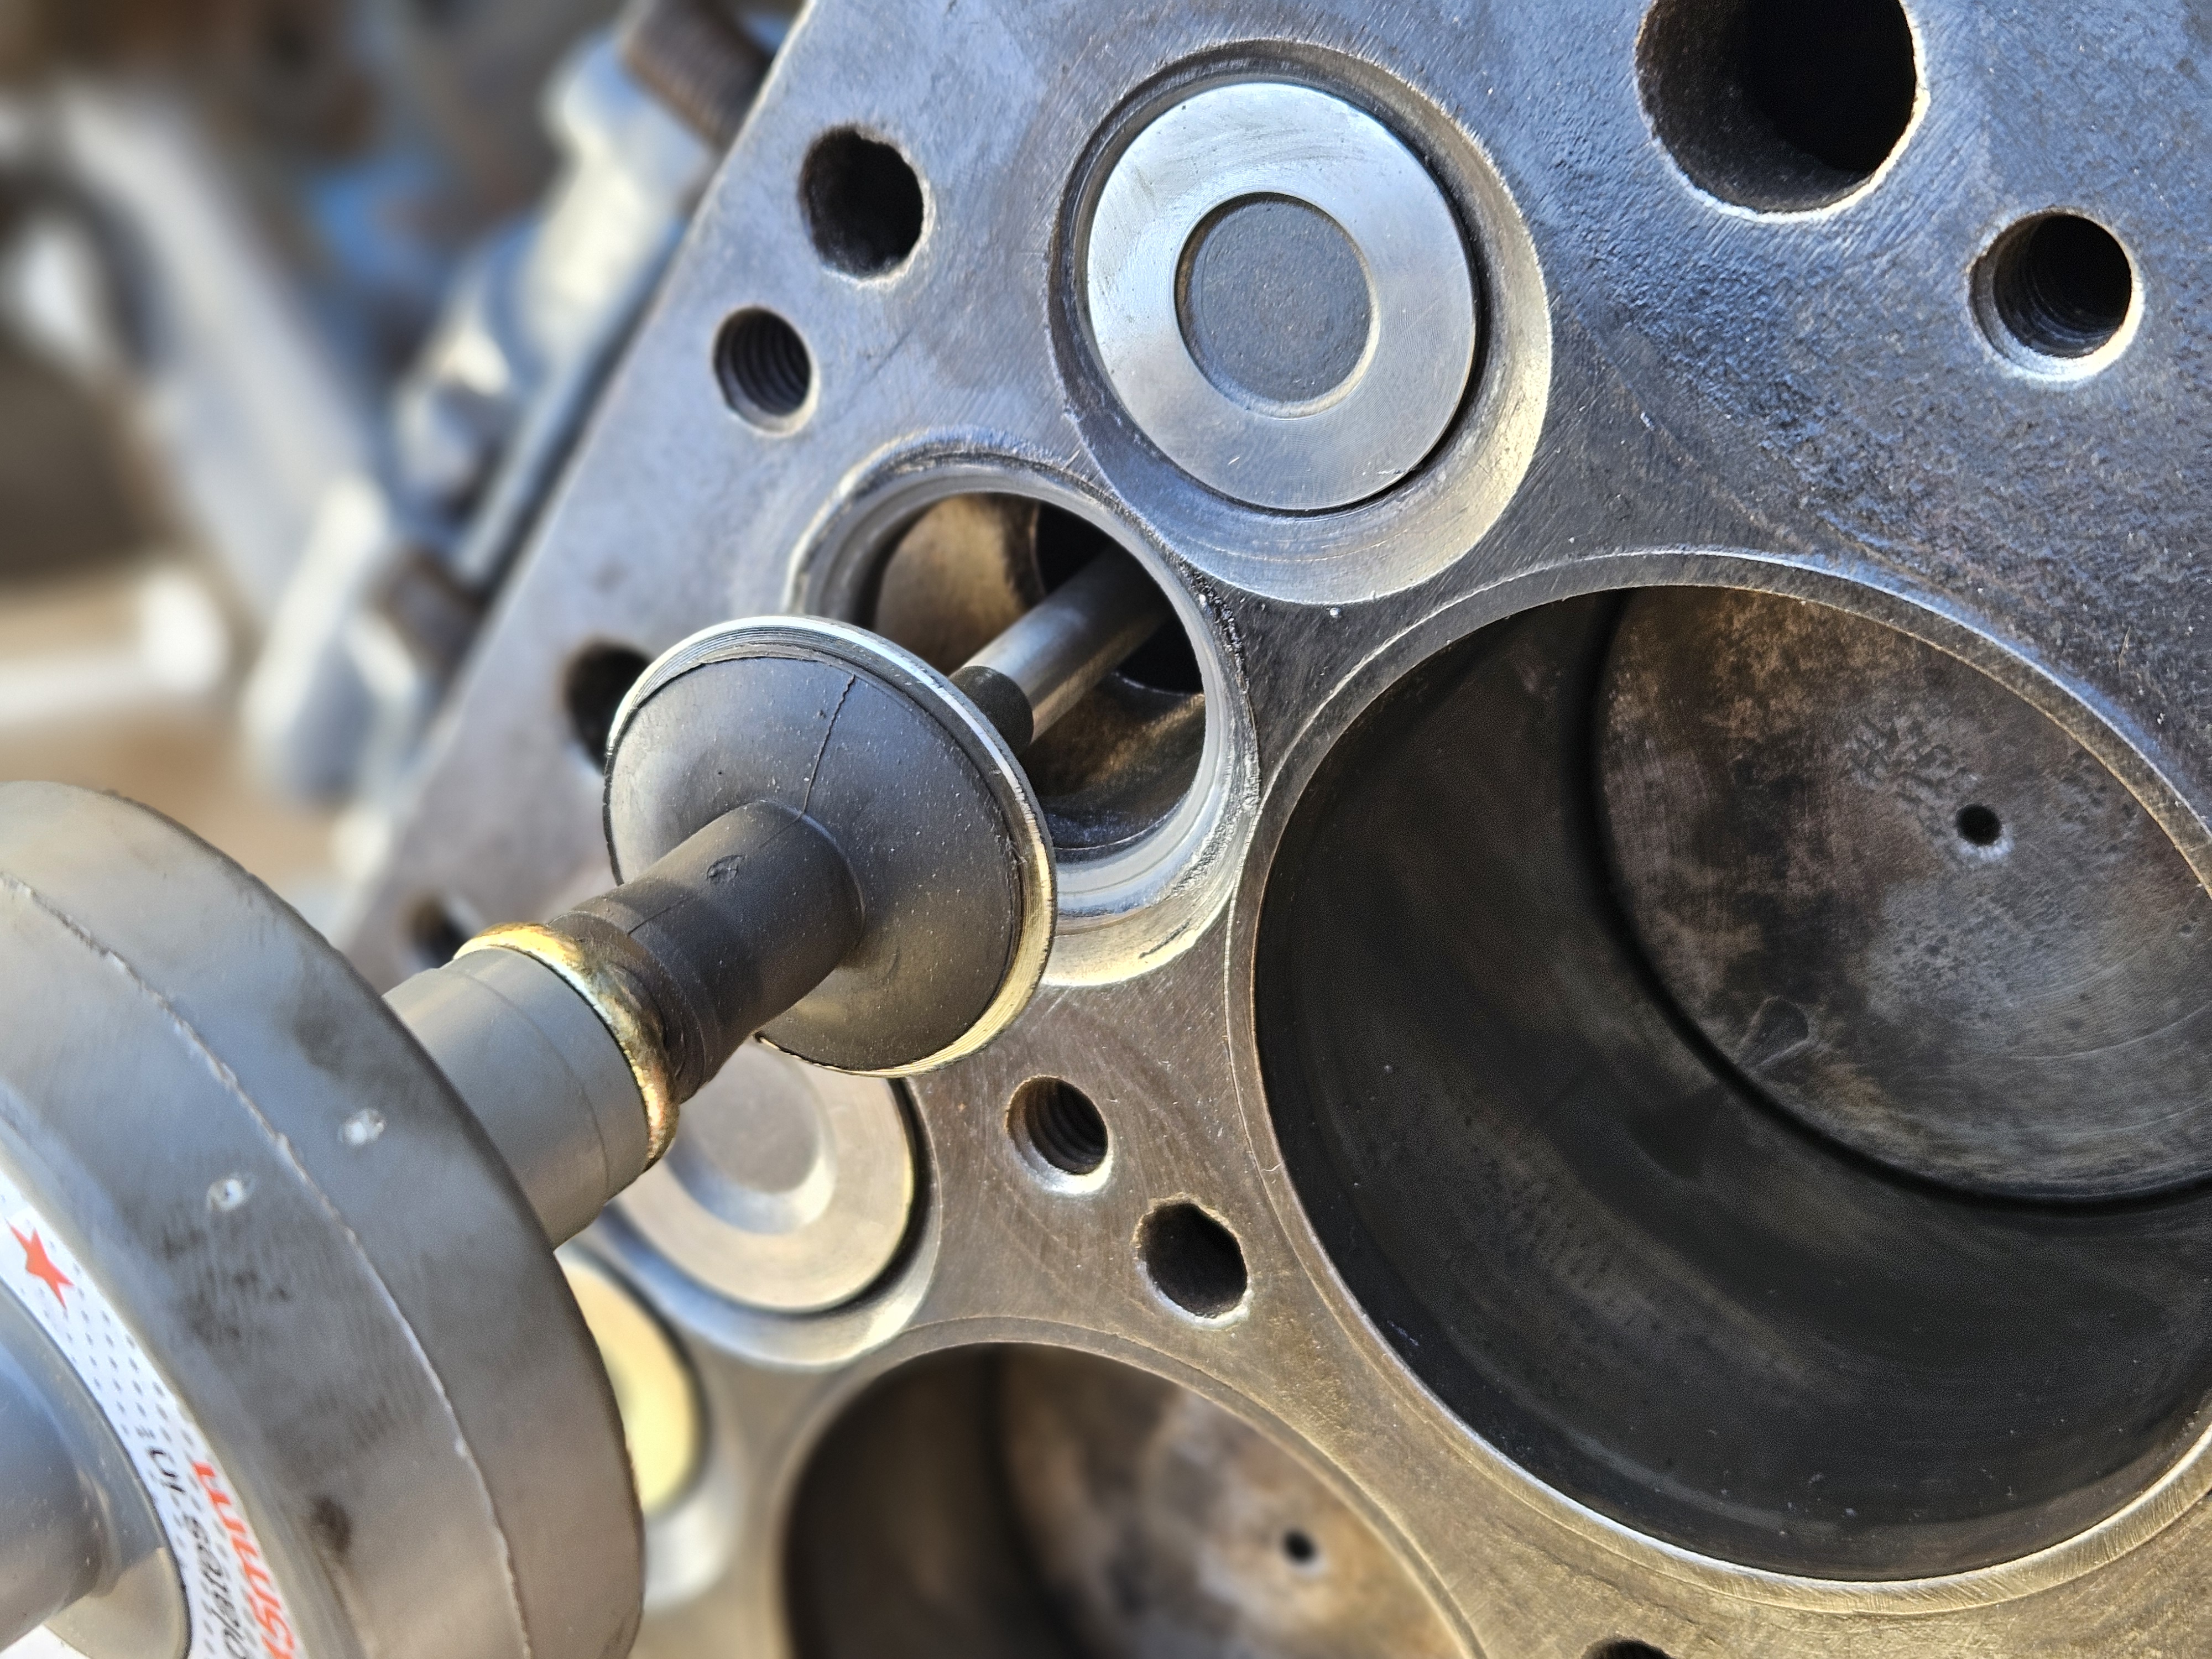
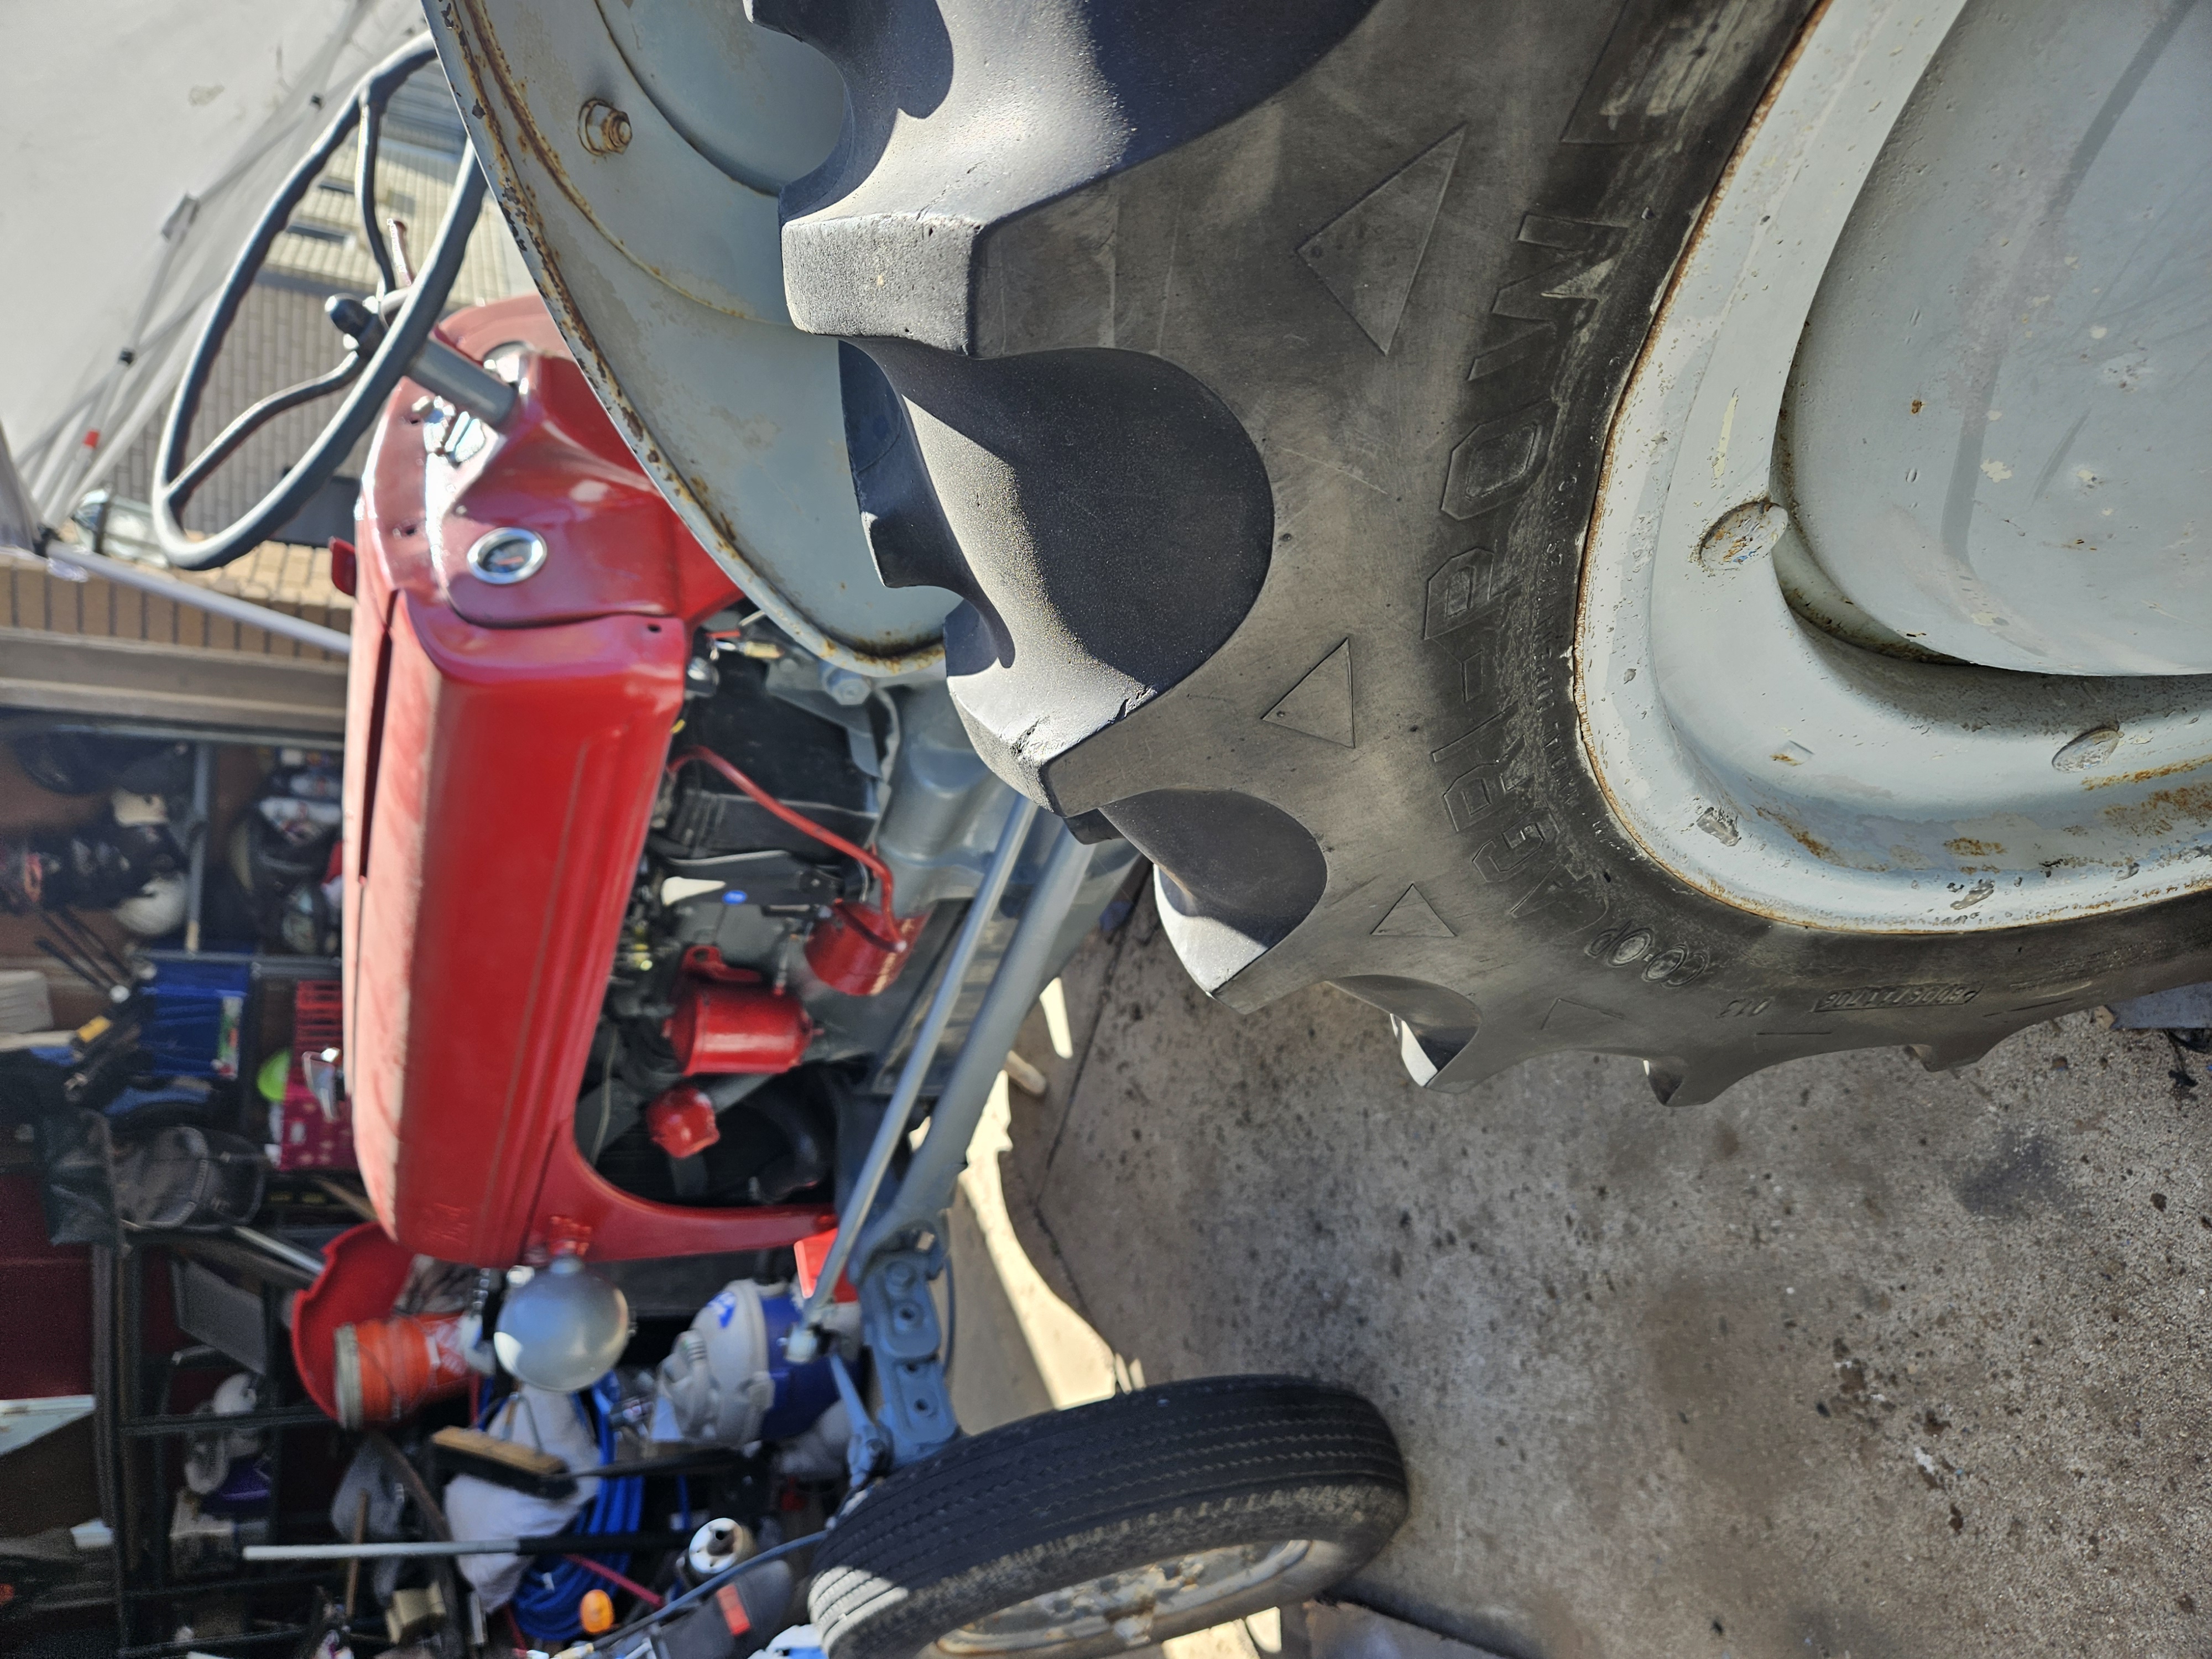
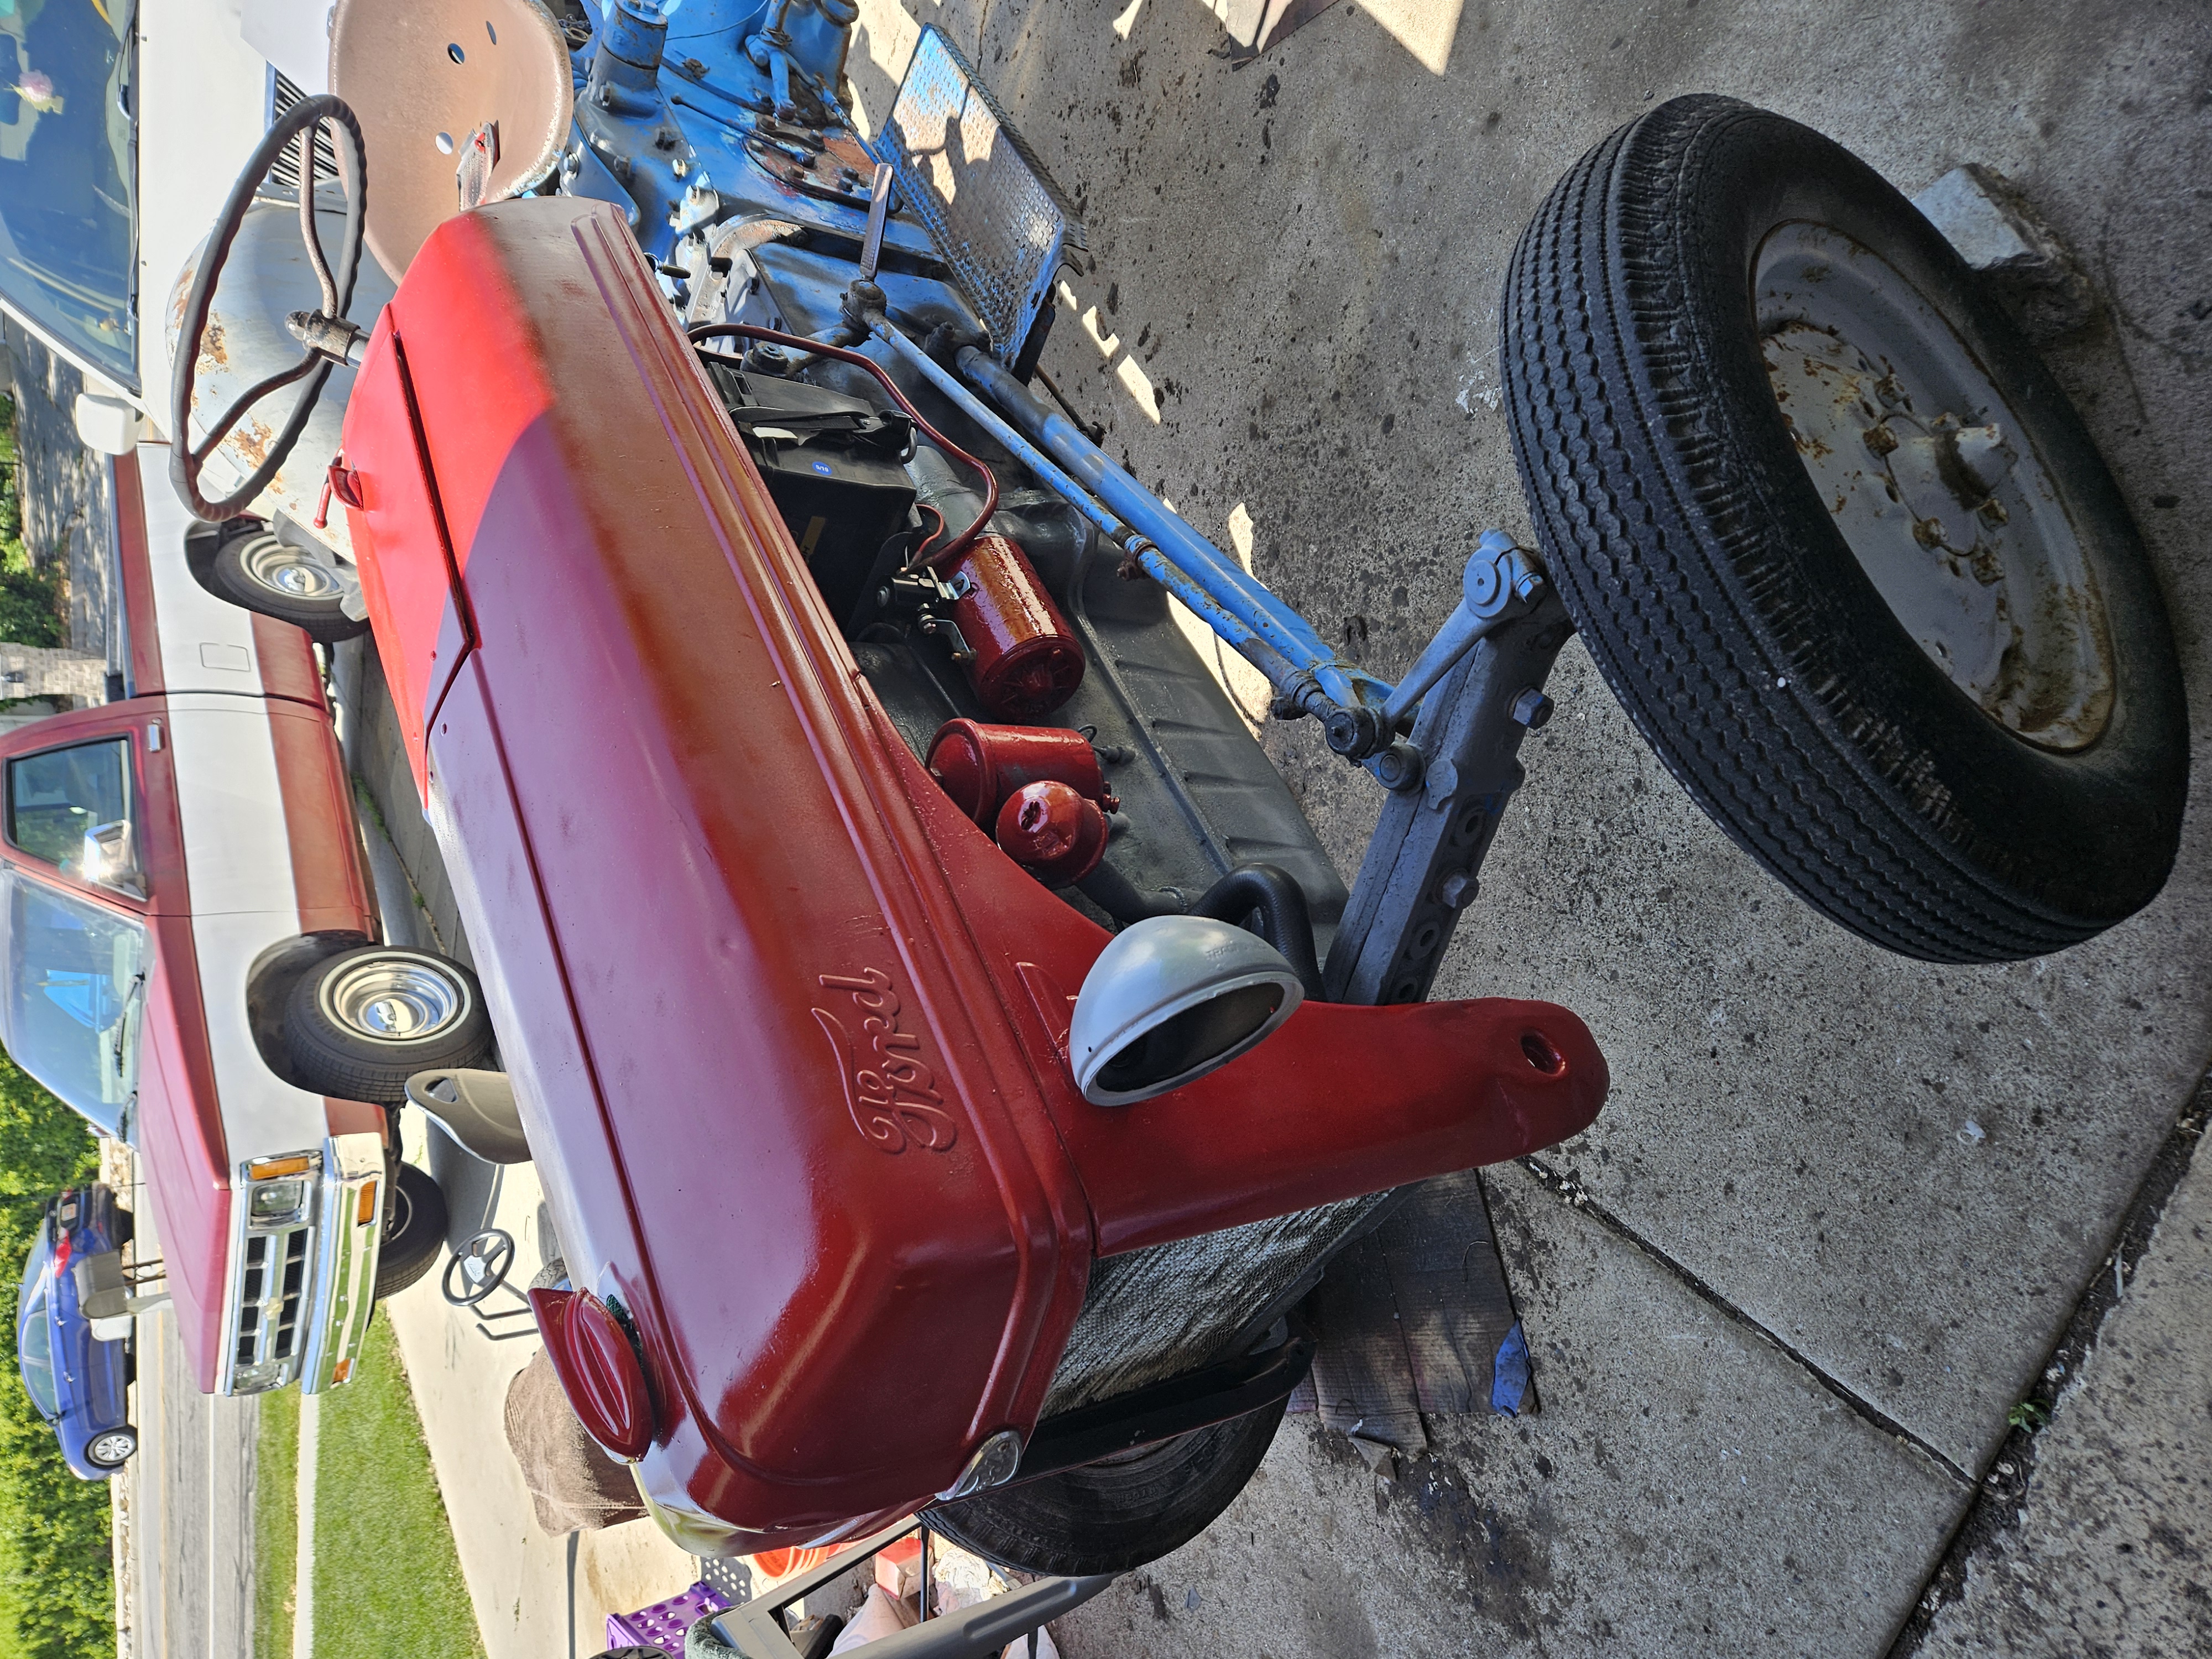
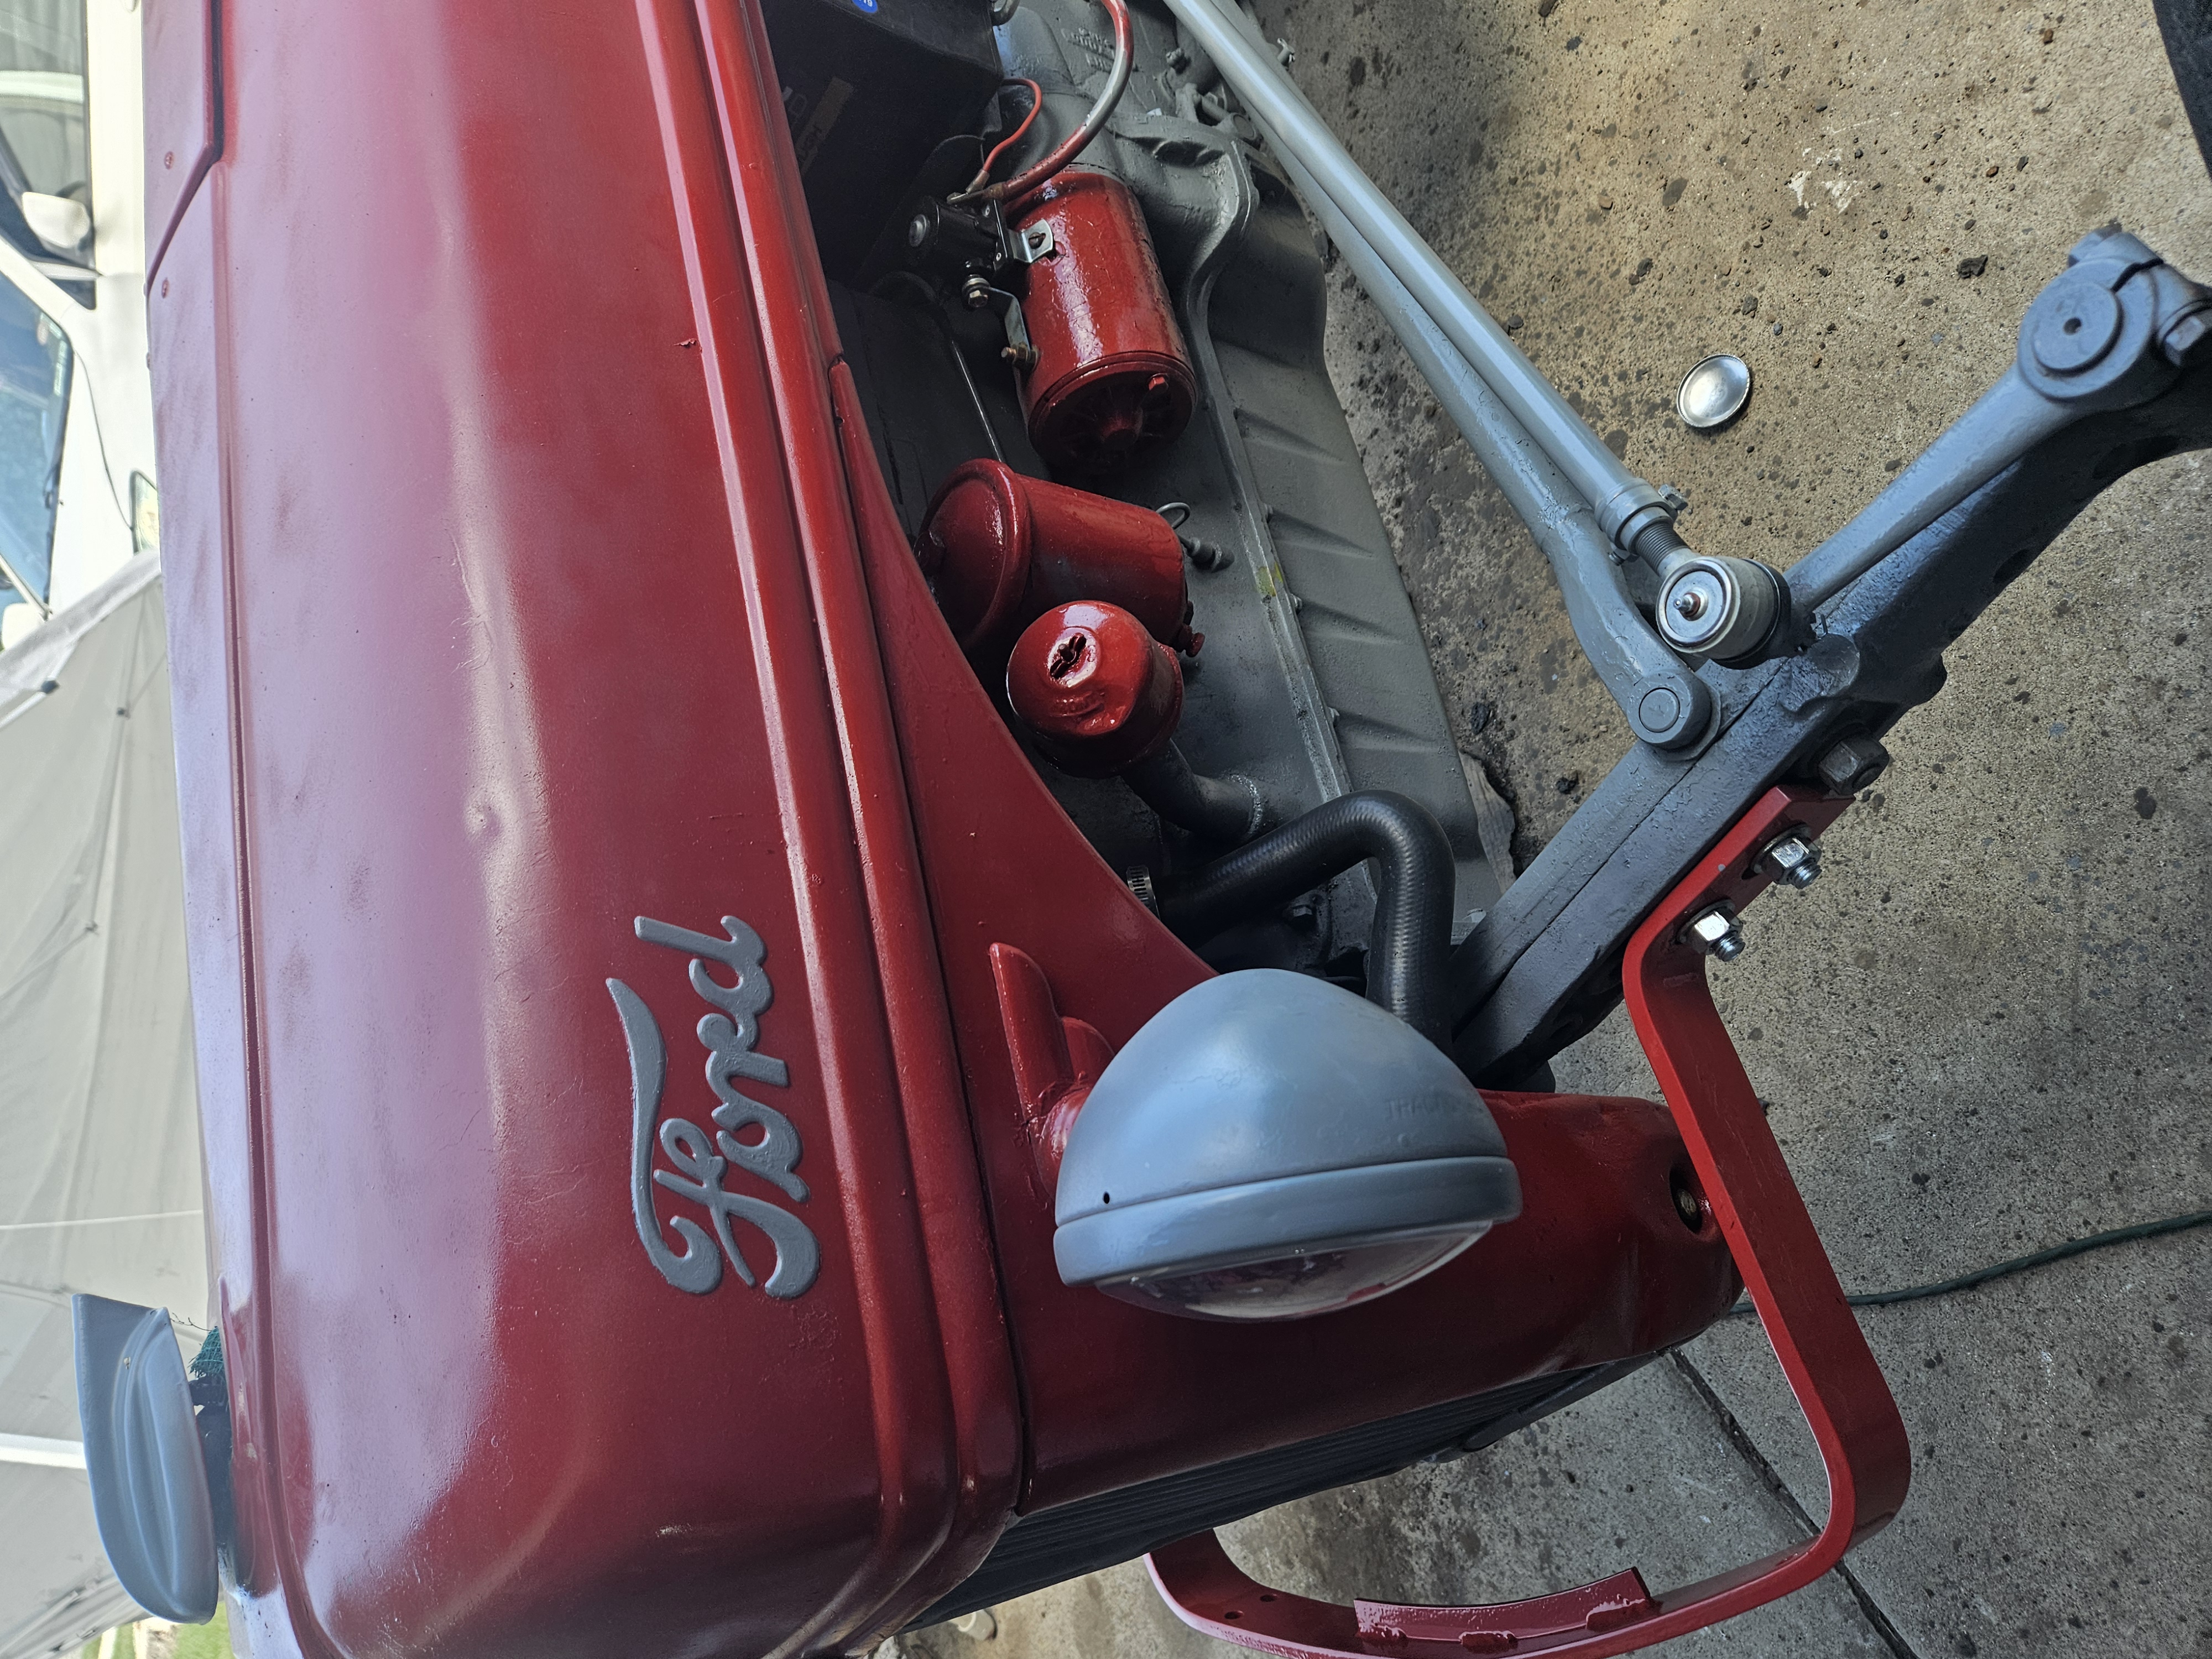
Where possible, find online videos showing the exact repair. Order parts. Complete repair. Reassemble. I ended up doing a full valve job on this old tractor. Luckily parts and instructional videos and resources were widely available. I decided on a color scheme with similar original paint colors and began the prep and painting of parts exposed with the hood off.
Step 5: Fuel (part 1 of 3)
Plus 3 more


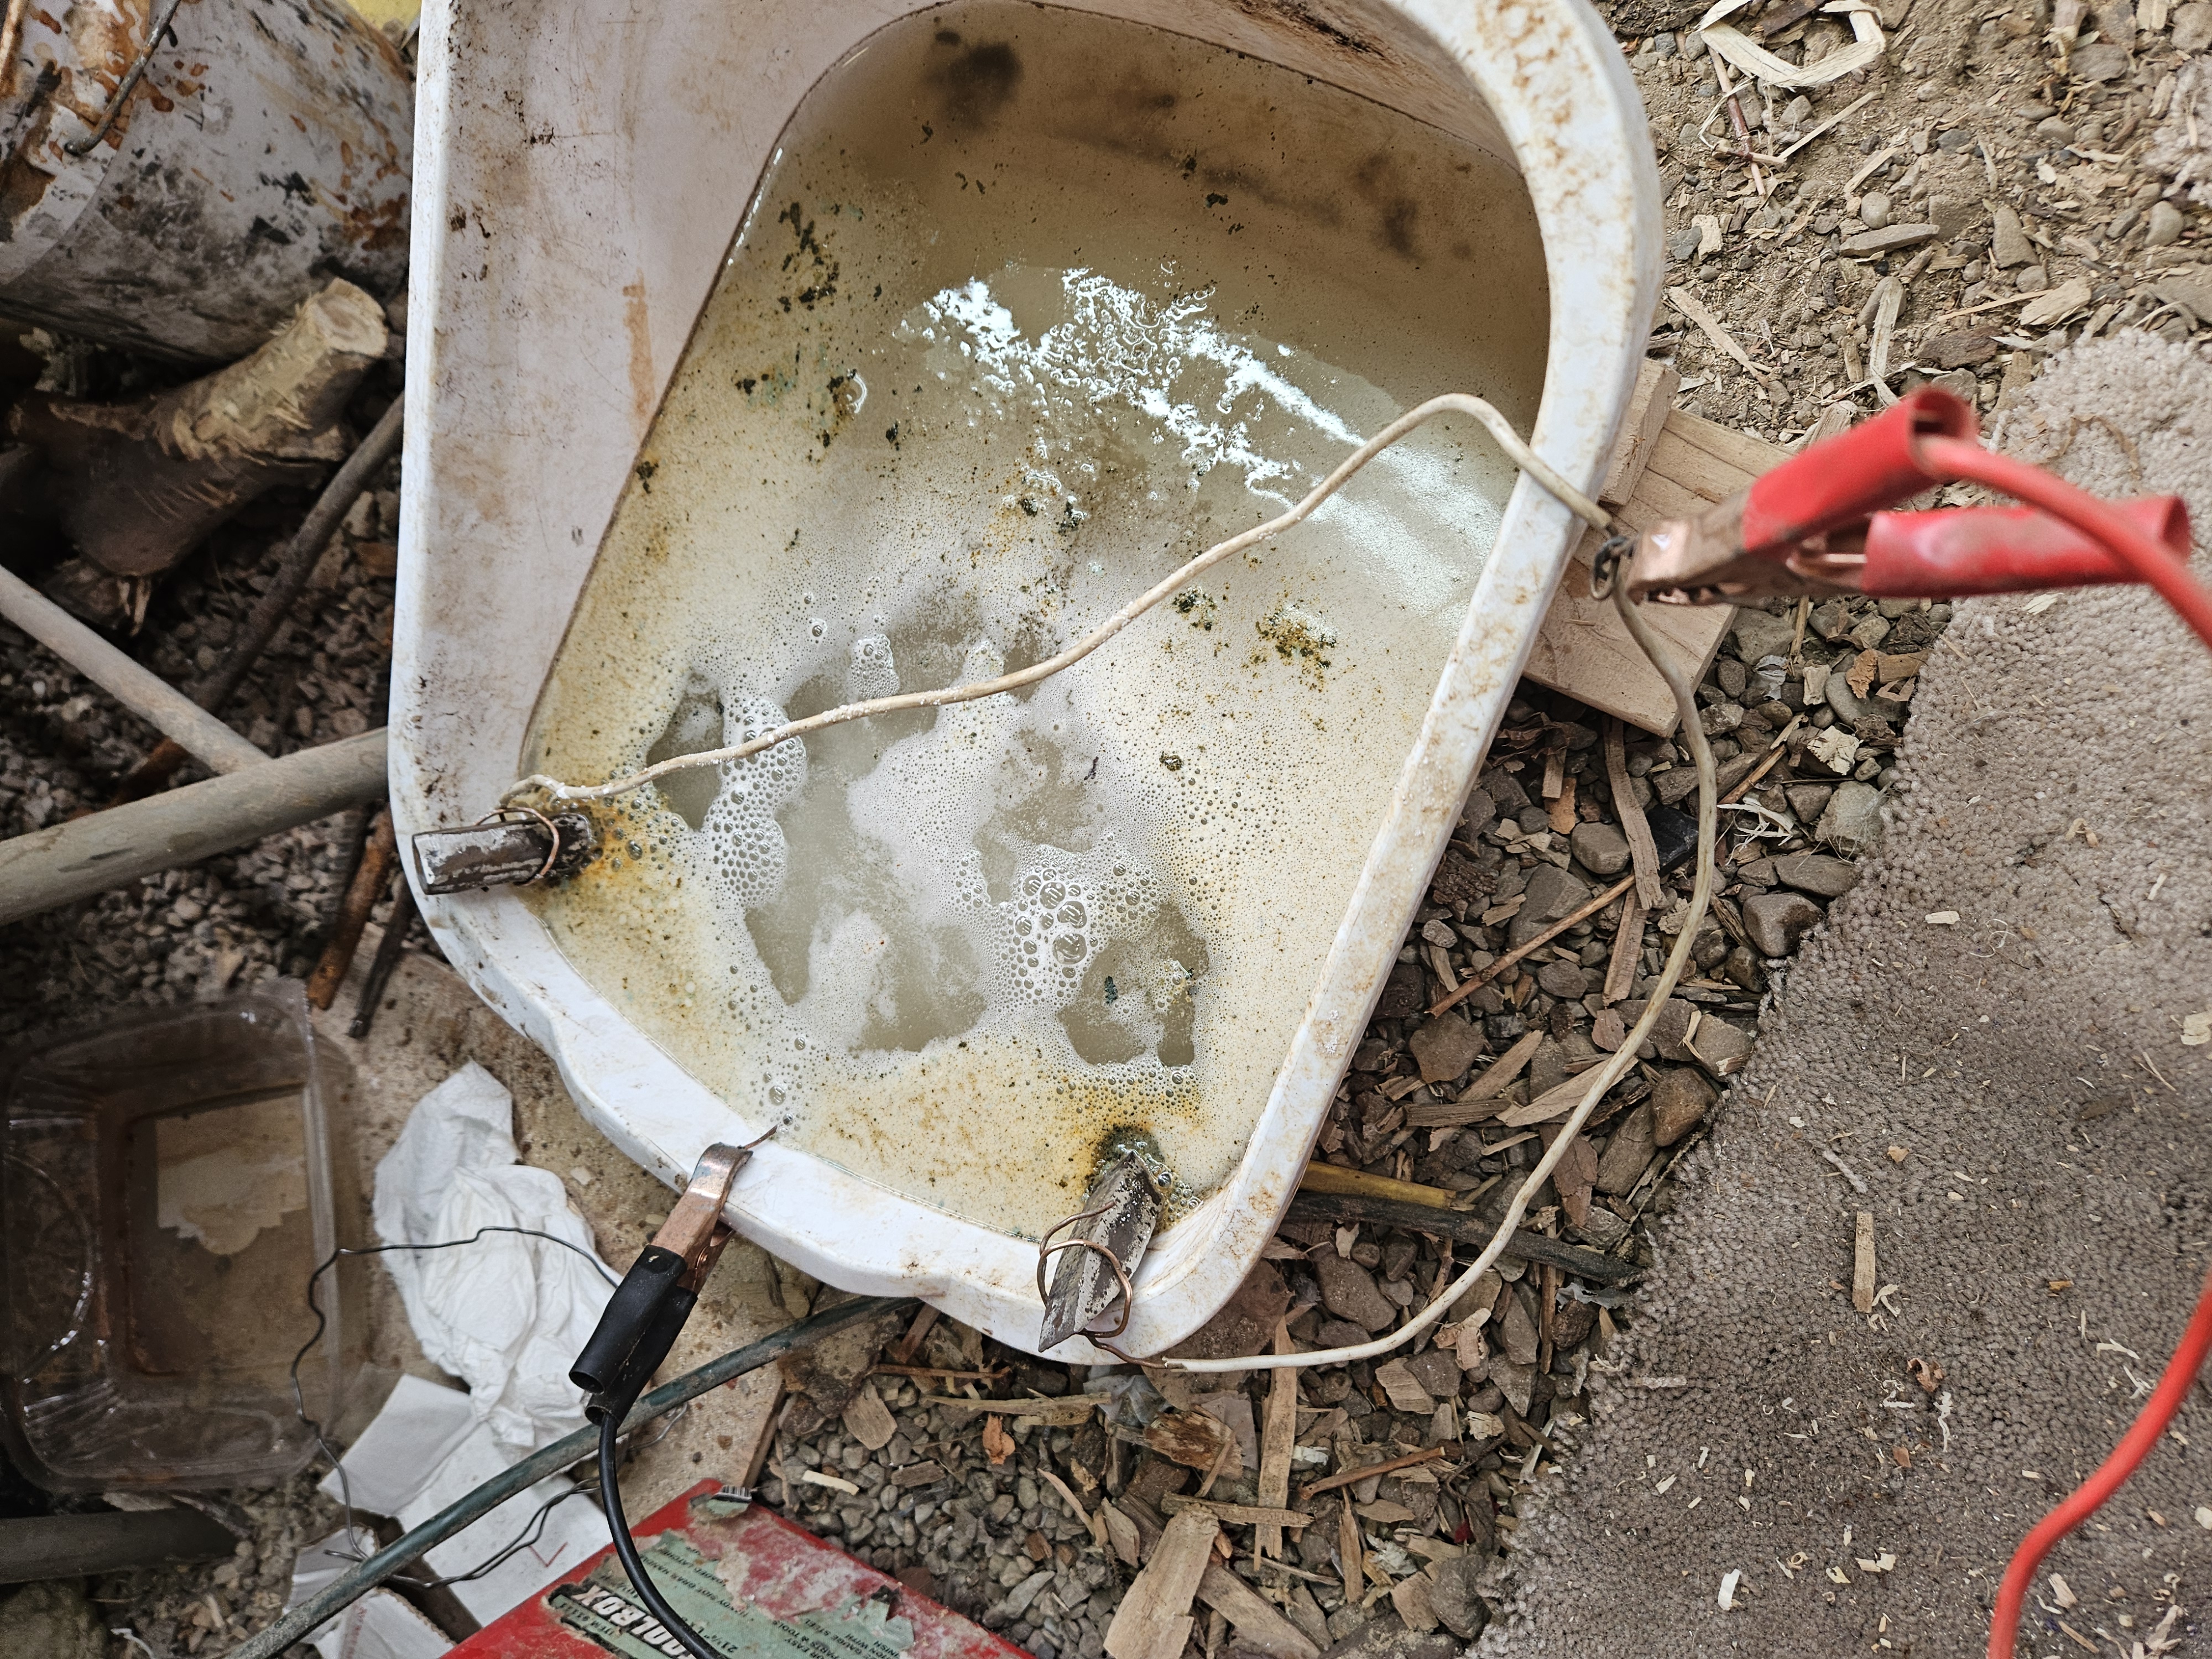

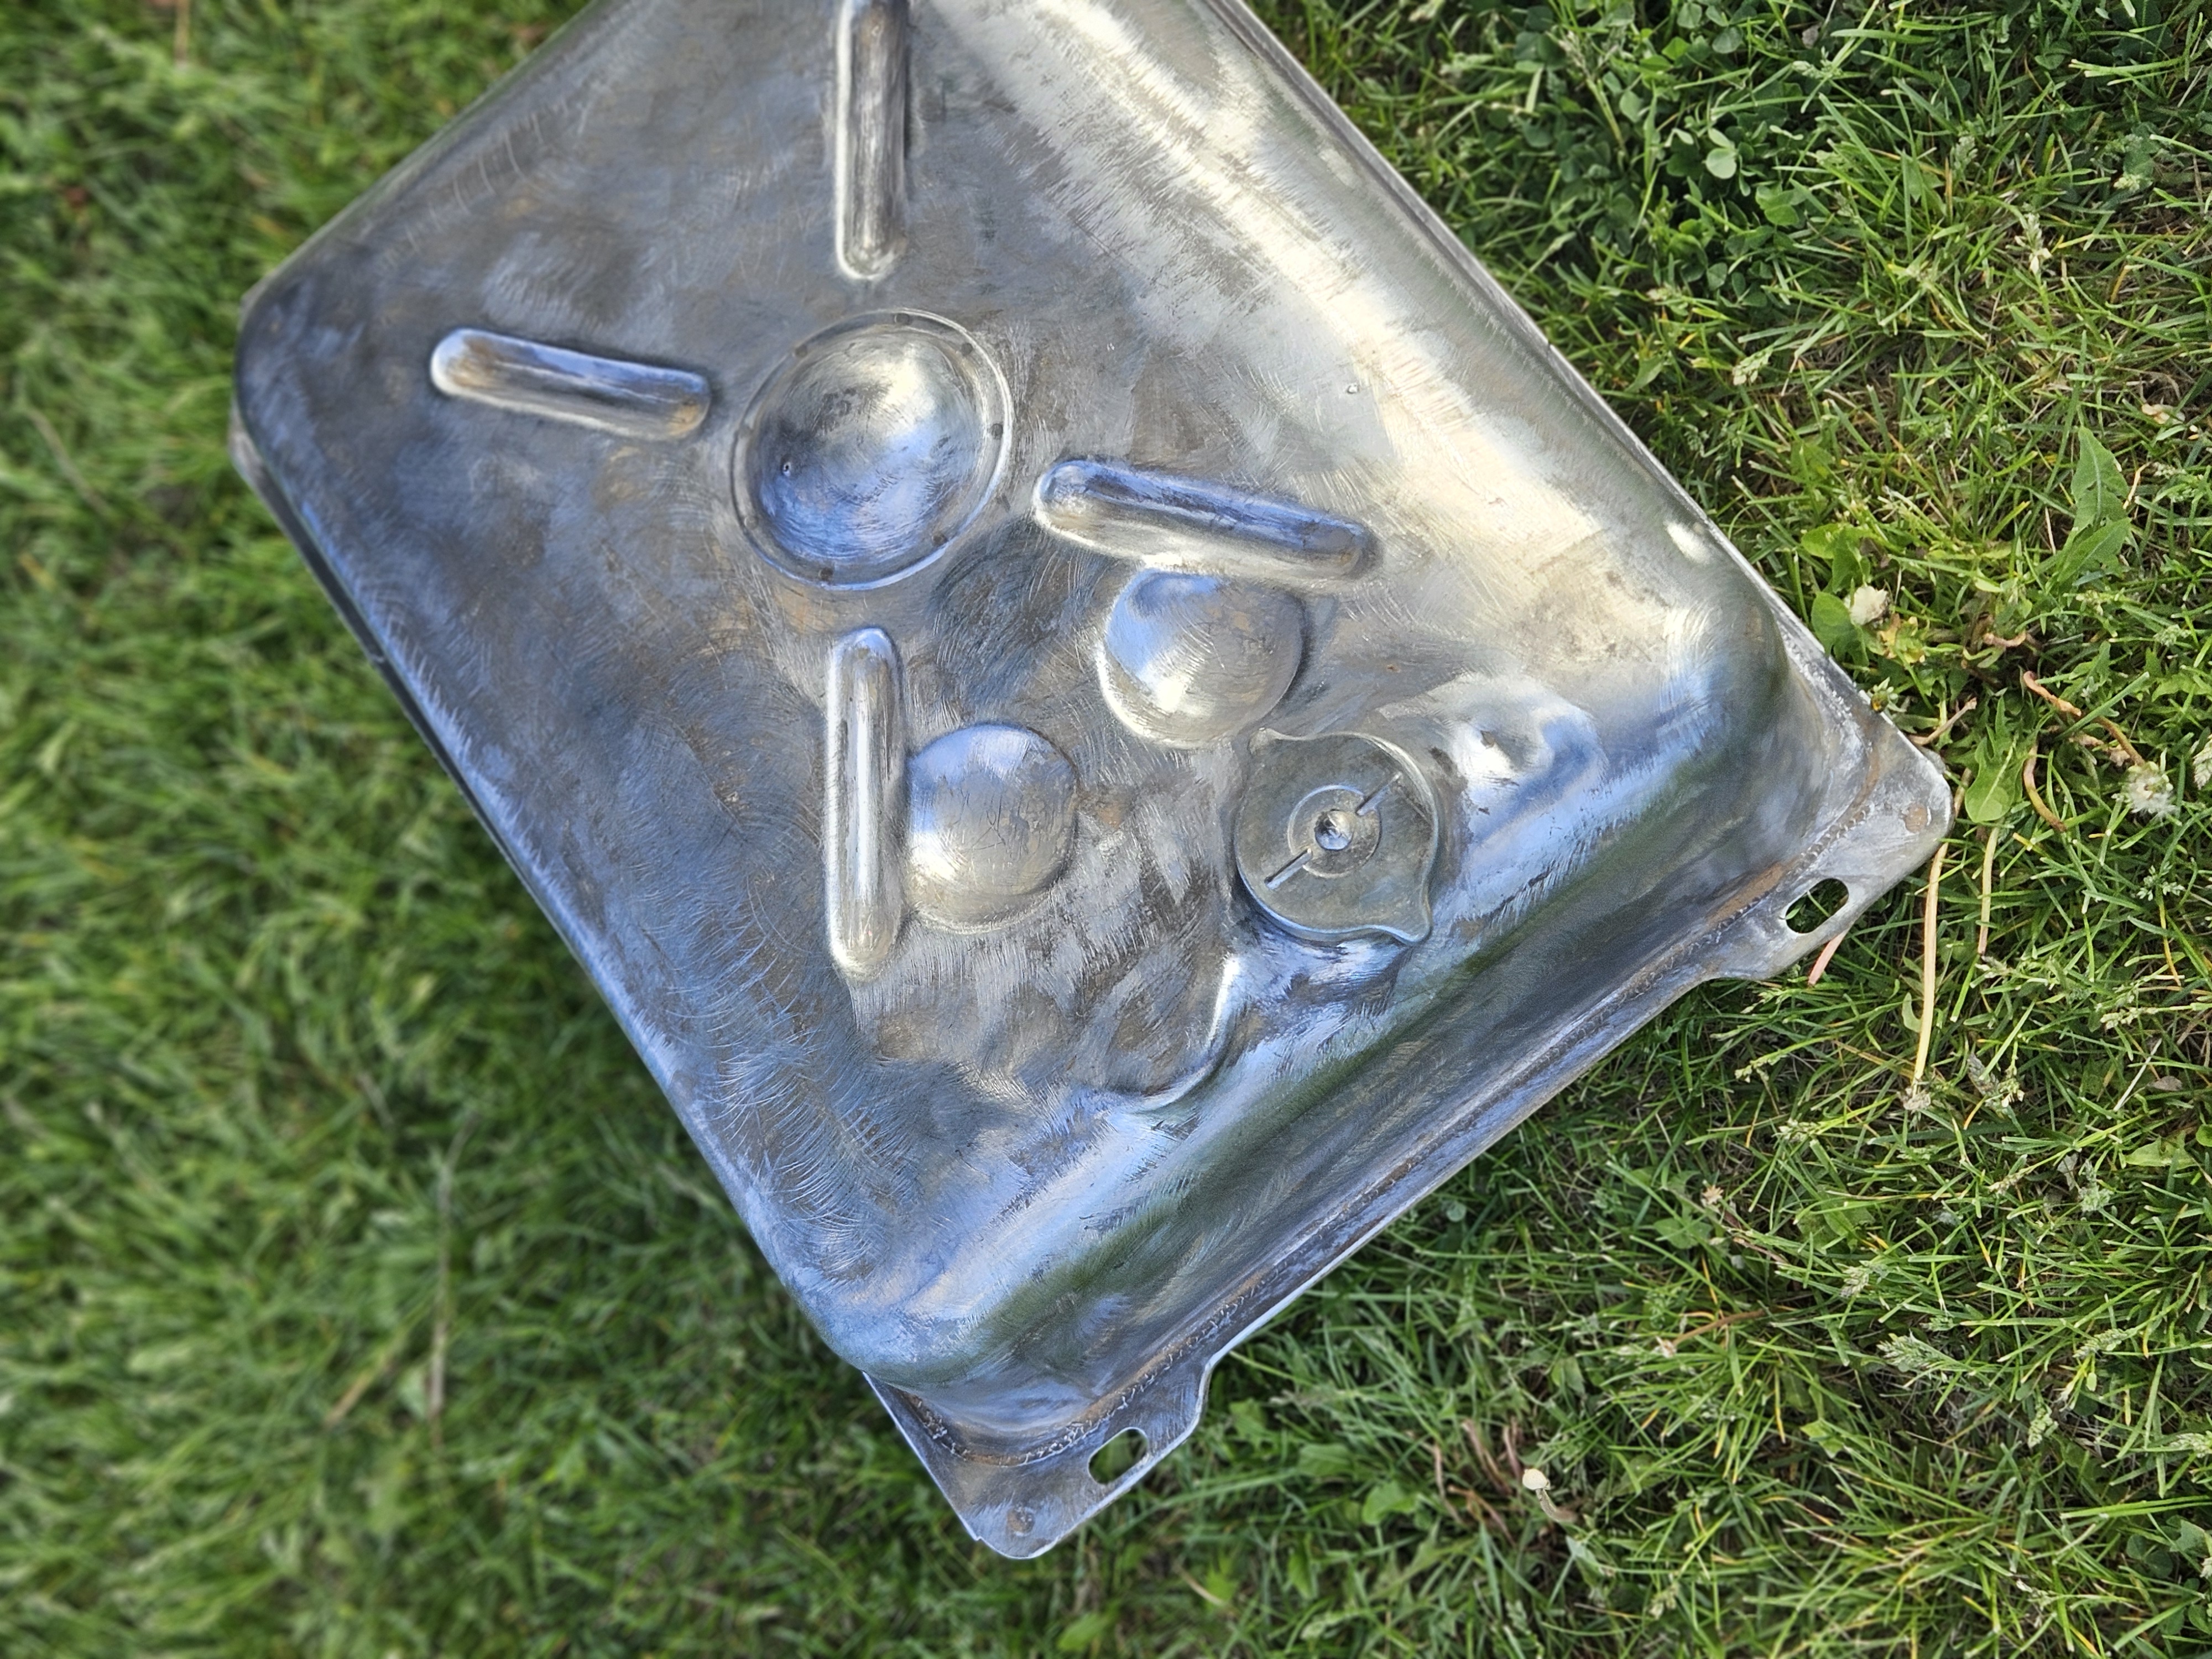
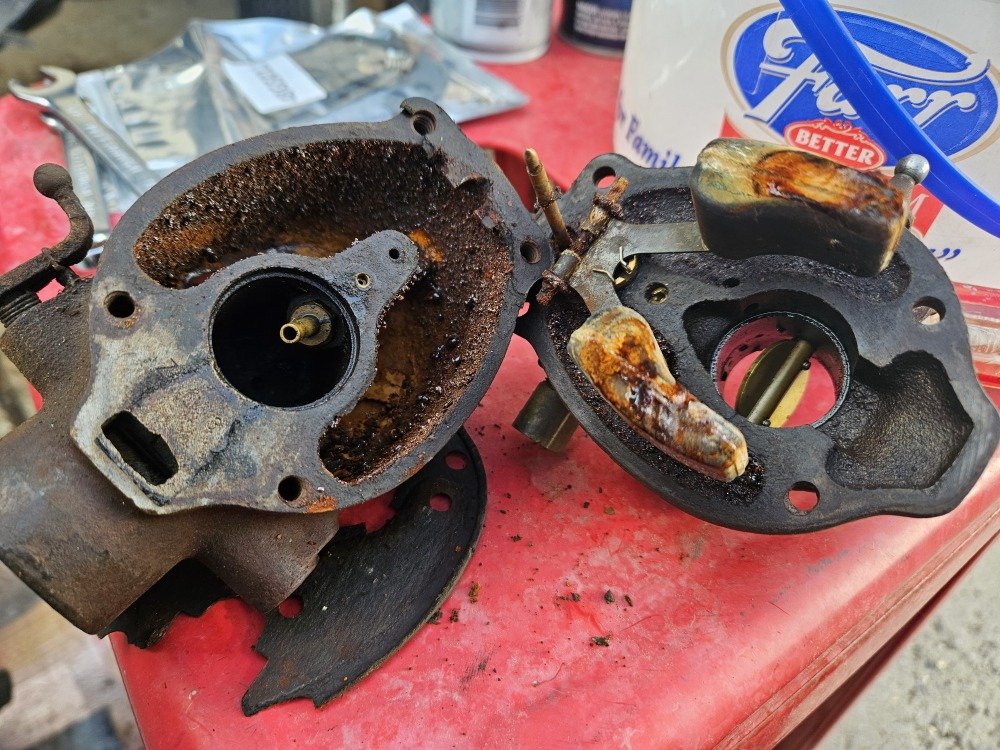
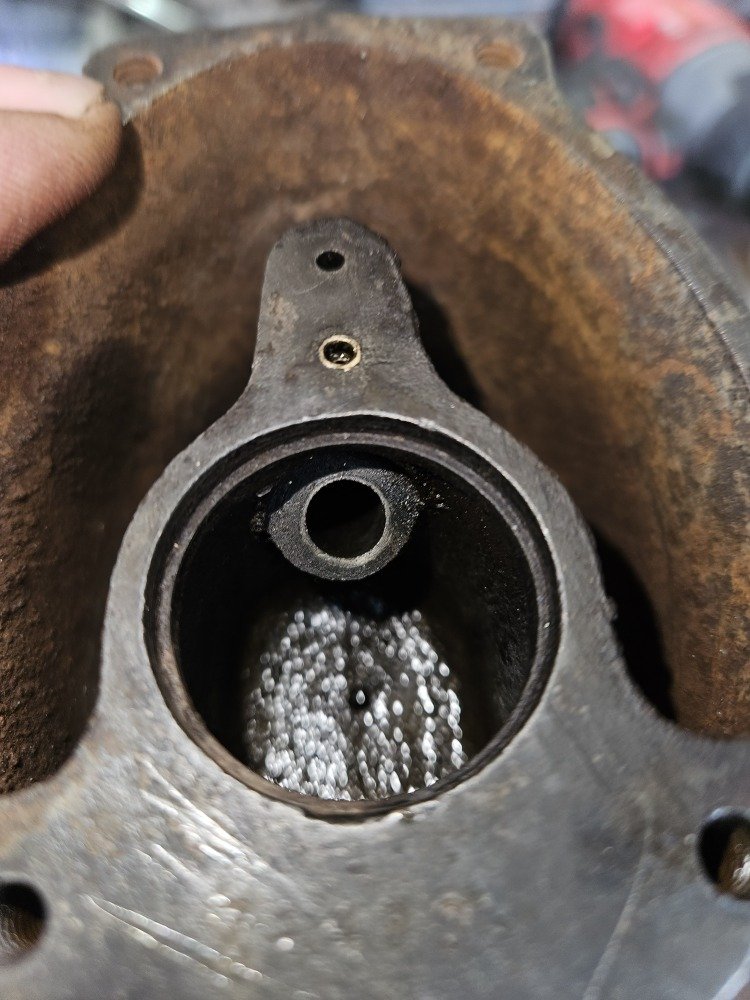
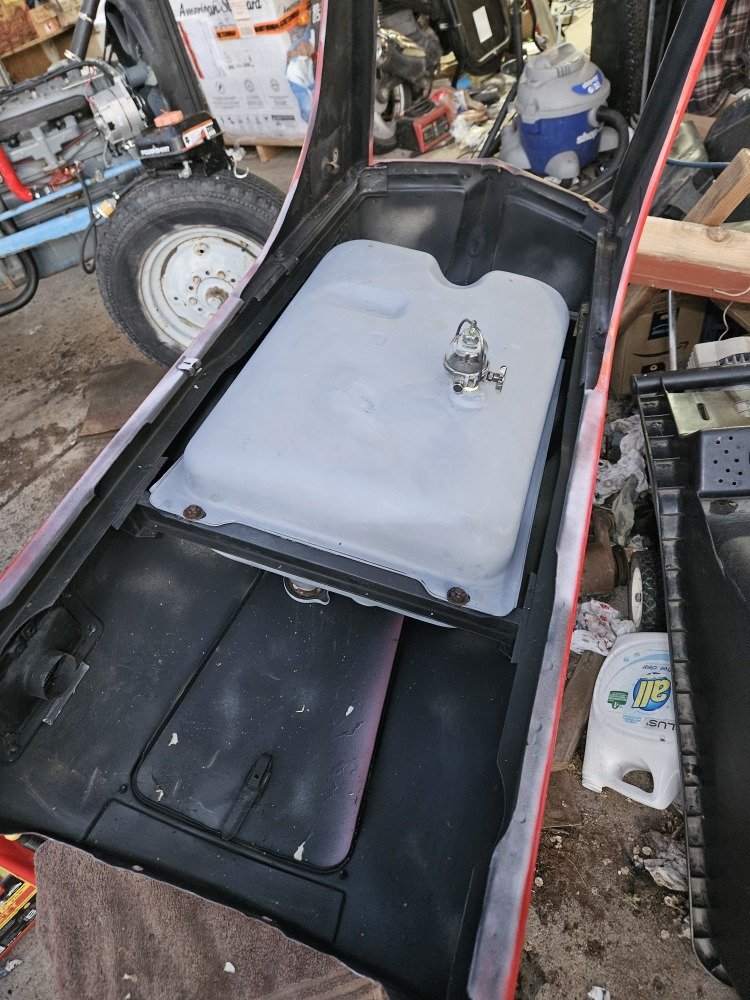
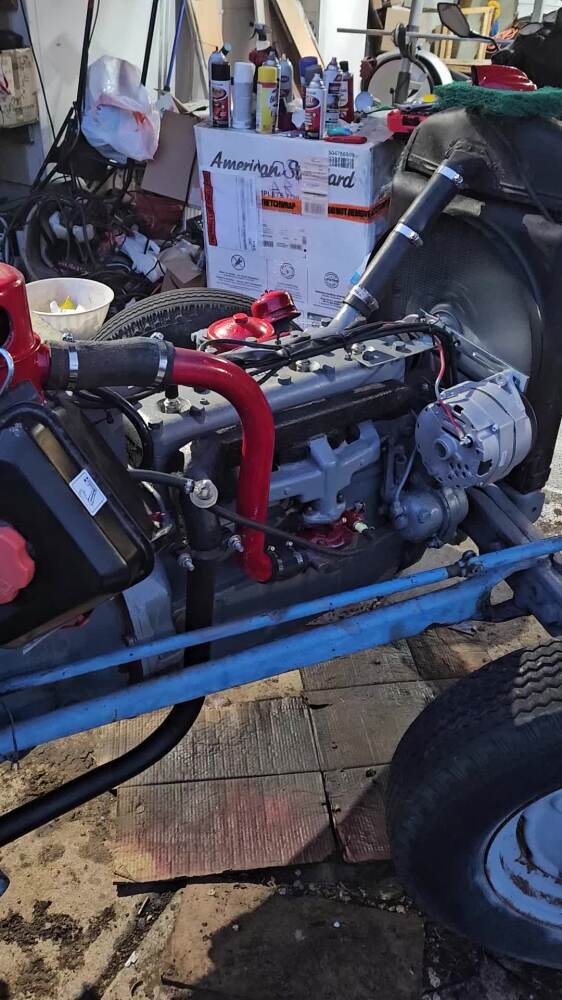
Engines mainly require fuel, air, and spark. I ordered a carburetor rebuild kit, disassembled, cleaned (using vinegar, electrolysis, WD-40, and compressed air). Reassembled carburetor. Detached, cleaned (vinegar and pennies shaken), painted and reinstalled fuel tank.
Step 6: Spark (part 2 of 3)

Ordered and installed (with help from YouTube) electrical conversion from 6v original to 12v modern. Installed new spark plugs and battery.
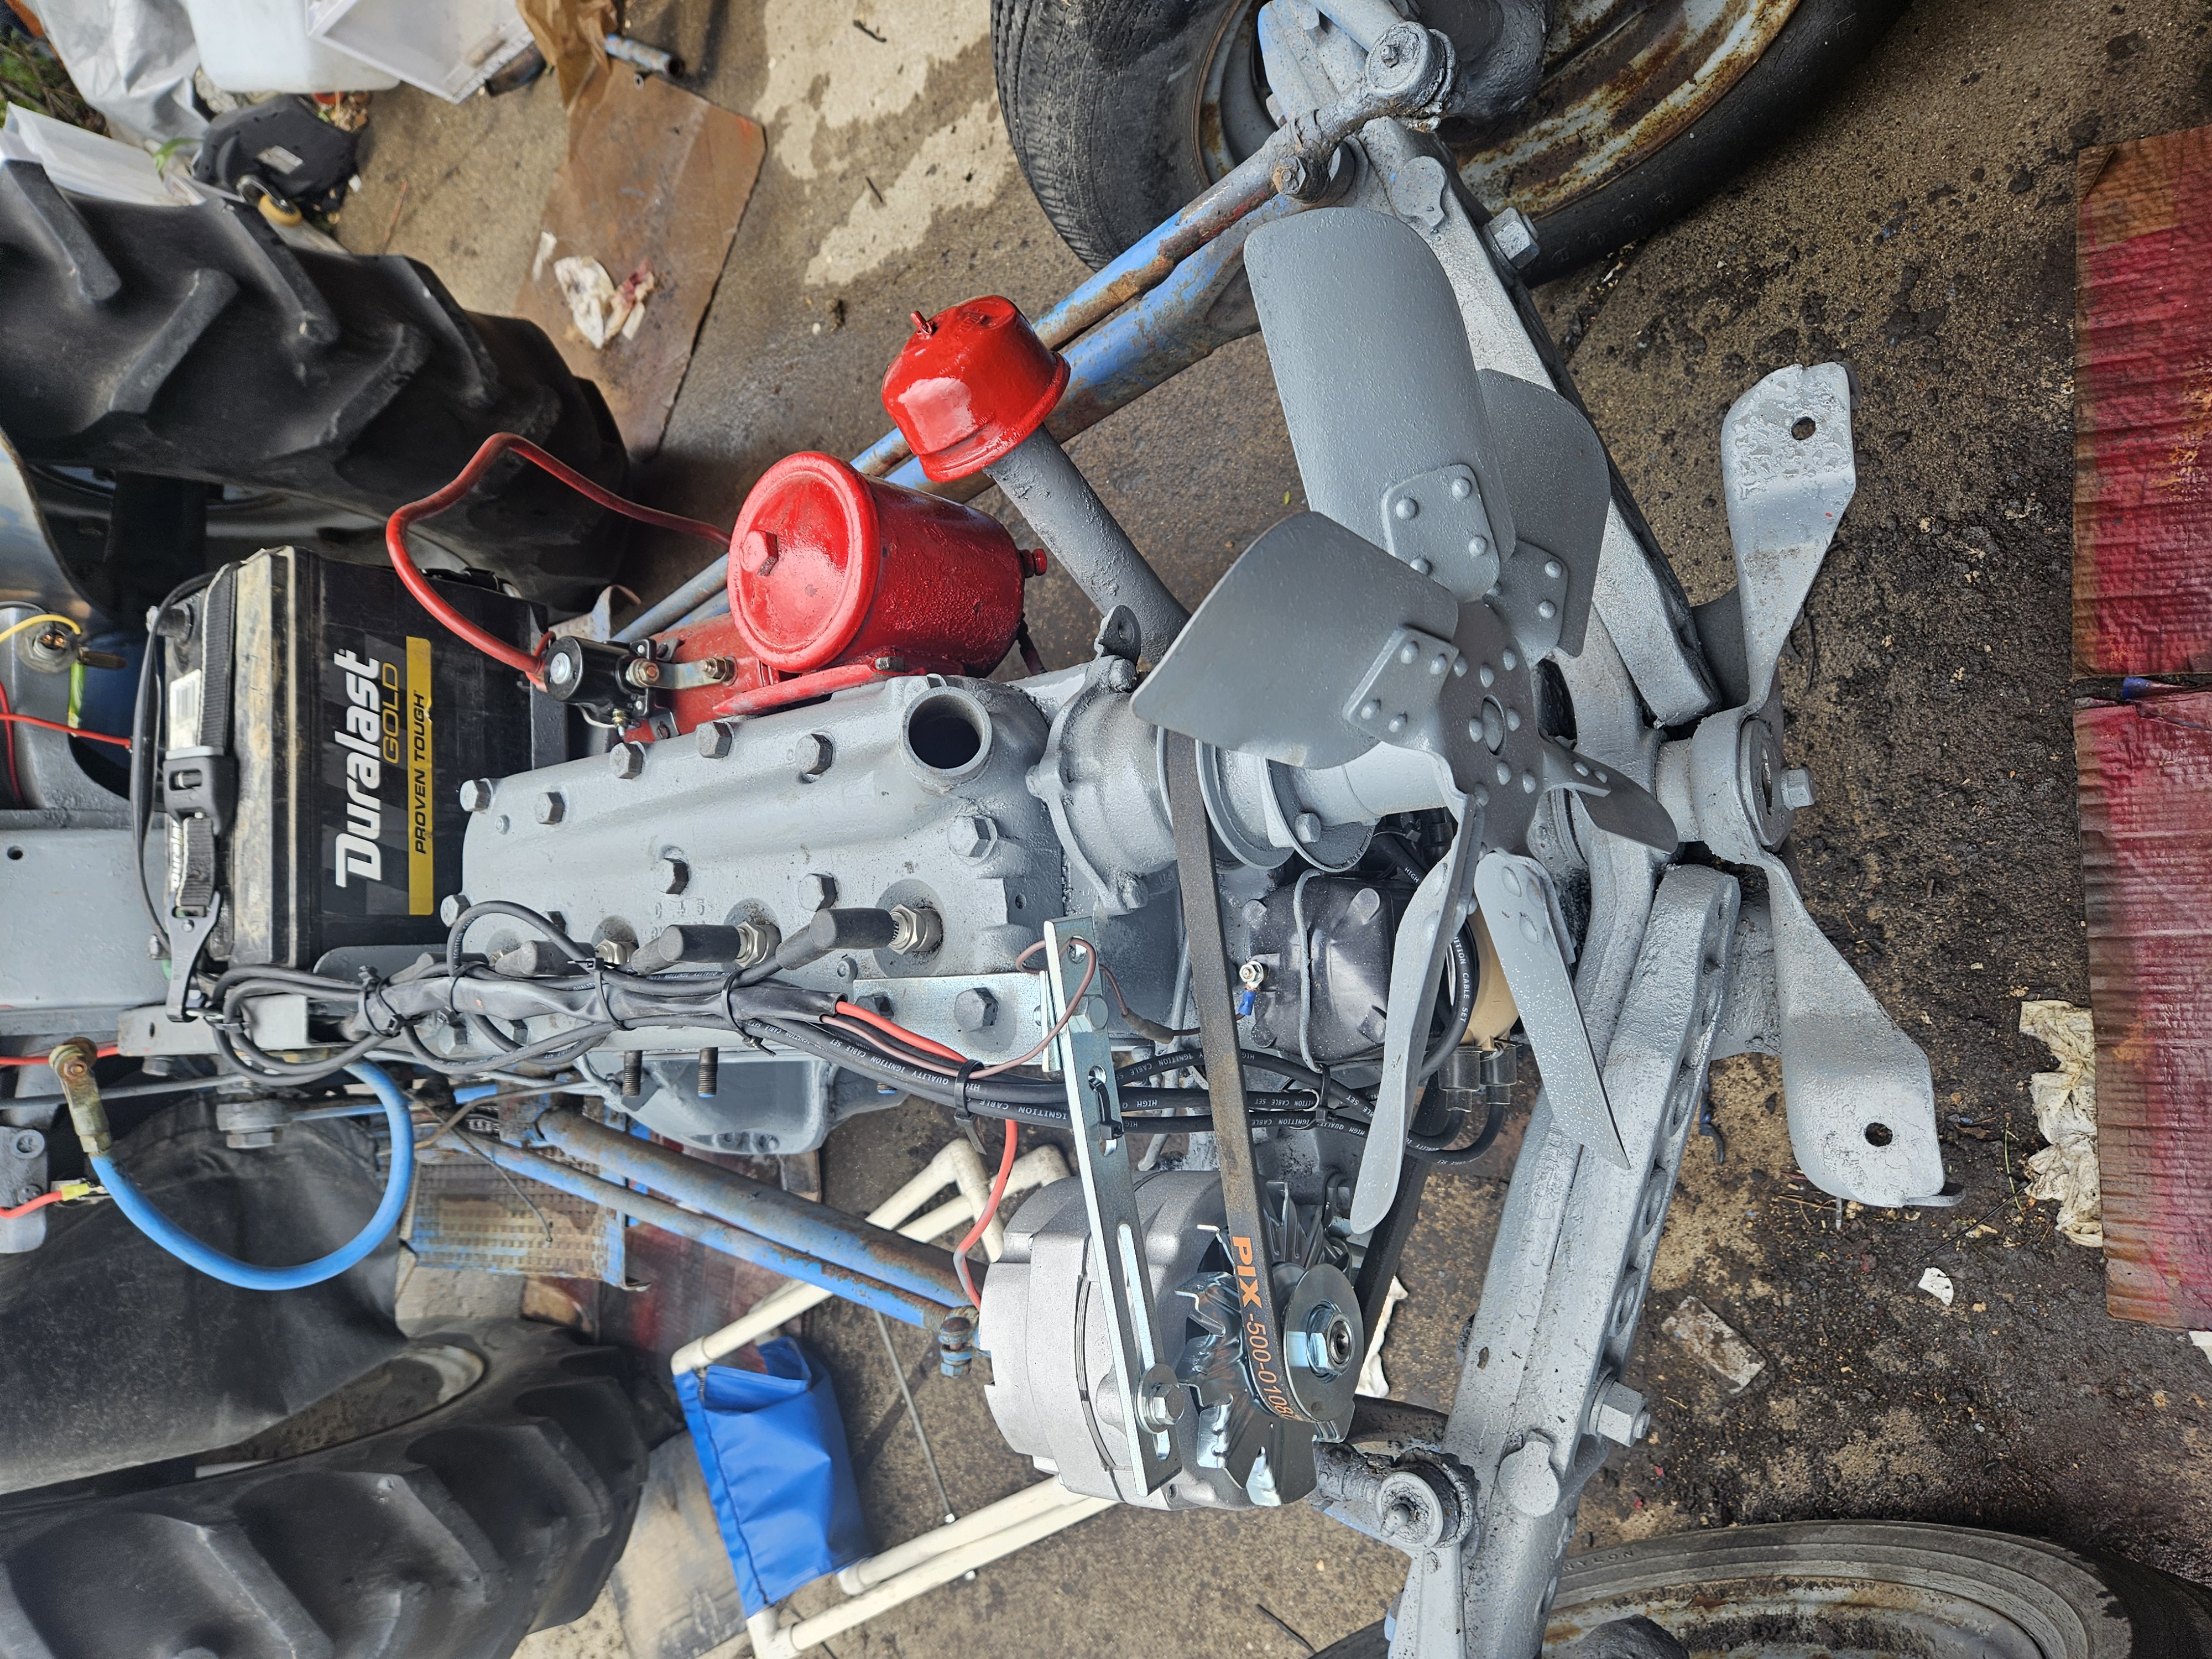
Step 7: Air (part 3 of 3)
I failed to take pictures of the process of cleaning the vintage oil air filter, but it's the red cylinder in the left of the video.
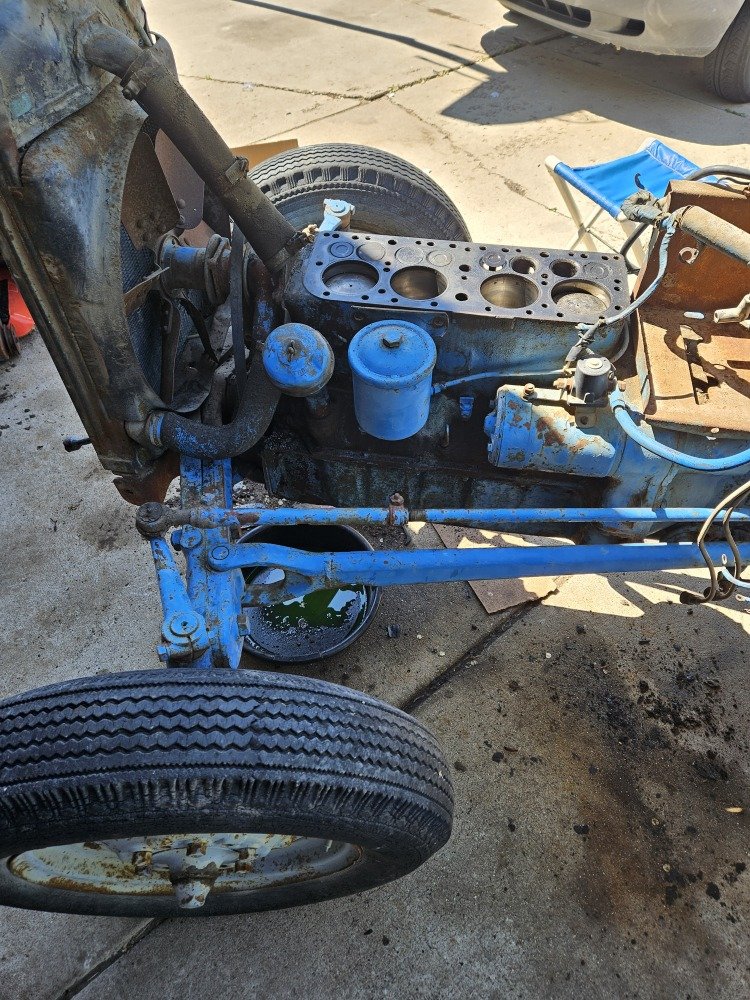
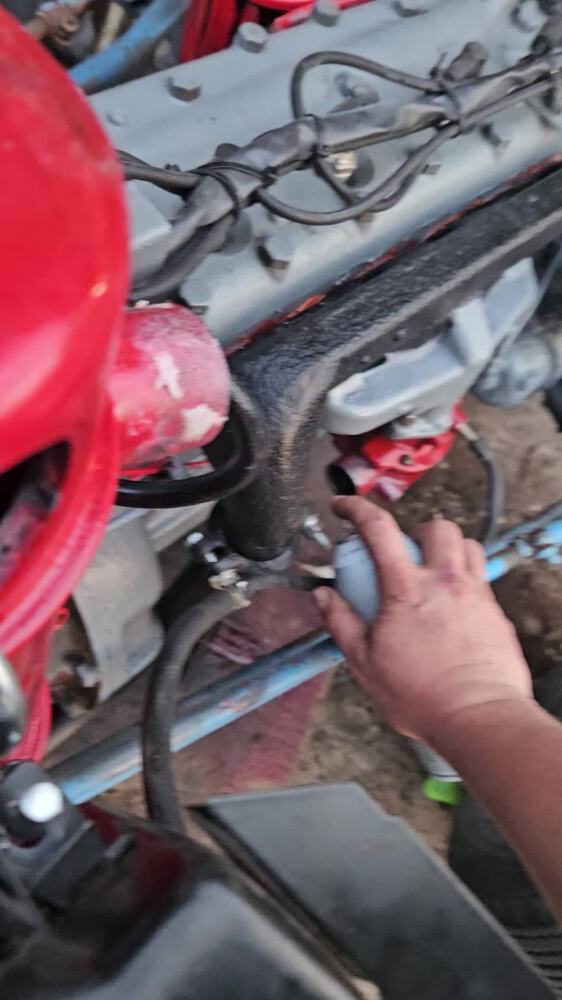
Step 8: Test motor. Test drive.

Initially tested the motor with start spray, then connected air cleaner and rigged up a temporary gas tank and went for a spin.
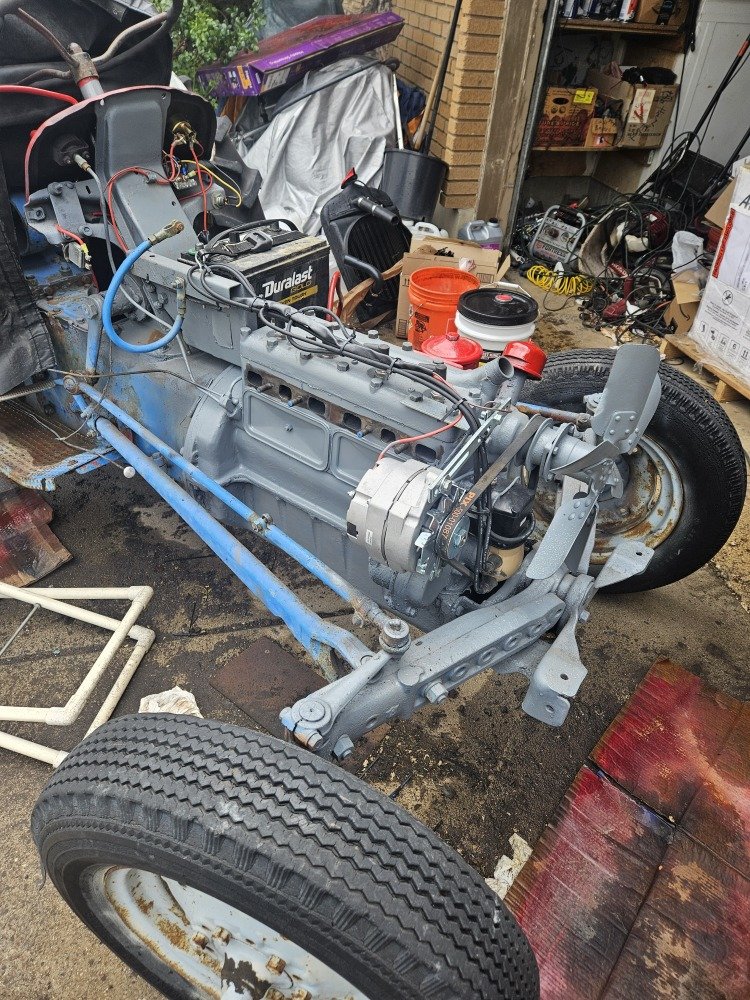
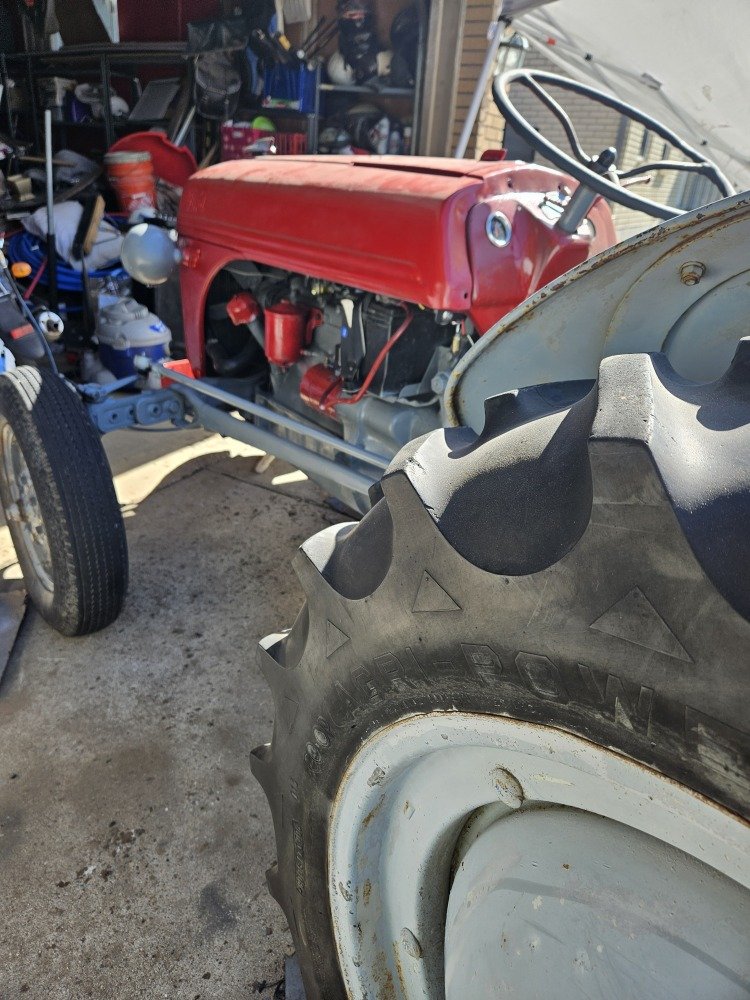
Step 9: Reassemble, prep, and paint
Plus 6 more
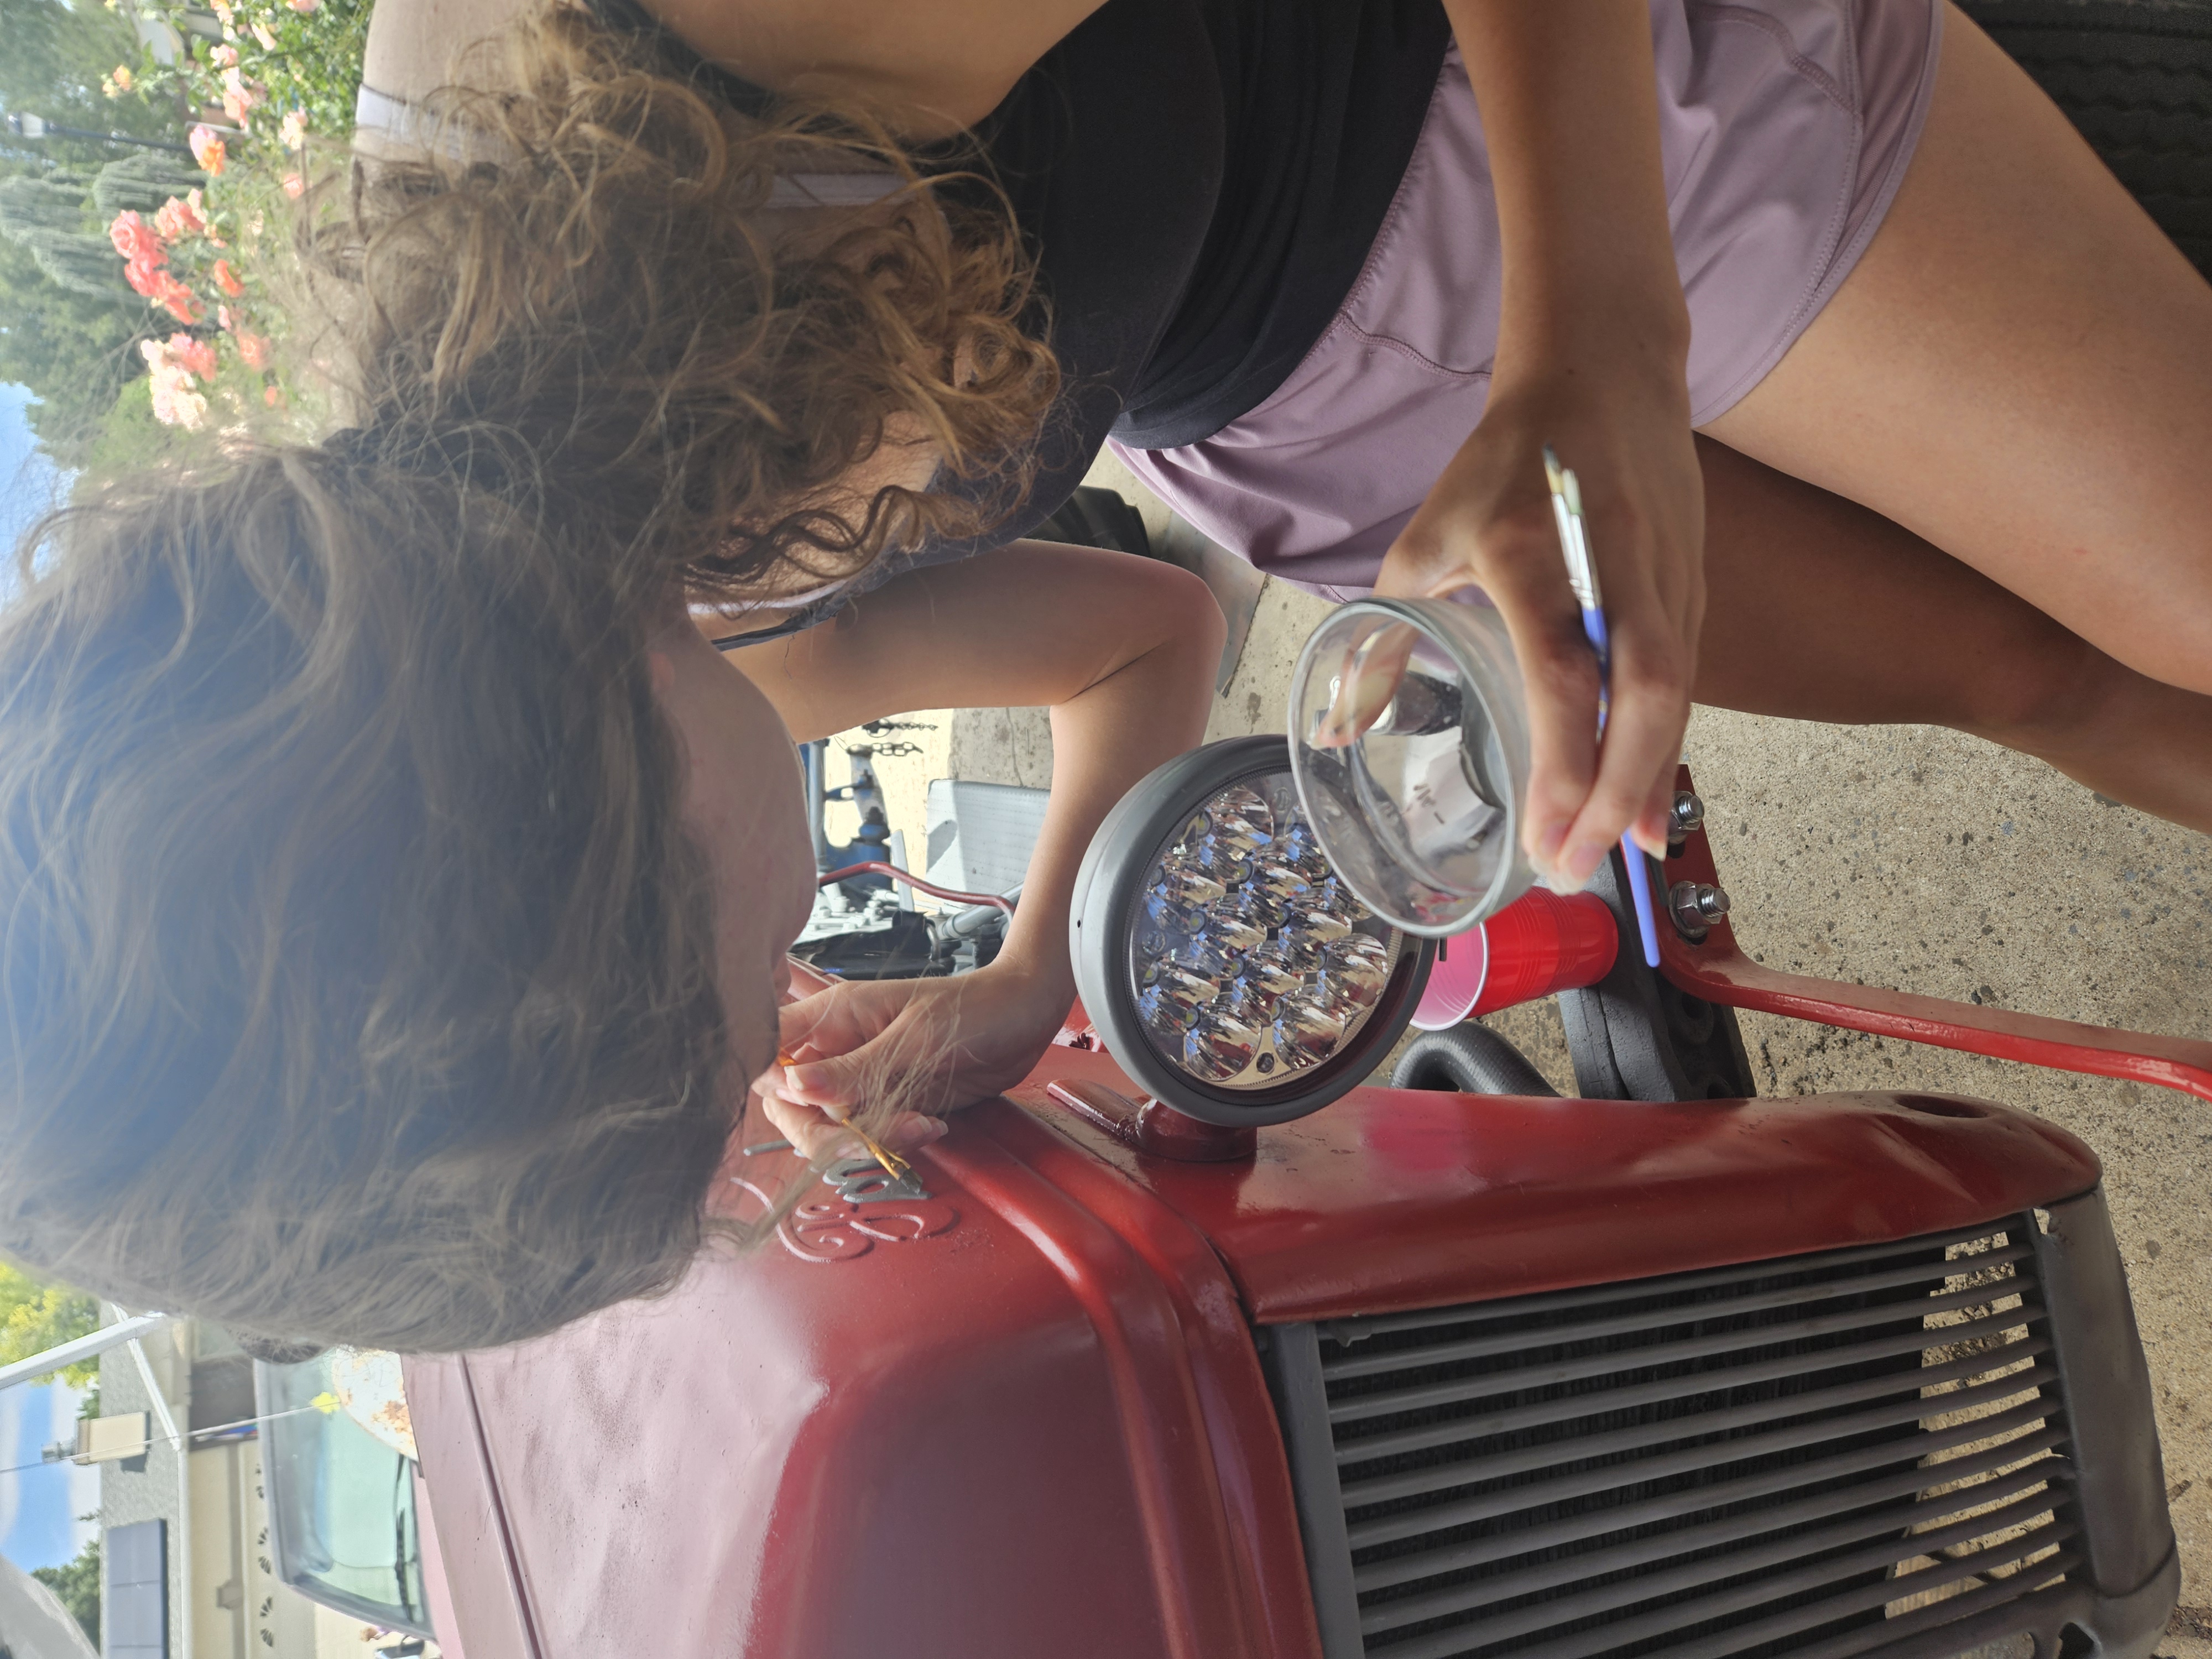
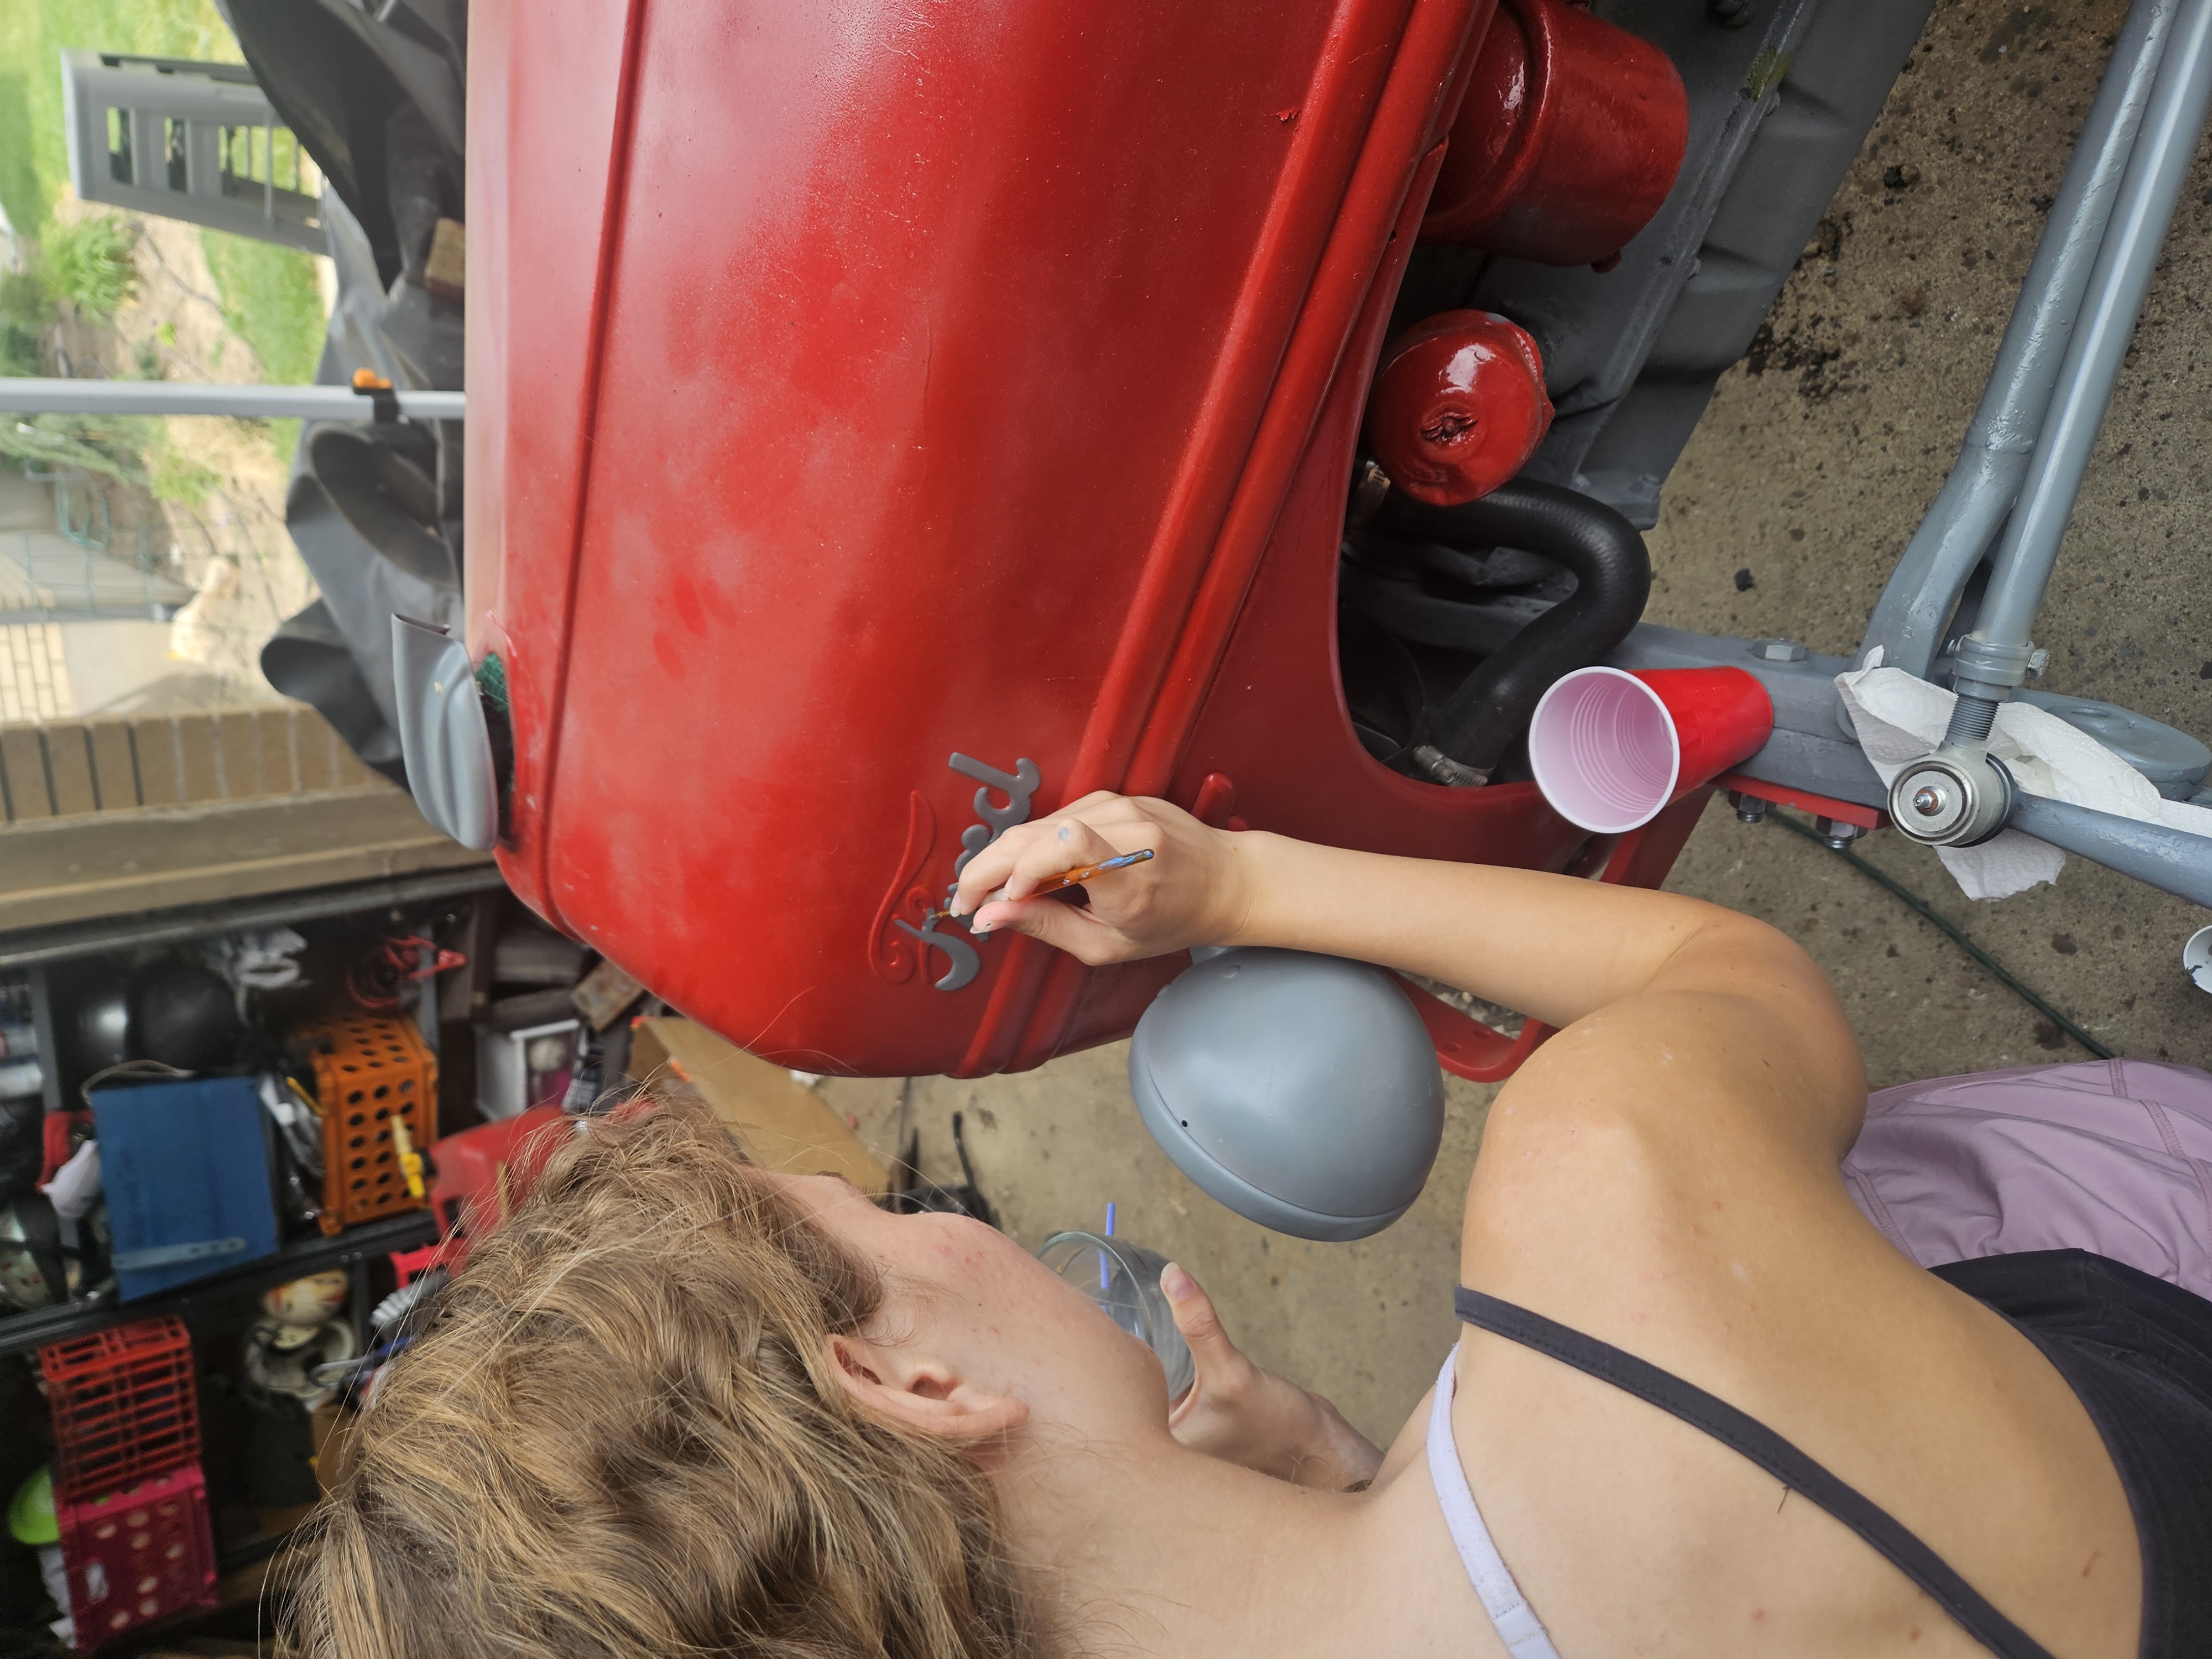

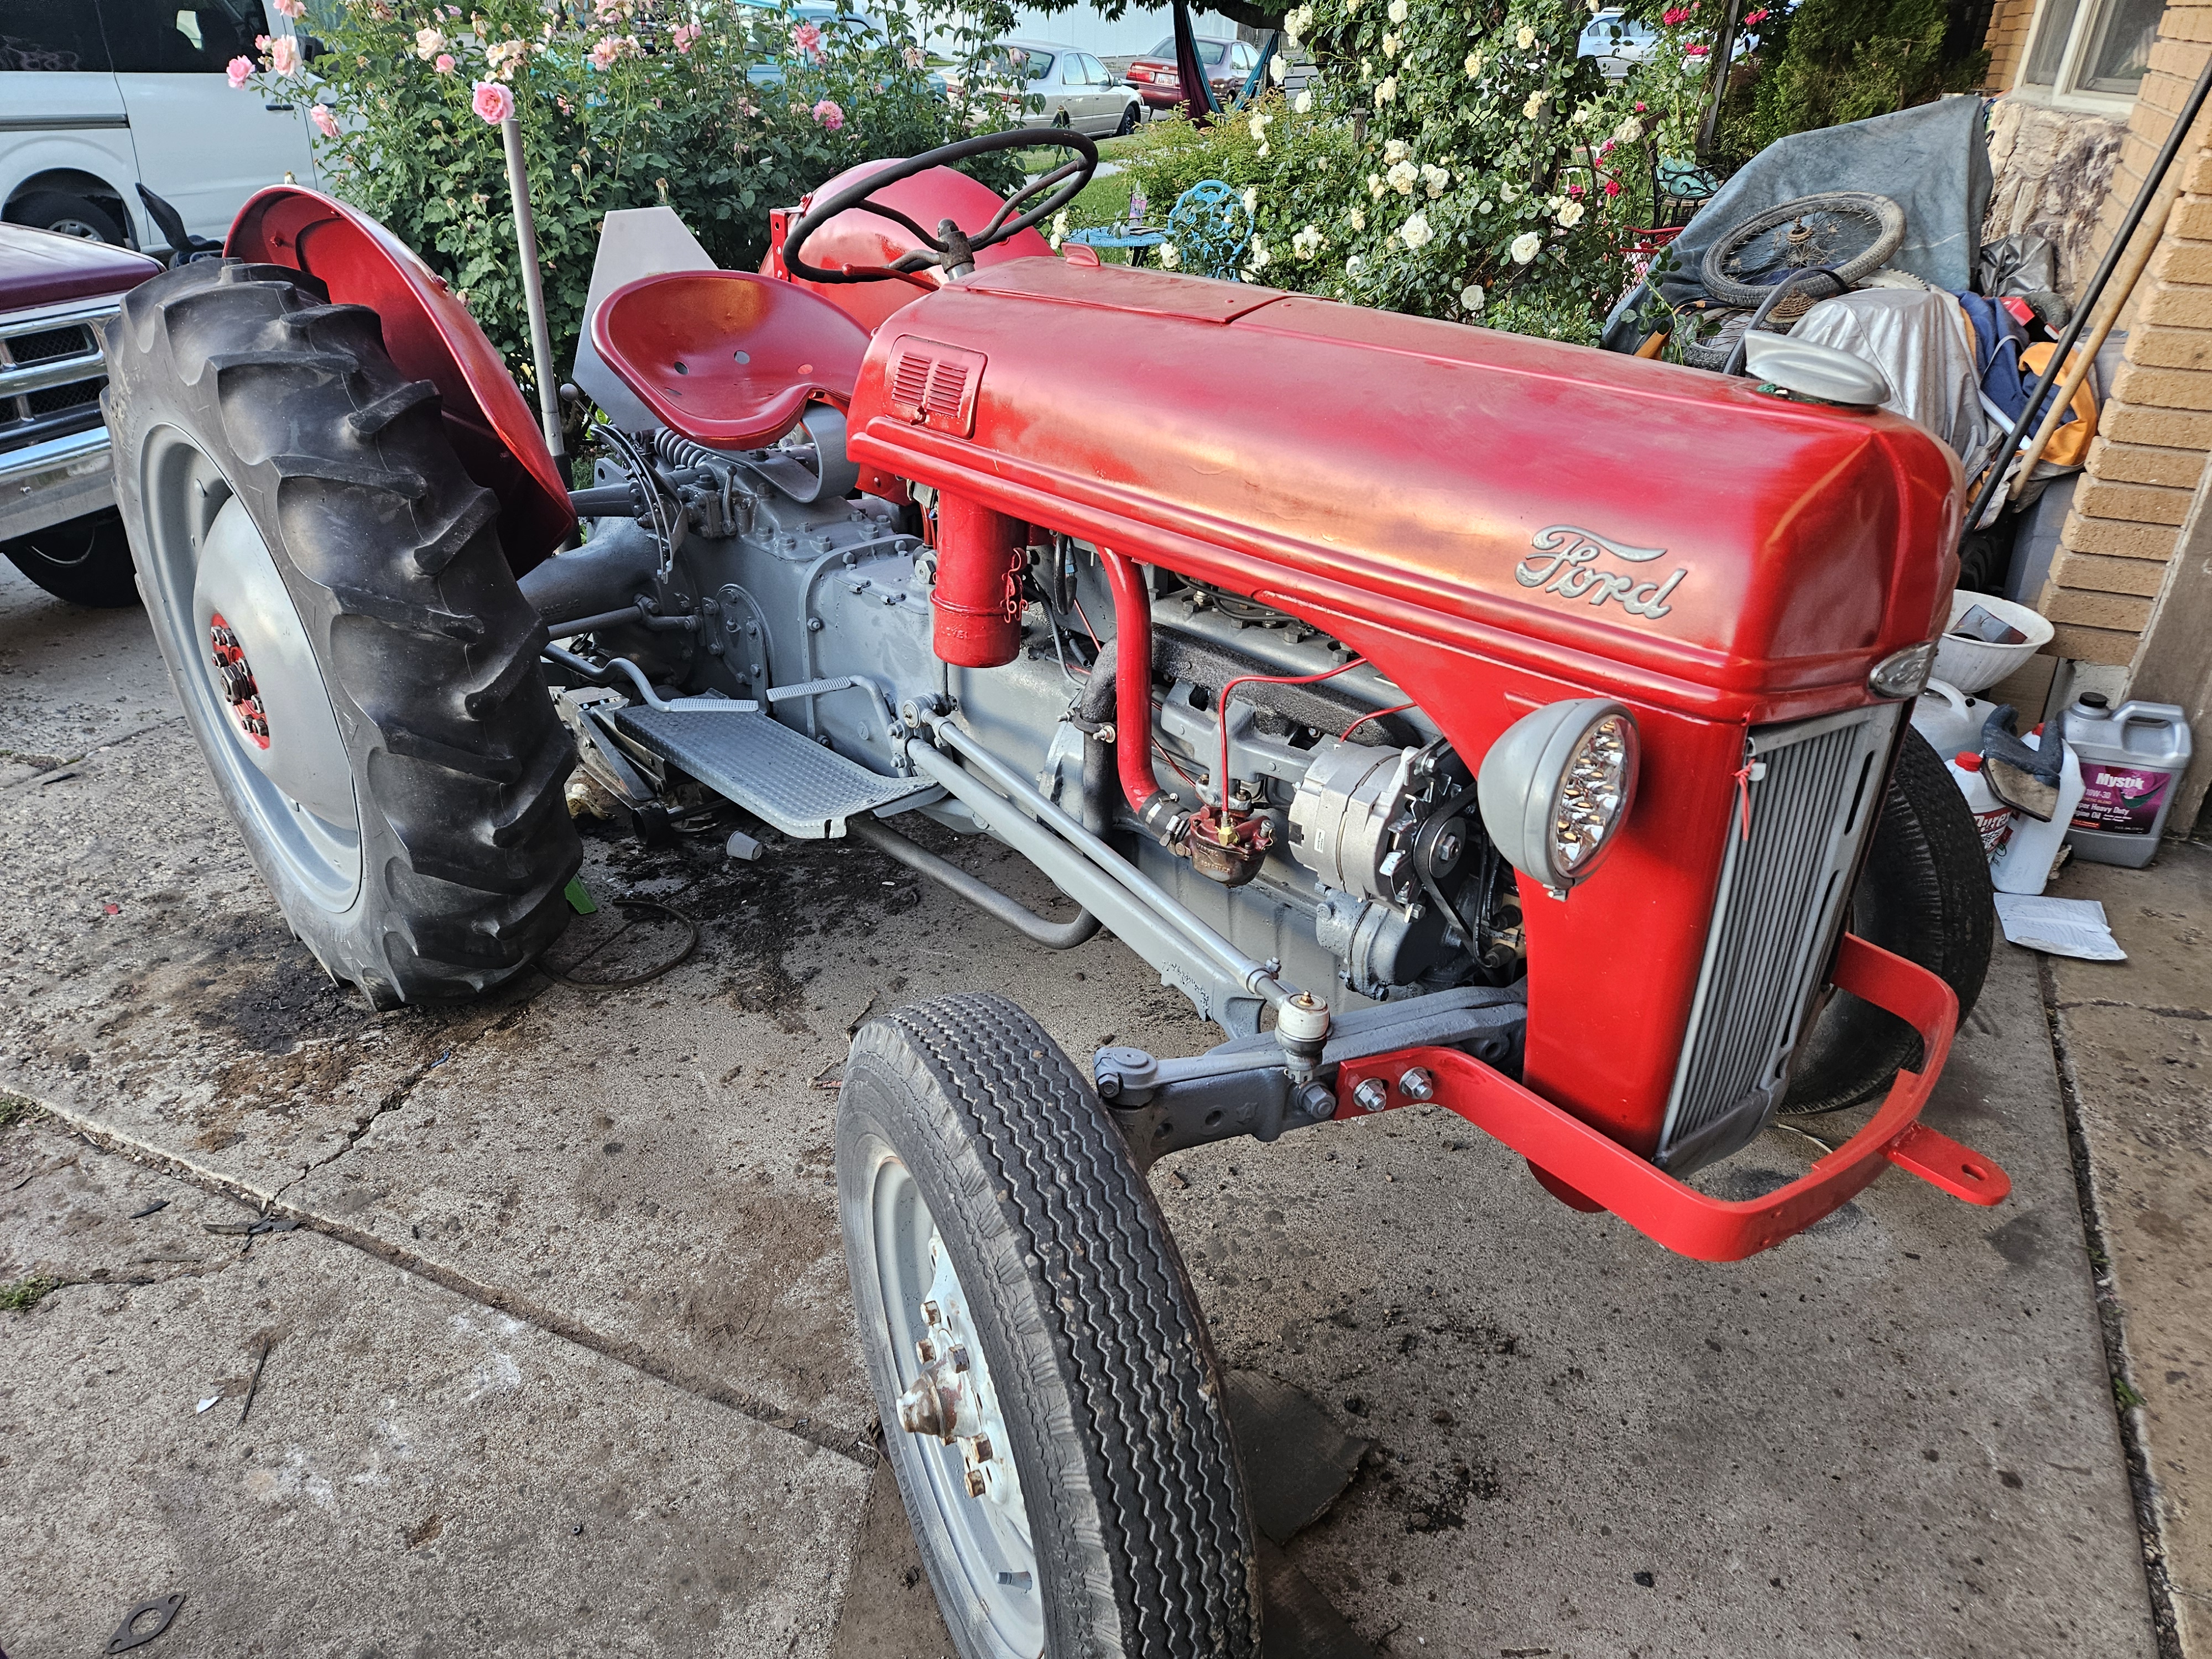
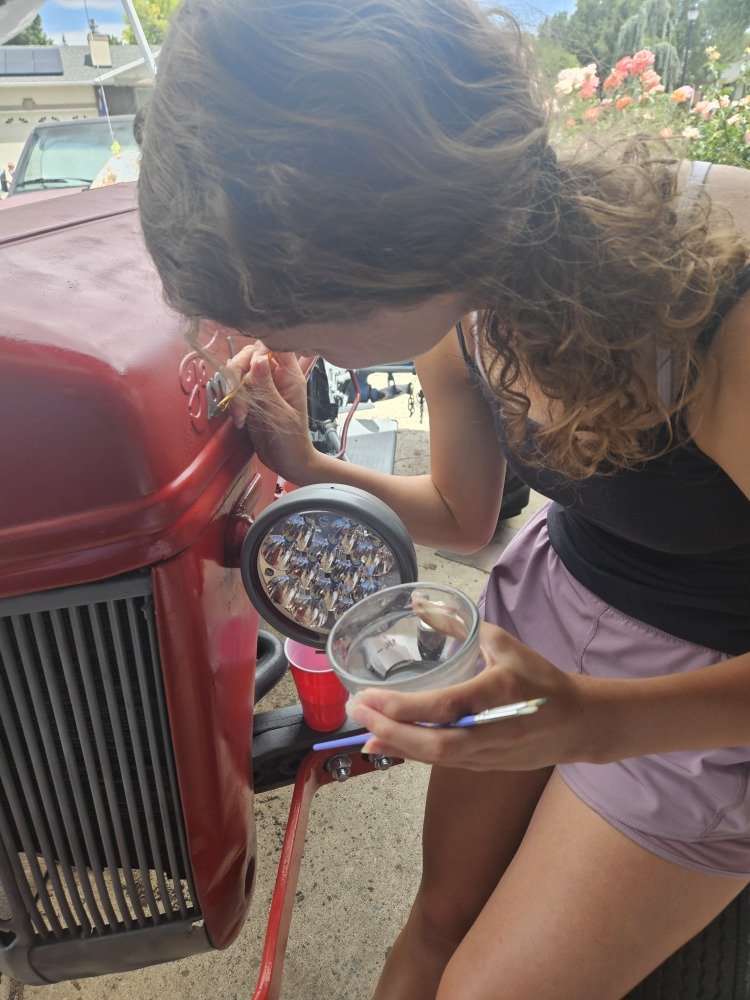
I used spray paint exclusively to paint this old tractor. Bribe a kid if you have to for the fine detail painting.
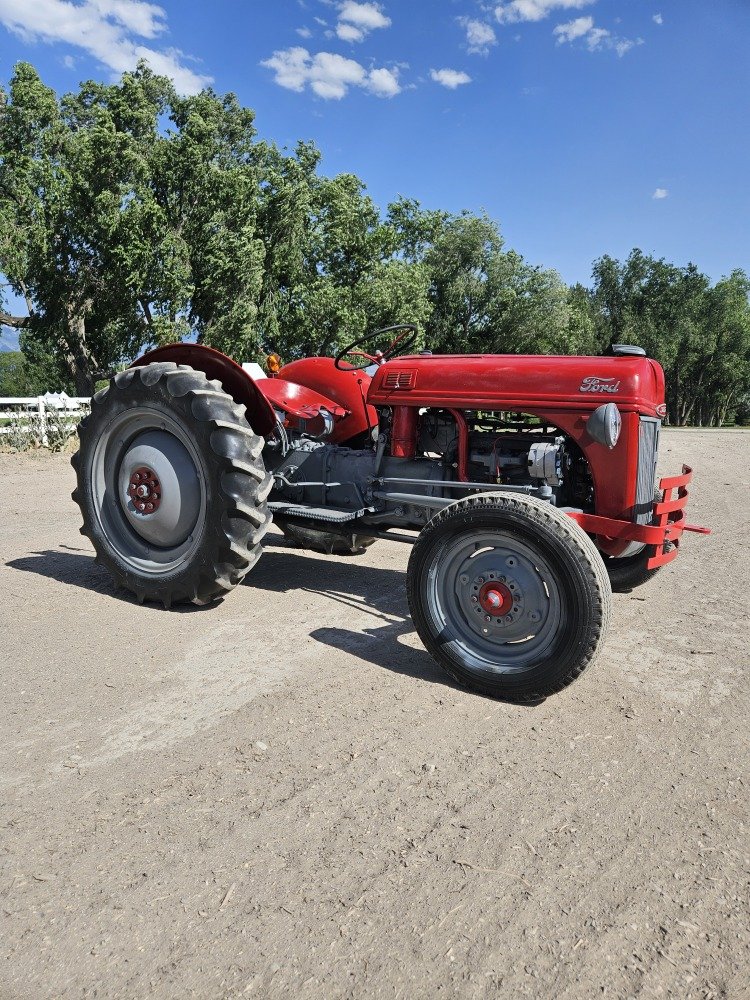
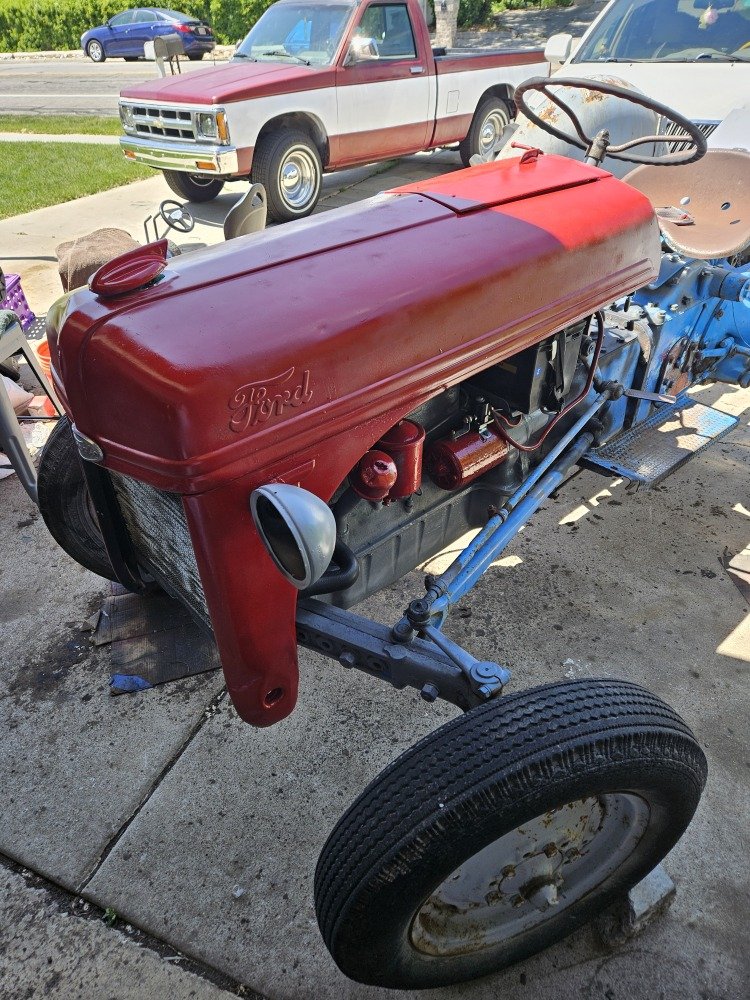
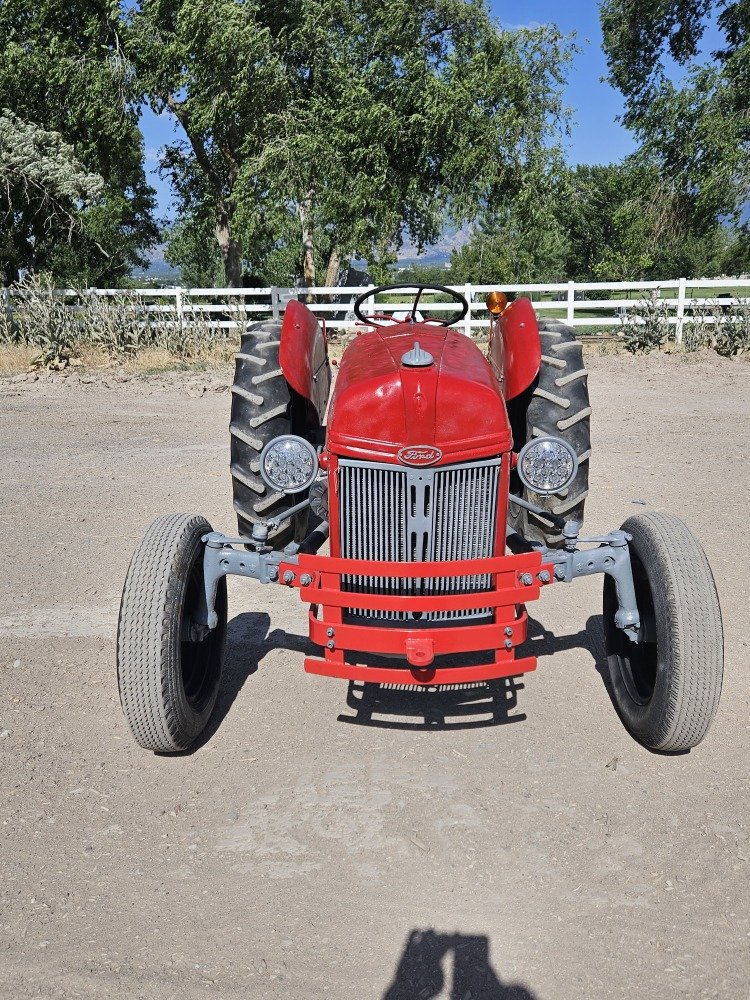
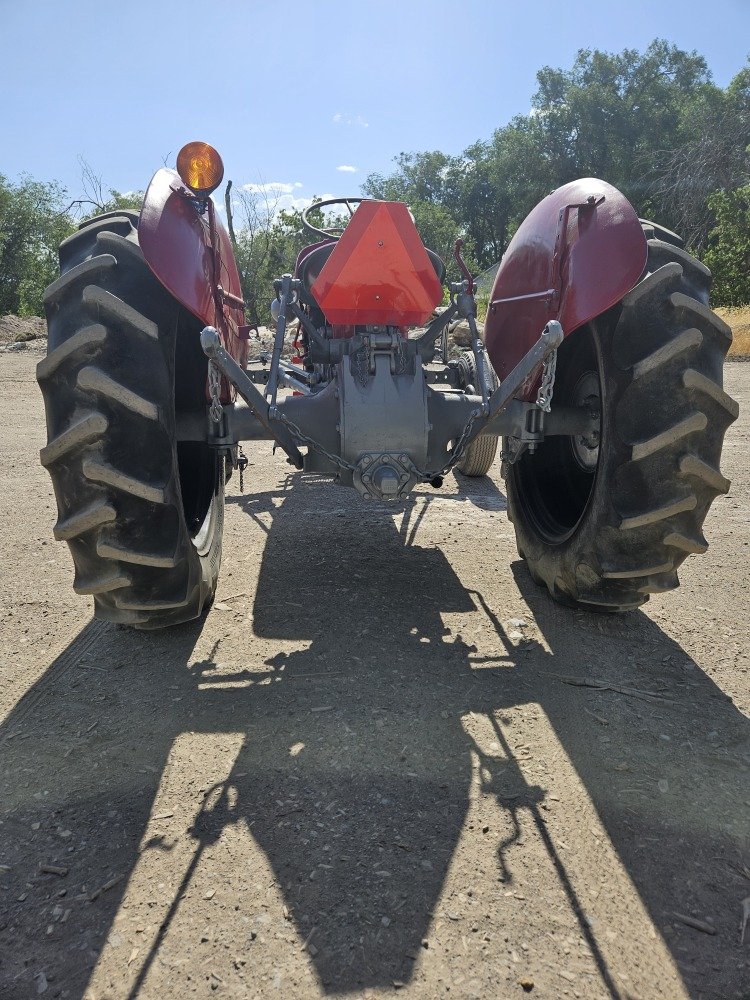
Step 10: Take pictures of completed project and and share

Plus 3 more

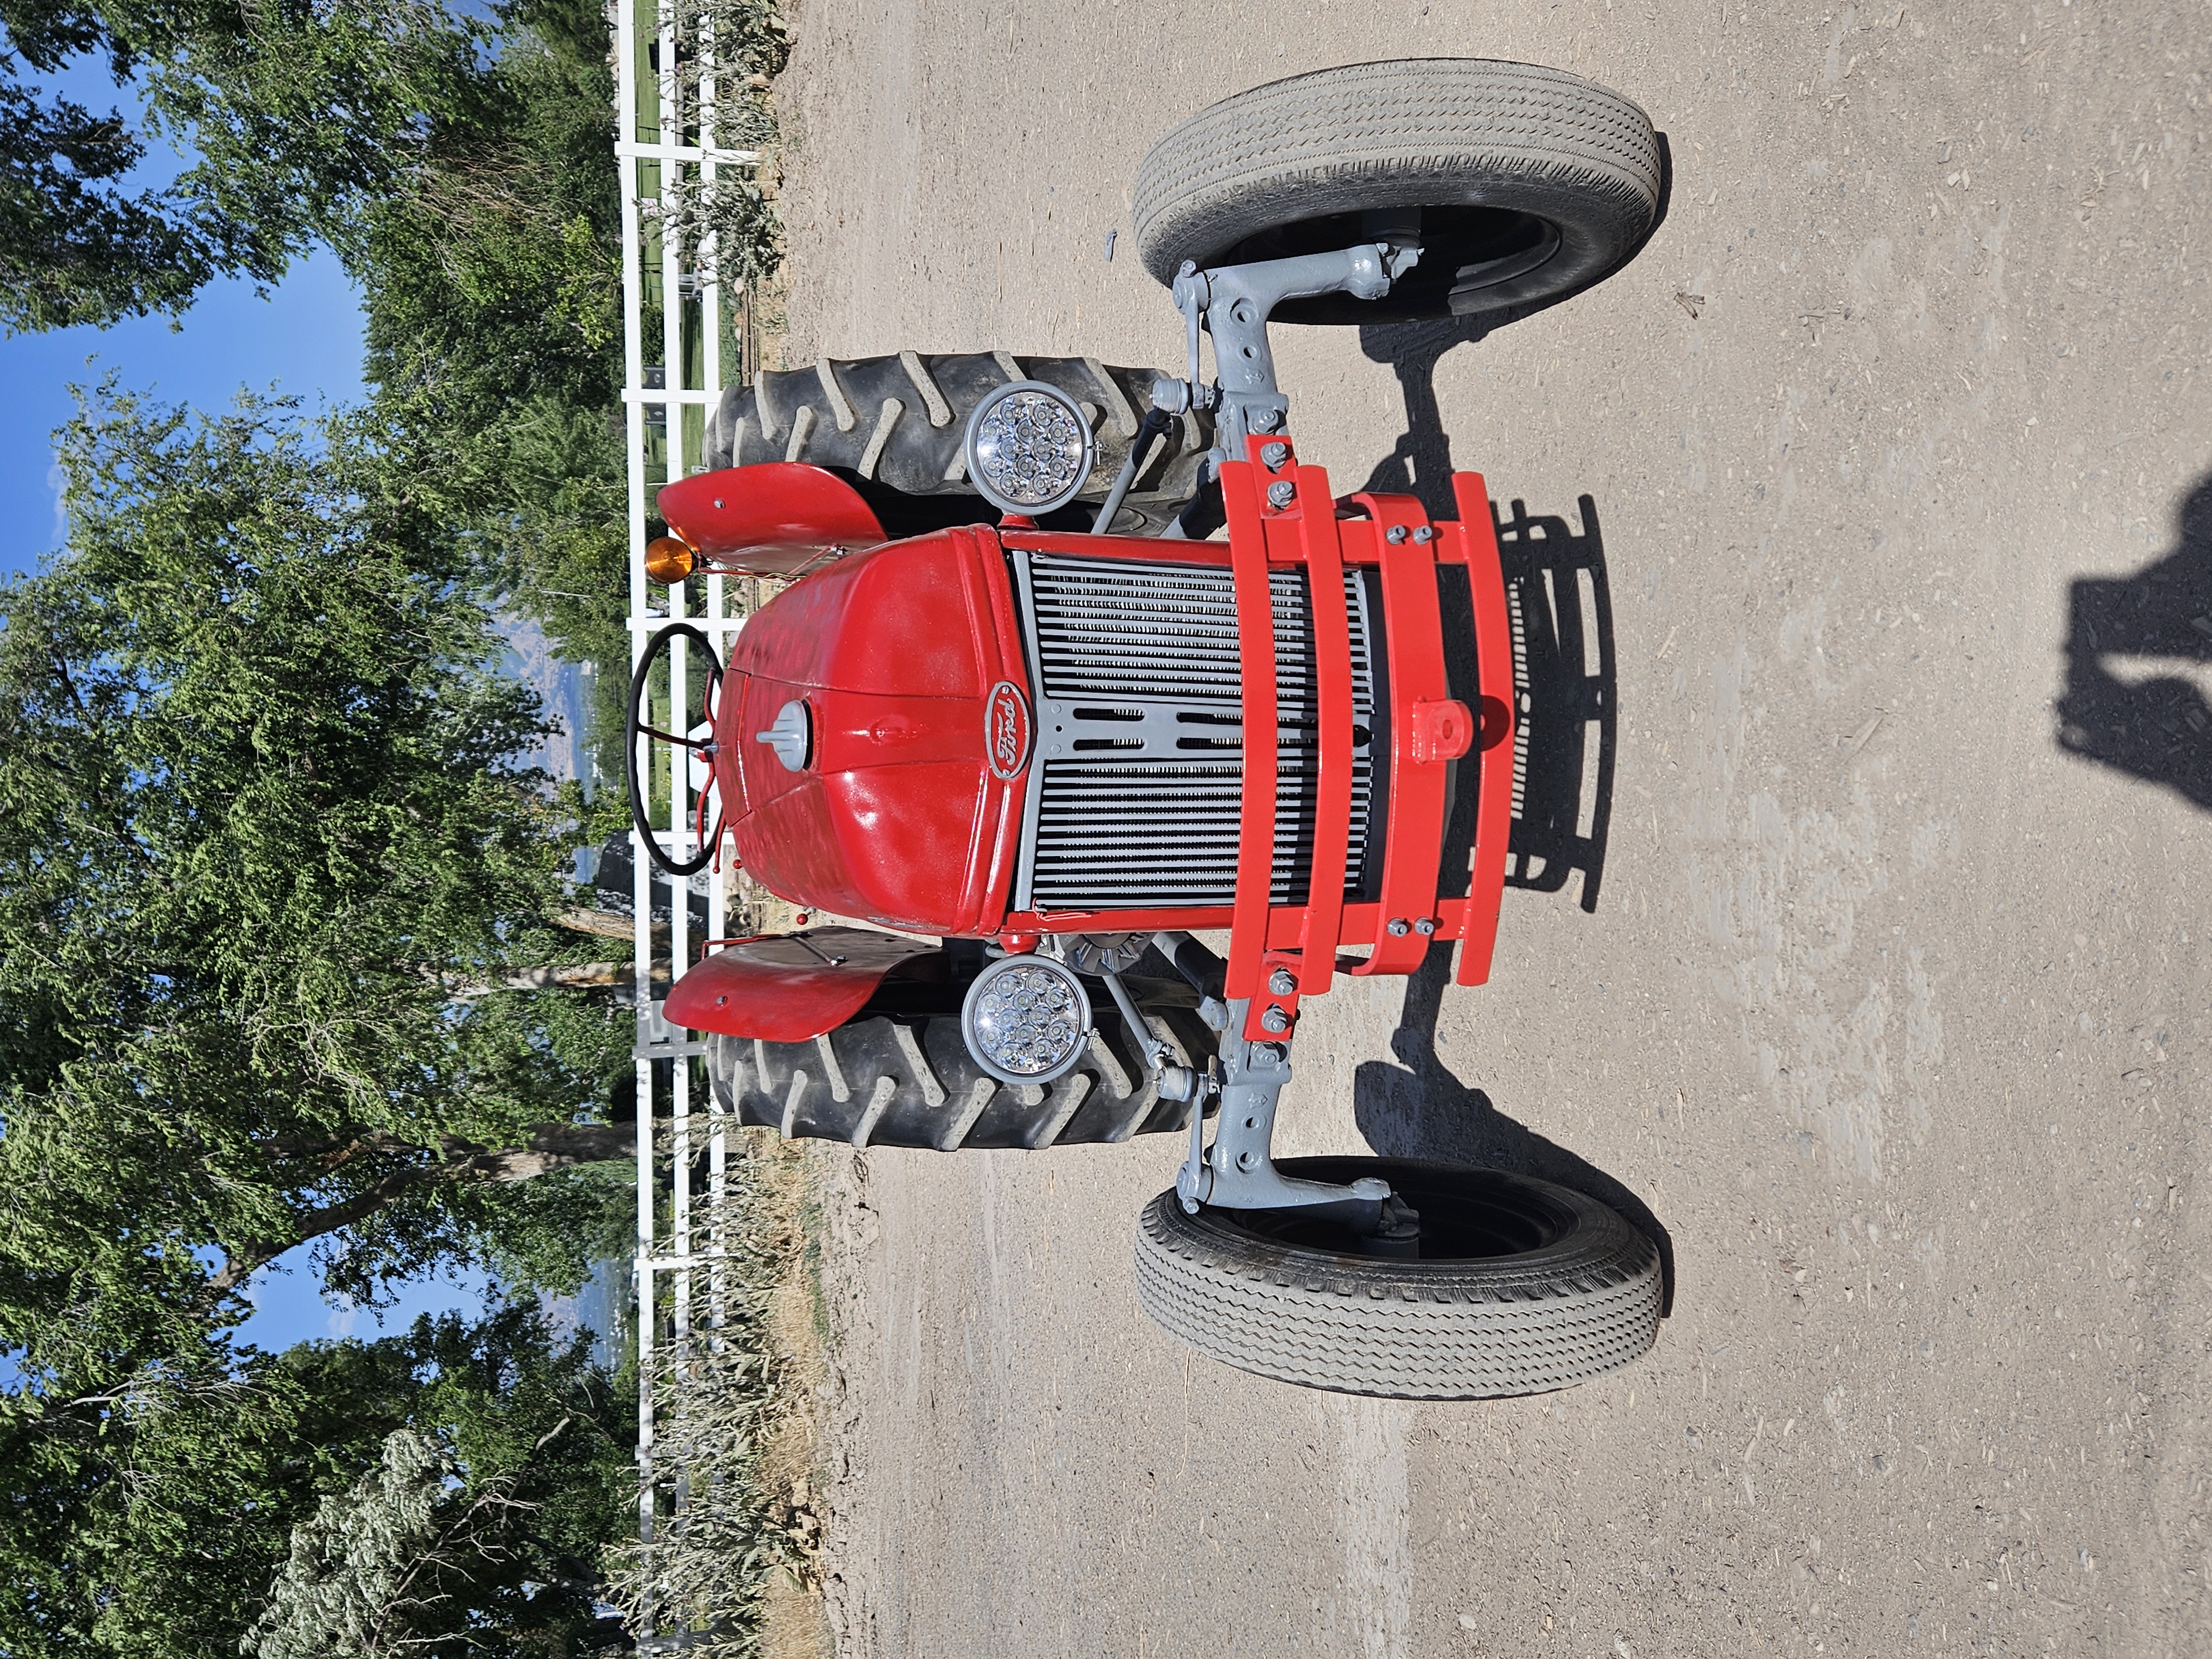
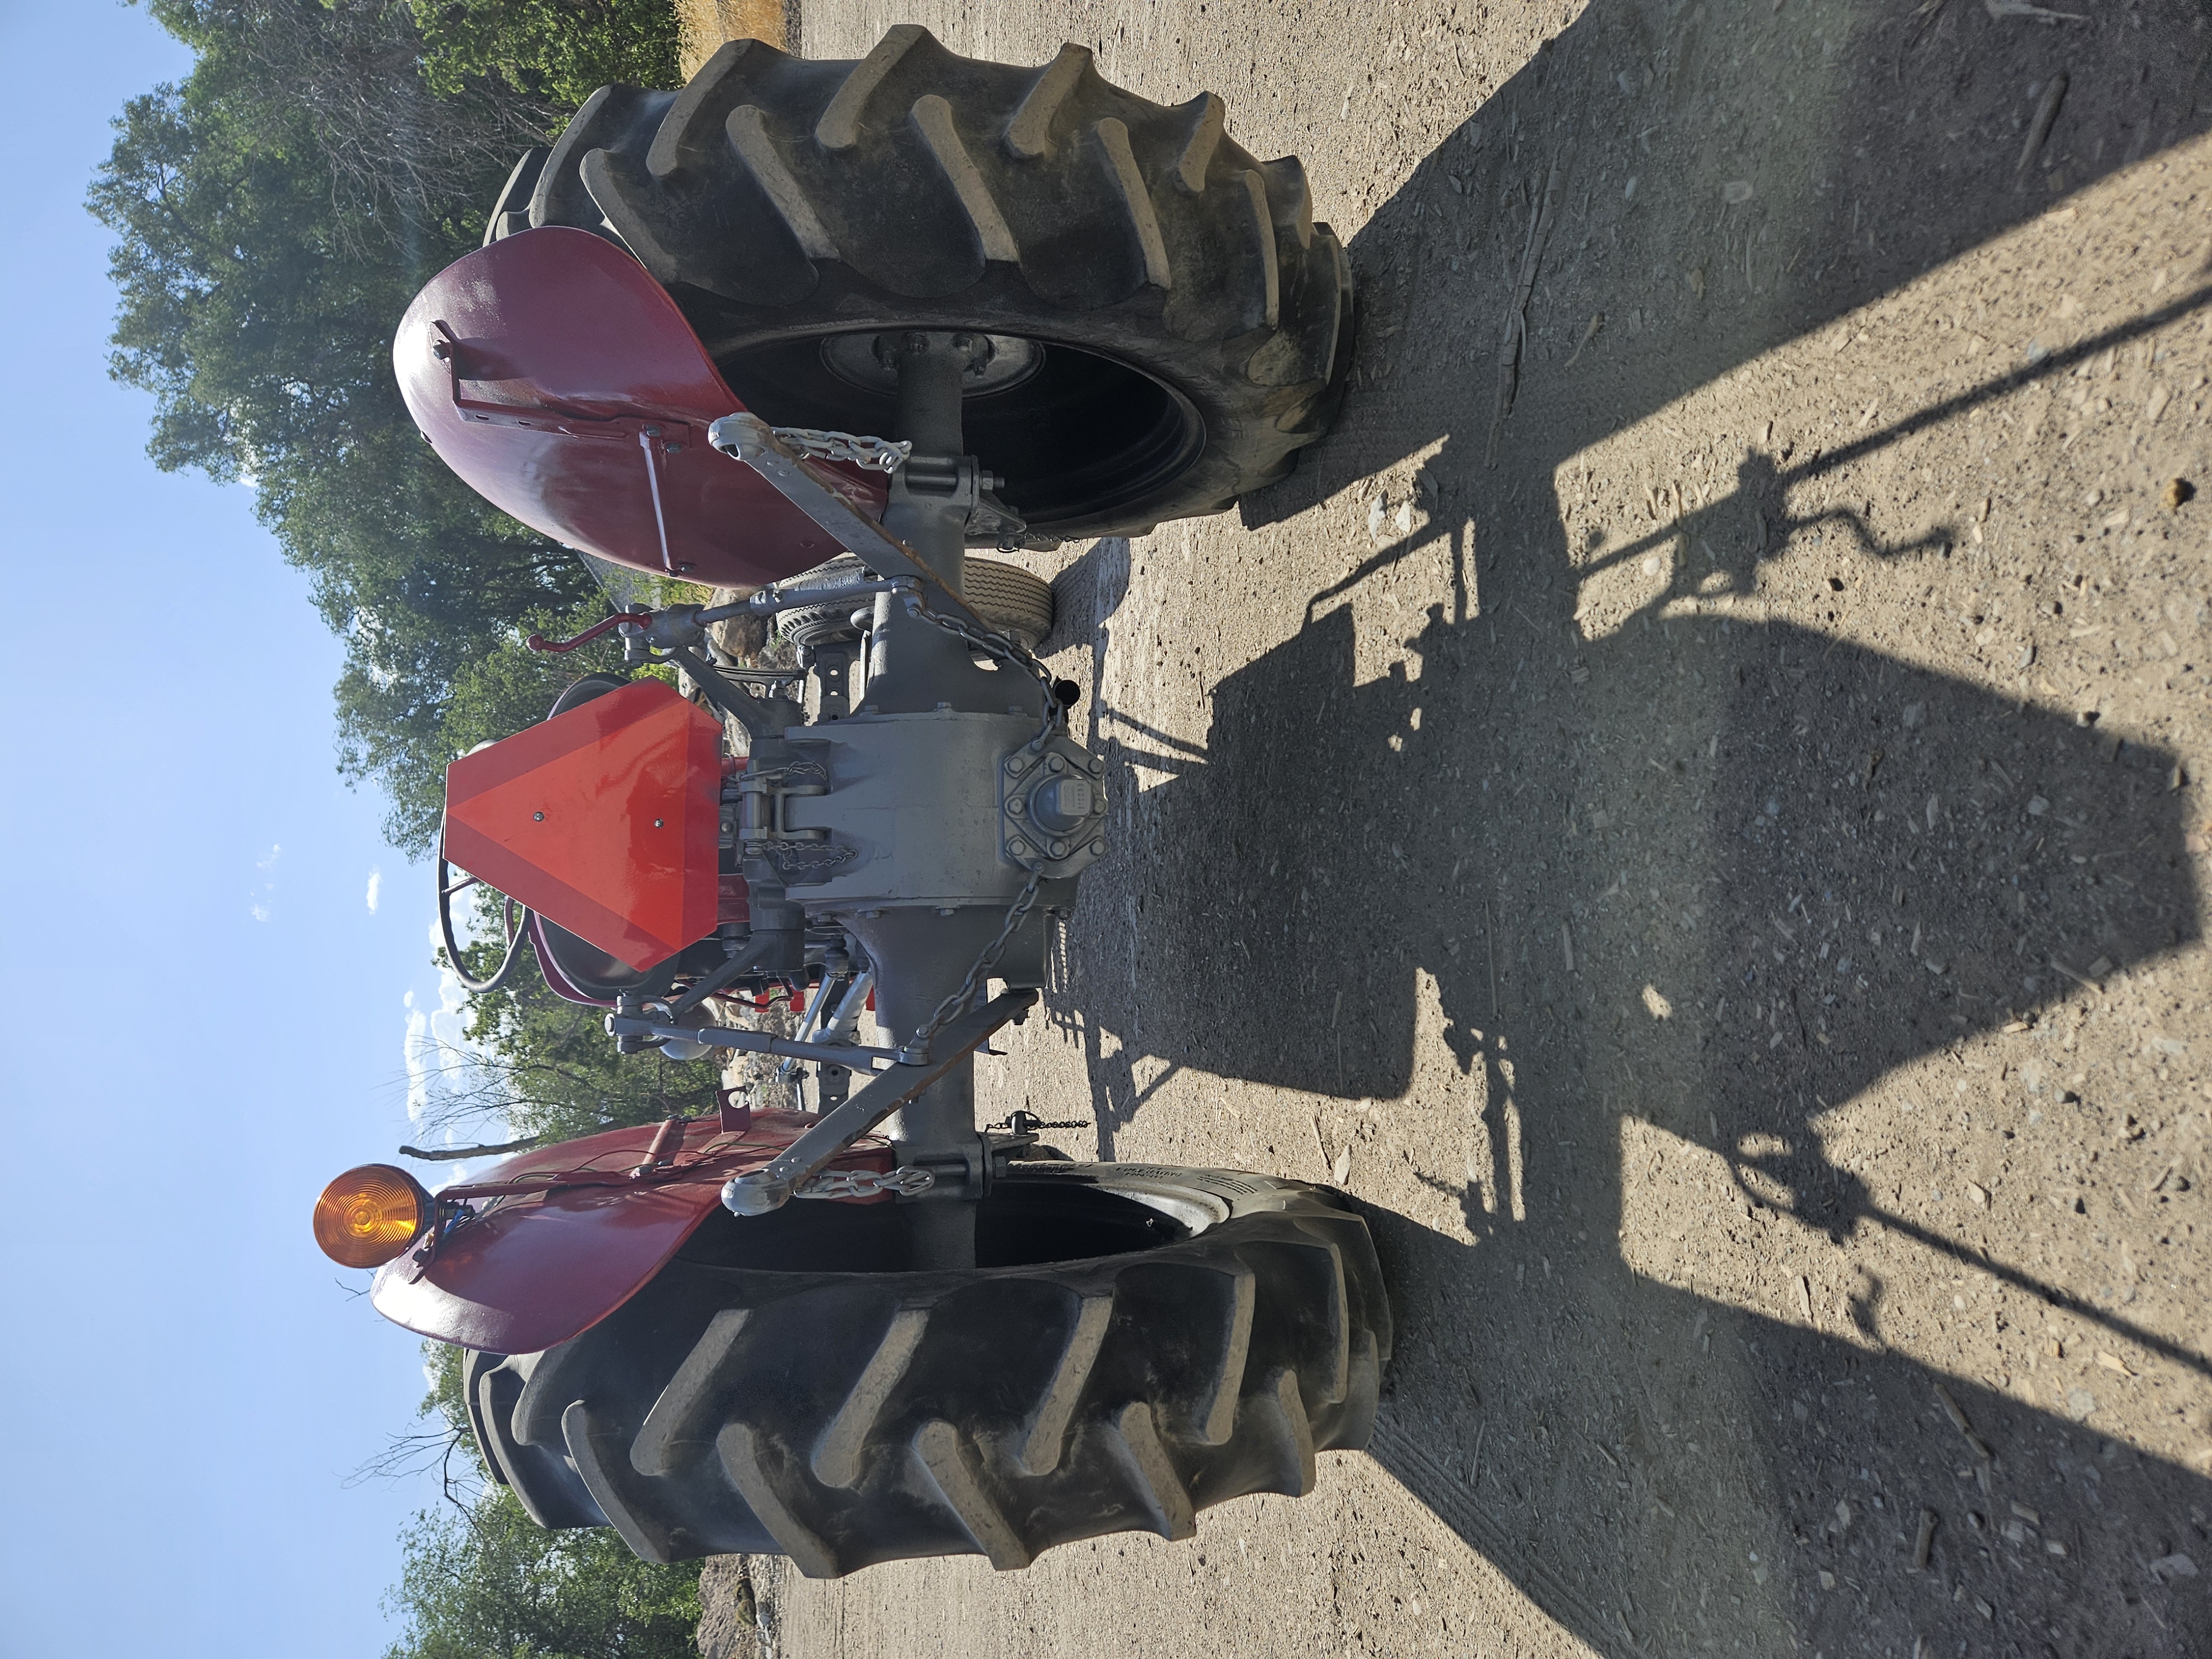
Self-explanatory.
Step 11: Use and enjoy
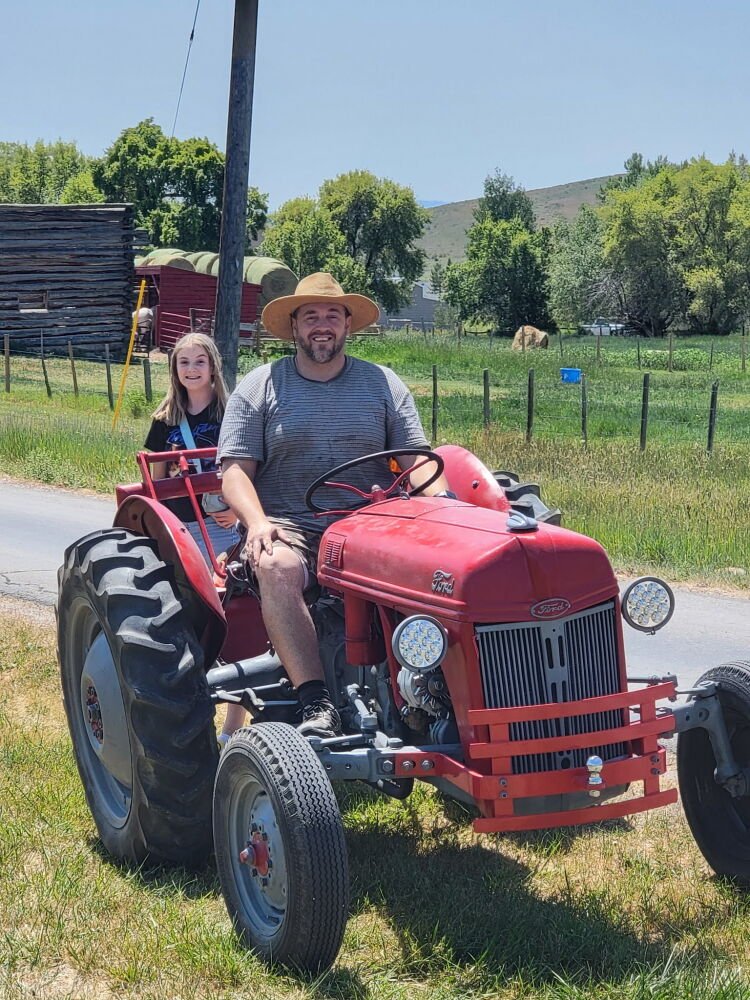


Plus 1 more

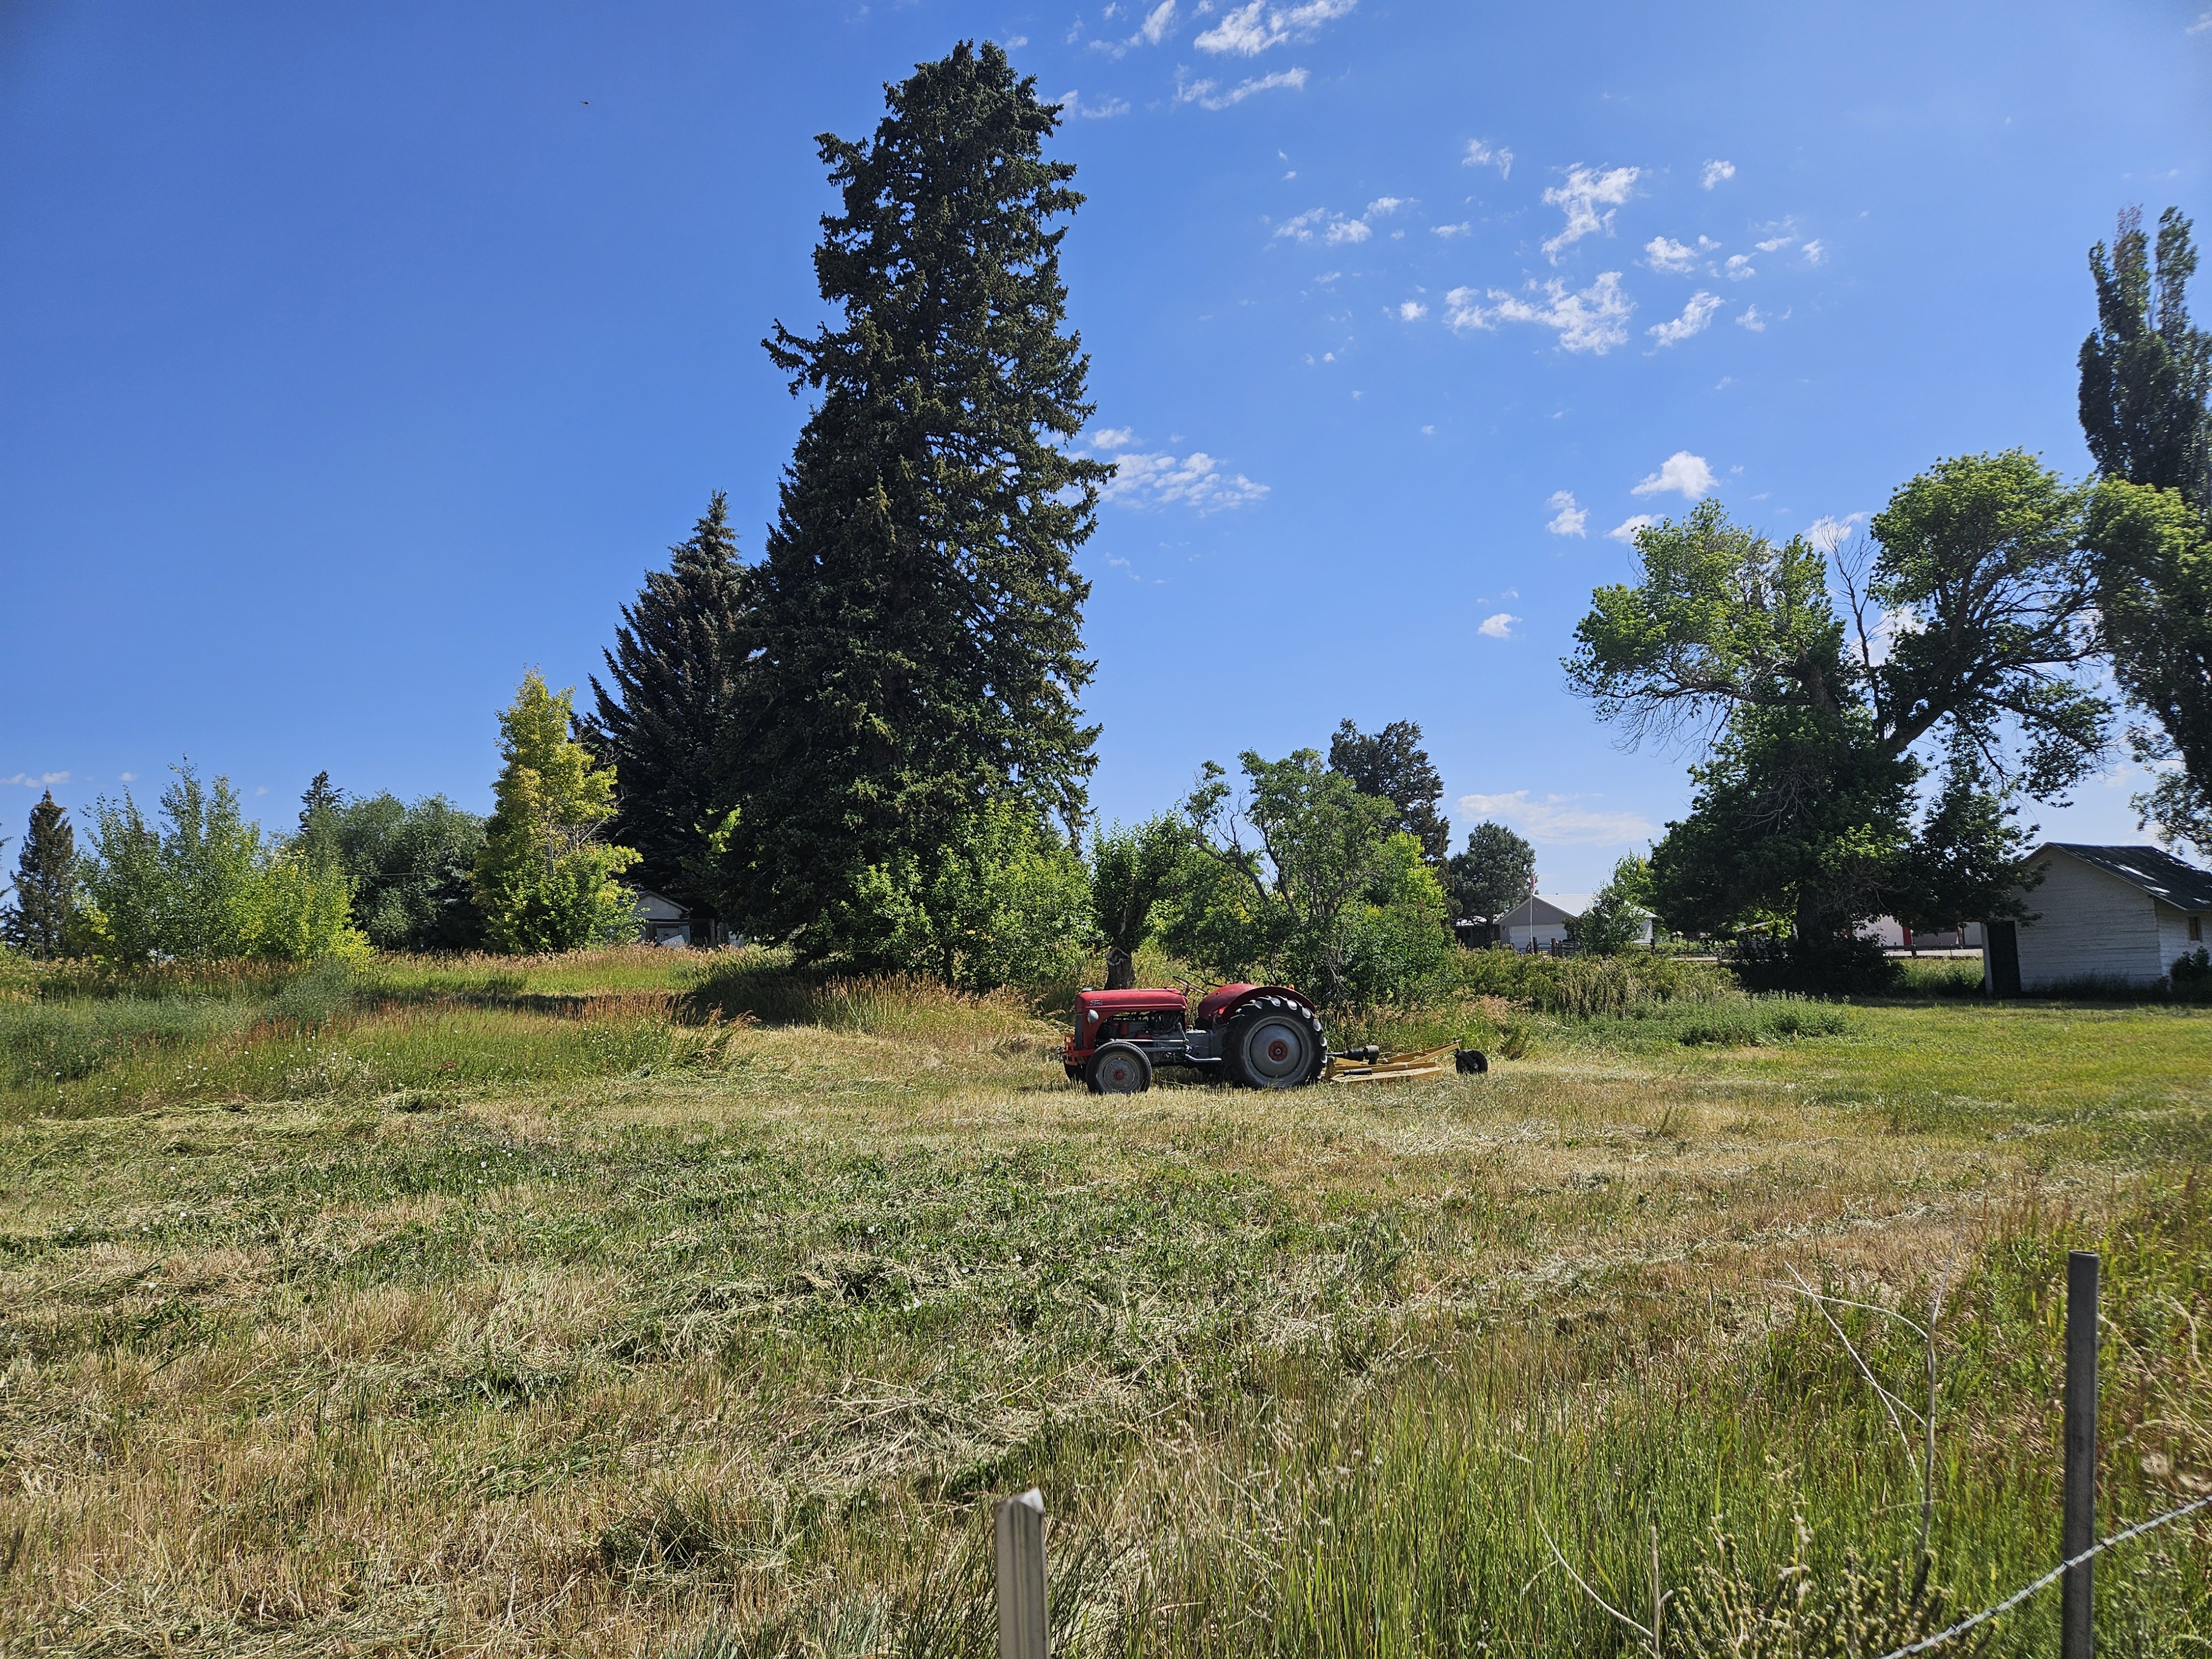
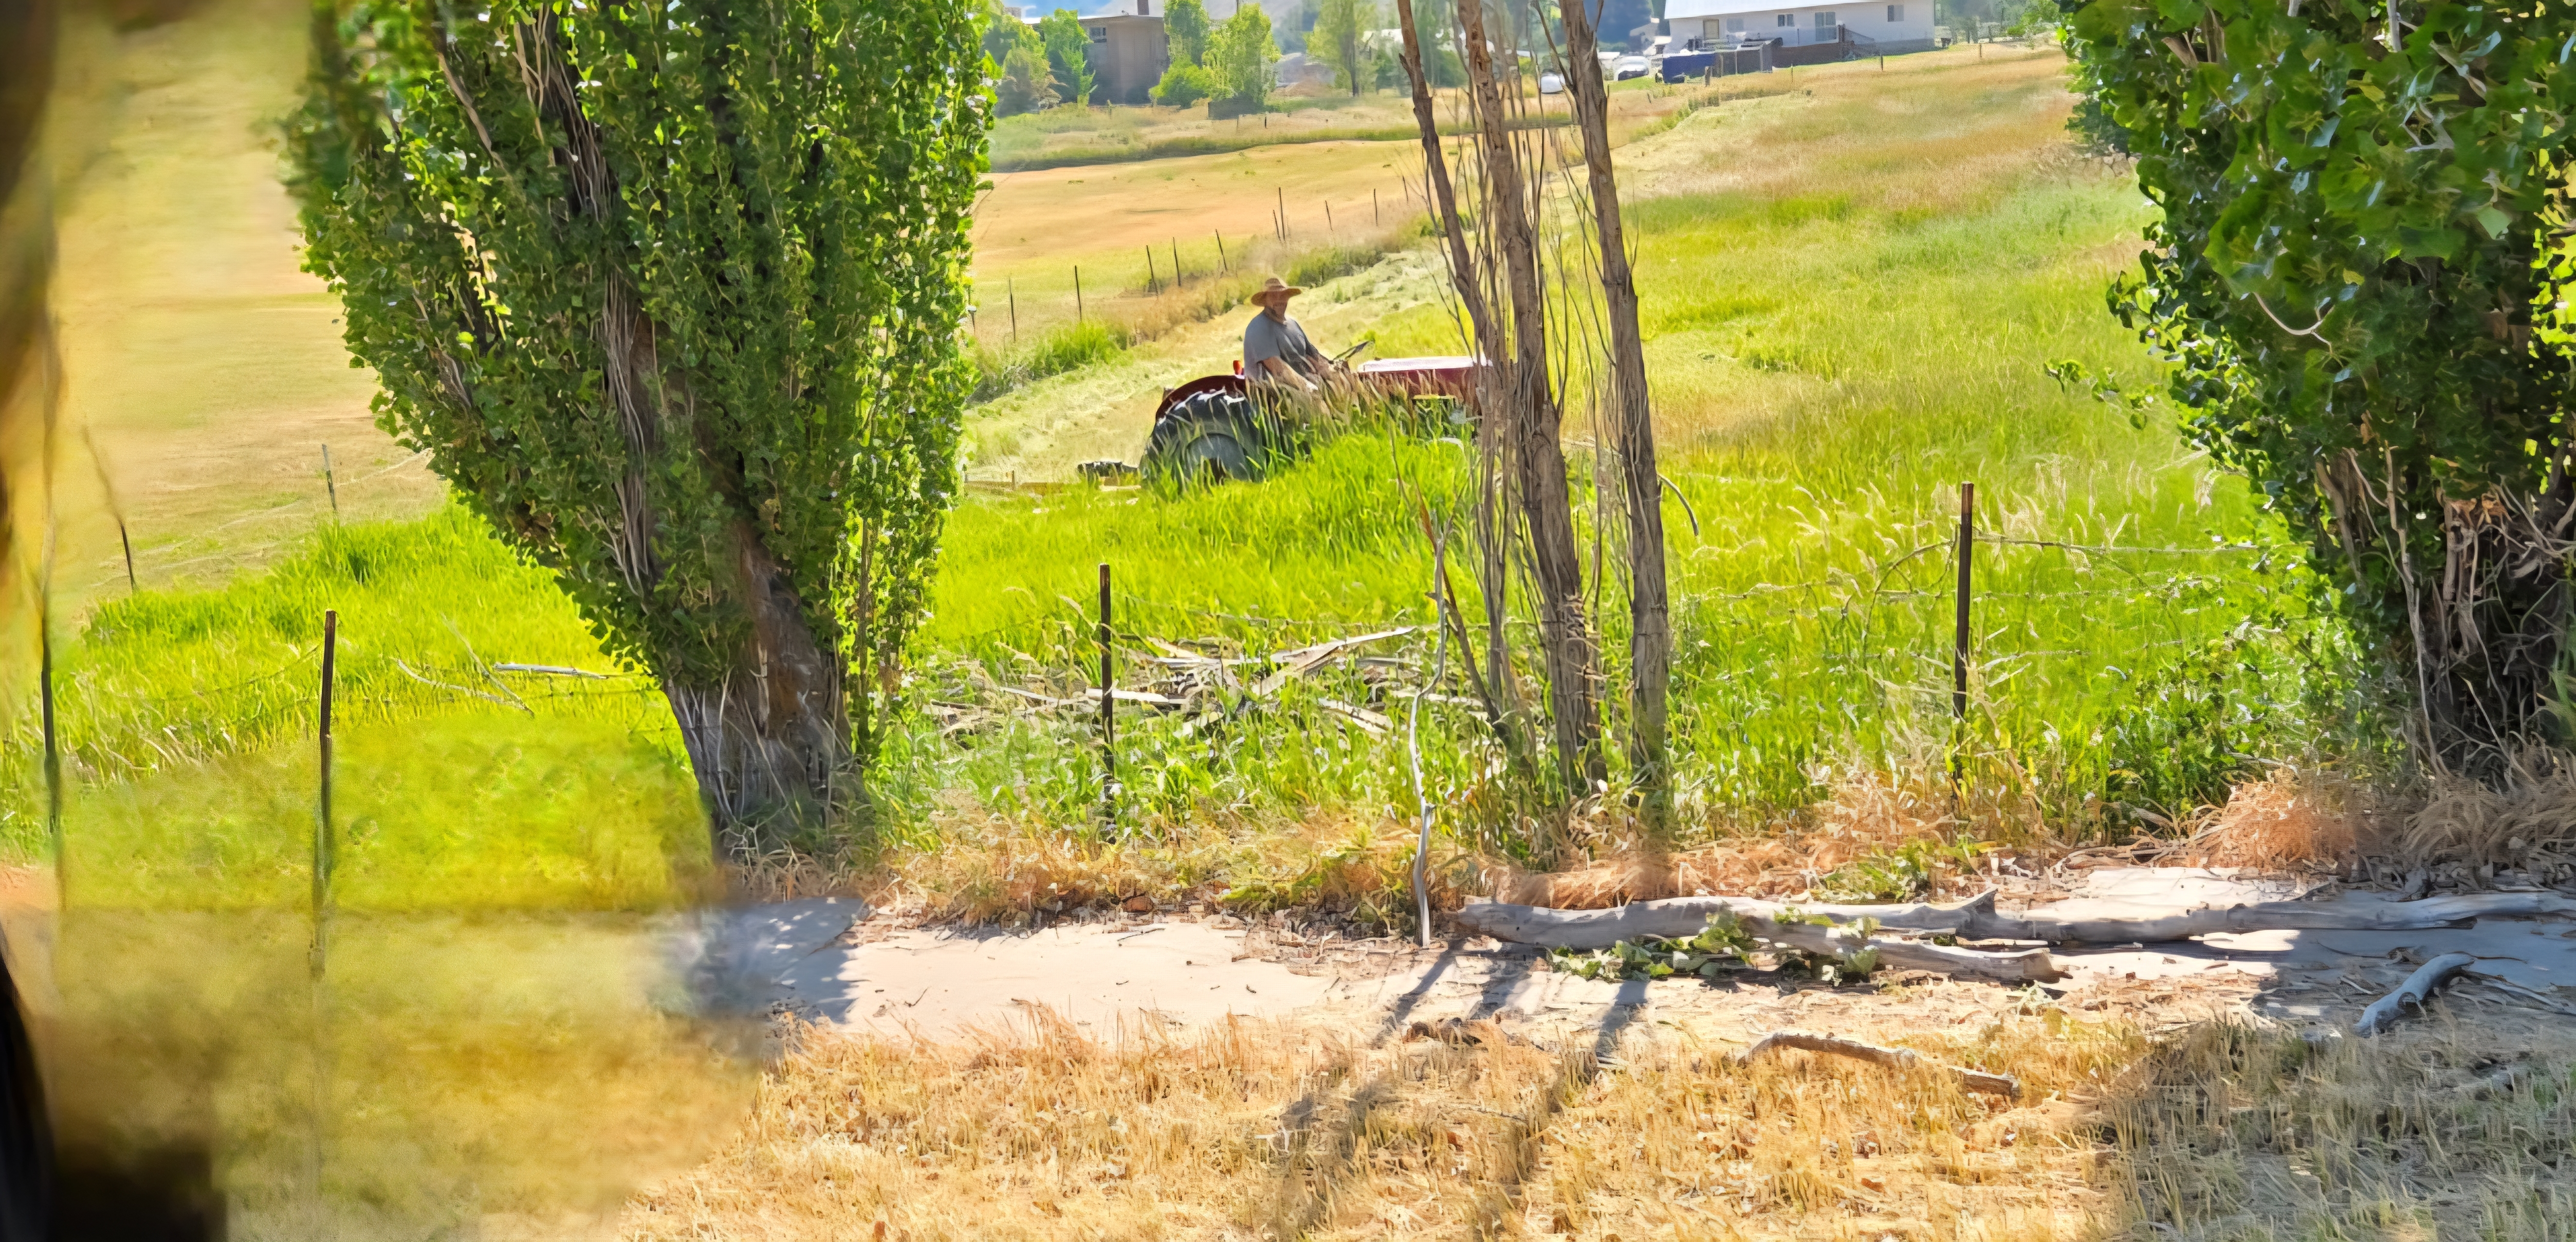
What it's all about.